


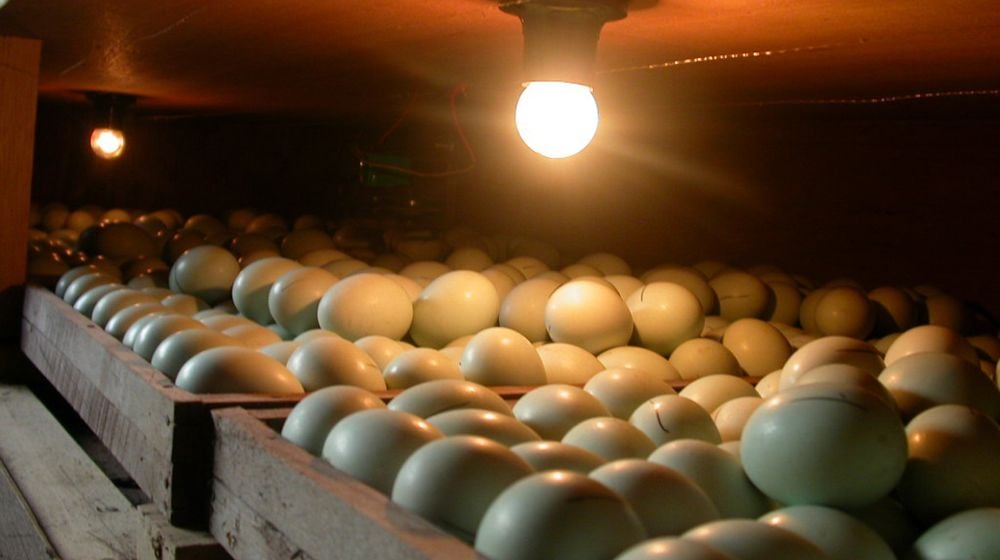

Branded and commercial incubators can be expensive for DIYers. A homemade incubator, on the other hand, can also hatch eggs successfully, and you don’t need to spend a lot of money on it.
RELATED: 12 Unique Egg Carton Craft Ideas for Kids
Build Your Own Homemade Incubator in 8 Simple Steps
What You’ll Need:
- Scrap wood
- Water cup
- Scissors
- Hardware cloth
- Stapler
- Styrofoam box
- Light bulb socket
- Appliance light bulb
- Hygro-thermometer
1. Build a Frame for Your Homemade Incubator
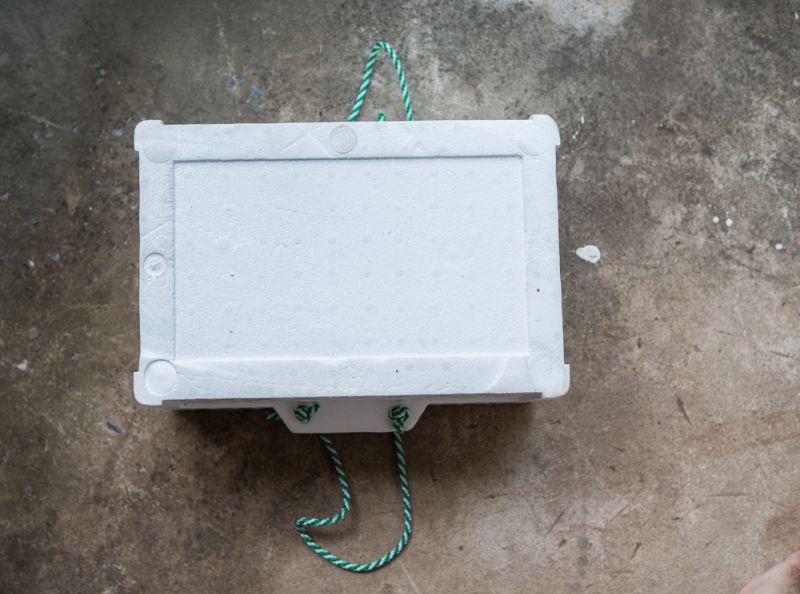
Using scrap wood, assemble a frame that would fit inside your styrofoam box. Make sure that the height is sufficient for your water cup to fit inside the frame.
2. Wrap the Frame With a Screen
Cut a hardware cloth that would cover the top of the frame. You can also use other porous material as long as it can support the heaviness of several eggs. Staple the cover in place.
3. Put the Light Bulb

Cut a hole in one side of the styrofoam box. This is where you’ll insert the light bulb socket so make sure that the size is a perfect fit. The light bulb should not also touch the lid of the box so ensure that the positioning is neither too high nor too low.
Insert your socket and your light bulb.
Tips:
- An appliance light bulb would be a perfect choice due to its compact size.
- The wattage depends on how big your styrofoam box is, but usually, 10-40 watts is already adequate.
4. Make Ventilation Holes
Remove the light bulb so you can put some more holes in your styrofoam box. You can cut four holes in the lid and two holes on each side of the box.
RELATED: 54 Easter Egg Designs and Decorating Ideas Anyone Can Make
5. Assemble Your Homemade Incubator
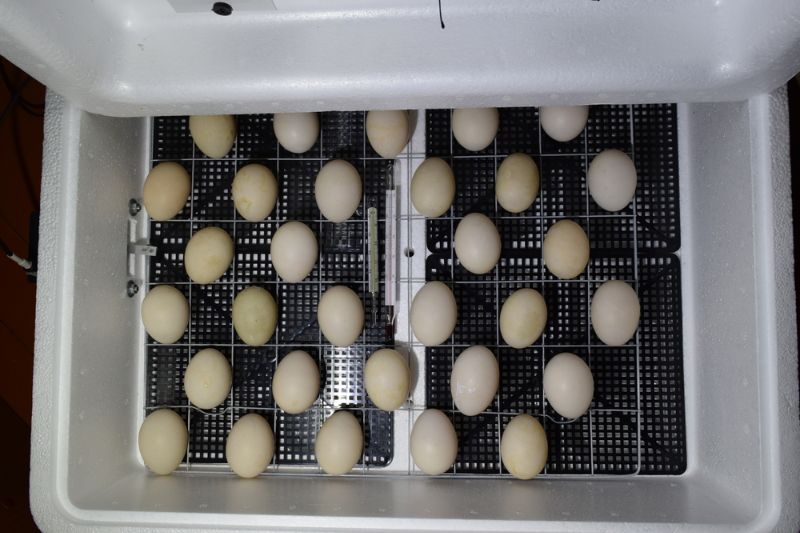
Inside your styrofoam box, place the water cup first, then insert your frame. Put back the light bulb and the socket, and place your hygro-thermometer in the box. Afterward, you can put some eggs to test the durability of your screen.
6. Set the Correct Temperature and Humidity in Your Homemade Incubator
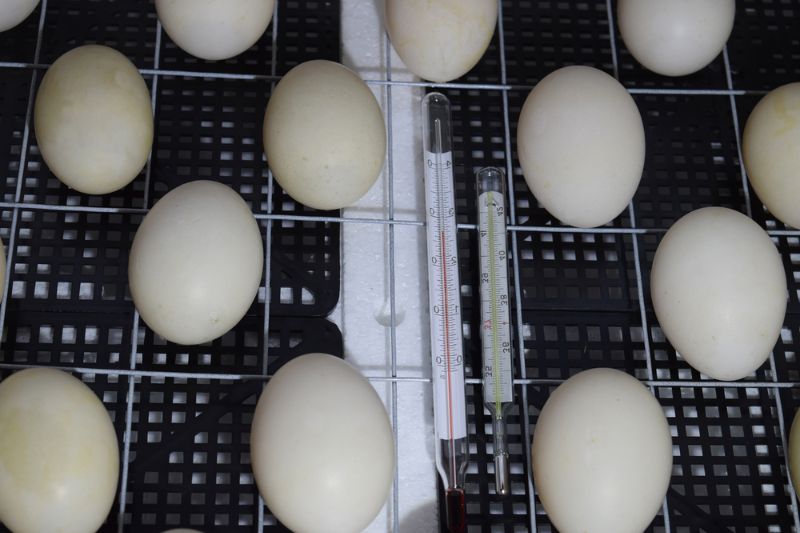
Keep in mind that hatching eggs require 99-102° Fahrenheit. You need to maintain this temperature for 21 days. Additionally, the humidity must be around 40%-50% for 18 days, then make it 60%-70% for the remaining three days.
Tips:
- Another way to achieve the correct temperature is by using either a plug-in dimmer or a water heater thermostat.
- Using a dimmer, you can adjust the brightness until your temperature becomes accurate.
- You can also use a thermostat and your light bulb will automatically turn off when it gets too hot.
7. Create a Window
Cut out a portion of your lid that’s enough for you to see your eggs. Then put tape along the edges.
8. Monitor Your Homemade Incubator
Observe your incubator for a day or two. Adjust the temperature and humidity if necessary.
Afterward, you can already put in your eggs and start using your homemade incubator.
The final product should look like this:
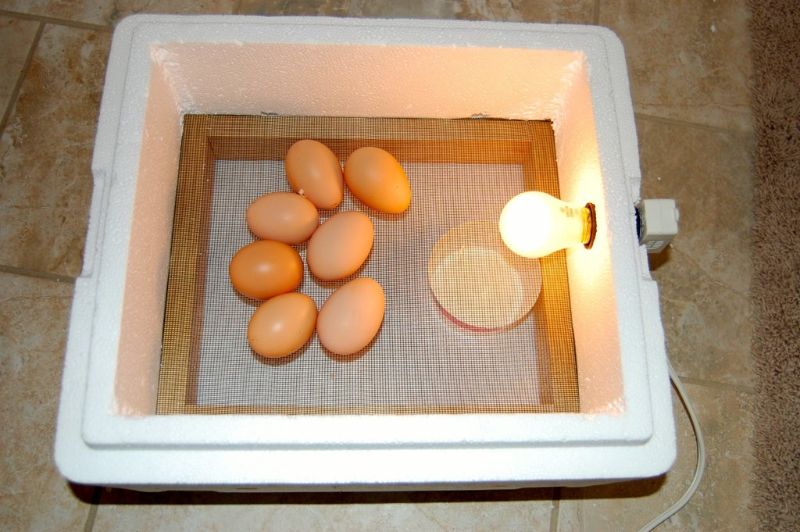
Note: You might need these tools for this DIY project: drill, sander, and tool kit.
Once your homemade incubator has done a successful hatch, you’ll want to keep your chickens safe and secure. Here’s a tutorial from Silverline Tools on how to build a chicken coop:
A homemade incubator is much less expensive and it can also produce excellent results. You can now start building one and make it a fun activity for the whole family.
Do you have other ideas on how to make a homemade incubator? Share them with us in the comments section below!
Up Next:
- Learn How To Make Fire Starters Out Of Egg Cartons
- 10 Epic Chicken Coops for your Backyard!
- Easy DIY Macrame Shelf To Decorate Your Home
Calling all crafting DIYhards, DIY Projects needs YOU! Click here if you want to write for us.
Don’t forget to stay connected with us on Facebook, Twitter, Pinterest, and Instagram!









