

This DIY macrame shelf is a simple, no-frills way to add both storage space and a touch of boho-chic to your home. The good news? No tools and no sewing needed!
RELATED: DIY Macrame Necklace Ideas You Can Make With Your Kids
Easy DIY Macrame Shelf Tutorial
What You Need:
- 3 x 16 in. 3 string macrame rope, at least 10 yards
- 9 x 15 in. wooden board, holes punched in every corner
- 1 wood ring
Step 1: Measure Your Cord
Cut the macrame rope into the following measurements:
- 4 cords measuring 2 yards
- 1 cord measuring 1 yard
Make sure to measure your macrame cord evenly and add a little extra just in case.
Another thing to consider is to hang this somewhere high enough that makes it easy for you to make your knots. Divide your cords into three segments of four strands each, then start working your patterns.
Step 2: Start with a Lark’s Head
Take your wooden ring and tie a Lark’s Head or base knot to attach your cords. You’ll use the wooden ring not just as your mount for the macrame work, but also as the way you’ll hang your shelf.
Step 3: Create a Whipping Knot
Start your macrame shelf with a gathering knot on top to keep the cords from unraveling. This is where you’ll use the rope cut to a yard.
Steps:
- Gather all your cords together.
- Cut off another piece of macrame cord and fold the end in two. Make sure the fold is as long as how you want the gathered part to be.
- Place it just below your base knots and make sure the shorter end is sticking upward.
- Take the longer end and wrap it around the gathered cords.
- To close the knot, take the end you’re wrapping with and thread it to the looped end.
- Pull both ends until everything is smooth and tight.
RELATED: DIY Hanging Macrame Chair For Your Porch Or Room
Step 4: Start Tying More Macrame Knots
You can use virtually any type of pattern you can think of using one of the basic knots. What’s more important is to make sure you use the same pattern on all three segments and use them consistently
Step 5: Slip in the Wooden Shelf
Make sure your wooden block has holes in each corner where you can put the string through to hold it in place. Finish off with a simple knot at the bottom where your wood shelf will rest. Leave some amount of tassel dangling below.
Step 6: Customize!
You can choose to leave your shelf as it is, or you can add some wood stain or paint to put your own stamp on it. Finally, hang this where you plan on placing the shelf and arrange the things you want to put in there.
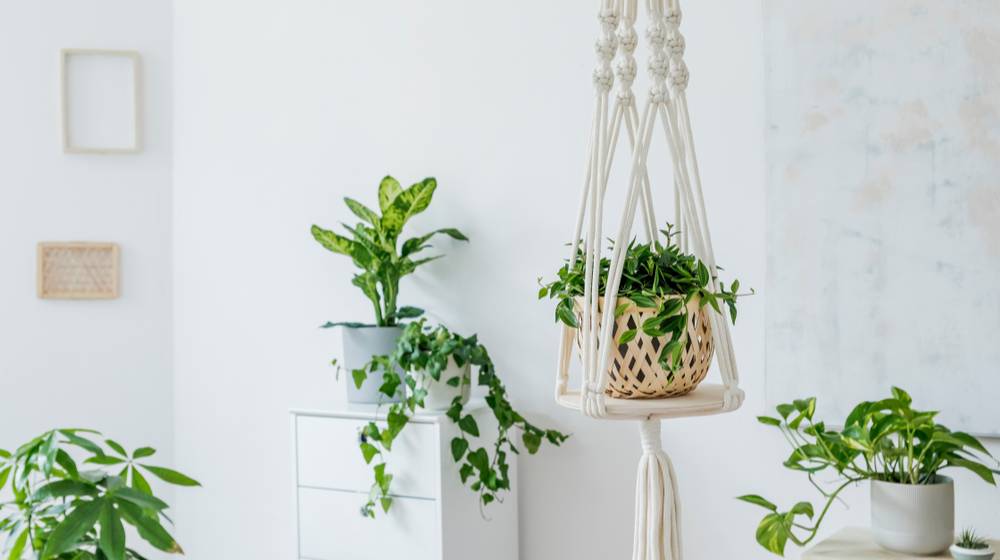
The final product should look something like this when hanged on your wall:
View this post on Instagram
Can’t decide on macrame patterns for your shelf? Here’s a great tutorial from Soulful Nations (while this is a tutorial for a plant hanger, the general idea still applies):
This DIY macrame shelf is so simple, even someone with zero knowledge on macrame or even crafting can whip this up in less than a day. Read on for more fun DIY projects.
How do your jazz up your macrame shelf? Let us know in the comments section below!
Up Next:
- DIY Macrame Pillow Cover Patterns To Upgrade Your Pillows
- How To Make Macrame Glass Jars
- 8 Fun And Easy Origami Animals For Kids
Calling all crafting DIYhards, DIY Projects needs YOU! Click here if you want to write for us.
Don’t forget to stay connected with us on Facebook, Twitter, and Instagram!


