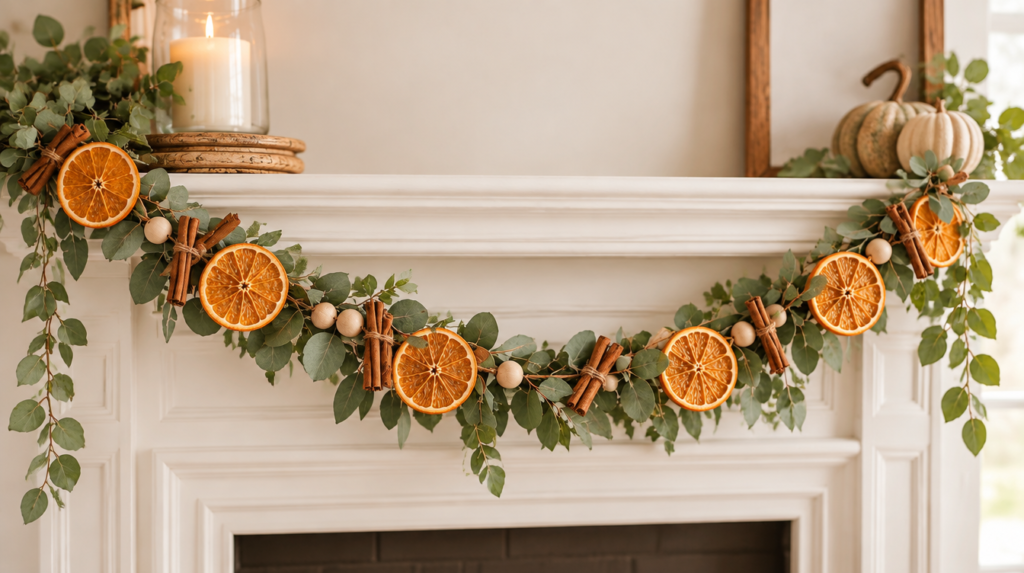

At a Glance: Dried Orange Garland
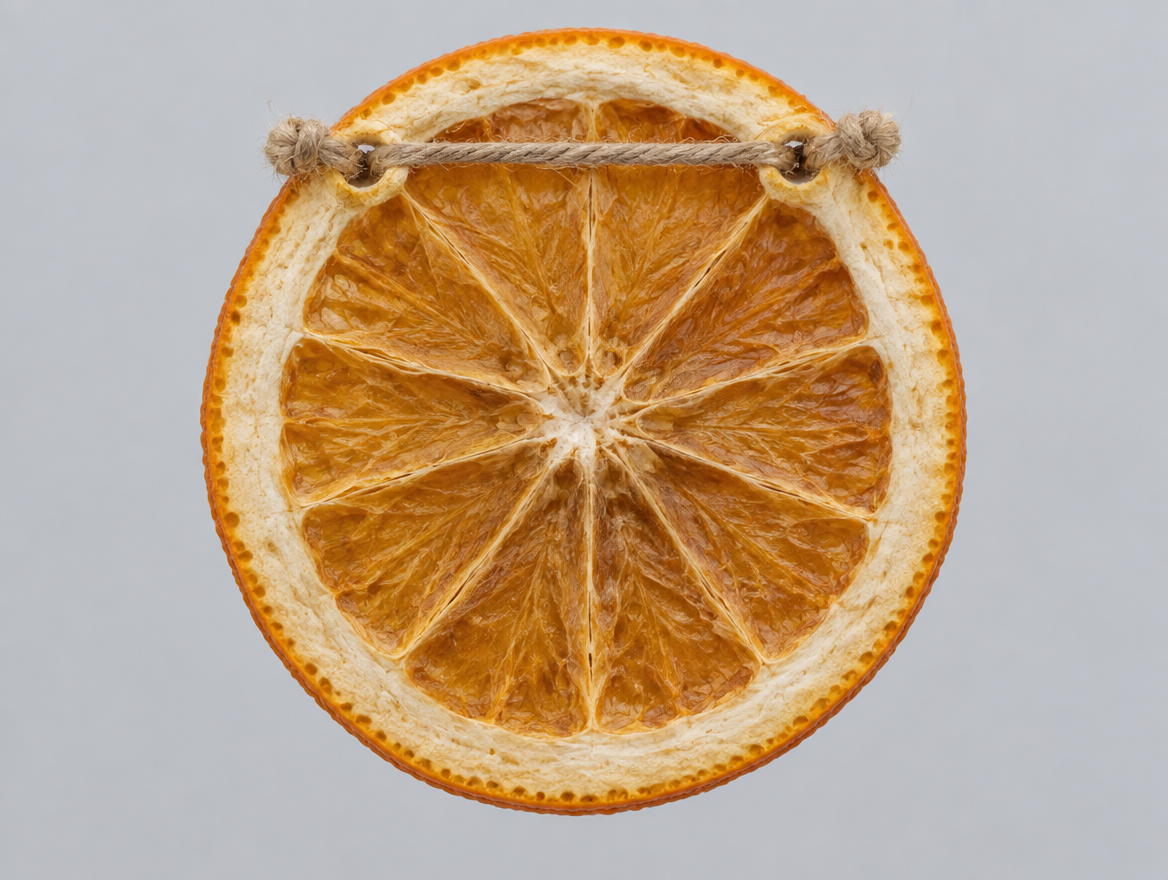
- The twine hides on the back. You punch two holes near the top of each slice and run the string through them, across the back, so the front looks clean.
- Slow and thin wins. Cut your slices thin, dry them low, then let them sit in a jar for a week before you thread anything.
- Three ways to build it. A kitchen-drawer version with what you already own, a better version with a few small buys, and a yearly version built to last.
To make a dried orange garland, slice oranges into thin rounds, dry them in a low oven, and let them rest for a week. Then punch two small holes near the top of each slice and thread twine down through one hole, across the back, and up through the other. String slices between cinnamon sticks and eucalyptus for a garland that glows in the window. Jump to the supplies, or jump straight to the steps.
That “how does it attach” question is the one we get the most, so we’re leading with it. No hidden hot glue, no trick photography. Just two little holes in the right spot.
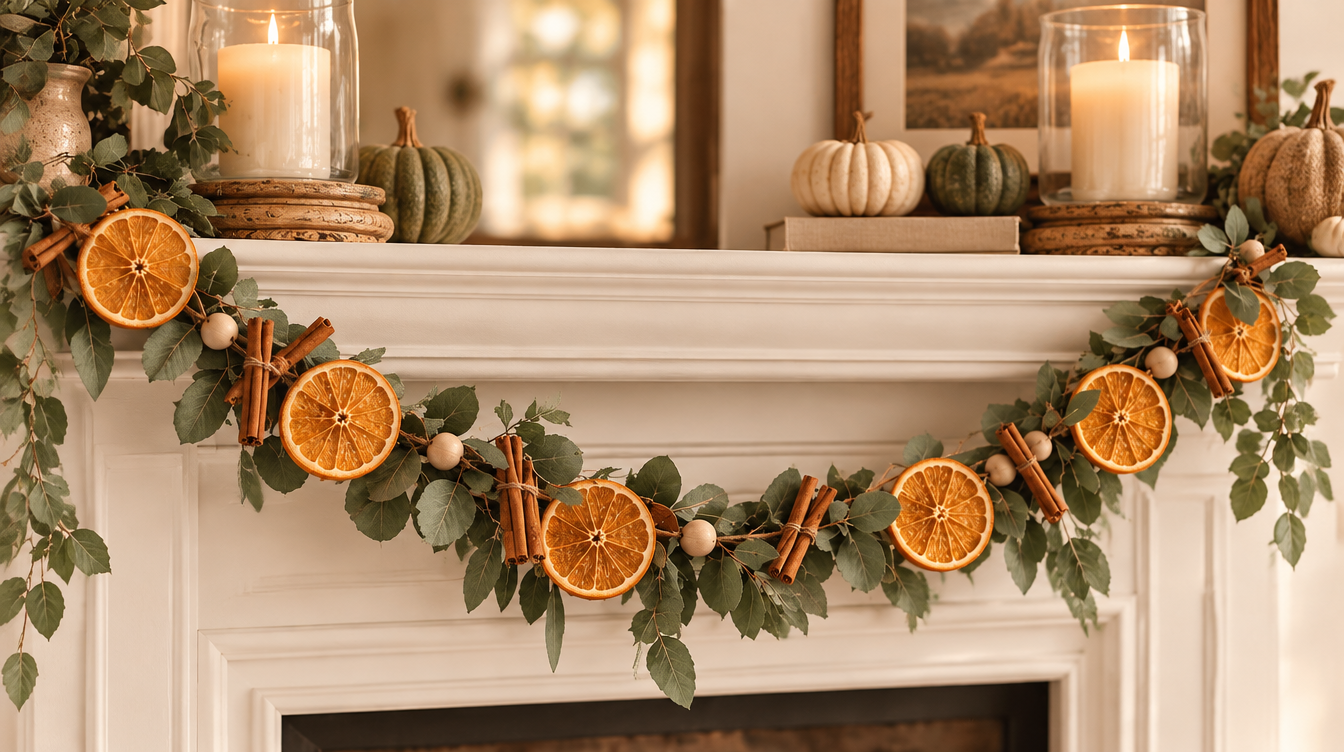
What Do You Need to Make a Dried Orange Garland?
For a 3-foot garland
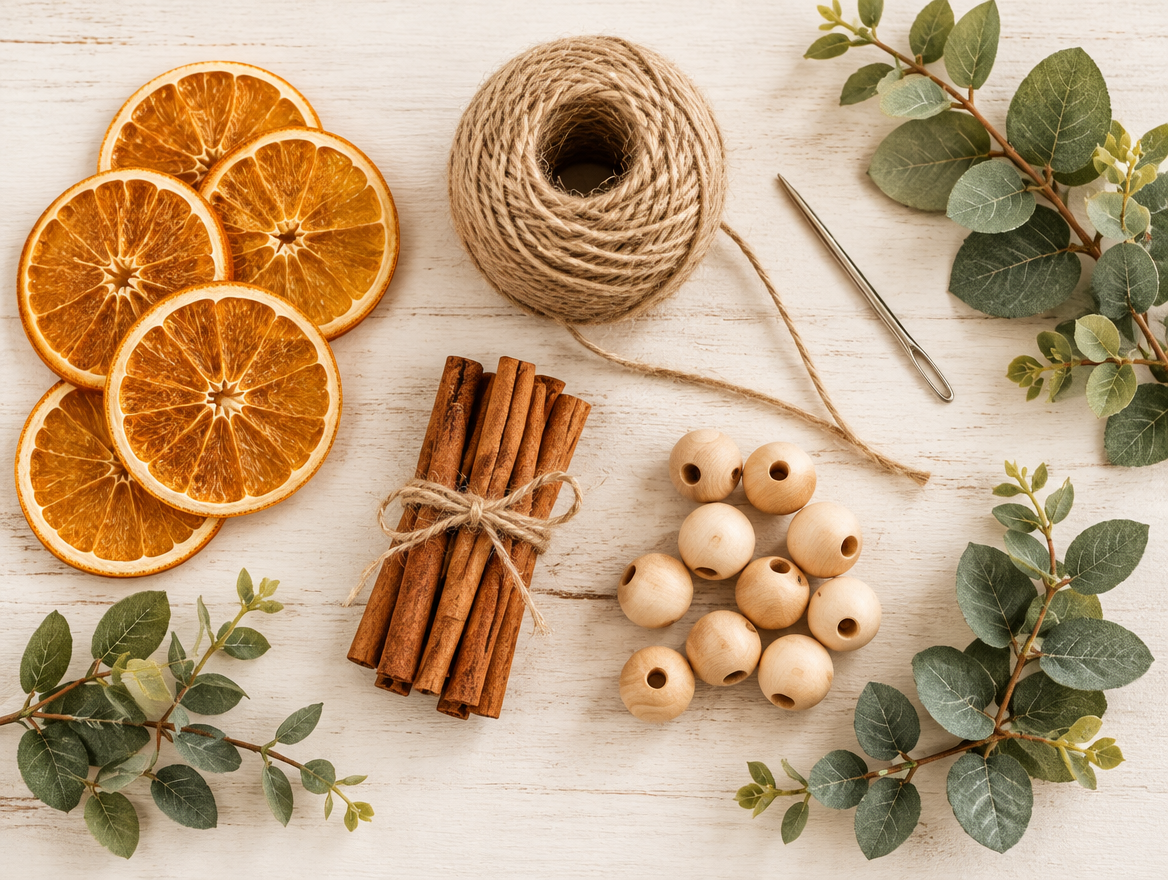
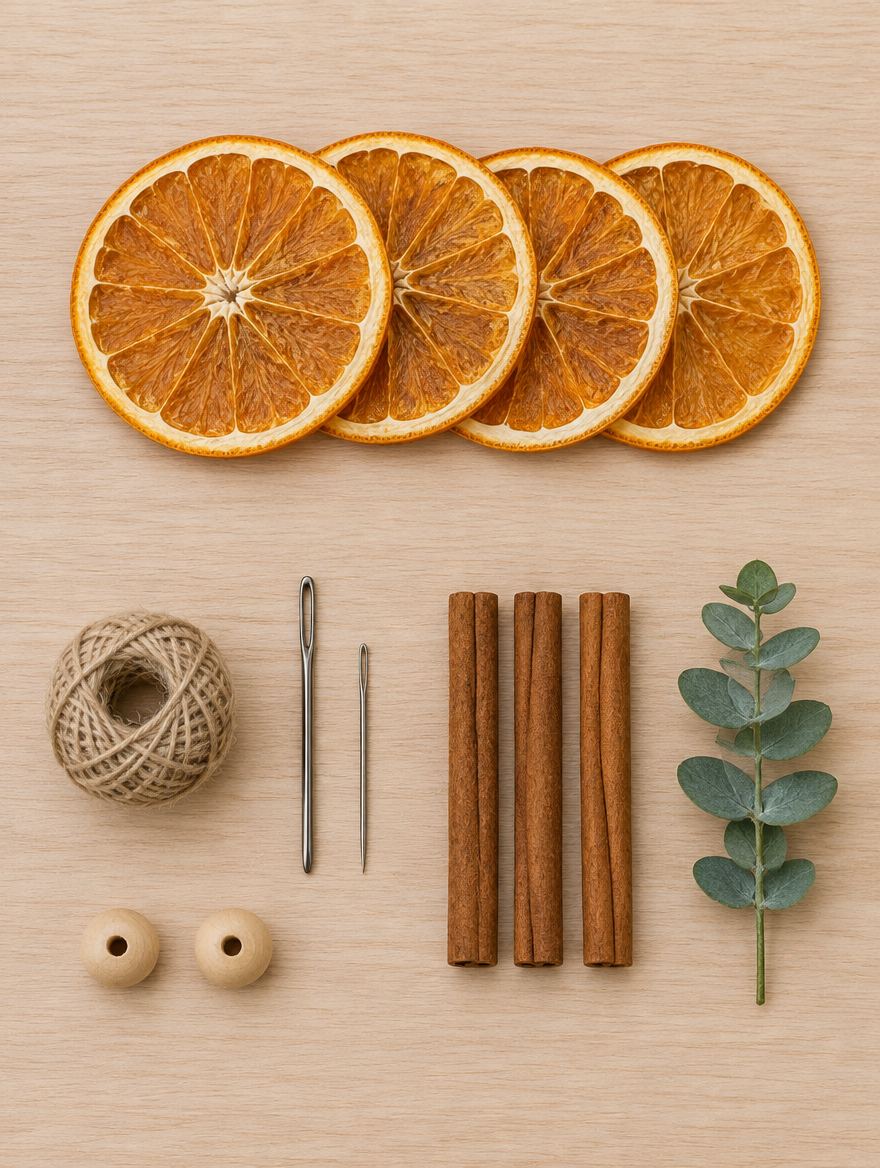
- 3 to 4 oranges. Firm ones slice cleaner than soft ones.
- Twine or jute. Enough for the full length plus a little extra.
- A blunt needle or bodkin. Not a sharp needle. Blunt makes a clean round hole instead of a slit.
- Cinnamon sticks. A few, to space the slices out.
- Eucalyptus, fresh or faux. Faux holds its shape and color all season.
- Wooden beads (optional). Only if you’re using the bead-drop method below.
Tools: sharp serrated knife or mandoline, baking sheet, parchment paper, wire cooling rack, a glass jar with a loose lid. Optional: a food dehydrator.
Quick tip: don’t skip the resting week. Dried fruit can feel dry outside and still hold water inside. The National Center for Home Food Preservation calls this step conditioning, and it’s what stops mold from showing up three weeks later.
Buy the oranges at the grocery store, and pick up the cinnamon sticks there too while you’re at it. Neither one is worth a shipping wait. The needle is the piece people don’t think about until they’re standing there with a slice in one hand and a regular sewing needle that won’t take twine. A big-eye needle solves it, and a roll of jute goes further than you’d guess, so one order covers this garland and next year’s.

- HIGH QUALITY: Sturdy stainless steel and rust-resistant embroidery needles for hand sewing.
- HUGE SET: 28 big eye needles and 4 sizes [1.5'', 1.75'', 2'', 2.25'']. Perfectly suitable for all...
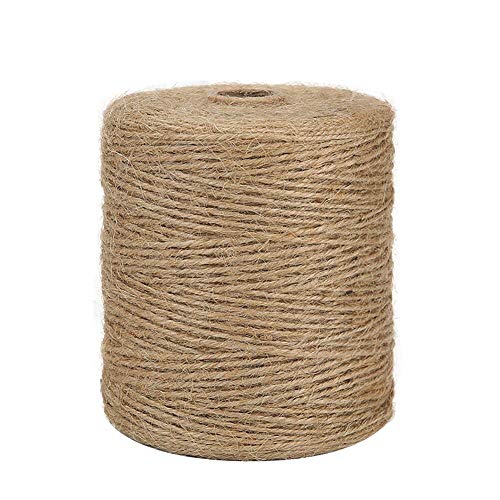
- 3 strands twisted, 0.08 inch (2mm) in diameter, 984 feet in length, the jute twine is durable and...
- This natural jute twine is soft and durable, providing strength without damaging the items you’re...
These are affiliate links. If you buy through one we earn a small commission, at no extra cost to you.
What Can Go Wrong With a Dried Orange Garland?
The Hole Tears Out
This is the one the attach question is really about. An orange slice has two parts: a thick outer peel and papery inner segments. Push your needle through the papery part and the hole splits the first time the slice hangs. Push it through the thick peel band instead, a quarter inch in from the edge, and it holds.
Mold Shows Up Weeks Later
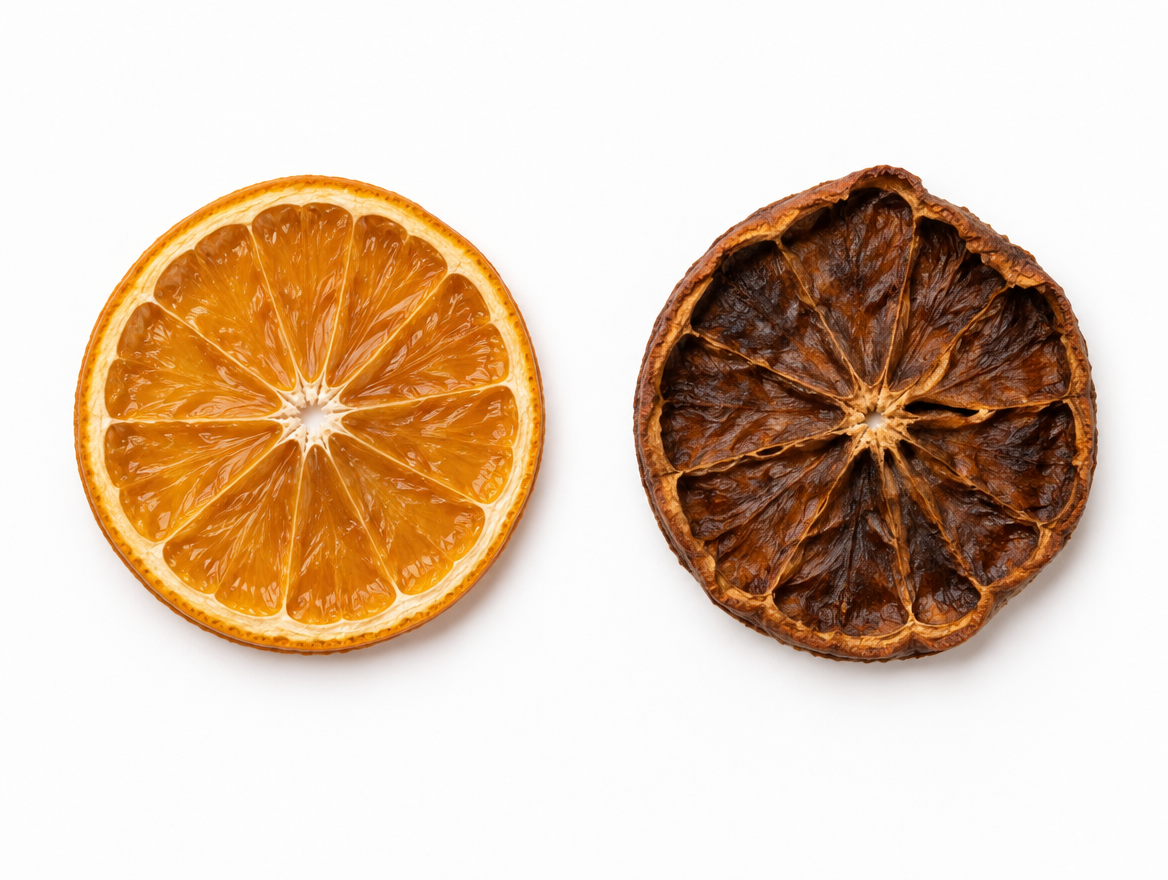
Everything looks perfect on hang day. Three weeks in, you spot a dark ring or fuzz around a hole. That’s trapped moisture the oven never fully removed. The fix isn’t more oven time. It’s letting the slices rest in a loosely covered jar for a week first, so any leftover moisture has somewhere to go.
How Do You Make a Dried Orange Garland?
Four phases, start to finish. Tap any one to jump to the full steps.
Slice and Prep
Cut even, thin rounds and blot them dry.
Dry and Rest
Low oven, then a week in a jar.
Punch and Thread
Two holes, one bridge of twine on the back.
Build the Repeat
Slice, cinnamon, eucalyptus, bead, repeat.
Every Step, in Detail
- Slice the oranges 1/8 inch thick. Saw gently with a serrated knife instead of pressing straight down, or the segments squish. Keep every slice the same thickness so they all finish drying at the same time.
- Blot both sides. Press each slice between paper towels, twice. Every bit of juice you remove now is time you save at the oven.
- Lay them out with room to breathe. One layer on a wire rack, nothing touching. Slices that touch steam each other instead of drying.
- Set the oven to 200°F and prop the door open 2 to 3 inches. This lets moisture escape, which is what Penn State Extension recommends for oven drying. A convection fan setting helps too.
- Flip every 30 minutes. Set a timer. This keeps the color bright and stops any one spot from scorching.
- Pull them at 3 to 5 hours. Press the thick middle part. Firm means done. Squishy means keep going.
- Cool them overnight on the counter. They keep firming up as they cool.
- Rest them in a jar for 7 to 10 days. Loose lid, shake once a day. If you see fog on the glass, that batch goes back to the oven before you thread it.
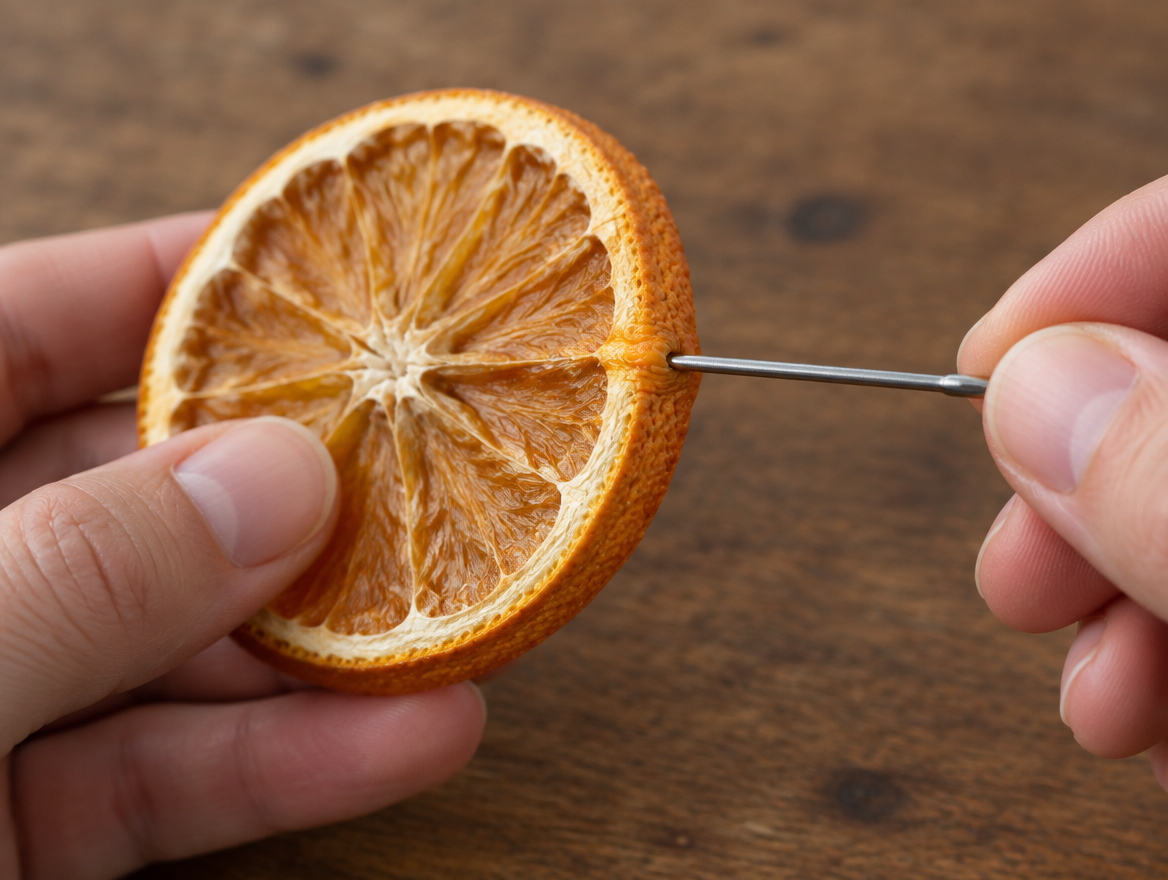
- Mark and punch two holes near the top rim. About an inch apart, a quarter inch in from the edge, both sitting in the thick peel band. Push the blunt needle through slowly and let the peel open around it.
- Thread the twine. Run it down through the first hole, straight across the back, and up through the second hole. Tie a small knot snug against the outside of each hole so the slice can’t slide around.
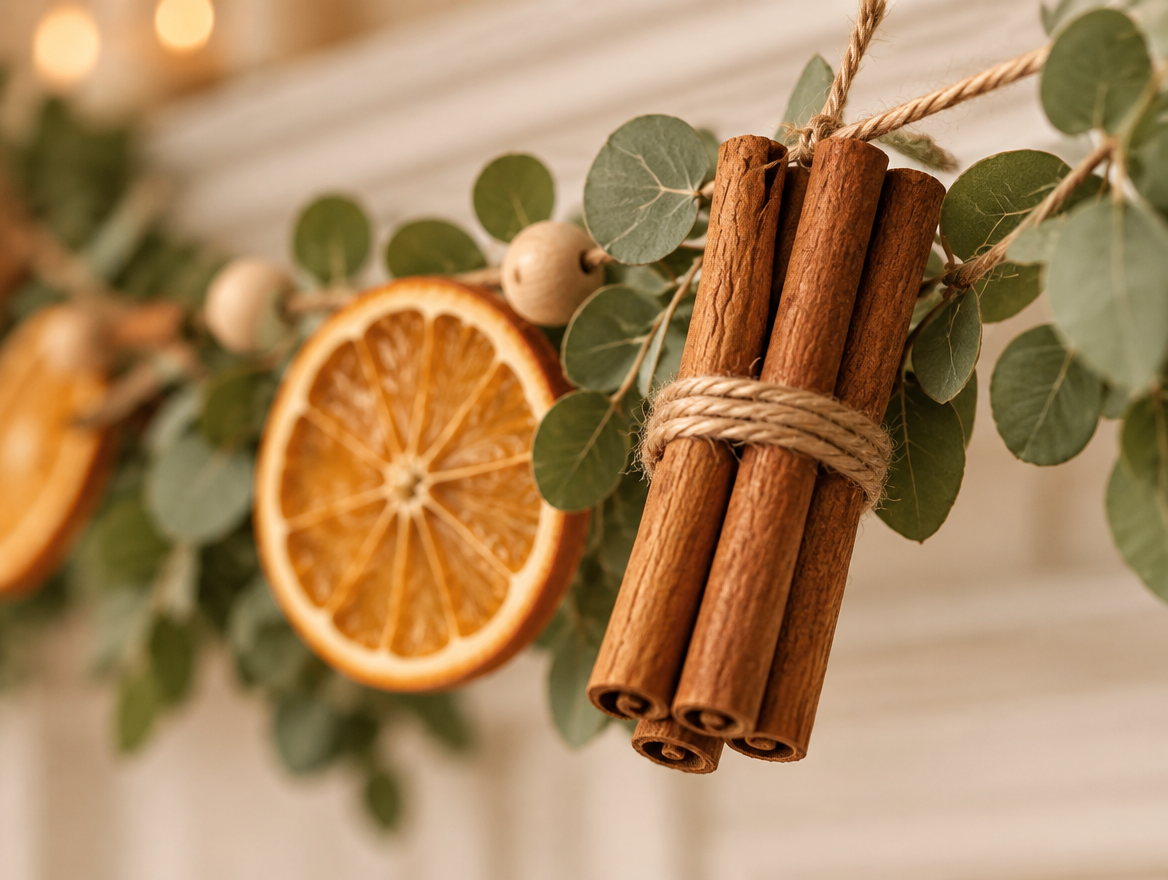
- Build the repeat. Slice, eucalyptus sprig, cinnamon stick, bead, then start over. Aim for a full repeat every 10 to 12 inches so the pattern reads from across the room.
- Hang it, then check it at two weeks. Clean, pale holes with no fuzz mean your drying and your piercing were both right.
Porch tip: hang your garland somewhere dry and out of direct heat. A steamy bathroom undoes the resting week, and a spot right over a heat vent dries and cracks the slices faster than you’d think.
Why Won’t My Slices Stay Bright Orange?
Problem: They Turned Brown
Browning comes from too many hours at heat, usually because the slices were cut too thick. Fix it: cut thinner, at 1/8 inch, and flip every 30 minutes instead of every hour. Also double check your oven is set in Fahrenheit. More than one crafter has set 170 thinking Celsius and burned a whole tray in under an hour.
Problem: They Look Dull
If your slices dried through and rested a full week but look a little dull, try dusting both sides with confectioner’s sugar before the oven. It gives a light shine. One catch: a garland this thin should really go the full route, cut thin, dry through, and rest the week, because a slice that looks done and one that is done aren’t the same slice.
Three Ways to Build a Dried Orange Garland
Kitchen Drawer
Oranges, a knife, a baking sheet, twine, and a sewing needle. A working garland with nothing bought.
Better Results
Add a mandoline for even slices, a wire rack, a glass jar for resting, a bodkin needle instead of a sharp one, plus faux eucalyptus and wooden beads.
Do It Every Year
Add a food dehydrator so you can walk away while it runs, plus silica packets and a flat storage bin so this year’s garland comes back next year in good shape.
Where Should You Hang It?
Up high, out of pet reach. The ASPCA lists orange as toxic to dogs, cats, and horses, and a dried slice is almost all peel, the part that carries the risk. Eucalyptus is on that same toxic list too. Faux eucalyptus takes that second risk off the table. A dog that can reach your garland will try it, so hang it where it can’t.
Not above heat. Skip the range hood, the wood stove, and a cluster of lit candles. Fully dried fruit is dry fuel. A mantel works well for this the same way it works for a wreath or a seasonal garland, as long as nobody’s lighting a fire under it.
Not in steam. A bathroom or a spot right over the sink undoes your resting week and brings the mold risk right back.
One more thing worth knowing before you start. This project runs your oven for up to five hours. Federal fire data shows cooking is the leading cause of home fires, and unattended cooking is the biggest reason those fires spread. Start in the morning, use your flip timer, and don’t let a slow batch talk you into finishing it overnight.
When Should You Skip the DIY?
- Need a lot, fast? A home oven dries one tray at a time. If you need 20 feet by Saturday, buy pre-dried citrus from a floral wholesaler instead.
- Lacing this into a wired light strand? Call a licensed electrician. Wrapping dry fruit around electrical wiring isn’t a craft decision.
- Thinking about a simmer pot? Don’t use garland spices in food. The FDA warned consumers away from star anise teas after illness reports, because a toxic look-alike variety can get mixed into batches meant for decoration only. Use fresh fruit and kitchen-grade dried herbs in a simmer pot instead.
You Nailed It If
- Hold a slice up to a window and you can see the segments glow through it.
- Flip the garland over and every twine bridge runs the same direction on the back.
- Step back 8 feet and you can see the pattern repeat, not just a blur of orange.
- At two weeks, the holes are still clean and pale, no fuzz, no tearing.
Conclusion
A dried orange garland comes down to four choices. Cut it thin. Watch the clock, not just the temperature dial. Give the slices their week in the jar. And pierce through the peel band, not the flesh, so the holes still hold come February.
Get those right and you’ll have a garland that glows in the window, smells like the best part of fall, and packs away in January ready for next year.
Show Us the Back
Everyone posts the front. Flip yours over and share the back on our Facebook page so the next person can see exactly how it holds together, then save this one to your fall board on Pinterest before the good oranges disappear from the store.
A few helpful answers
Dried Orange Garland FAQs
The questions we hear most about this project.
Punch two small holes near the top rim and thread twine through them. Go down through one hole, across the back of the slice, and up through the other, then knot the twine snug against each hole. From the front you only see the twine going in and out, which is why the slices look like they’re floating.
Several seasons, if it’s dried and stored right. Keep it in a sealed bin with a silica packet in a cool, dark spot. The slices darken a little each year, and that’s normal. It’s moisture, not age, that usually ends a garland early.
Too many hours at heat. That usually means the slices were cut too thick. Flip every 30 minutes instead of every hour, and double-check your oven is set in Fahrenheit, not Celsius.
Yes, a food dehydrator works great. Run it at 130°F to 135°F for about 8 hours. It’s more even than an oven and there’s no browning risk. Air drying works too in a genuinely dry climate, but it takes days and carries the highest mold risk of any method.
Hang it out of reach. The ASPCA lists both orange and eucalyptus as toxic to dogs, cats, and horses. Watch for drooling, vomiting, or skin irritation, and call your vet if you see any of those. Faux eucalyptus removes one of the two risks entirely.
Still have a question? Ask in the comments.
Is Hot Glue on a Garland Fine, or Is It Heresy?
Here’s where builders split.
Pick a side and tell us why in the comments. Bonus points if you’ve had a glued slice hit the floor.