


A DIY macrame curtain is a perfect accent to any stylish and modern home. Whether you place it in your living room or bedroom, this gorgeous DIY curtain will surely add a touch of boho-chic to your space.
RELATED: DIY Hanging Macrame Chair For Your Porch Or Room
Easy Macrame Pattern for Your Macrame Curtain!
What You Will Be Needing:
- A wooden dowel
- Macrame yarn
- A pair of scissors
- Measuring tape
Step 1: Measure, Cut, and Attach
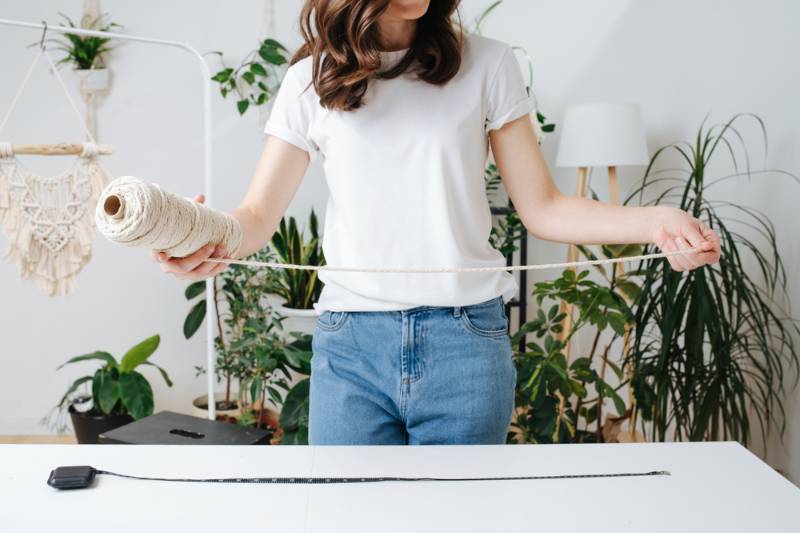
First off, grab your measuring tape and measure the distance of your curtain rod to about one and a half feet from your floor, or depending on how long you want your curtain to be.
Once you get your measurement, double this number and cut your macrame yarn or fabric yarn according to your doubled measurement. The number of strips you are going to cut depends on how long your dowel or your curtain rod is.
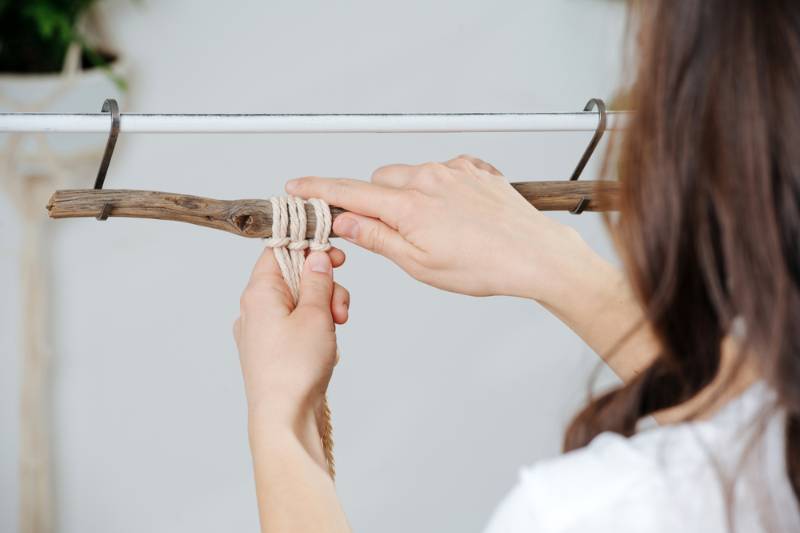
One by one, grab all your strips and fold each one in half. Make a lark’s head knot over your dowel and pull the tail through, making sure to tighten to secure your yarn on the dowel.
Repeat this process until you have all your strips attached to your curtain rod or your wooden dowel.
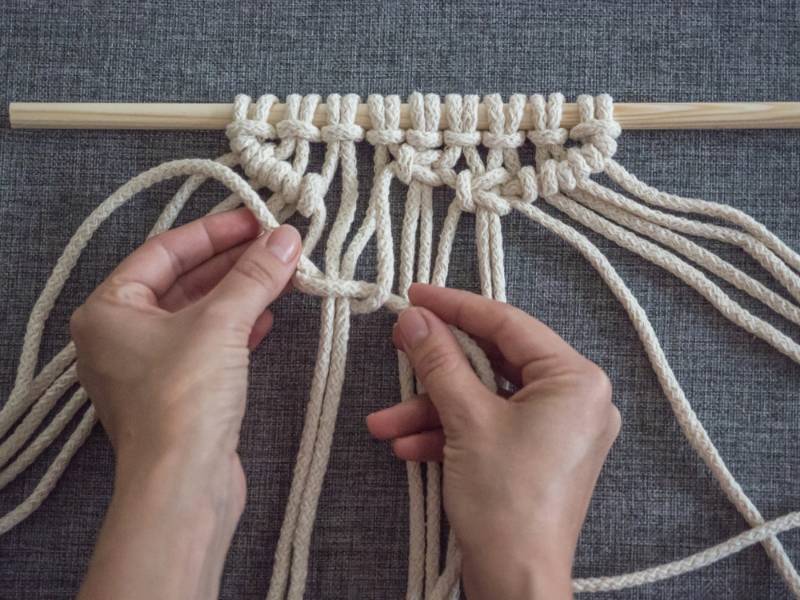
Step 2: Create Your First Macrame Knot!
Do a simple square knot for this macrame curtain that you are making. Section your strips into four. With the first strip, cross it over the second and third strips, then under the fourth strip.
Then, grab your fourth strip and cross it under the perpendicular strip, then the second and third strips. Pull it through the loop that you have just formed with your first strip earlier, then pull your knot tightly.
Step 3: Finish Your Square Knot
Now that you have done half of your first square knot, finish it off by doing the same thing, but backward. So you are going to start with your fourth strip, folding it over the center two strips.
Then, you’ll take your first strip, over the fourth strip, behind the center two strips, then through the loop created by the fourth strip. Tighten that nicely under the first half of the square knot that you created on the step above.
After your first successful square knot, proceed to do the same process on all your strips.
RELATED: DIY Crescent Moon Macrame Dream Catcher to Spruce Up Any Room
Step 4: Cascade the Knots
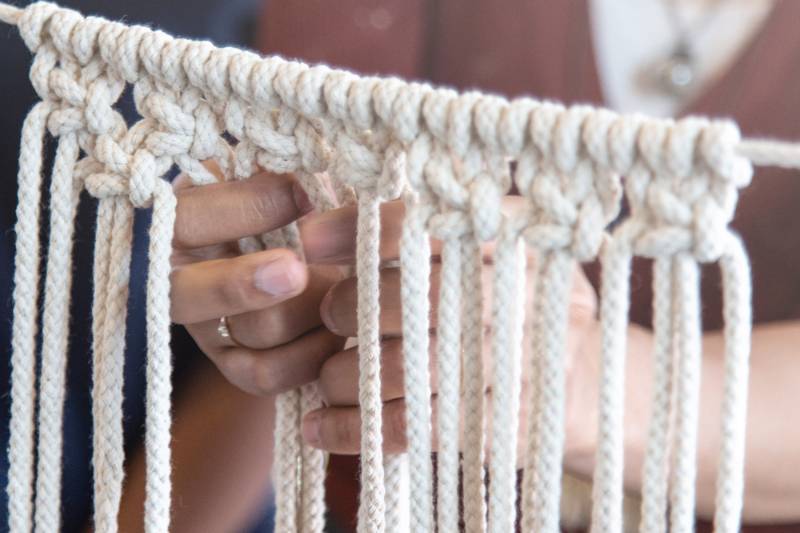
Repeat the process that you did for the first line, but you’re going to begin with the third strip, instead of the first.
This method will create a cascade style of macrame patterns. You can go crazy with cascading further until you create a V if you’ll still have strips of macrame curtain by the end of it. Otherwise, it’s good to stop once you have a visible cascading pattern.
Step 5: Seal the Deal
Once you’re happy with your macrame curtain pattern, you’re going to seal it using the remaining strips. Grab the two strips at the end and just bring the outer one over the inner strip, and so on.
Do this until you finish all strips and you’ve made the seal tight and fixed.
Step 6: Cut Excess Fringe
When you’re done with your macrame curtain pattern and you’re happy with how it looks hanging over your window, cut off the excess strips at the bottom if necessary and enjoy your new macrame curtain!
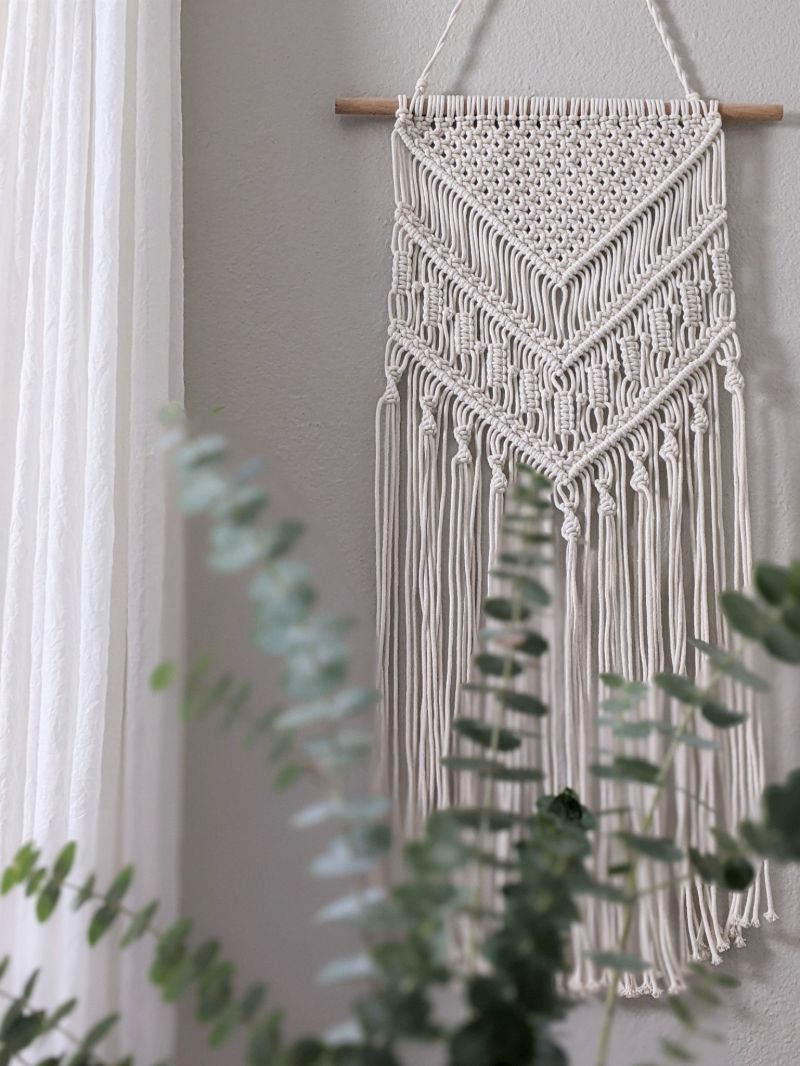
The final product should look like this:
Watch this video from Living to DIY With Rachel Metz for other ways to make a macrame curtain:
This tutorial on how to create your own macrame curtain is pretty easy, so you can totally create this with your kids and use the curtain in their rooms! That way, they can also appreciate the joy and the value behind creating something on your own. This will be a great activity to keep yourself busy indoors.
What did you think of this tutorial on how to make a macrame chair? Tell us in the comments section below!
UP NEXT:
- DIY Macrame Necklace Ideas You Can Make With Your Kids
- How to Make Friendship Bracelets | DIY Hemp Macrame Bracelet
- How To Restore A Rusty Cast Iron Griddle Using A Ball Of Steel Wool
Calling all crafting DIYhards, DIY Projects needs YOU! Click here if you want to write for us.
Don’t forget to stay connected with us on Facebook, Twitter, Pinterest, and Instagram!


