
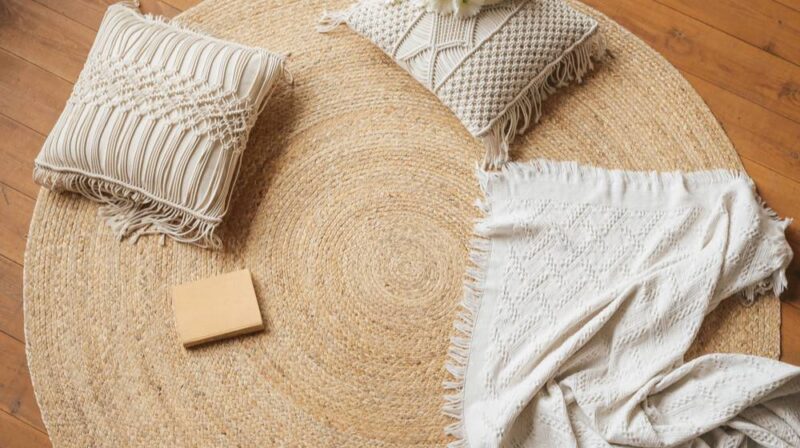

Nothing screams “handmade with love” more than a macrame pillow. Learn how to make this DIY pillow cover to add an instant shabby chic look to your couch.
RELATED: Learn to make a Rit Dye Pillow
Here’s How to Flourish Your Room with a Macrame Pillow
Materials:
Step 1: Cut the Macrame Cord
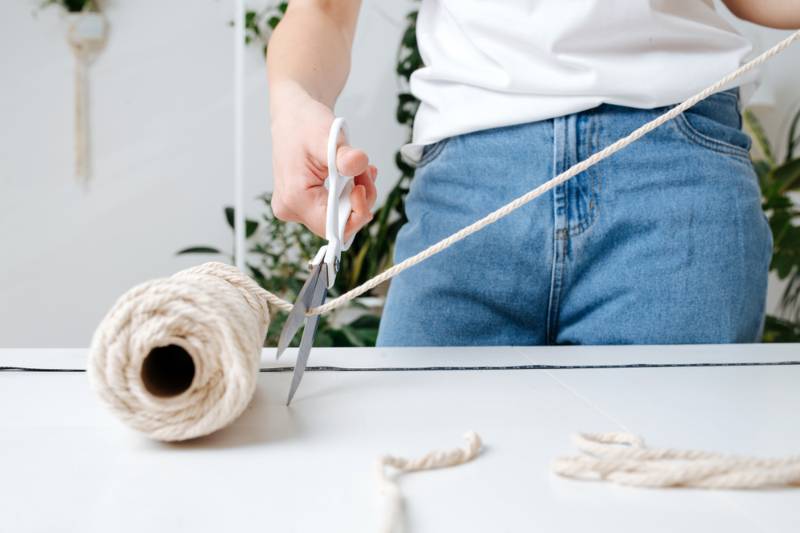
Cut down 16 stands of your macrame cord worth 12 feet long. This should be a sufficient length to cover your entire pillow insert.
Step 2: Thread your Cords Using a Reverse Lark’s Head Knot
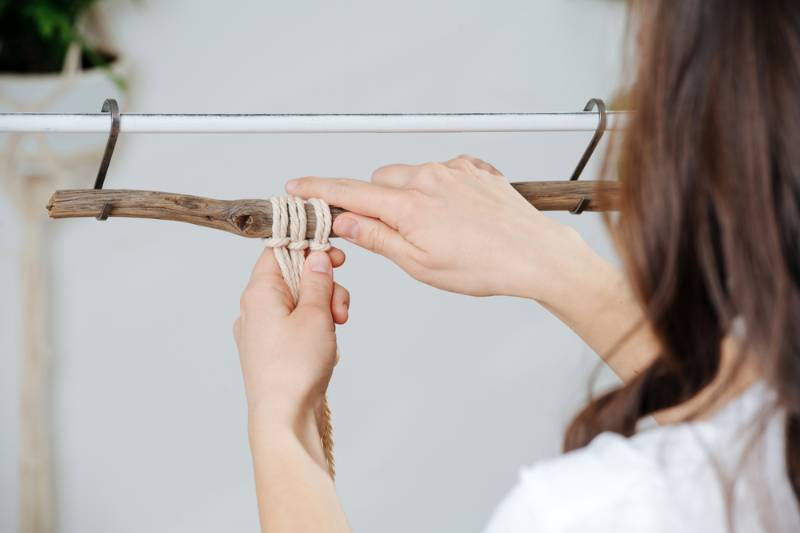
Next, take your dowel and use a lark’s head knot to attach your cords to it. To start a reverse lark’s head knot:
Step 3: Make a Row of Square Knots
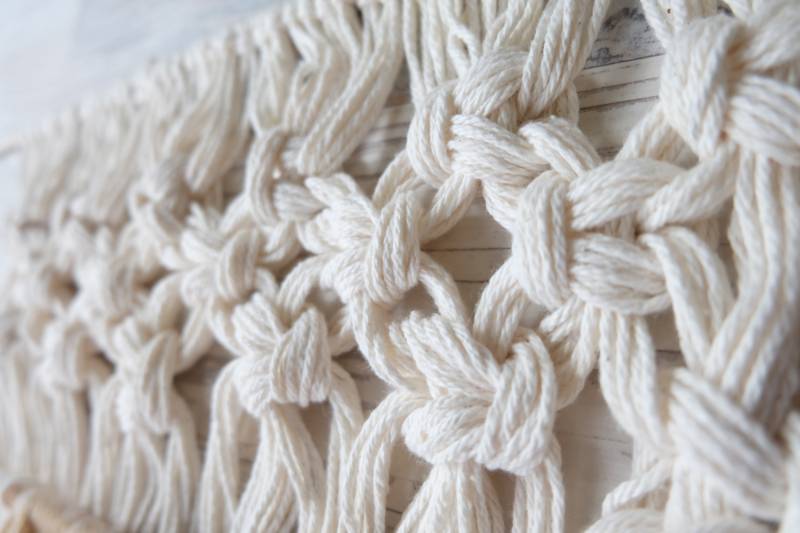
Now that you’ve threaded your cords into your dowel, it’s time to start your first row of square knots. Continue taking two Lark’s head knots at a time (for a total of four strands) until you have 16 square knots.
Step 4: Make Alternating Square Knots
Continue on with an alternating square knot pattern. For easier reference, we’ll label the knots from 1-16 starting from the leftmost square knot.
- Take square knot 1 and square knot 2.
- Make a square knot with the four macrame cords in the middle.
- Move on to square knot 2 and square knot 3.
- Make another square knot with the cords in the middle.
- Continue until you finish the entire row.
- Once you move to the next row, take the first eight cords.
- Create a square knot using the four cords on the left.
- Create another square knot using the four cords on the right.
- Make yet another square knot with the four middle cords.
- Continue steps 7-9 until you reach 20 inches worth of pattern. You can track this with your tape measure.
RELATED: How To Do The French Knot | Embroidery Stitches
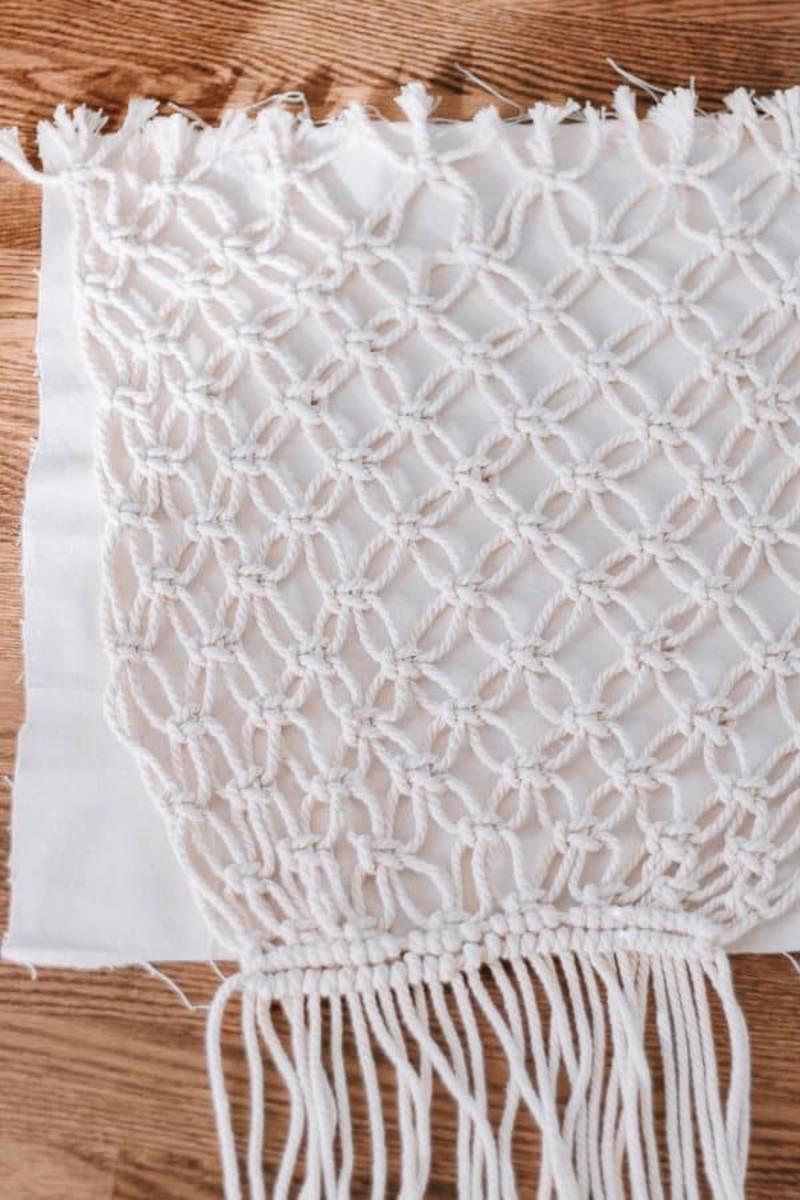
Step 5: Close with a Double Half Hitch
Now that you’re done with the pattern, it’s time to close this off with a double half hitch knot.
Step 6: Cut Off the Excess Cord
Cut off the excess cords, but leave around 5 inches worth of fringe behind. Once you’re done, detach the pattern from your dowel.
Step 7: Attach Pattern to your Pillow Cover
With your pattern done, you can then attach it to your pillow cover. You can either sew in the pattern by hand or use a sewing machine to get the job done faster.
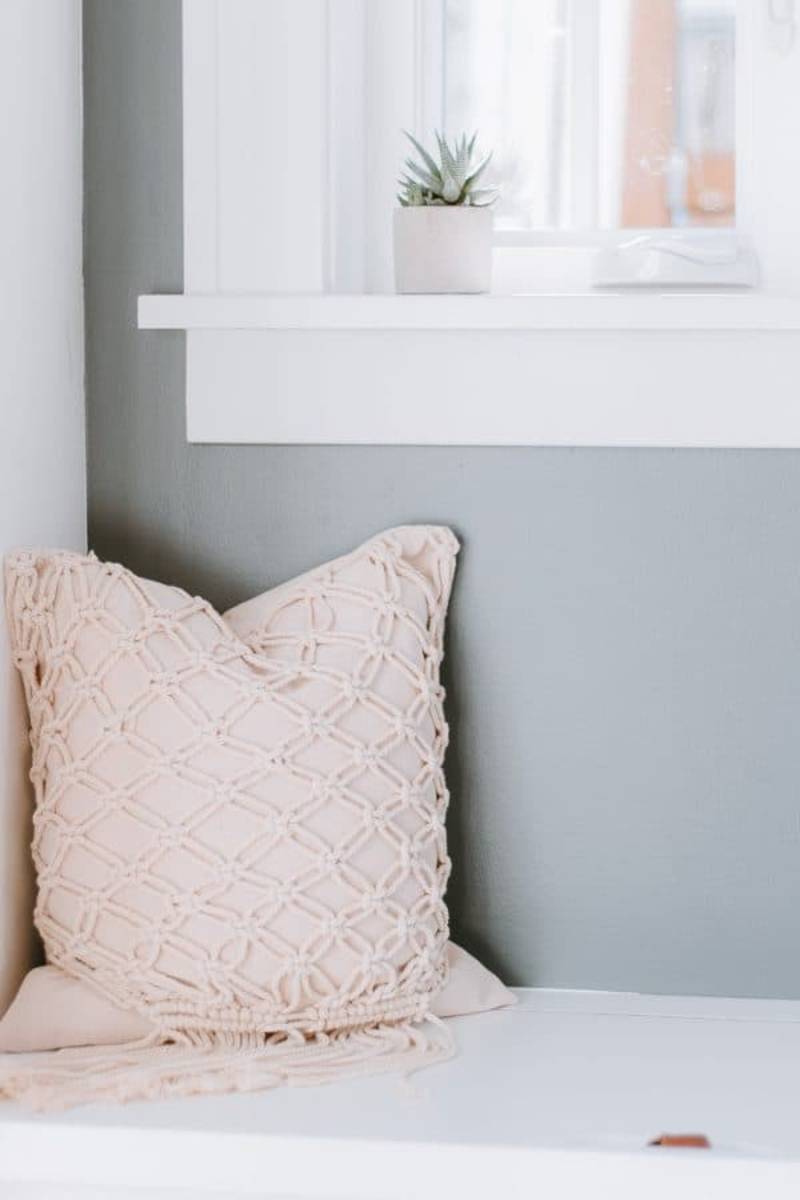
The final product should look like this:
Here’s another DIY macrame pillow pattern from XO, MaCenna:
We hope you enjoyed this macrame pillow cover tutorial! While this will certainly add some oomph to your home, we don’t recommend sleeping on it unless you want pillow marks on your face.
What did you think of this tutorial? Let us know in the comments section below!
UP NEXT:
- 17 DIY Macrame Wall Hanging Ideas
- How to Make Friendship Bracelets | DIY Hemp Macrame Bracelet
- How To Restore A Rusty Cast Iron Griddle Using A Ball Of Steel Wool
Calling all crafting DIYhards, DIY Projects needs YOU! Click here if you want to write for us.
Don’t forget to stay connected with us on Facebook, Twitter, Pinterest and Instagram!


