

This quick 30-minute candle making guide will teach you how you can infuse your home with this scent using your own DIY lavender candles.
RELATED: DIY Wooden Candle Holder | Easy DIY Projects
Homemade Candles | How to Make Your Very Own DIY Lavender Candles From Scratch
What You’ll Need:
- Lavender flowers
- Jars
- A candlewick
- Glue gun and glue stick
- Fragrance oil
- Candle wax dye (with the color of your choice)
- Soy wax
- Parchment paper or newspaper
Step 1: Dry Some Lavender Flowers
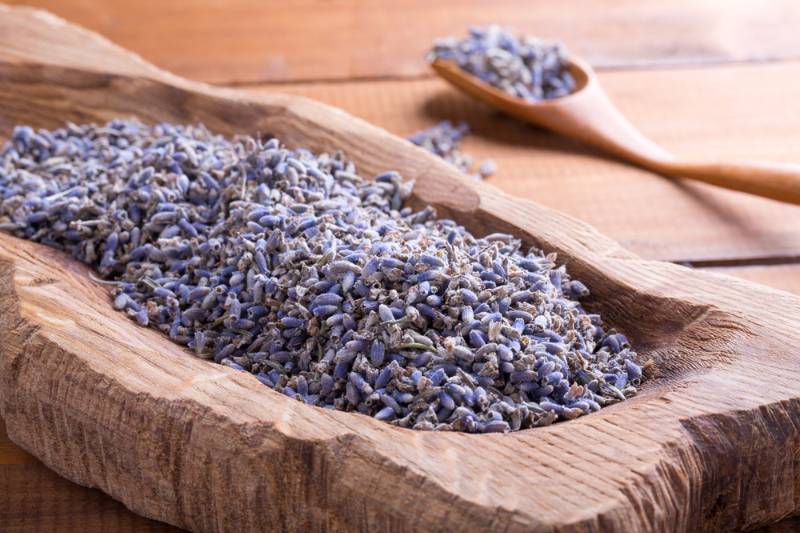
Start by getting some lavender flowers and letting them dry.
Some supermarkets already offer lavender flowers that have been dried. However, if you want a more natural approach, you can dry them yourself.
Step 2: Melt Your Wax
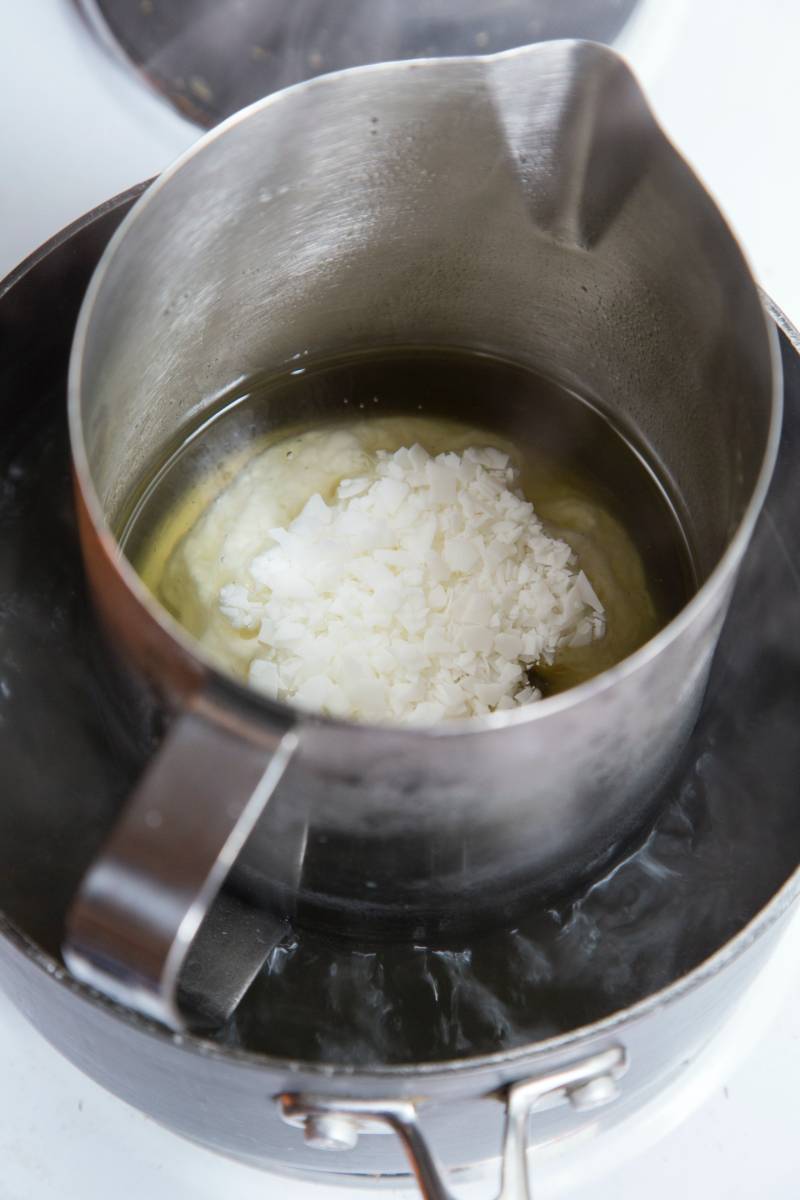
In melting candle wax, you’ll use the double boiler method. To do this, just grab a small pot for your candle wax and place it inside a larger pan filled with water.
Place a pan on the stove and bring the water to a boil by placing the flame either on medium or medium-high heat. As the water boils, you’ll also start seeing your candle wax melt.
Let it reach a temperature of about 180 degrees before you lower the flame.
Step 3: Give It Some Color
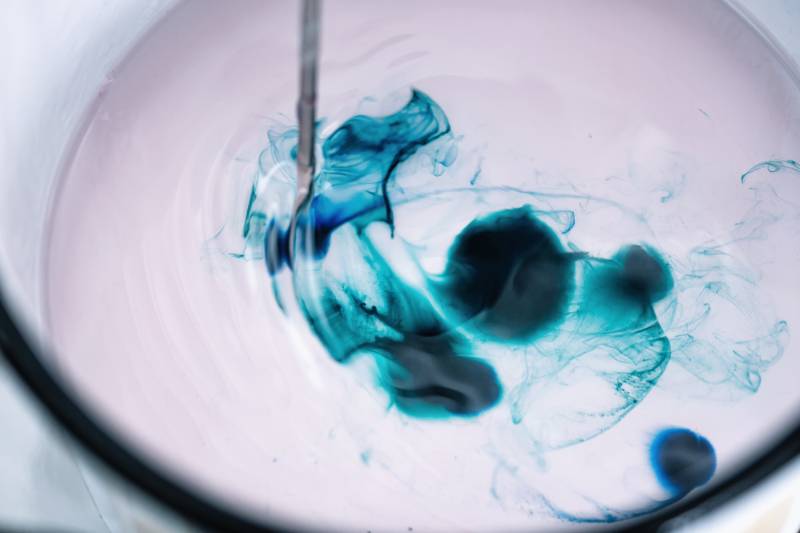
With a plum-colored dye, add a few drops to your melted candle wax. Add as much as you want to intensify the colors. Be careful, though: if you add too much, there is no way to reverse the process.
If you prefer a white-colored candle, you can choose to skip this step.
Step 4: Add Your Fragrance Oil
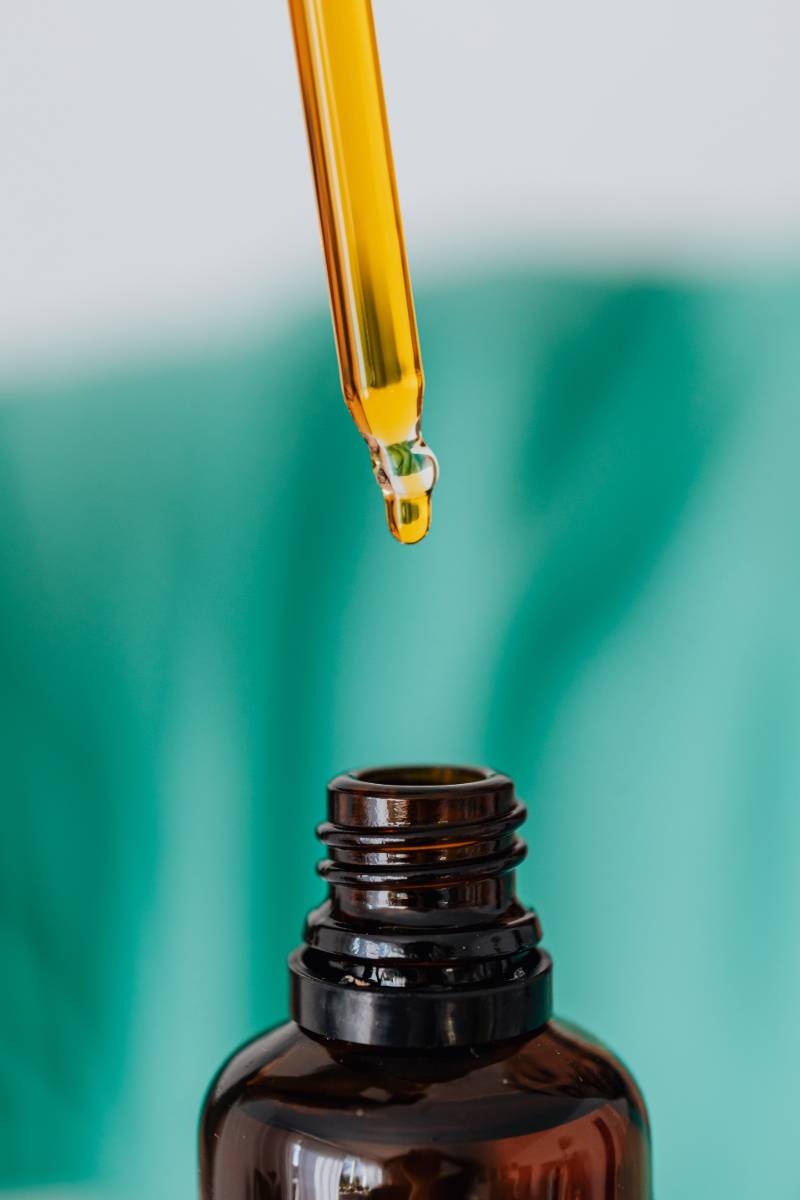
To make your candle’s smell like lavender, add in the fragrance oil or essential oil.
Start by removing the melted wax from the heat and letting it cool down to about 125 degrees. For every 2-3 lbs. of candle wax, you should add about 0.5 ounces of your lavender essential oil.
Mix thoroughly afterward.
RELATED: DIY Soy Candles | 15 Addictive Scents You Will Love
Step 5: Glue the Wick in Place
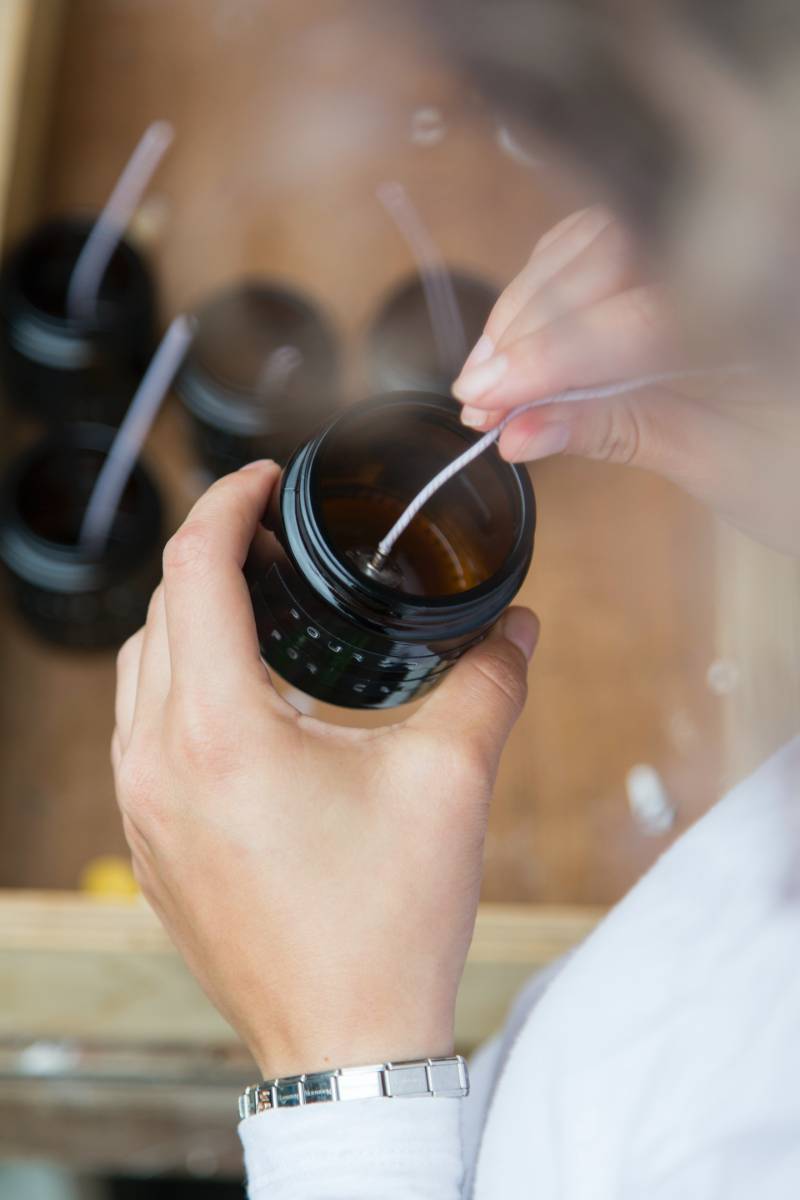
Now, leave your melted wax alone for a few minutes and grab the mason jar or whatever container you’ll be using for your candle.
Get the candle wick and use the glue gun to apply hot glue to the end of the wick. Afterward, stick it to the bottom and center of your chosen container.
Lastly, place a stick at the top of the container and tie the wick to it. In lieu of a stick, you can also use a clothespin.
Step 6: Add the Dried Lavender Flowers In
Get your dried lavender flowers and add them generously to the bottom of your container.
Step 7: Pour the Melted Wax In
As a general rule to any DIY candles project, make sure to have some parchment paper, old newspapers, or even a rug ready before you start pouring your melted wax. Placing it under the container before you pour in the melted wax should save you the trouble of scraping dried wax from surfaces later on.
Carefully pour the melted wax into your container. Make sure to avoid spilling it and to keep the wick centered throughout the process.
Leave the melted wax in a place where it won’t be moved or disturbed before allowing it to settle and dry for about 24 hours. Trim the extra wick after it dries.
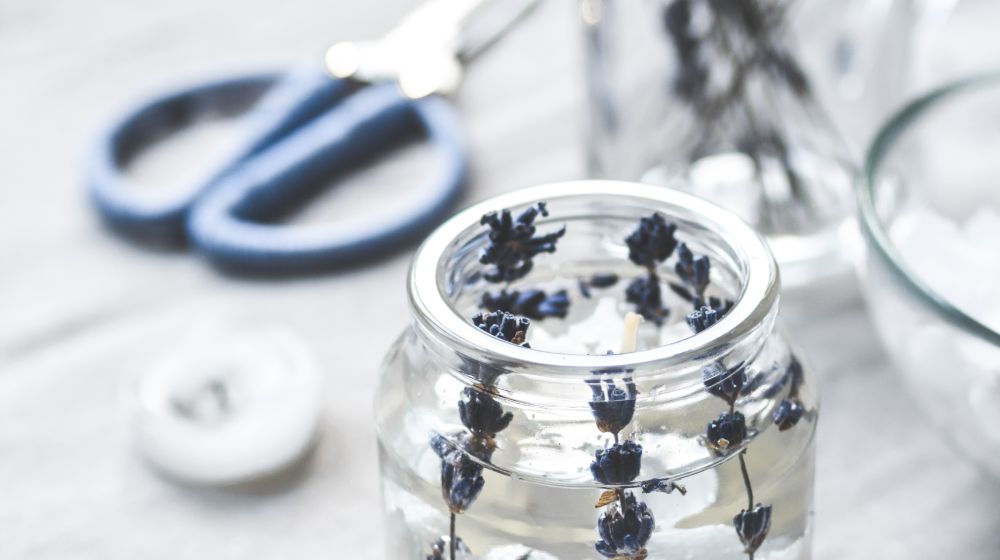
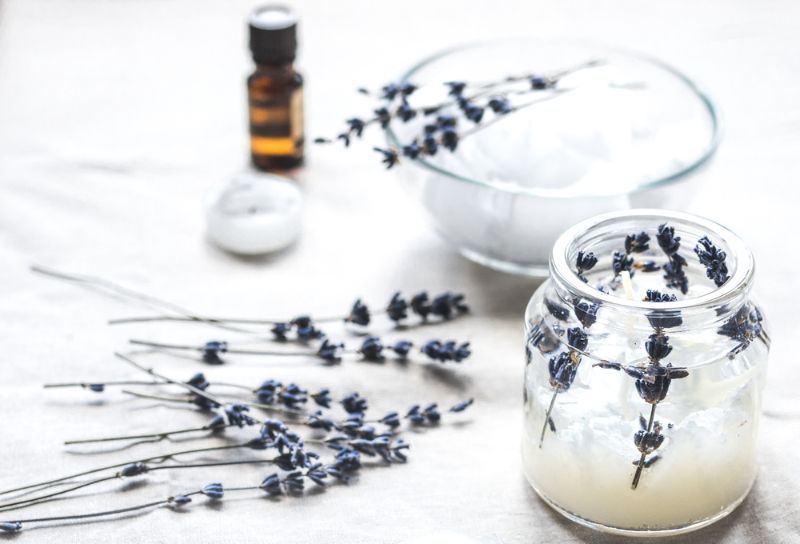
The final product should look like this:
Now that you’re done making your own lavender candles, try these 15 DIY candle hacks by Blossom:
Using scented candles is a perfect way to infuse your home with some intoxicatingly relaxing scents. DIY lavender candles are not just great for improving the ambiance in any room. They’re also decorative items that make for beautiful gifts perfect for any occasion.
Did you find this DIY folding workbench helpful and easy to build? Share your thoughts with us in the comments section below!
UP NEXT:
- How To Make DIY Paper Flower Candle Holders
- Create A Prism Candle Light | DIY Mason Jar Crafts
- How To Make A Marbled Wine Glass Using Nail Polish
Calling all crafting DIYhards, DIY Projects needs YOU! Click here if you want to write for us.
Don’t forget to stay connected with us on Facebook, Twitter, Pinterest, and Instagram!