


Creating your own laptop skin adds a fun touch of color to your laptop. All you need are some vinyl sheets and some simple materials.
RELATED: Cricut Projects for Beginners and Bigger Kids
DIY Laptop Skin Tutorial
What You Need
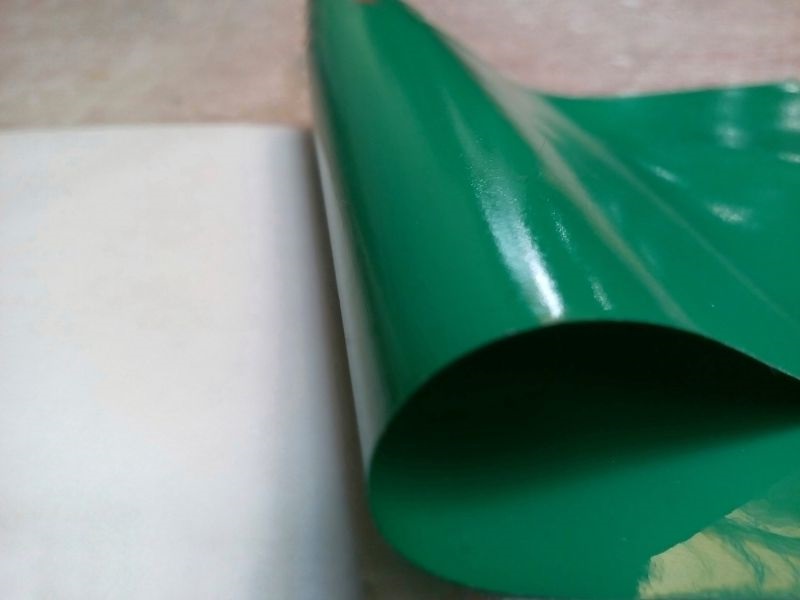
- Printable vinyl sheet
- Vinyl laminate
- Old credit card
- Printer
- Scissors, paper trimmer, or cutting machine
1. Test Your Vinyl Sheet
Test out some scrap vinyl at the bottom of your laptop first before proceeding. Vinyl sheets contain an adhesive that can be tricky to remove or even damage your laptop if you remove them.
2. Find or Create a Design
Look for a design you would like to put on your laptop skin, or even create your own if that’s what you desire. Make sure you get a high-quality image in the same dimensions as your laptop, otherwise it will look blurry when you print it.
3. Print Your Design
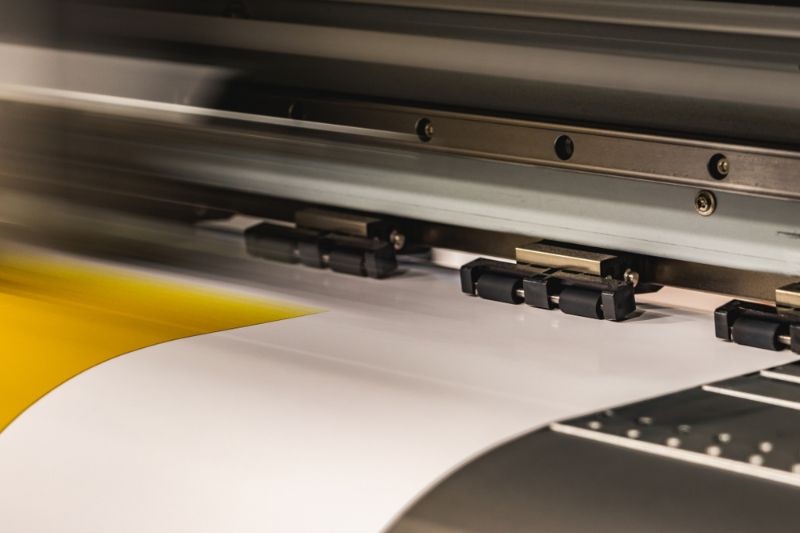
Send your design to your inkjet printer and wait for the printing to finish. If you have a larger laptop, you may need to divide your design in half and print it in two parts.
4. Add the Laminate
Next, cut down the vinyl laminate to the size of your printout, peel the backing off your laminate sheet, and align it with the top of your vinyl design. Use your old credit card to smooth out any air bubbles.
The vinyl laminate adds a protective layer to your laptop skin and protects it from fading or wearing out.
RELATED: Create A New DIY Bluetooth Speaker From An Old Laptop
4. Cut the Vinyl to Size
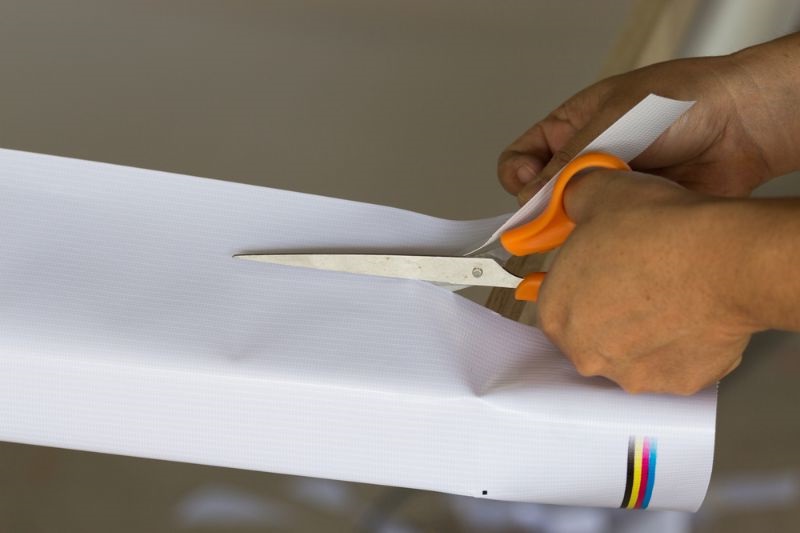
Once done, cut along the edge of your paper to a rounded rectangle using a pair of scissors, a paper trimmer, or a cutting machine (if you have one).

- ART AND CRAFT CUTTING MADE SIMPLE, EVEN FOR BEGINNERS - Designed with simplicity and value in mind...
- CUTS 100 plus MATERIALS WITH EASE – The included Premium Fine-Point Blade lets crafters make...
5. Apply the Laptop Skin
Now that you’ve cut down the vinyl pieces you need, it’s time to install the laptop skin.
- Before removing the vinyl backing, lay your laptop skin pieces out on your laptop and make sure they’re in the correct position. Once you stick the pieces on, there’s no going back.
- Temporarily secure one half of the skin with some tape to serve as a guide for the other piece of the skin.
- Peel the backing off the other half of the design and align the center with the first half.
- Stick the vinyl sheet on the laptop. Burnish it with your old credit card to smoothen the surface.
- Repeat steps 1-4 with the other half of your design
Here’s the finished product:

Watch this video from Color Change Customs for other ways to install a laptop skin:
Creating your own vinyl laptop skin jazzes up your computer and makes it your own. Stay tuned for more DIY tutorials and see you in the next one.
Have you created your own laptop skin? Share your creations in the comments section below!
Up Next:
- Make Your Own ’90s-Inspired Cord Organizer
- 9 Simple Cricut Projects To Make
- 9 Top Rated Airbrush Kits On Amazon That Are Under $100
Calling all crafting DIYhards, DIY Projects needs YOU! Click here if you want to write for us.
Don’t forget to stay connected with us on Facebook, Twitter, Pinterest, and Instagram!


