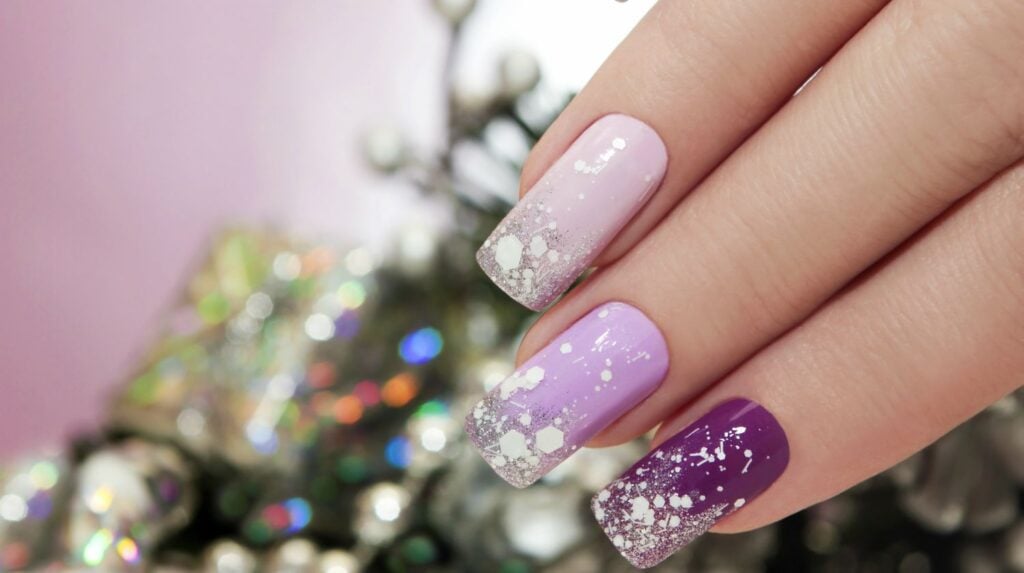


Is the salon taking up too much of your time and costing you too much money? Try DIY acrylic nails with our handy step-by-step tutorial!
RELATED: Easy Nail Art Designs | Ideas
How to Do DIY Acrylic Nails
Saving Time and Cash with DIY Acrylic Nails
Most women have beauty weakness. Some ladies need to get their hair done every week, some have mounds of shoes, etc. My weakness is nails.
I LOVE going to the salon and getting a brand new shiny set of acrylics or gels. However, it was costing me about $50 a week or more depending on what “extras” I wanted that week…
What a woman will do for guilty pleasure! Unfortunately, with hubby and mine’s tight budget, this guilty pleasure had to be reigned in.
Anyways, I decided to make an effort and learn how to do DIY acrylic nails. After all, I am super crafty and can pull off nice nail art when I really put my mind to it.
I will warn you–doing your own acrylics IS tricky. Make sure not to rush the process.
It may take you a few times to get the hang of it. But if you can push through the learning process, I guarantee you it’s worth it.
My beauty weakness has turned into an awesome new DIY skillset. I’ve become pro at doing DIY acrylic nails for me and all my friends!
Now, let’s get this DIY acrylic nails started!
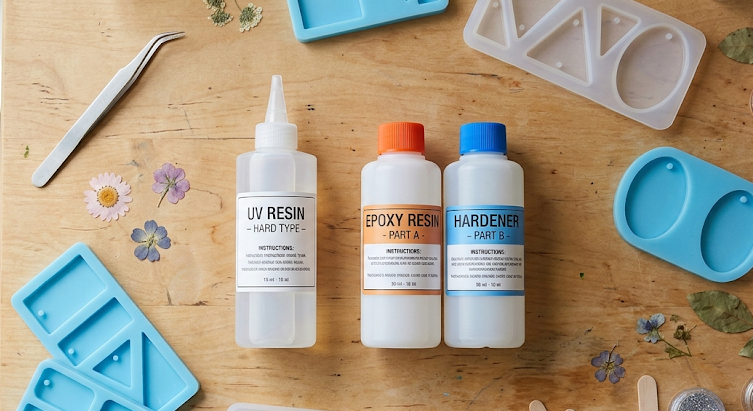
What You’ll Need for DIY Acrylic Nails:
- Cuticle remover
- Nail pusher
- Polishing block/buffer
- Nail tip
- Nail glue
- Clipper
- Nail file
- Nail dehydrator
- Acid-free primer
- Acrylic liquid
- Acrylic powder
- Little glass jar
- Synthetic brush
- Paper towel
- Topcoat
- Cuticle balm
Step-by-Step Instructions to DIY Acrylic Nails
Step 1. Clean and Buff
Before doing your own acrylic nails, never forget to clean your nails thoroughly first, then buff afterward.
Step 2. How to Apply Nail Tips at Home
Next, choose a nail tip which fits your nail and your style preference. Here we are using a classic french tip.
RELATED: Cute Nail Designs | Easy Nail Tape Art
Step 3. Glue the Nail Tips
Apply nail glue on the tips of your nails and stick on the nail tip. (Note: The glue dries quickly so you have to act fast!)
Step 4. Cut and File
Using a clipper, cut the nail tip to the desired length. Next, file the edges and buff it once again after filing.
Step 5. Nail Dehydrator
Apply a nail dehydrator to remove excess oils on your nails. This will make it easier for your nail to bond to the acrylic.
Step 6. Acid-Free Primer
Once you apply the nail dehydrator, follow it with an acid primer. This will make the acrylic nails last longer.
Step 7. Acrylic Nail Preparation
Prepare the acrylic liquid, acrylic powder, little jar or container, synthetic brush, and a paper towel.
Step 8. Acrylic Nail Application
Dip your brush into the acrylic liquid, then into the acrylic powder. Apply the mixture into your nail and slowly apply it until you cover the whole nail.
For bigger, stronger nails, apply another coat. Continue to do this procedure with all the nails.
Let your nail dry for 2-5 minutes. Buff once dried and file.
Step 9. Finishing
Apply a hardening topcoat for a shiner finish. Finally, apply cuticle balm to keep your nail nice, soft and healthy.
Did you find this DIY acrylic nails tutorial helpful? See the steps in action in this video tutorial from Kayla’s Beautiful Life:
Doing your nails on your own, while tricky, is fun, too, don’t you agree? This DIY acrylic nails should help you.
In the comfort of your home and right on your budget, you can create more nail arts and even design your own. Have fun!
Would you try this DIY acrylic nails this weekend? Tell us your plans for it in the comments section below!
Up Next:
- 10 DIY Nail Art Design Ideas For New Year’s Eve
- Fall Nail Art | DIY Pumpkin Design Tutorial (VIDEO)
- DIY Leather Couch Repair | 6 Super Easy Steps In Fixing Cuts And Scratches
![]() Stay connected with us on Facebook, Twitter, and Instagram!Editor’s Note: This post was originally published on February 19, 2016, and has been updated for quality and relevancy.
Stay connected with us on Facebook, Twitter, and Instagram!Editor’s Note: This post was originally published on February 19, 2016, and has been updated for quality and relevancy.