

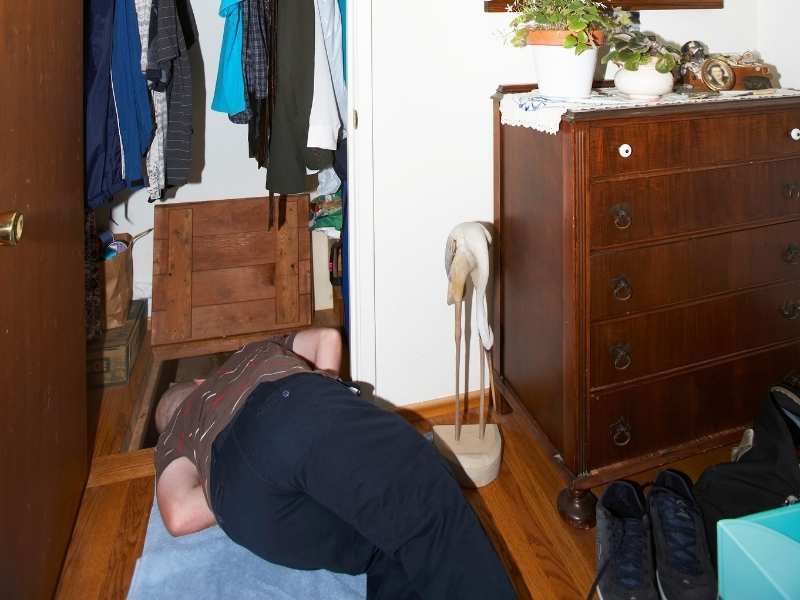
Your house’s crawl space insulation should be your first suspect if you already have your furnace on full blast but you’ve still got cold feet. Here’s a complete crawl space insulation guide that will surely keep your underfoot cozy.
RELATED: How To Repair Leaky Single And Double Handle Faucet Cartridges
Crawl Space Insulation Guide | Top 10 Tips For a Masterful Crawl Space Insulation In Your Home
1. Start by Getting Rid of All Water Sources in Your Crawl Space
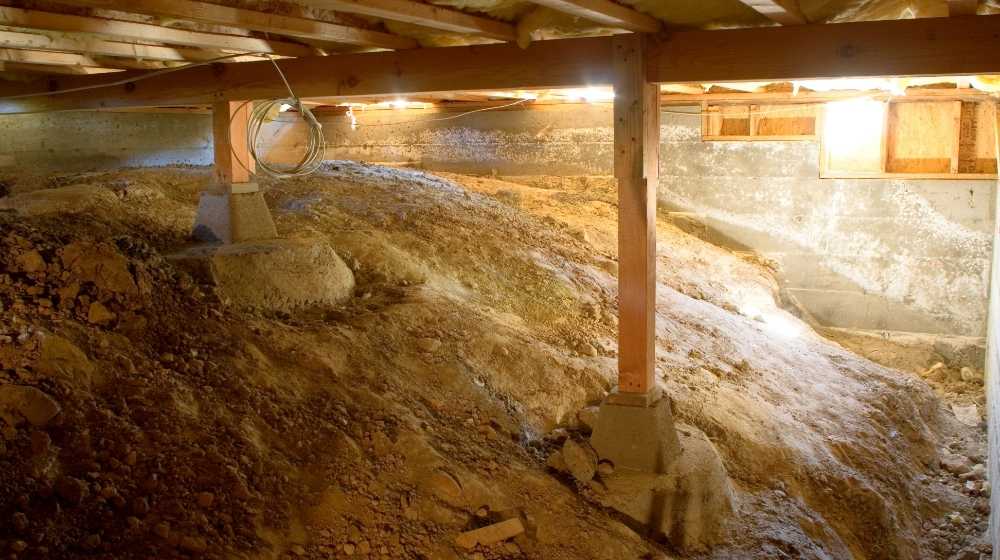
Start by checking under the floors of your house. Damp fiberglass insulation hanging from those mold-filled joists is the first symptom of a shoddy or outdated installation.
You might also see some light filtering in weakly from the vents installed in your walls. Worse, you might even discover some signs of rodent activity.
Truth be told, the majority of houses built prior to the energy-conserving building codes that were made standard during the 90s might not even have any insulation at all. At present, however, the US Department of Energy recommends insulation that has a minimum R-value of R-9.
If you see any of these in your crawl space insulation, start by eliminating all sources of water. Extend those downspouts, regrade your patios, sidewalks, and garden beds, and maintain your gutters so they all slope away from your house. If possible, you may also choose to install a sump pump or some kind of basement waterproofing system.
2. Understand the Climate in Your House

When it comes to your crawl space insulation, understanding winter temperature is key. In dry or moderate climates where there isn’t a threat of prolonged subfreezing temperatures, it makes sense to install insulation between the floor joists.
This can easily be done with some 6″ R-19 fiberglass batts. Pair this with some mold prevention and moisture control for maximum results.
However, if winter temperatures tend to get extreme, you can choose to insulate the walls and to seal the crawl space off entirely.
3. Insulate Your Walls Instead of the Ceiling
Using either mechanical fasteners or waterproof construction adhesive, attach rigid foam insulation boards to the inner part of the foundation walls. Alternatively, you can also opt to lay an insulating mat on top of the floor of your crawl space.
Finally, make sure to use waterproof tape to seal off all seams.
4. Use Water-Resistant Insulation
As much as possible, avoid cellulose or fiberglass. For the best R-value, use polyisocyanurate. You can easily find some leftover parts from manufacturers of commercial roof insulation.
5. Include Crawl Spaces in the Conditioned Part of Your Home
During the old days, the common crawl space insulation practice was to insulate the floor on top of the crawl space while leaving the wall vents of the crawl space open. This was supposed to allow moisture buildup to escape through the vent.
Unfortunately, in humid climates, the opposite was true: The open vents made it possible for moist air to come in. This led to condensation buildup, and later on, to the degradation of the insulation.
Nowadays, experts recommend including crawl spaces in the conditioned space of your home. The idea is to eliminate condensation and minimize the chances of mites and mold.
This also helps reduce energy less from the air ducts and allows first-level floors to become warmer during the winter. It also has the added benefit of minimizing drafts.
RELATED: Home Plumbing Tips – Keep These Plumbing Basics In Mind
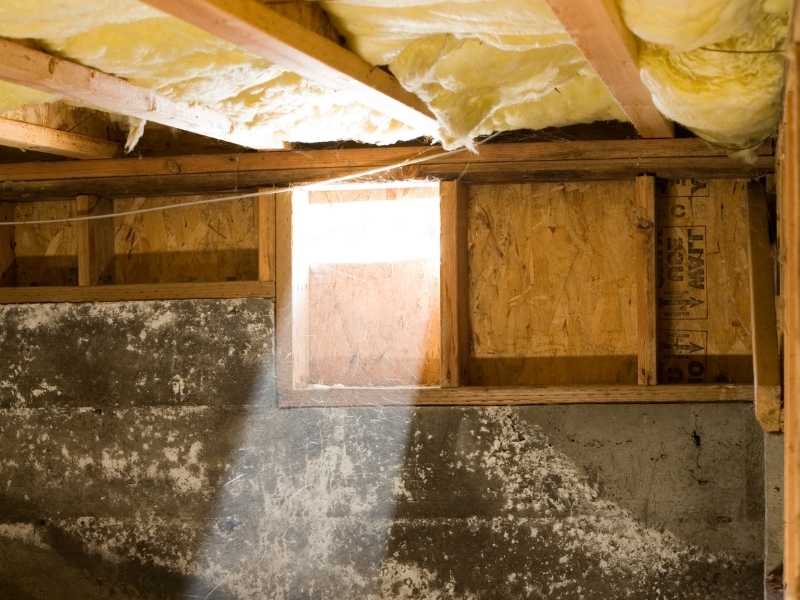
6. Seal Vent Openings

To further avoid moisture buildup, you can also install vent covers from the exterior of your home. These are typically found in standard sizes in most hardware. DIYers can also use plywood and caulk to save a few bucks.
If closing the vents off isn’t enough, then consider removing them entirely and sealing the holes off.
7. Make Sure to Seal Hatchways That Lead to Exteriors
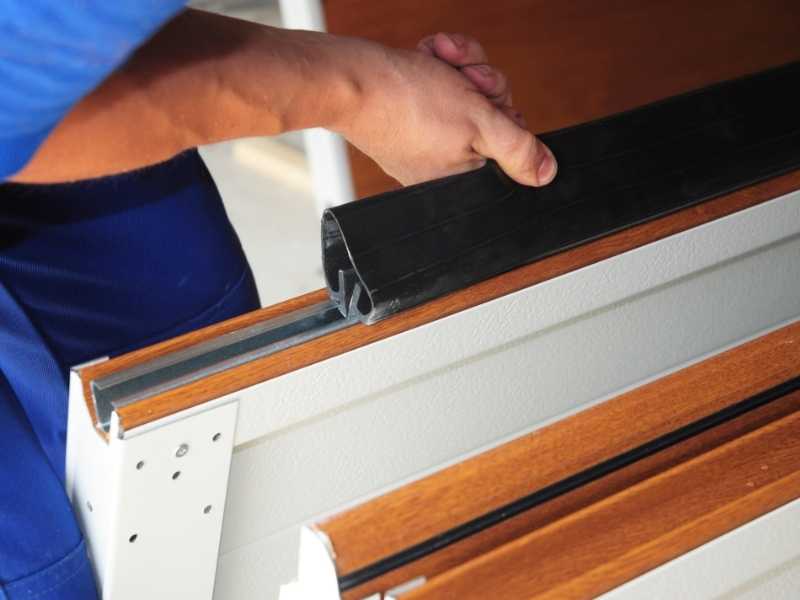
Do this by purchasing a pre-manufactured crawl space hatchway. You can also use some heavy-duty weatherstripping for a really tight seal.
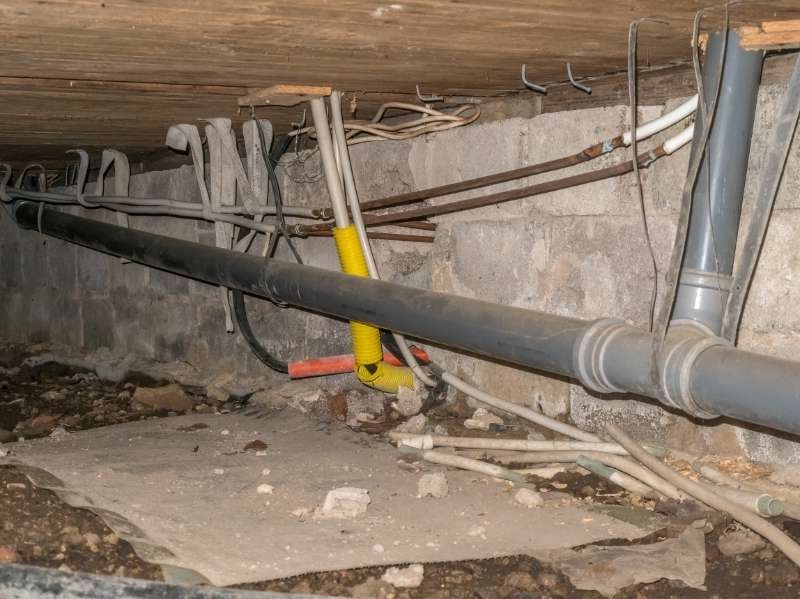
8. Seal Rim Joists
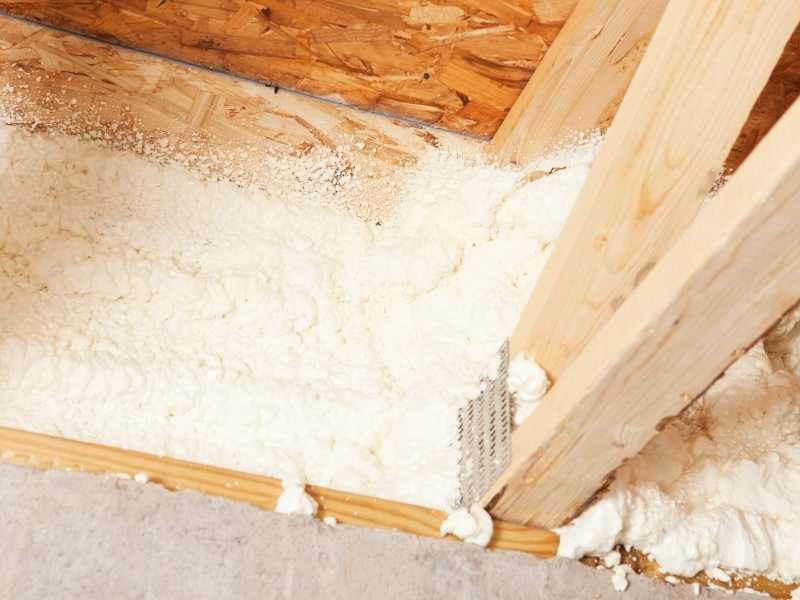
Rim joists, otherwise known as band joints or perimeter joists, are those joists that sit on top of the foundation walls. Taking care of these should also be a priority in crawl space insulation.
Fill the ends of joist bays using rectangles cutout from rigid board insulation. With foam sealants or caulk, seal the joints between the sill and the top of your crawl space.
You can also use some closed-cell spray foam when insulating your rim joists. Open-cell spray insulation tends to act like a sponge for moisture.
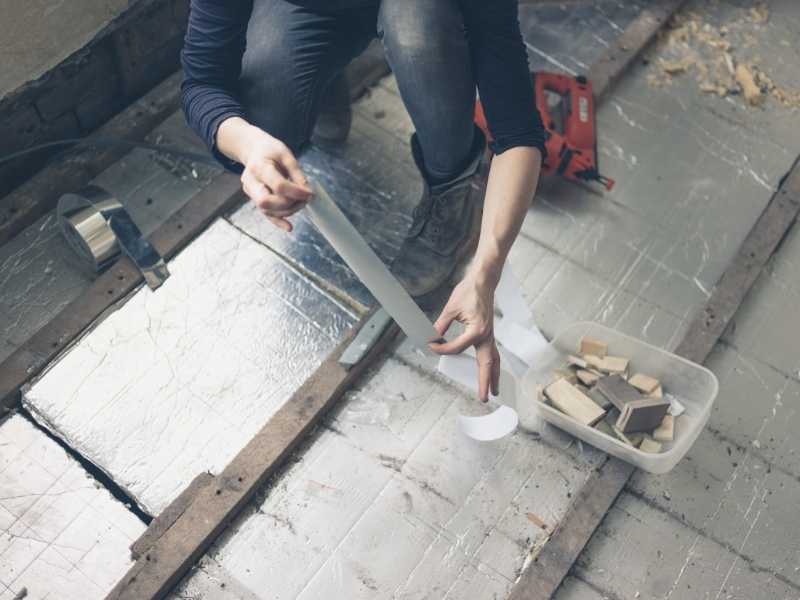
9. Use an Air and Vapor Barrier

Regardless of whether the flooring of your crawls space is gravel, concrete, or bare earth, it will exude moisture. To prevent this, install plastic vapor barriers over the floors of your home and tape them to the insulation.
Often, these can be found in various thicknesses and sizes in your local hardware. Installing them should help keep the wet at bay.
10. Prioritize Moisture Control
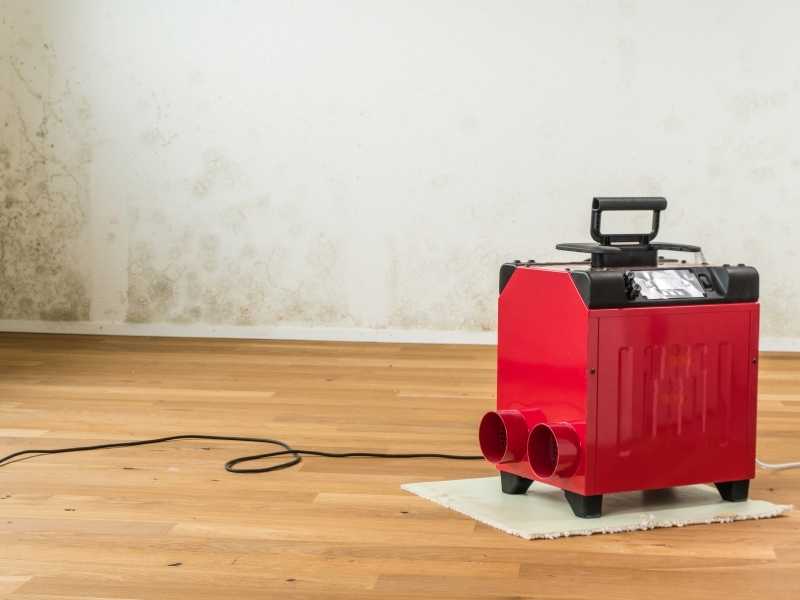
With your crawl space insulation finally fixed, all that’s left to do is to keep it in good condition. As much as possible, make moisture control one of your top priorities if you want to avoid damaging the fixes you just installed.
Moist air coming from slight plumbing leaks or built up household air can seep into the tiniest of spaces, which then become the breeding ground of mold. To prevent this, use a dehumidifier to prevent the buildup of moist air.
Now that you’re done with your crawl space insulation, check out this video courtesy of Home RenoVision DIY to find out which insulation is best for the other parts of your home:
Keep your home as comfortable as possible and prevent having cold feet by taking note of the crawl space insulation tips above. With these, you’ll never have to worry about mites breeding under your feet or mold building up below your home.
Do you have other useful and crafty tips on crawl space insulation that we may have missed? Share them with us in the comments section below!
Up Next:
- Build A DIY Forge To Create Useful Items For Your Home
- How To Paint Baseboards The Right Way To Avoid A Messy Room Repaint
- DIY Folding Workbench Project For Your Garage To Save Space
Calling all crafting DIYhards, DIY Projects needs YOU! Click here if you want to write for us.
Don’t forget to stay connected with us on Facebook, Twitter, Pinterest, and Instagram!


