
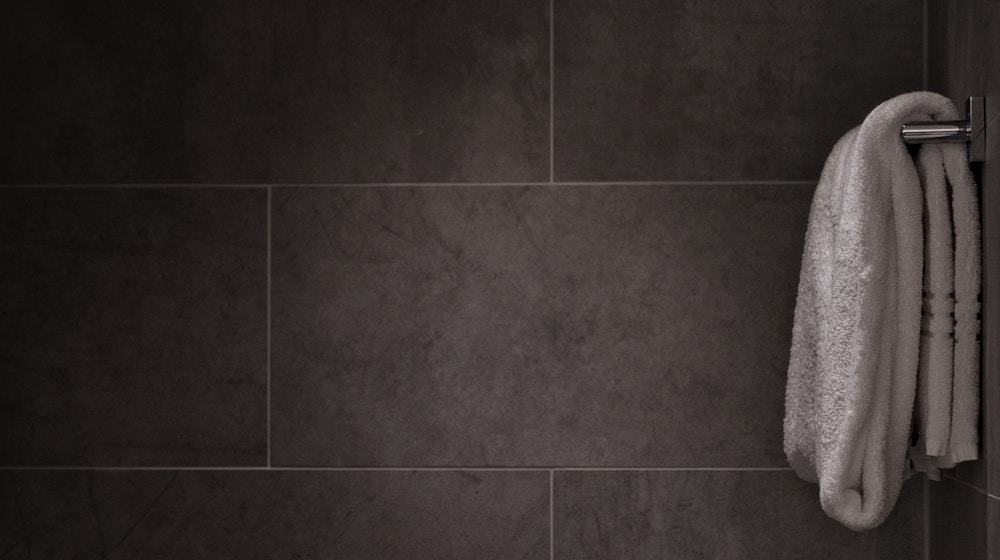

Our bathroom could totally use some shelves and rack for storage. But have you ever had a towel rack that was both decorative and functional? How about a rustic iron towel rack and shelf? Imagine a rack and shelf made out of pipes. Interesting, right? This project is worthy of a place in your bathroom, given its stability and sturdiness. We will show you how to do this DIY here in 5 easy steps.
DIY Project: How To Make Rustic Iron Towel Rack and Shelf
Make your towel rack interesting with iron pipes and a rustic theme!
are a usual part of our bathroom – too usual that sometimes we can overlook them. That won’t happen with this uniquely assembled DIY towel rack! The rustic theme for its shelf and the creative way the iron pipes are used make this project interesting. Give your usual bathroom racks a twist by creating your own version of it.
It’s time to give your towel rack and shelf an upgrade. Here are the 5 easy steps and what you will need to accomplish this simple DIY project:
Supplies:
- 4 1/2 in. floor flanges
- 2 1/2 in. tee fittings
- 2 1/2 in. 90 degree elbow fittings
- 2 1/2 in, 2 – 1/2 in. connectors
- 4 1/2 in. close connectors
- 1 1/2 in 24-inch pipe
- 1/8 drill bit
- 8 10 x 3/4 stainless screws
- 1 in thick x 5 in wide cedar board
- Wipe-On Poly
Steps:
1. Assemble the iron towel rack.

Take the close connectors and connect them with the tee fittings.
Take the 2 1/2 inch connector and connect it to the tee fitting also.
Connect a floor flange to each 2 1/2 inch connector.
Connect the two remaining floor flanges to one close connector on each piece.
Screw each elbow fitting to the other close connector opposite of the floor flange on the tee fitting. Make sure as you attach them, they are facing each other.
Connect the long pipe to each of the elbow fittings. Make sure they end up facing the same direction.
2. Measure the shelf

Measure the length of the piece of cedar to be used. In the video, it measured 30 inches to give an overhang to each side.
3. Cut the cedar to desired length.

With a miter saw, cut the cedar to your desired length.
4. Smooth out the cedar.
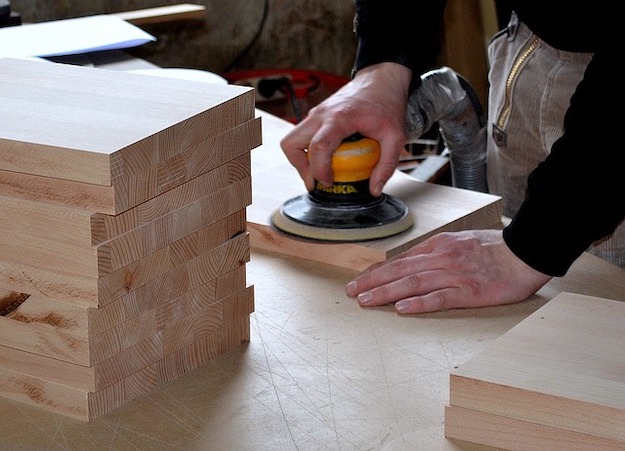
Use a planer to smooth out and clean its top and bottom portions. Sand it first with 180 grit sand paper, and follow with 220 grit. Round the edges to soften them, too.
Wipe off sawdust using a rag. Coat a wipe on polyurethane.
5. Put the shelf and the towel rack together.
Once the poly has dried, assemble the project. Place the iron piping on top of the cedar in a position you want. Mark the screw holes.
Take the 1/8 inch drill bit and put a flag at 3/4 of an inch. Drill.
Place the iron piping back and screw them in the pre – drilled holes.
The project is complete! Find the perfect spot to hang it.
Watch the full video tutorial here for this perfect rustic DIY project:
The best thing about this project is that you can use this as a simple template. You can have your own design and any number of shelves, as long as you know what you want and how you want to proceed. The bottom line is this: you can get this amazing DIY rustic iron towel rack for minimal cost but with maximum functionality.
Looking for a one-stop shop for all-things home improvement? Our friends at Build.Com and Home Depot have you covered.
Click here for more creative DIY for your home.
Brag about your DIY adventures with our FREE shirt just for you, get it right here.
Like this? You’ll also like…
11 DIY Tool Kits | Tool Organizer Ideas You Can Do at Home
13 Quick and Easy DIY Home Projects
Featured Image Via etsy


