


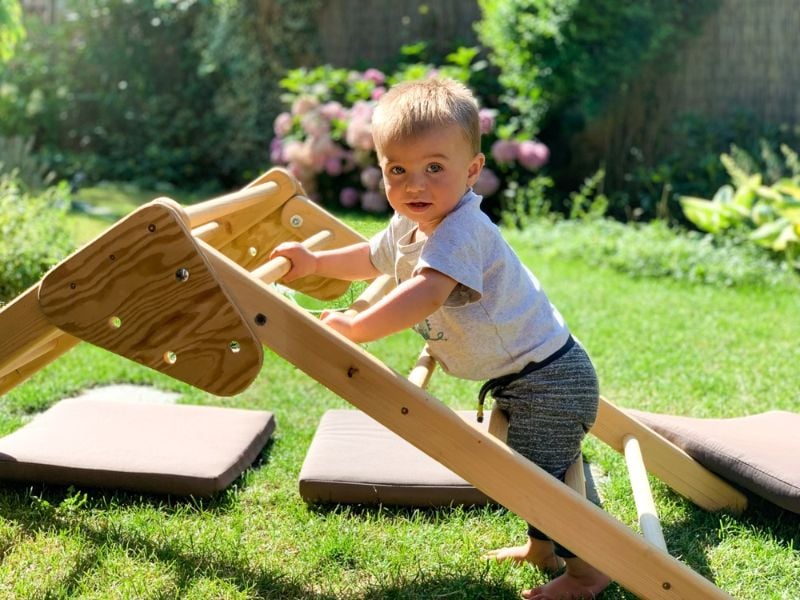
A Pikler triangle is a way to develop your kid’s independent play. It is a toddler climbing toy perfect for toddlers 6 months up to 4 years old. Learn how to build one.
RELATED: 25 Toy Storage Solutions For A Well-Organized House
Easy Way to DIY a Pikler Triangle
What You Need:
- 3/4 in. Poplar wood
- 3/4 in. Birch plywood
- 1/2 in. Birch plywood
- Wood Glue
- Wood paint (optional)
- Rock Climbing Holds
- Washers
- Threaded Inserts
- Clamps
- Jigsaw
- Sander
- Impact driver
- Tape measure
- Forstner bits
Step 1: Create the Ladder Rungs

Cut 13 pieces of poplar dowel rods of 30.5 inches in length.
Step 2: Create the Legs of The Ladder
Create two ladders. One should be longer than the other one.
The shorter side should measure 32 inches in length and the longer side should measure 36 inches long. Use a jigsaw to cut the planks.
Round off the edges of the legs and don’t forget to sand it after. You can use an old glass or a compass to carefully measure the roundness of each end.
Step 3: Drill for the Ladder Rungs
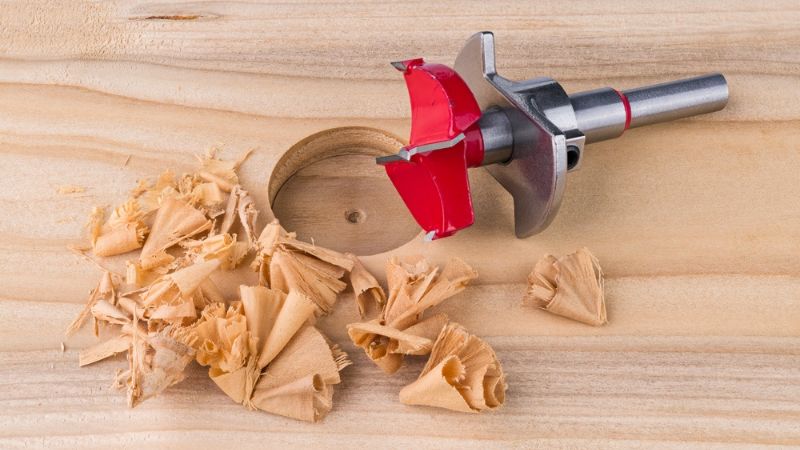
Measure at least an inch from one end to create the first hole then measure 5 inches all the way through to create the other holes for the ladder rungs.
Drill at least 1/2 inch deep and make sure to do it consistently. Use Forstner bits to create holes for each step of the ladder.
Step 4: Paint
This is an optional step. But if you wish to make this project colorful, this is the part where you need to paint the wood before installing everything together.
Step 5: Glue the Ladders
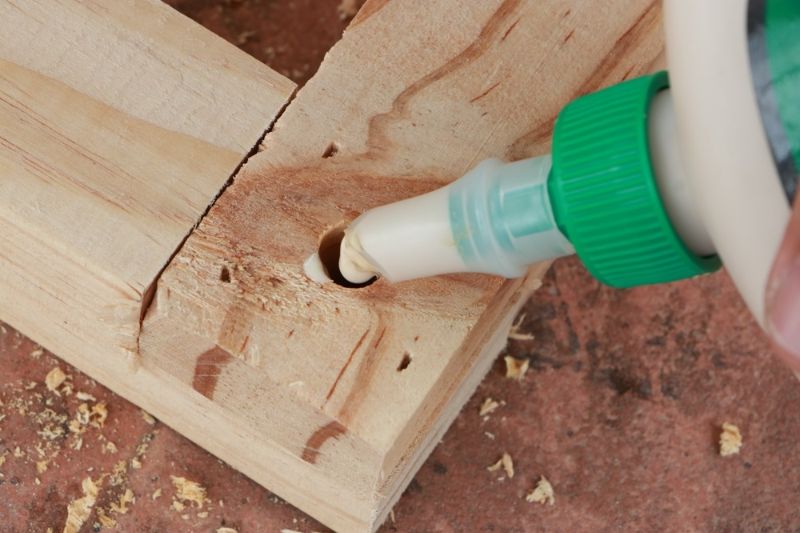
Once the paint dries, you can now glue the rungs to the ladder legs. Use a fair amount of wood glue to push in each rod to the hole.
Use a mallet to secure the wood together and do it on both sides. Let it dry overnight.
RELATED: DIY Toy Storage Box You Can Make With Your Kids
Step 6: Make the Pikler Triangle
The long and short legs are held by a triangle made from 1/2 inch birch plywood. The long leg is attached to the triangle permanently meaning it should be bolted at least an inch from the top of the triangle and another one at the bottom of the triangle.
The shorter leg, meanwhile, will have a pivot point on top to easily fold the Pikler Triangle once your child is done using it.
Clamp the wood and install everything together to build the ladder.
Step 7. Start With the Climbing Ramp
Use a 3/4 inch thick birch plywood and cut it to 24″ wide x 48″ long. This will serve as the climbing ramp.
Don’t forget to smoothen all the edges with a sander.
Step 8: Install Climbing Holds
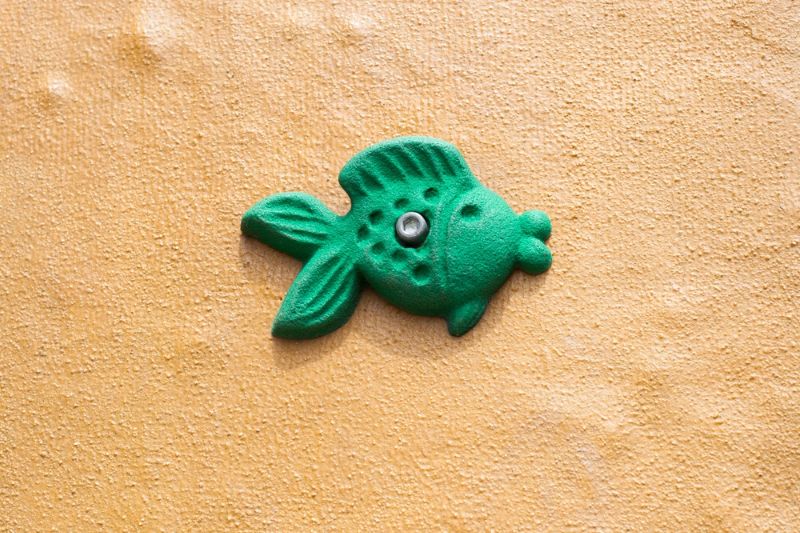
Create holes for the T-Nuts in preparation for the climbing holds. You can measure 6 inches across and in length to create holes for the holds.
Install the rock climbing holds afterward.
Step 9: Create a Stopper for the Ramp
Install a 1 in. plank or dowel at least 3 inches from each end of the ramp. Make sure it’s on the opposite side of the holds. This will hold the ramp onto the ladder.
The project should look like this:
Watch this video from Thanderson to learn more about the Pikler triangle:
The Pikler triangle encourages kids to play and navigate themselves at their own pace, which is great to develop their motor skills and helps them learn their own boundaries.
With the right tools and materials, this DIY climbing toy for your kid is easy to create.
Ready to build a Pikler triangle for your child? Don’t forget to share the photos with us in our Facebook group and get featured!
Up Next:
- 12 DIY Baby Toys Your Precious One’s Will Love
- Woodworking Projects For Kids
- 10 Apps To Help With Home Renovation [Infographic]
Calling all crafting DIYhards, DIY Projects needs YOU! Click here if you want to write for us.
Don’t forget to stay connected with us on Facebook, Twitter, Pinterest, and Instagram!


