


DIY dust collectors are great for minimizing dust while being under a budget. With materials that you can easily get from your local hardware store, this DIY project is surely quick and easy!
RELATED: DIY Vacuum Grabber Tool | Robotic Arm Plans | Fun Projects
DIY Dust Collector for a Quick and Easy Cleanup
Materials:
- Heavy Duty Bucket
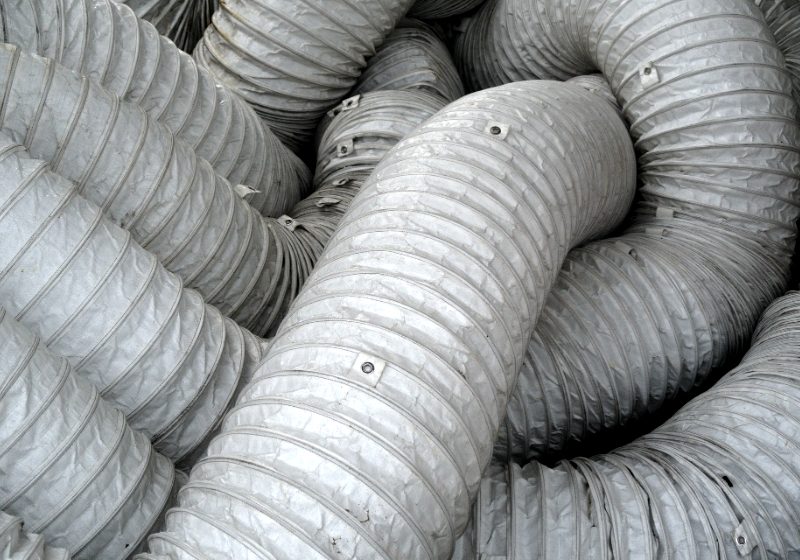
- 2 dust collection hose
- 45-degree elbow PVC pipe fitting
- 90-degree elbow PVC pipe fitting
- Coupler
- 4 small screws
- Electric drill
- Hot glue
- Industrial glue
Step 1: Drill Holes Into the 45-Degree Elbow PVC Fitting
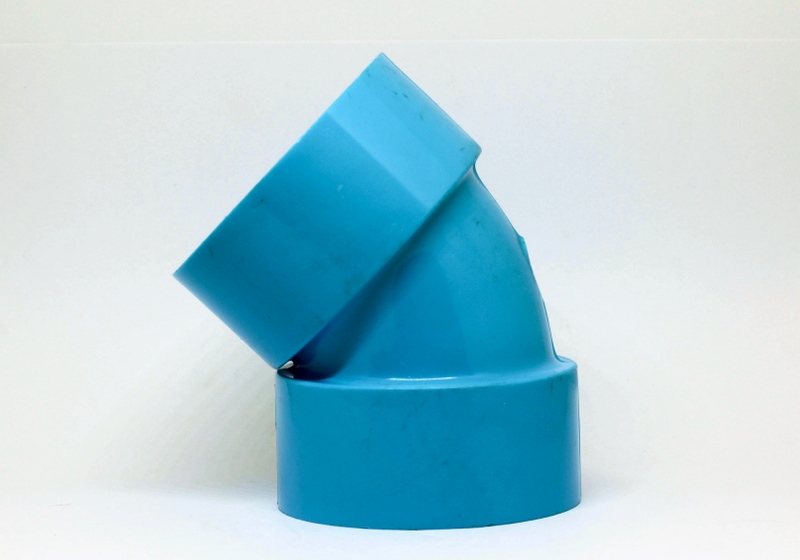
Start by drilling four holes around the elbow fitting. Make sure to place them at an equal distance around each other.
Step 2: Attach the First Hose to the PVC
Apply industrial glue to the insides of the PVC. Proceed to attach the hose into the fitting. Secure the hose by screwing the four small screws through the four pre-drilled holes.
Step 3: Cut a Hole on the Lid for the 45-Degree PVC Fitting
Using the PVC fitting, trace a hole in the middle of the lid. Use this as a guide to cut a hole for the PVC fitting to fit through.
Step 4: Attach the Other End of the 45-Degree Fitting to the Lid
Fit the PVC fitting and hose to the newly-cut hole. To keep them in place, use the hot glue on both sides of the lid. You can use hot glue to seal any cracks.
RELATED: 9 Woodworking Podcasts For Woodworkers, Makers, And Crafters
Step 5: Attach the Second Hose to the Coupler
Fit the second hose into the coupler. Use industrial glue to connect the hose and the coupler. This hose with the coupler will serve as the intake hose.
Step 6: Cut a Hole on the Side of the Bucket for the 90-Degree Fitting
Using the same methods as steps 3 and 4, cut a hole for the second fitting. You will then attach the 90-degree PVC fitting to the inside of the bucket.
Make sure that its angle is perpendicular to the bucket. This will create a cyclone effect and will help circulate the dust.
Step 7: Leave for a Few Hours Before Trying

Since you used some glue, wait for a few hours for them to completely dry and set. Once that’s done, you can go ahead and assemble your dust collector.
Attach the hose with the 45-degree PVC elbow to the lid, then attach the hose with the coupler to the 90-degree PVC elbow. Finally, use your new DIY dust collector!
Fancy a bit of a challenge? Check out Matthias Wandel’s motorized dust collector:
Creating a DIY dust collector is a project that will surely save you a couple of hundred bucks. Plus, it’s an easy DIY that’s also an easy trick for convenience!
Do you have your own way of making a DIY dust collector? Share it with us in the comments down below!
UP NEXT:
- Things to Consider When Looking for Best VAC for Woodworking
- 5 Easy Car Care Tricks You Can Do Yourself
- 17 Clever DIY Repurposed Furniture Ideas To Try This Summer
Calling all crafting DIYhards, DIY Projects needs YOU! Click here if you want to write for us.
Don’t forget to stay connected with us on Facebook, Twitter, Pinterest, and Instagram!


