


Easy DIY projects like this smartphone projector will make your summer more fun and worthwhile.
DIY Smartphone Projector You Can Do This Summer
Summer is here and one of the best ways to spend it is to make a DIY project that can be useful. I know this is the time to spend outdoors, but when you’re inside the comfort of your home, this DIY project is worth it, especially when you’re a movie buff like me. This is a smartphone projector made out of a shoe box and some office supplies. Here are the easy steps to build your own smartphone projector.
What You’ll Need:
- Magnifying Glass
- Foam board
- Masking tape
- Cutter
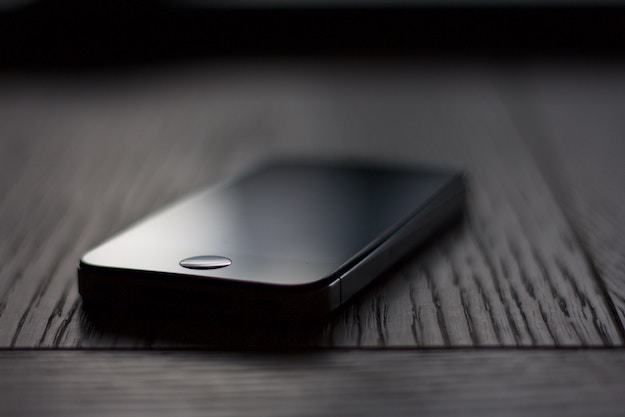
- Smartphone
- Hot glue gun
- Ruler
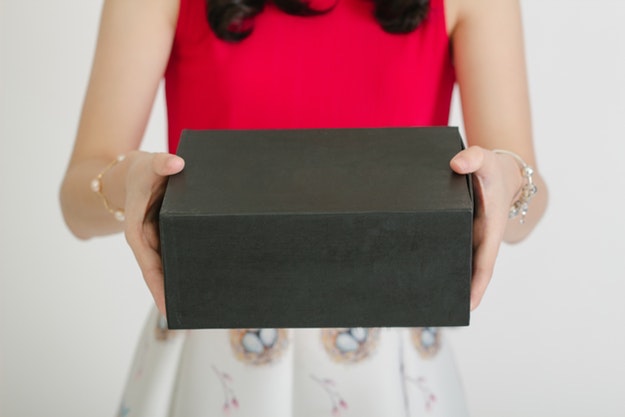
- Shoebox
How To Make A Smartphone Projector Out Of A Shoebox:
Step 1: Cut The Handle Of The Magnifying Glass
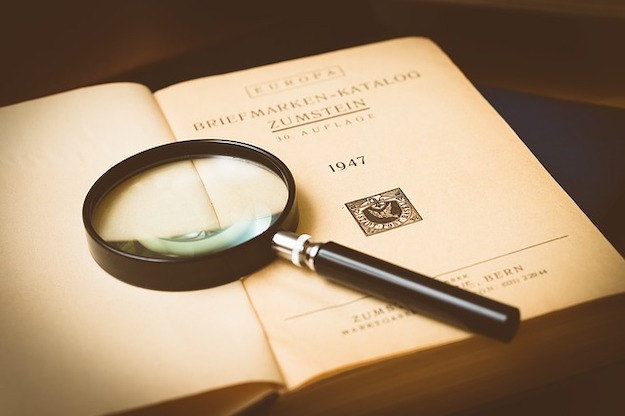
Nicely cut off the handle of the magnifying glass using the hacksaw. Set it aside for the meantime –we’ll be using this glass for the projector’s lens.
Step 2: Reinforce The Shoebox With Glue
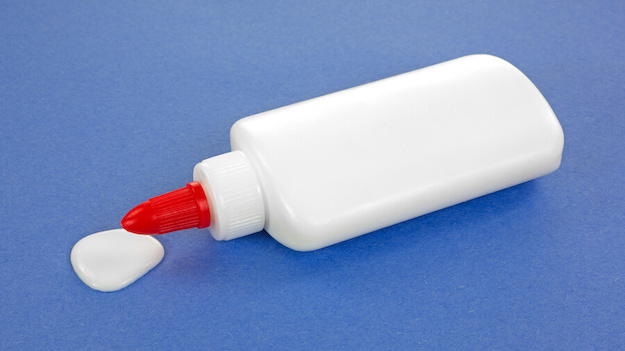
Get the shoebox. It will serve as a housing for our projector. Then, open the flaps of the shoebox and strengthen it with glue. Apply it generously –use your fingers to evenly spread out the glue then close the flaps. Repeat this process to the other flaps. This will keep the box from the wobbling later when we cut a hole for the projector’s lens.
Step 3: Trace The Magnifying Glass
After the glue dries, place your magnifying glass at the center and use a pencil to trace around it.
Step 4: Cut Out The Hole

You can use an Exacto knife and a compass to cut off an exact hole. Your magnifying glass will fit perfectly if properly executed.
Step 5: Mount The Magnifying Glass
Mount the magnifying glass with the use of a hot glue.
Step 6: Cut The Excess Of The Box’s Lid
Use the previous cut out as a stencil to cut the excess of the shoebox’s lid.
Step 7: Prepare The Phone Stand
Now, for the stand that will hold your phone –we will use a foam board. Measure the foam board and cut it. Make sure it will fit inside the shoebox. Then, cut another fraction of the foam board and hot glue them together. They have to stay perpendicular to each other to avoid image distortions while watching your favorite flick.
Step 8: Cut Strips Of Double-Sided Tape
Cut some strips from your double sided tape then stick it back of your phone. Then mount your phone at the center of your stand.
Step 9: Adjust The Phone’s Brightness To The Highest Level
Set your phone to the highest brightness then lock your screen. When you play a video, the screen is still upside down. The reason behind this according to science is that the lens will invert the image that will be projected on the wall.
Step 10: Put Your Phone In The Box And Adjust
Now, we’re almost done – move your phone to the right distance until you gain the exact focus and the image is clear to watch.
Watch this instructional video from TechBuilder for full details about this easy DIY project:
Now you can enjoy your new smartphone projector out of a shoebox. This will also be a perfect addition to your man cave. Easy DIY projects like this are not only useful but can save a lot of money too. Upcycle your old shoe box and turn it into something you’ll have fun with. So bring out those popcorns and cold beverages –it’s time to watch your favorite Hollywood flick!
What do you think of this DIY smartphone projector? Will make one this summer? Let us know in the comments section below.
Now that you’ve got that projector, you’ll need a screen right? Check out this DIY projector screen and make one for your home.

Stay connected with us on Facebook, Twitter, Pinterest, and Instagram!
Editor’s Note – This post was originally published in July 2016 and has been updated for quality and relevancy.


