Nail the perfect weekend backyard party with this authentic rustic DIY cooler box that’ll keep your drinks in good shape!
How To Make A DIY Cooler Box
Your backyard party will be legendary as long as you’ve got great food and perfectly chilled drinks. The rustic theme of this DIY cooler is thanks to the use of pallets. Wood makes it look original and contributes to a more raw and relaxing feel. Just a couple of hours taken away from your weekend to make this cool DIY project will be totally worth it.
What You’ll Need:
Supplies:
- 5 to 8 Pallets
- 50 Quart Cooler
- Exterior Wood Screws
- Titebond Wood Glue
- Speedbor Drill Bit
- Elevator Bolts
- T-Nuts
- Hinges
- Hose Bibb
- PVC Coupling
- Handle
- Bottle Cap Catcher
- Beer
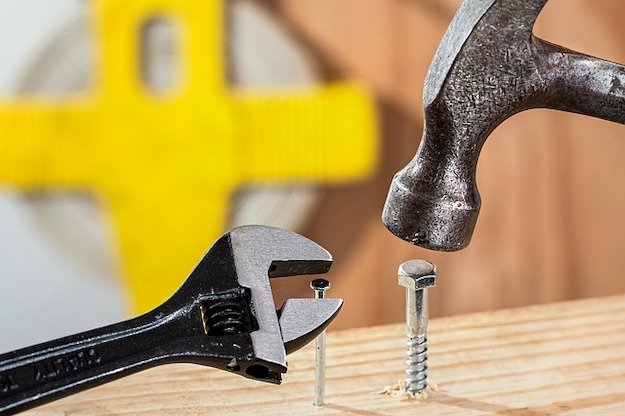
Tools:
- Dremel Ultra Saw
- Impact Driver or Drill
- Measuring Tape
- Pencil
- Flat Head Screwdriver
- Pliers
- Hammer
- Pry Bar
- Power Washer
- Bottle Opener
How To Make A DIY Cooler Box:
Step 1: Prepare The Pallets
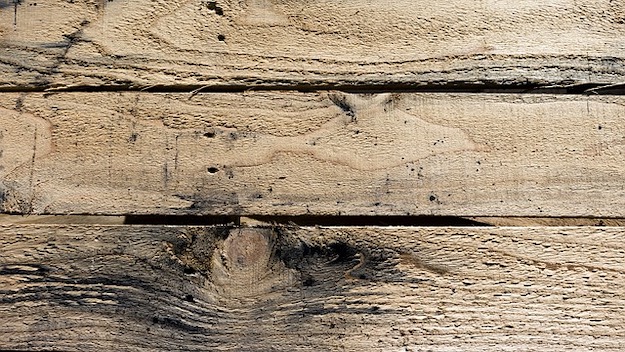
Power wash the top and bottom of the chosen pallets. Cleaning them thoroughly will make a huge difference in the appearance of the pallets. Cut the slats carefully. Remove nails and screws from the wood that might have been left there before. This will ensure your safety when you start working on building your pallet cooler.
Step 2: Remove All The Hardware From The Cooler
Remove the handles, latches, hinges, wheels (if your cooler has any) and the covering of the cooler. We’re basically undressing it so we may give it a new rustic armor.
Step 3: Create The Legs For The DIY Cooler Box
Measure the slats to make the legs for the cooler. Draw a mark and make the cut. Then, apply wood glue to the edges and put them together with screws.
Tip: Pre – drill before you place your screws to prevent splintering!
Step 4: Assemble The Sides
Place two legs on top of your cooler and measure their distance from each other. Cut the slats to the desired size. Lay down the legs on the ground and apply glue. Stick the slats in between. Pre – drill, and then screw.
Step 5: Attach The Slats For The Front And Back Portion
Place the two slats with one in the front and one on the side, then make a mark. Apply glue and attach the slats intended for the front. Of course, you pre – drill first and then screw. Attach the back and the front slats to the sides previously made. Keep doing it until you stack the slats on both the front and back of the cooler.
Step 6: Link The Shelves Together
Measure the distance between the two legs. Apply a generous amount of wood glue and place the slats over it. Pre – drill and screw the slats in the front and back. Measure the side slats. Glue it in place, pre – drill, and then screw. Cut the excess portion of the slats to get that clean finish.
Step 7: Build The Slats Around The Plastic Lid
https://www.instagram.com/p/BhrVLPlg2MD/
Put two slats on the front and back of the lid. Measure and mark and then cut the slats to size. Pre – drill and screw them into place. Attach wood slats on top. Turn the lid over and drill screws through the lid. This will hold the lid in place.
Step 8: Securely Attach The Support
Turn the rustic cooler over and attach supports at the bottom.
Step 9: Put Elevator Bolts
Elevator bolts are used in order to adjust the rustic cooler up or down. Dry fit the T – nut on all four legs. Drill holes through the bottom of the leg and pound the T – nut into place. Then lastly, screw the elevator bolts in.
Step 10: Add Hinges To The Lid
Measure and mark the location for the hinges in between the cover and the back portion of the cooler. Drill holes and screw to attach the hinges tightly to the pallets.
Step 11: Create A Hole For The Water Drain
Drill the hole to create a water drain for the cooler. Drill from the inside first, and then the outside. Create a larger hole to accommodate the original drain. Attach a coupling and a faucet to control the water (coming from melted ice) flow when you drain it while cleaning up. Put it snugly in place to avoid leakage.
Step 12: Add A Handle To The Lid
This is for easy access when opening and closing the cooler.
Step 13: Place A Bottle Opener And A Bottle Cap Receptacle
These are helpful additions to your rustic cooler. Screwing them on the sides will be ideal.
https://www.instagram.com/p/Bh4kf4ig6zs/
Catch Jeff Patterson’s of Home Repair Tutor full video tutorial below of this awesome rustic cooler project:
Now you can chill your drinks at any time and at any place with this amazing DIY pallet rustic cooler. Bring this over to the park, or to the beach and this will surely bring the house down! After the party, you can stash it in your man cave so you will be ready for game nights all the time.
What do you think of this DIY cooler box? Will make one this summer? Let us know in the comments section below.
Want more cool DIY wood pallet projects for your home? Check out these 18 simple yet created wood pallets projects to give your home that rustic look! This list will surely give your home some rustic upgrades perfect for all seasons!

Stay connected with us on Facebook, Twitter, Pinterest, and Instagram!
Editor’s Note – This post was originally published in September 2016 and has been updated for quality and relevancy.