
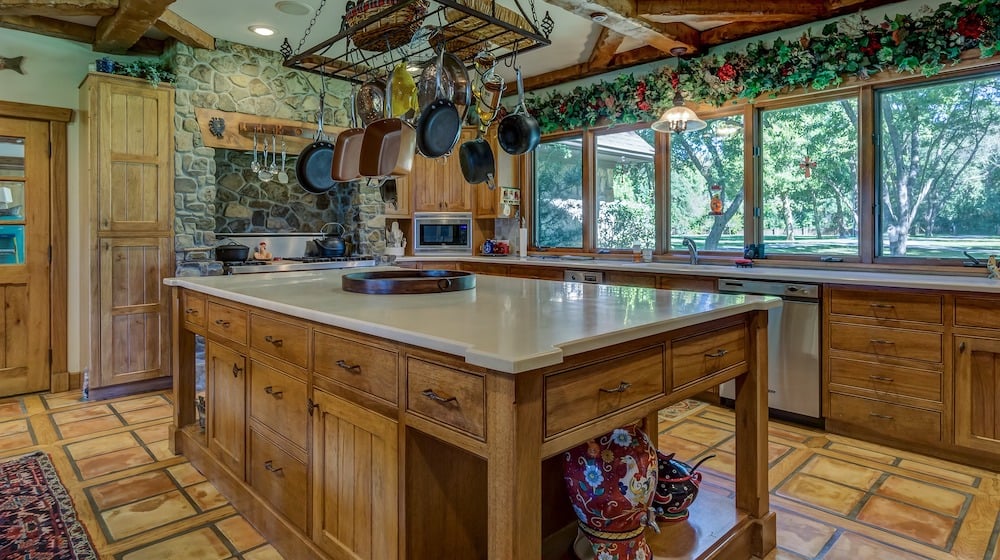

Always on the lookout for small kitchen idea to stretch your functional area? Your space may be scarce, but with a little bit of creativity, you can squeeze in more fab and function into your kitchen with this island storage!
It doesn’t mean that you can’t have a lovely kitchen if you don’t have a bigger space to work with. Of course, not! With the right design and smart planning, you can create a cheerful and functional space in your home.
Build Portable Kitchen Island Storage For A Savvy Space
Small Kitchen Idea to Inspire You
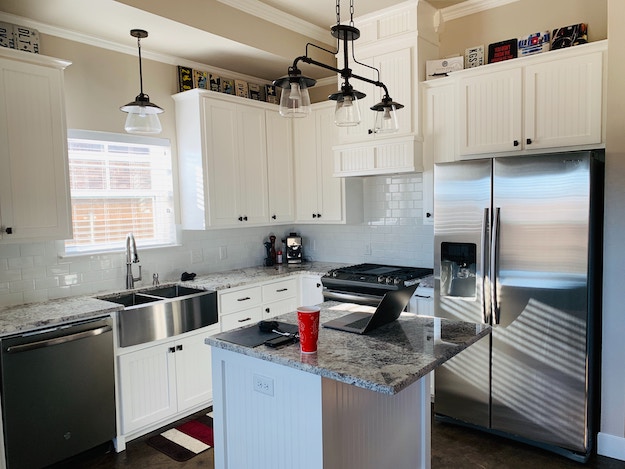
feel their hands are tied when it comes to making a space of their own. I had the same counterpart experience living with tiny kitchens and I definitely feel every sentiment. However, there are plenty of smart solutions for plain, tired, and tiny kitchens. Try giving a simple wood island a total makeover and be amazed by how this staple kitchen island storage can efficiently organize your small kitchen in a more stylish way.
What You’ll Need:
- wood Island
- paint
- primer
- painters tape
- mask
- brushes
- sponges
- cotton cloth
- sandpaper
INSTRUCTIONS:
Step 1: Remove Everything From Your Piece
To get this makeover started, remove everything from your pieces including the drawers and work on those separately.
Step 2: Clean Out Your Piece
Clean out your wood island with a damp paper towel, then with a cloth and of course, your favorite organic cleaning solution. Make sure to remove all dirt from your piece then let it air dry. If there are any areas on your piece that are not totally smooth, sand them down to achieve an even surface. After sanding, wipe off any excess with a cotton cloth.
Step 3: Lay Down A Drop Cloth
Lay down a drop cloth and place your pieces on top. You’ll need to paint outdoors or in a very well-ventilated space wearing your mask.
Step 4: Tape Off Top Wood Block
Tape off the entire top wood block. You’re going to tape all around the perimeter and really press down to seal.
Step 5: Prime And Paint
Spray one coat of primer on your entire piece. Let it dry. Smooth out any rough patches with a sandpaper. Then, it’s time to paint on a few coats. Use thin light layers in order to get nice smooth coverage. Make sure to let each coat dry fully. Alternate between a brush and a smaller sponge to cover those smaller runs without access drippage. Flip the whole piece over and do the same underneath. Once you have total coverage from one to two light coats, leave to dry overnight.
Tip: When painting the drawers, leave the sides unpainted so they don’t stick.
Step 6: Return The Drawers
Incorporate a classy marble element into your pieces by adding marble contact paper to your drawers. Then return your drawers and remove the tape.
Step 7: Add Hardware
Adding this metallic-finish towel rack ensures you have a dish towel within reach for easy cleanup.
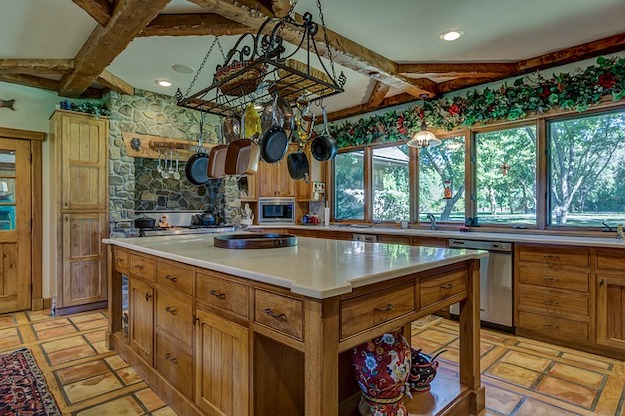
The elements of your dream kitchen all incorporated into this easy DIY kitchen island makeover. Talking about reaching #kitchengoals without breaking the bank or the terms of your rental agreement!
Enjoy your updated piece of furniture.
Still want to see how it’s done? Then go ahead and watch this quick video tutorial from Meg Allan Cole:
Living in an apartment can feel a little too cozy, but this little update can go a long way toward making your kitchen feel more spacious. Elbow grease is well worth it when you see the result and know that you have created a custom piece of furniture for your kitchen. So, get inspired with our small kitchen island storage and make your dream kitchen classy and cleverly organized!
Will you give this kitchen island storage a try? How about creating more furniture for your home? Here’s a FREE Furniture Dimension Cheat Sheet PRINTABLE to help you out.
![]()
Want more helpful hacks for your kitchen ? Then check out these Space-Saving Kitchen Organization Ideas For The Tidy Chef!
![]()
Stay connected with me on Facebook, Twitter, Pinterest and Instagram!


