

Are you almost going nuts over how to make the perfect macrame knots? Well, you’re in luck fellow crafters, because this blog features not only 3, but 4 basic macrame knots how-tos! It’s so easy to follow, surely you will get it in just one try! Soon enough, you can just breezily glide through making DIY macrame personal designs for a school project or for a home improvement venture. Just like what a magician usually says, “it’s all in the hands!”. Stay tuned and learn how to create magical designs out of rope twisting and turning. You got to try it to believe it so let’s get crafting!
How to Make Four Basic Macrame Knots In No Time
Once you’ve perfected these basic macrame knots, you will know everything. Knots are not just about tying and securing, it is also for gifting and ornamenting. Its possibilities are endless, from making personal accessories, decorations, and even as furniture! I know these macrame projects can be intimidating at first, but you have to look at it straight in the eye (if it has one) and say, “I’m going to DIY you!”. 🙂 Kidding aside, this tutorial is easy enough to follow and remember. The four basic macrame knots we’re going to learn today are the base knot, the square knot, the spiral knot, and the half-hitch knot. And just like all the other crafts we’ve done, this one’s going to be a piece of cake. So here we go!
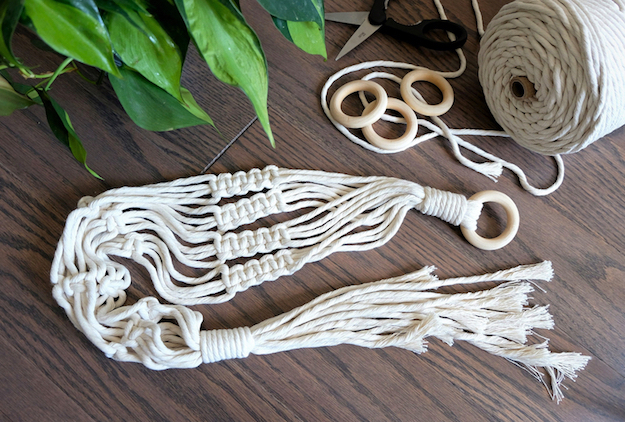
Materials needed
- 8 lengths of Tie or String (any length or color will do)
- Mounting Rod
Procedure
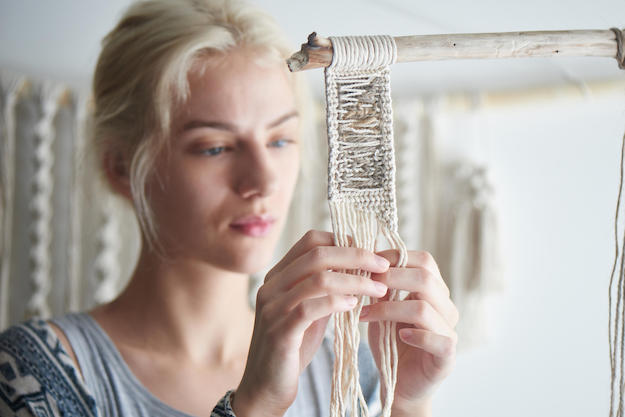 Macrame Knots #1: The Base Knot
Number of strands needed: one (1)
Step 1. Prepare string and make loop
Prepare a single loose string. Make a loop by putting both ends of the string together in one strand and then finding the middle.
Step 2. Lay loop on mounting rod
Lay the loop over the mounting rod, slightly pulling downward.
Step 3. Place ends inside loop
Thread the ends through the loop.
Step 4. Pull tightly, and you’re done!
Pull the ends real tight and you’re done with the base knot. This is the starting point of the other 3 knots in this tutorial.
Up next: The square knot, the spiral knot, and the half-stitch knot
Macrame Knots #2: The Square Knot
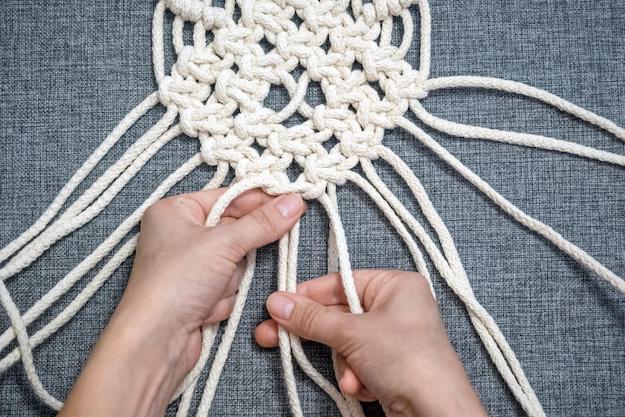
Number of strands needed: four (4)
Step 1. Prepare 2 base knots
Prepare 2 basic knots wherein 4 strands hang out.
Step 2. Hold and form a figure “4”
Hold the two middle strands together. Fold the first strand over the two middle strands, forming a number four figure. Pull the last strand out and place it over the tail of the first strand.
Step 3. Loop around and out the hole
Then you loop the last strand around from the back across the two middle strands, and let it come out of the hole from the number four shape you made earlier.
Step 4. Tighten knot
Tighten the left and right strands to make the first half of the square knot.
Step 5. Complete the square knot, starting on the opposite side
Make the second half by forming the number four on the opposite side from where you first started.
Step 6. Starting on the opposite side, repeat steps 2 to 4, and you’re done!
Continue to mirror steps 2 to 4 to complete the square knot. Pull tightly to achieve this look.
Macrame Knots #3: The Spiral Knot
Number of strands needed: four (4)
Step 1. Make two base knots and form a figure “4”
Prepare two base knots with 4 strands hanging out. Again, make a figure “4” with the first strand.
Step 2. Make a half square knot, the first time
Make the first half of the square knot.
Step 3. Continue tying a series of half square knots
Continue making half square knots, still on the side where you originally began.
Step 4. The spiral knot is formed and done
You can see the spiral knot form on the 4th or 5th half square knot, and done!
Macrame Knots #4: The Half-Hitch Knot
Number of strands needed: six (6)
Step 1. Prepare 3 base knots and string guide
Prepare 3 base knots, giving you a total of 6 hanging strings. Make the first string as a guide where the half-hitch knots are going to be tied around. You can choose to either go in a diagonal or horizontal direction.
Step 2. Make a figure “U”
Make a figure “U” with the second string, placing its end on top of the string guide.
Step 3. Thread the second string through the figure “U”
Put the second string around the string guide from the back and pull its end out of the figure “U”.
Step 4. Pull the first half-hitch tightly
Secure it very tightly.
Step 5. Make the second half-hitch
Make a second half-hitch knot, still with the first and second ties.
Step 6. Proceed knotting 2 half-hitches with the succeeding strings
Hold the third string and make the same knot over the first string twice, and then proceed to the fourth string. Repeat the process until you reach the sixth string, knotting twice every time.
If you want to see the making of macrame knots in live action, here’s a short video from Hallmark to show us how:
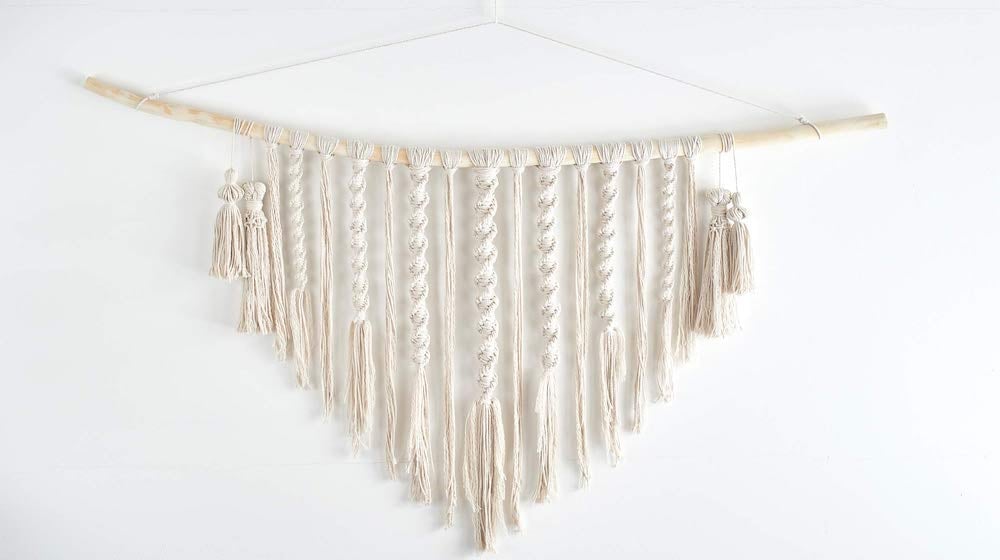
These four macrame knots are so easy, it’s almost like knitting minus the needles! Now you are all set to start combining these basic macrame knots to create your own designs! Get over the knotting hill and create meaningful, beautiful knots faster by starting with the basics. Try to embellish your home with macrame-made wall decorations and they’ll surely become conversation pieces at your next party. Not to mention adding macrame to your list of gifting options for the holiday season. Now you know the foundation of everything macrame!
Is it your first time to try making macrame knots? If you’ve tried making one before or are currently in the middle of a project, please share your thoughts in the comment box below! I would love to read and reply to them in between crafts. Thank you and happy knotting!
Would you like to know how to make macrame friendship bracelets? Hang out here to learn more!
Stay connected with us on Facebook, Twitter, Pinterest and Instagram!


