


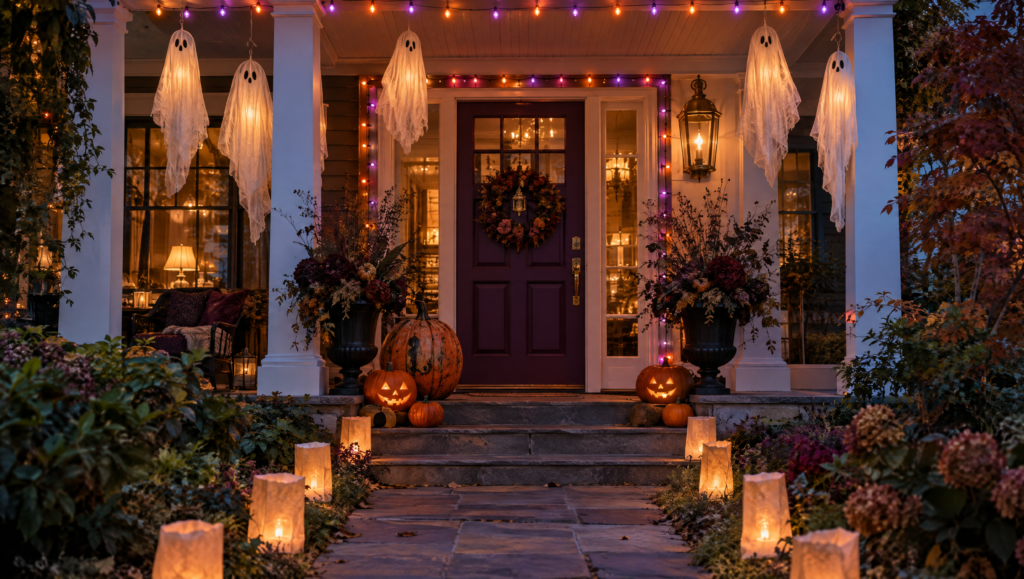

At a Glance: Cute and Creepy Halloween Decor
- 25 projects, most under an hour. Cheesecloth ghosts, paper bats and jar lanterns come together in one sitting with things you already have.
- This year leans vintage and handmade. Papier-mache pumpkins, jewel tones and witchy bottles are in, and plastic gore is out.
- Pick three, not twenty. One piece at the door, one in a window and one on a table reads better than a cluttered porch.
The easiest cute and creepy Halloween decor starts with what you already own. Cheesecloth and a balloon make a floating ghost, black cardstock makes a wall of bats, and a mason jar with a tealight makes a lantern. Add one trending piece, like a vintage papier-mache pumpkin or a disco pumpkin, and the whole display feels like this year. Jump to the 25 ideas.
There’s a particular October evening when the porch light comes on, the ghosts start glowing, and the trick-or-treaters slow down to look. That’s the whole goal here. Every idea below is something you can make this week.
RELATED: 19 Spooky And Fun DIY Ideas To Throw A Halloween Party At Your House
In this article:
- Cheesecloth Ghosts
- Vintage Papier-Mache Pumpkins
- Disco Ball Pumpkin
- Thrifted Ghost Portraits
- Apothecary Potion Bottles
- Moon Phase Garland
- Dark Floral Entryway Arrangement
- Halloween Boo Bottles
- DIY Halloween Front Door Mummy
- DIY Spider Sack
- Spooky Glowing Eyes
- Mason Jar Jack-o-Lanterns
- Floating Head Hanging Ghost
- Illuminated Ghost Garland
- Trash Bag Spiderwebs
- DIY Halloween Bats
- Paper Mice Halloween Decorations
- Halloween Mummy Jars
- Halloween Spirit Jugs
- Spooky Eyeball Wreath
- Haunted House Silhouettes
- Haunted Tree
- Monster Doors
- Monster Garage Teeth
- Paper Bag Lights
What supplies do you need for DIY Halloween decor?
Covers most of this list
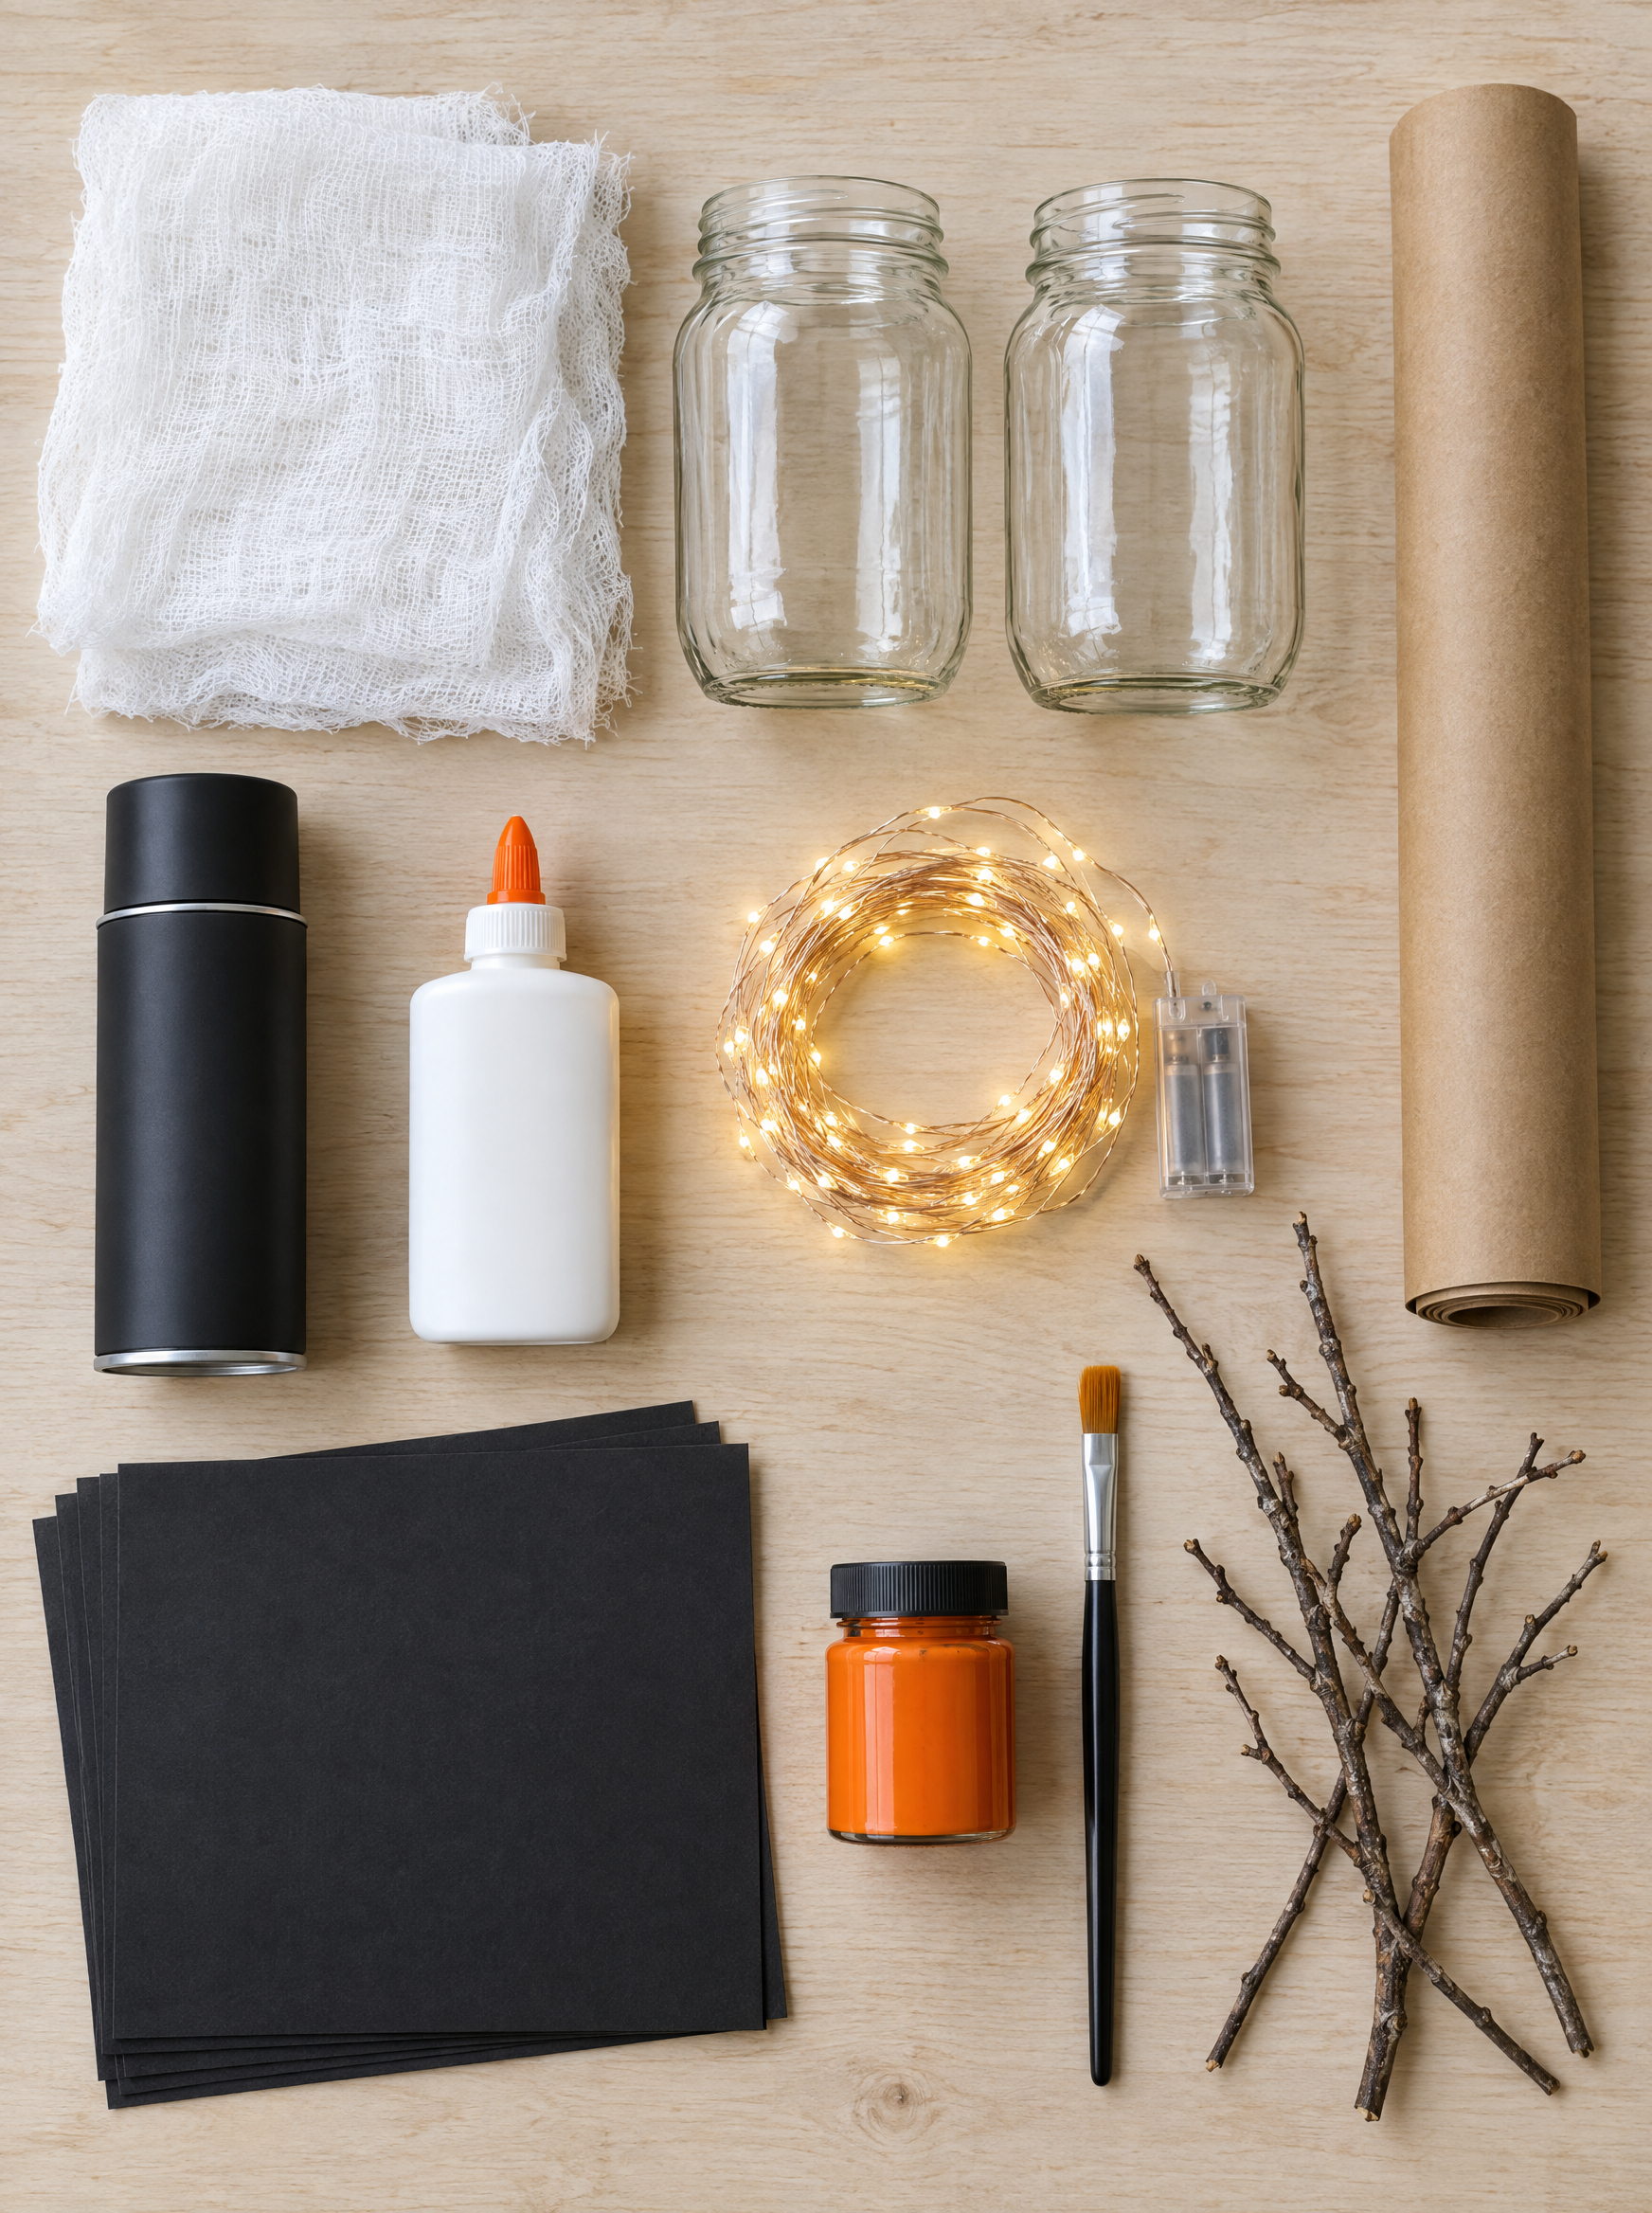
- Cheesecloth. One package makes three or four ghosts.
- Black cardstock. For bats, mice and window silhouettes.
- Glass jars and bottles. Saved all year from the recycling bin.
- Matte black spray paint. The one can that ties the whole display together.
- Battery fairy lights and tealights. Outdoor-rated for anything on the porch.
- White craft glue and kraft paper. The base for papier-mache and stiffened fabric.
Nice to have: a hot glue gun, removable wall putty, fishing line and a pack of plastic eyeballs. Skip: the cheap plastic yard props. They look better in the store than on your lawn.
Quick tip: Check that any lights going outside say outdoor-rated on the package, and that the rating covers the battery box too. It’s the difference between a display that lasts all month and one that quits after the first wet night.
What goes wrong with homemade Halloween decor?
Paper that meets weather
Cardstock bats and paper luminaries turn to mush in one rainy night. Keep paper projects under a covered porch or inside a window, and save the jars, jugs and painted wood for anything out in the open.
Too many small pieces
Twenty little crafts scattered around read as clutter from the sidewalk. Pick one big moment, like a monster door or a row of ghosts, then let the small stuff support it instead of competing with it.
Which cute and creepy Halloween decor ideas are trending this year?
Retro and handmade is the whole mood this season. Vintage papier-mache, jewel tones and witchy glass have taken over from plastic and fake blood, so these first seven are where I’d start.
1. Cheesecloth Ghosts
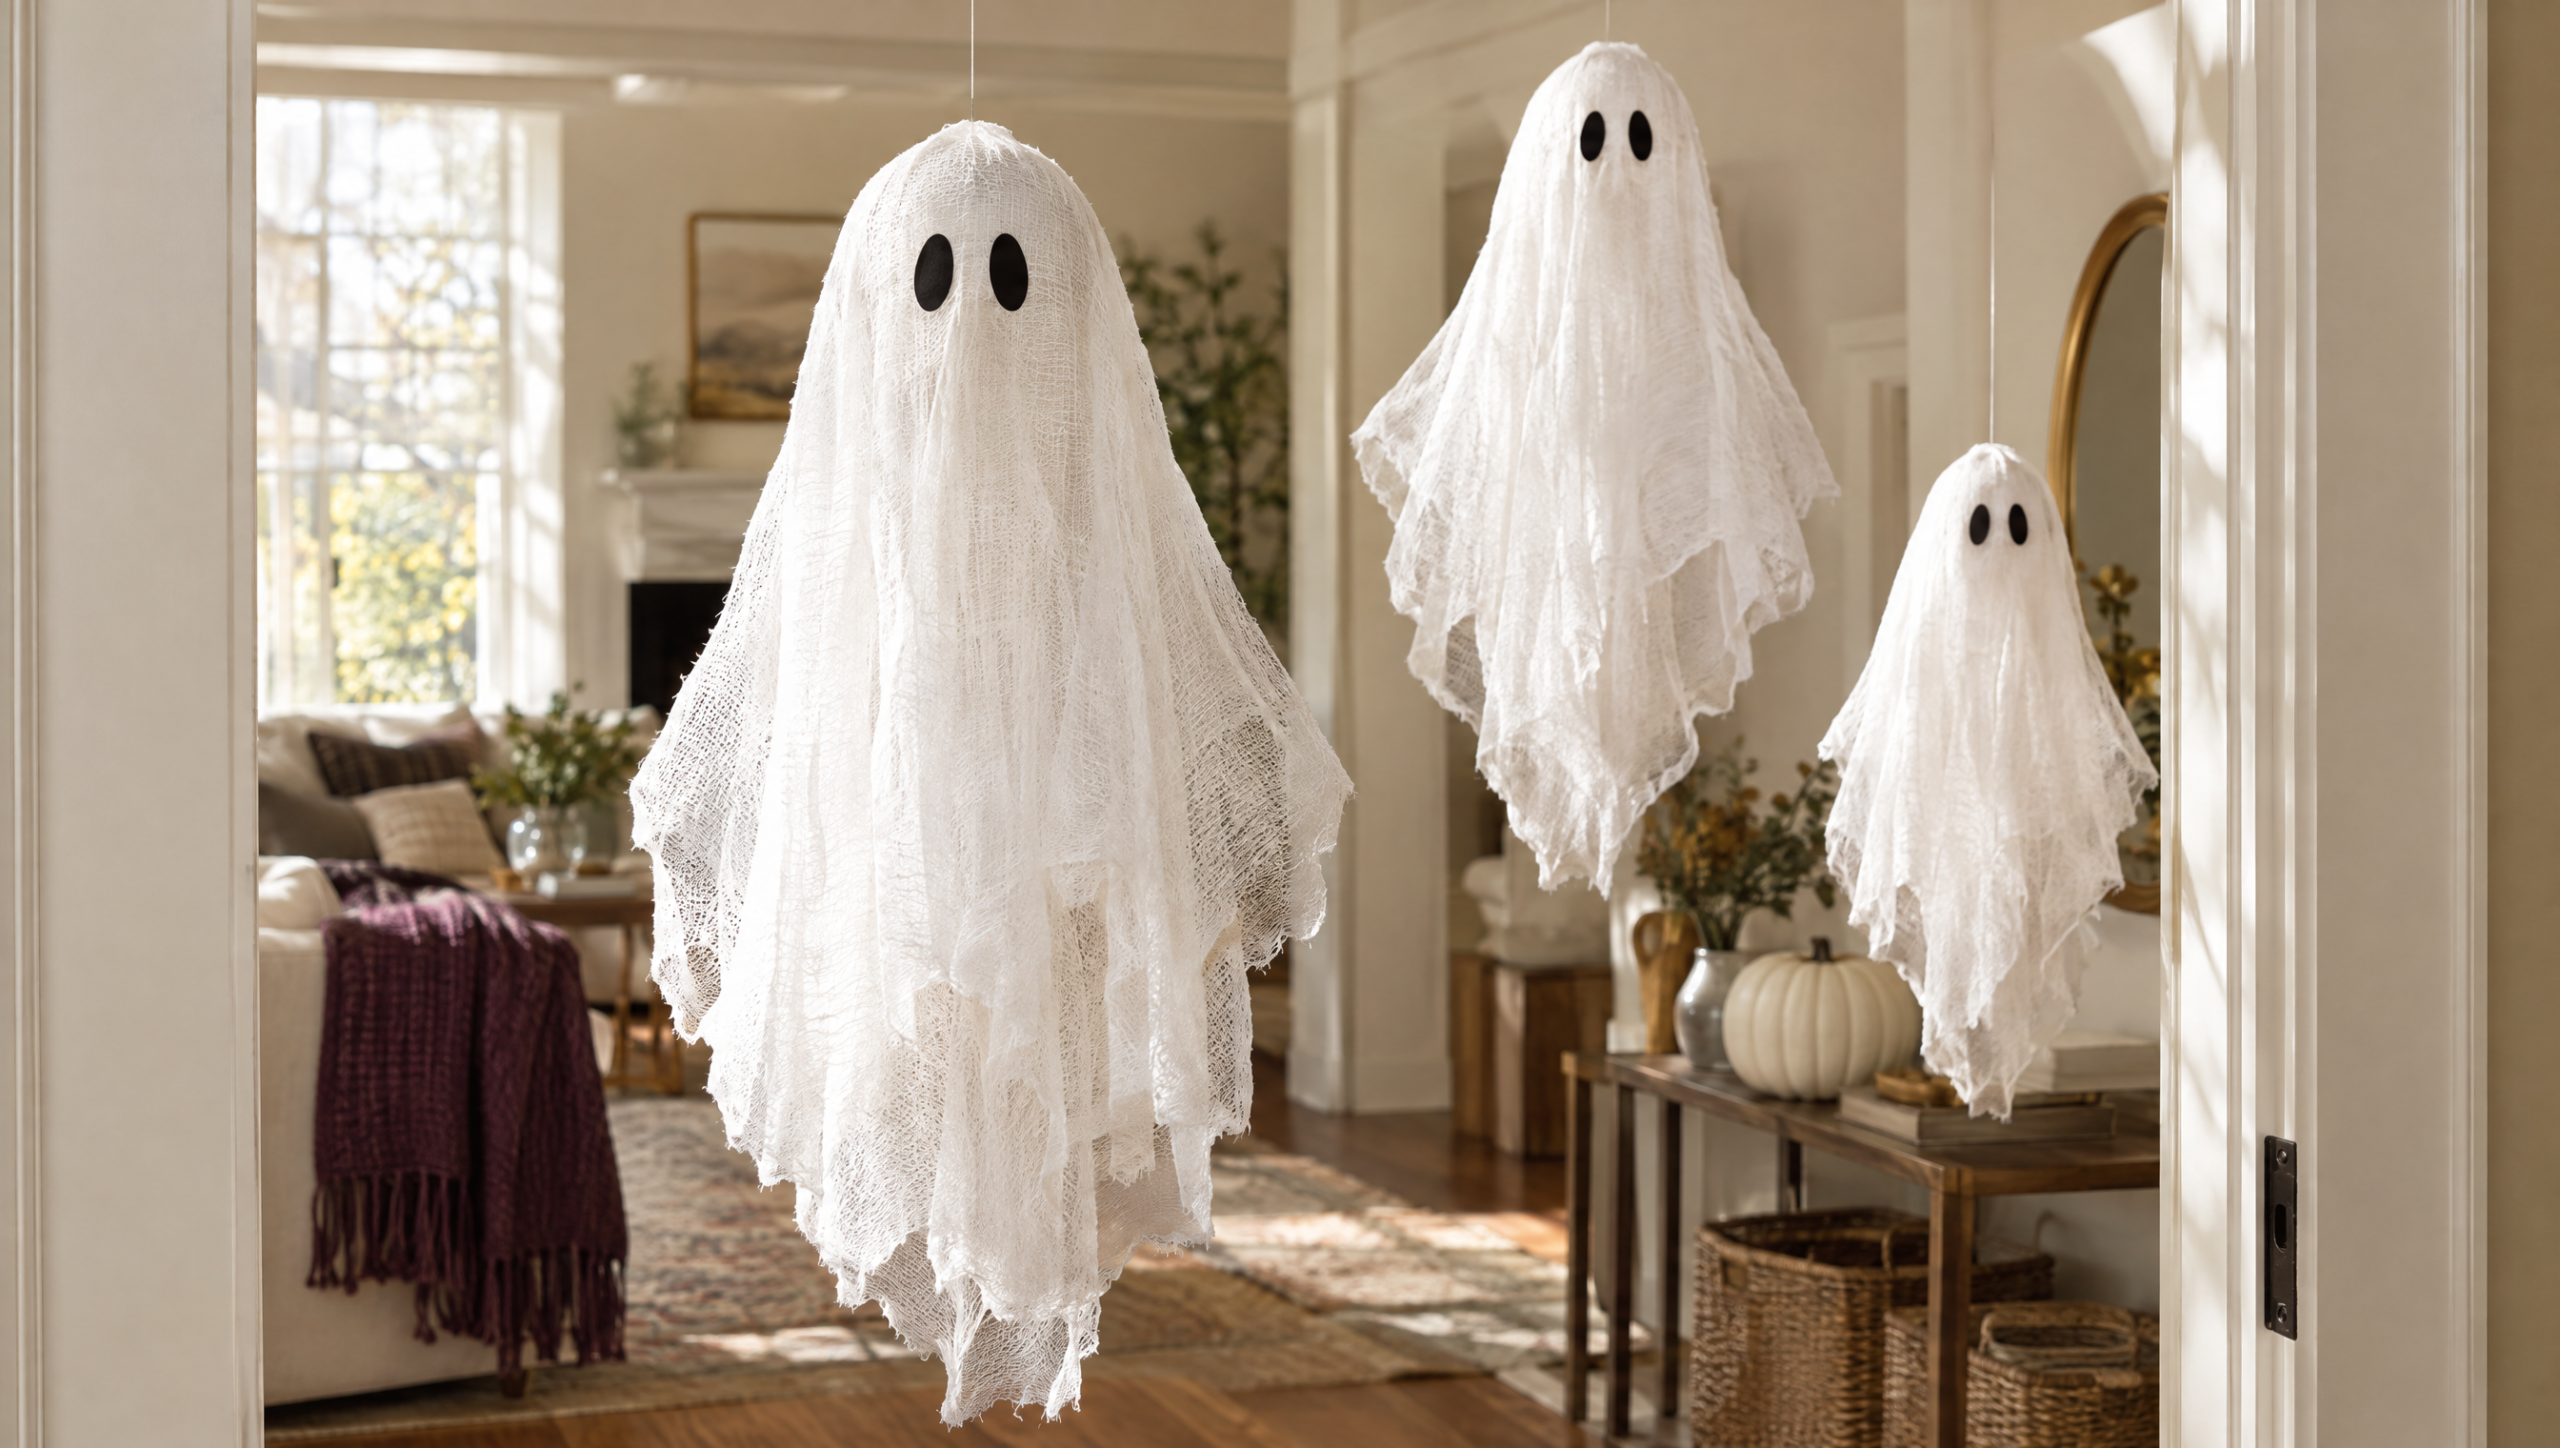
If you make one thing from this list, make these. Cheesecloth ghosts go viral every single October, they cost a few dollars, and a kid can help with every step. Drape glue-soaked cheesecloth over a balloon and a bottle, let it dry stiff overnight, then pop the balloon and you have a ghost that holds its shape. Hang three at different heights for the look everyone shares. Our floating cheesecloth ghost tutorial has the full method, and the video below shows the draping.
2. Vintage Papier-Mache Pumpkins
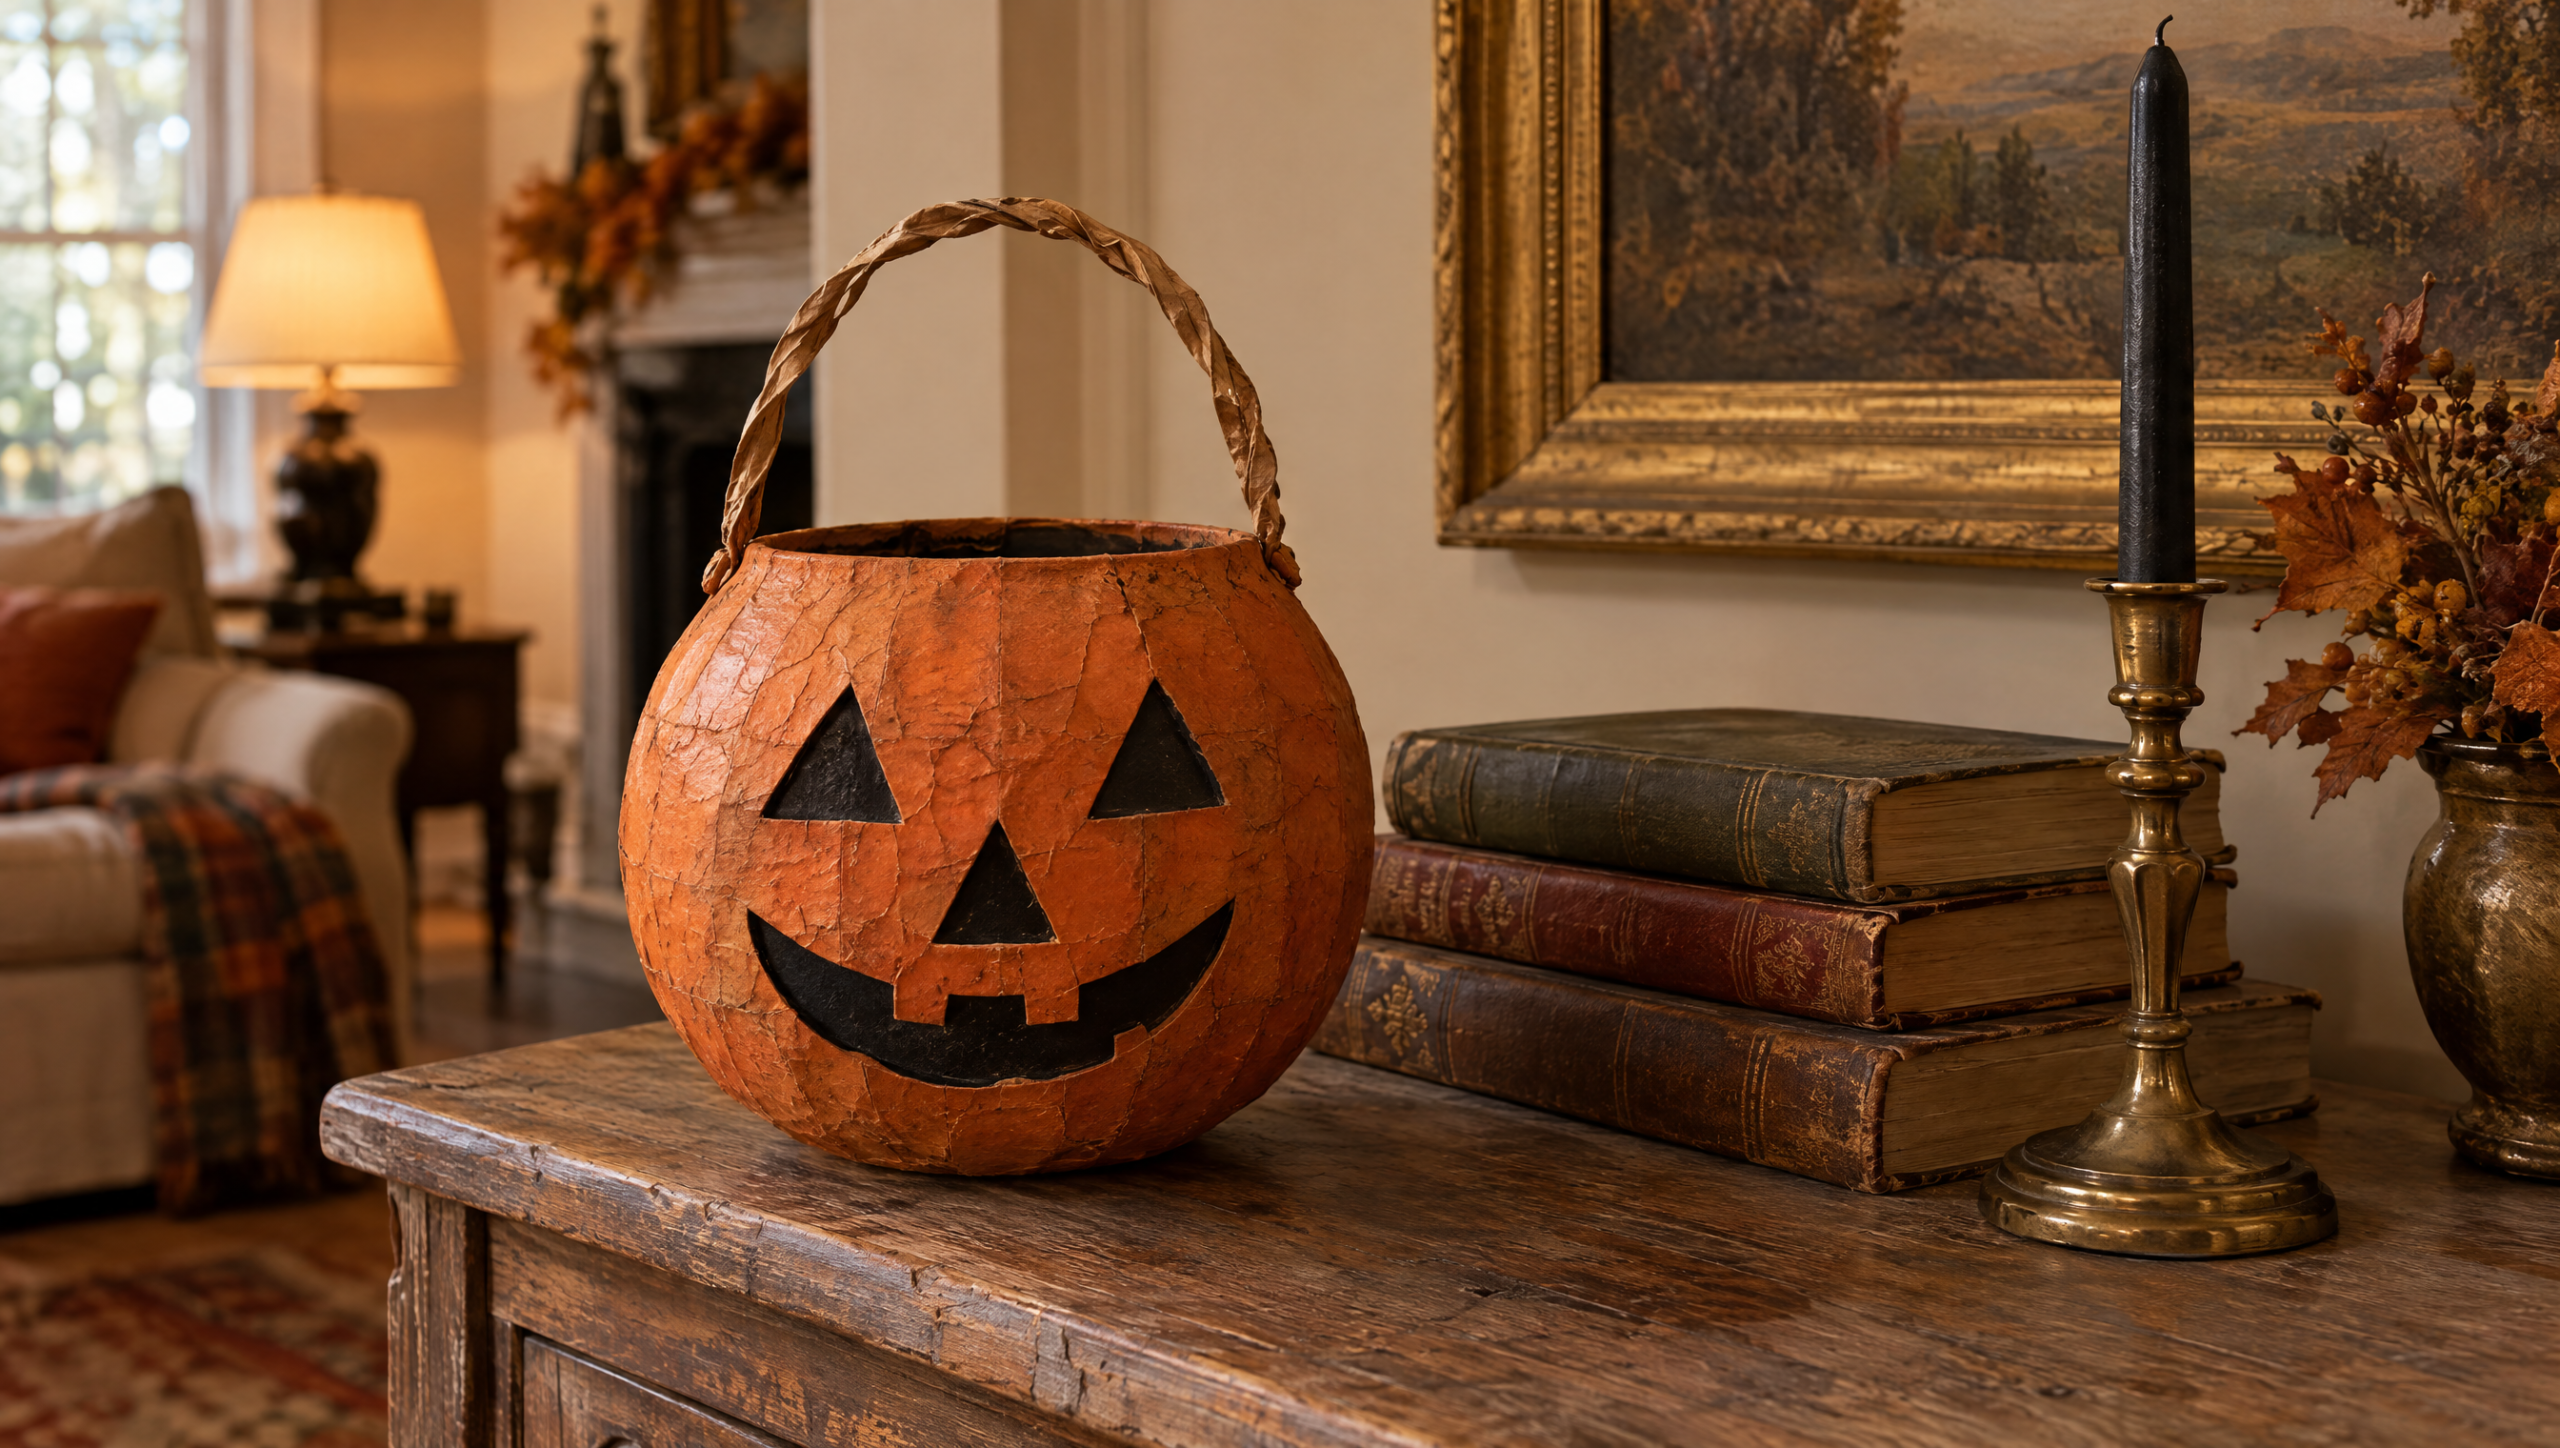
Retro Halloween is the big look this year, and the easiest way in is a pumpkin that looks like it came out of your grandma’s attic. Start with a cheap plastic trick-or-treat bucket, build up layers of kraft paper and glue, then paint it and sand it back so the finish looks worn. The Merrythought has the full vintage papier-mache pumpkin bucket tutorial.
3. Disco Ball Pumpkin
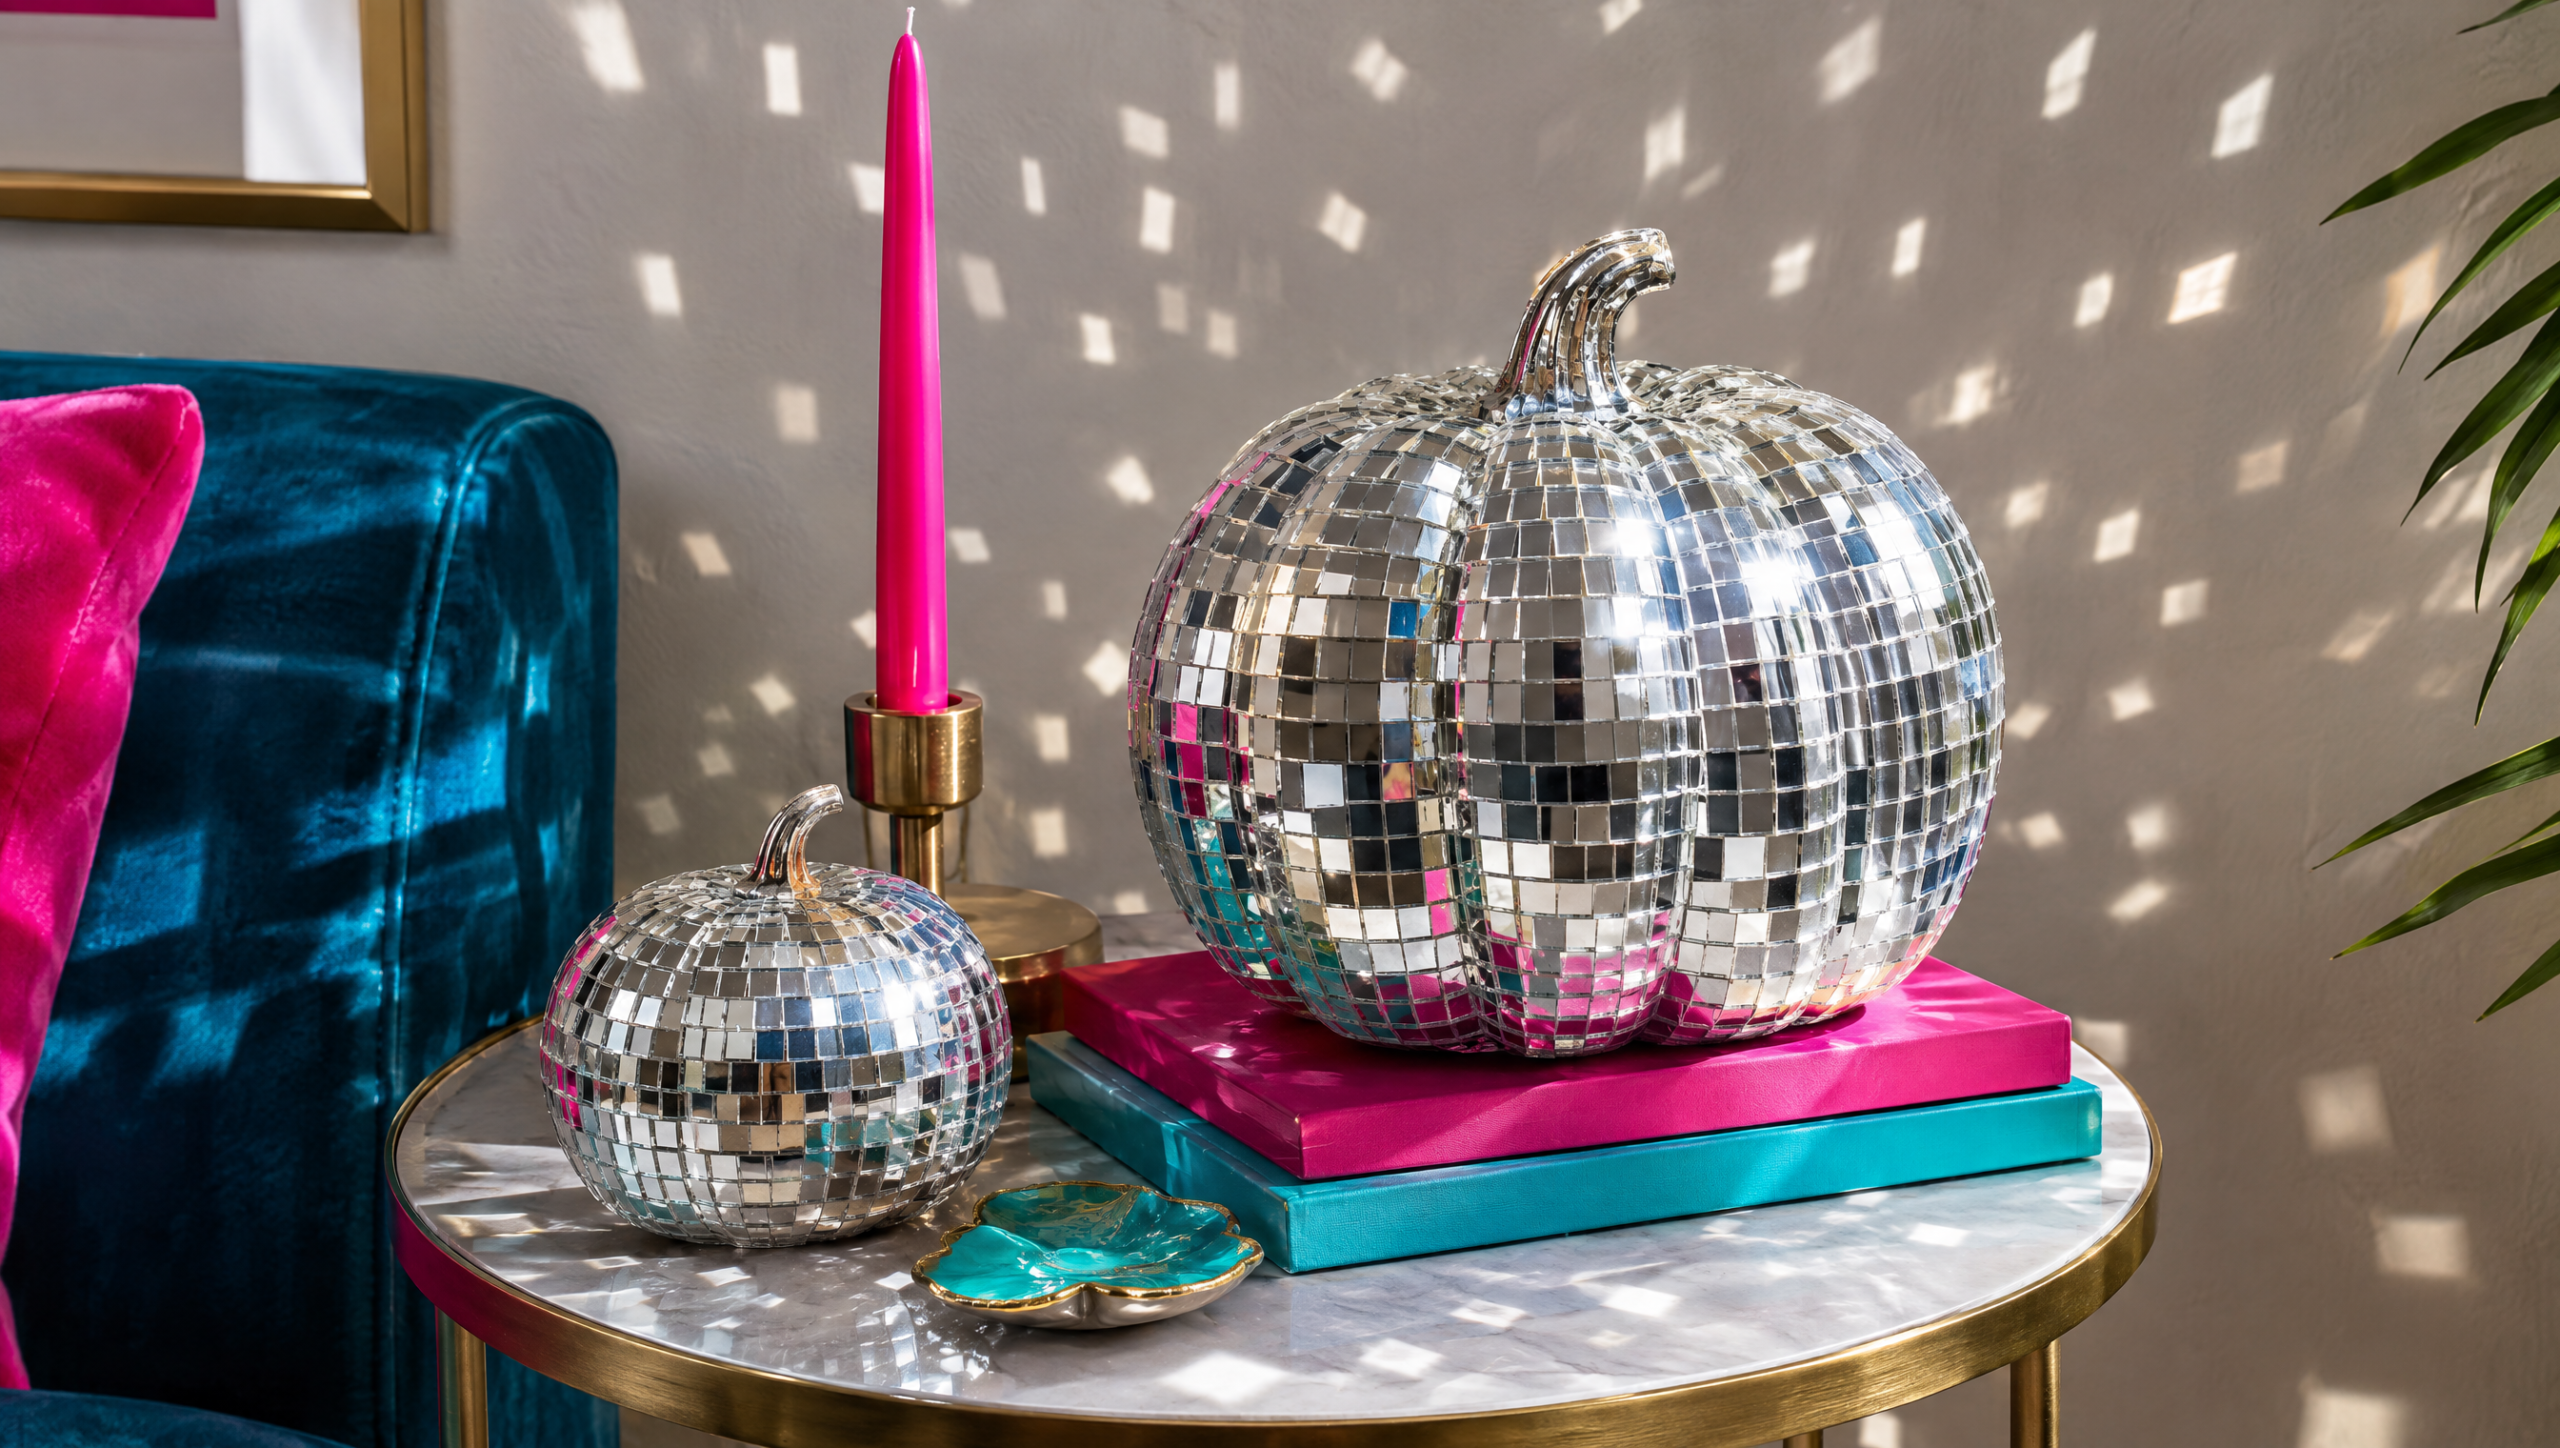
If your Halloween leans more party than haunted house, this one’s for you. Adhesive mirror mosaic tiles get cut into small squares and worked around a craft pumpkin, row by row, until it throws light all over the room. Orange Grove Home has the disco ball pumpkin tutorial with the tile sizes that bend around the curve. For a softer glow instead, try our glowing glass pumpkin.
4. Thrifted Ghost Portraits
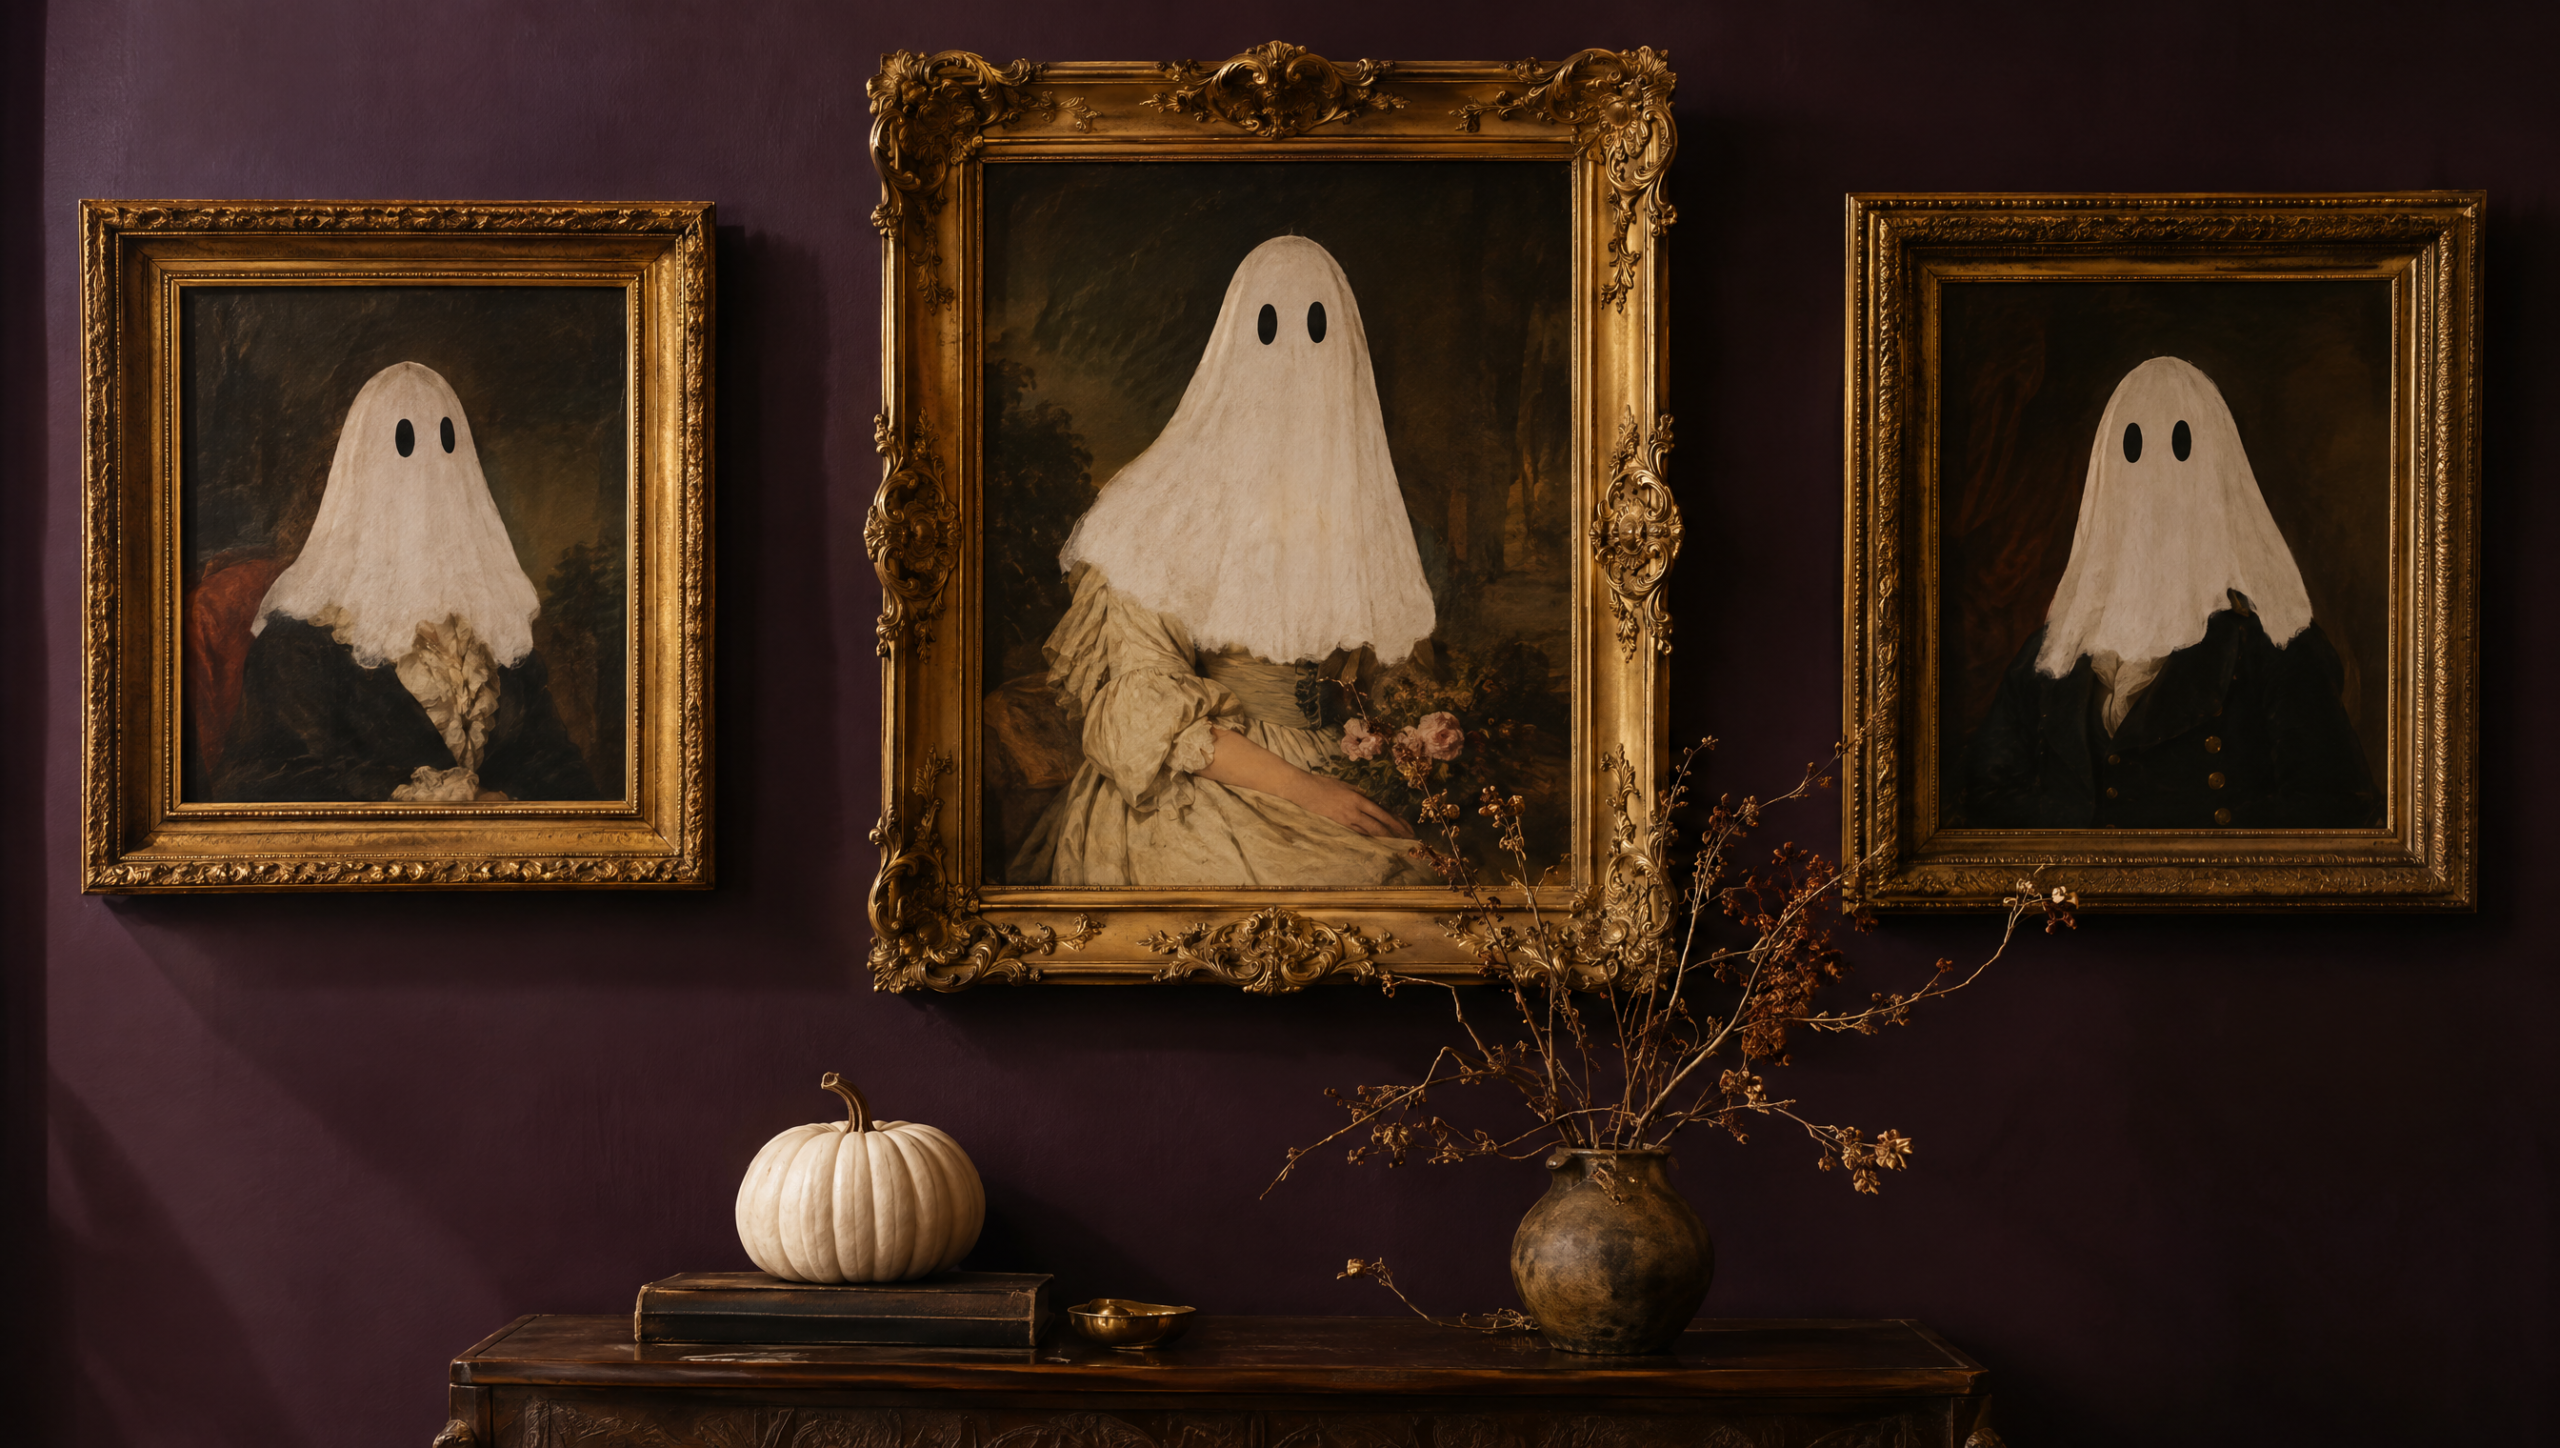
Grab the saddest landscape or portrait painting at the thrift store for a few dollars, then paint a simple white ghost right over the subject. Two coats of craft paint and a black marker for the eyes is the whole technique, and the fancy old frame does the rest of the work. Hang three together for a wall that reads cute from across the room and creepy up close.
5. Apothecary Potion Bottles
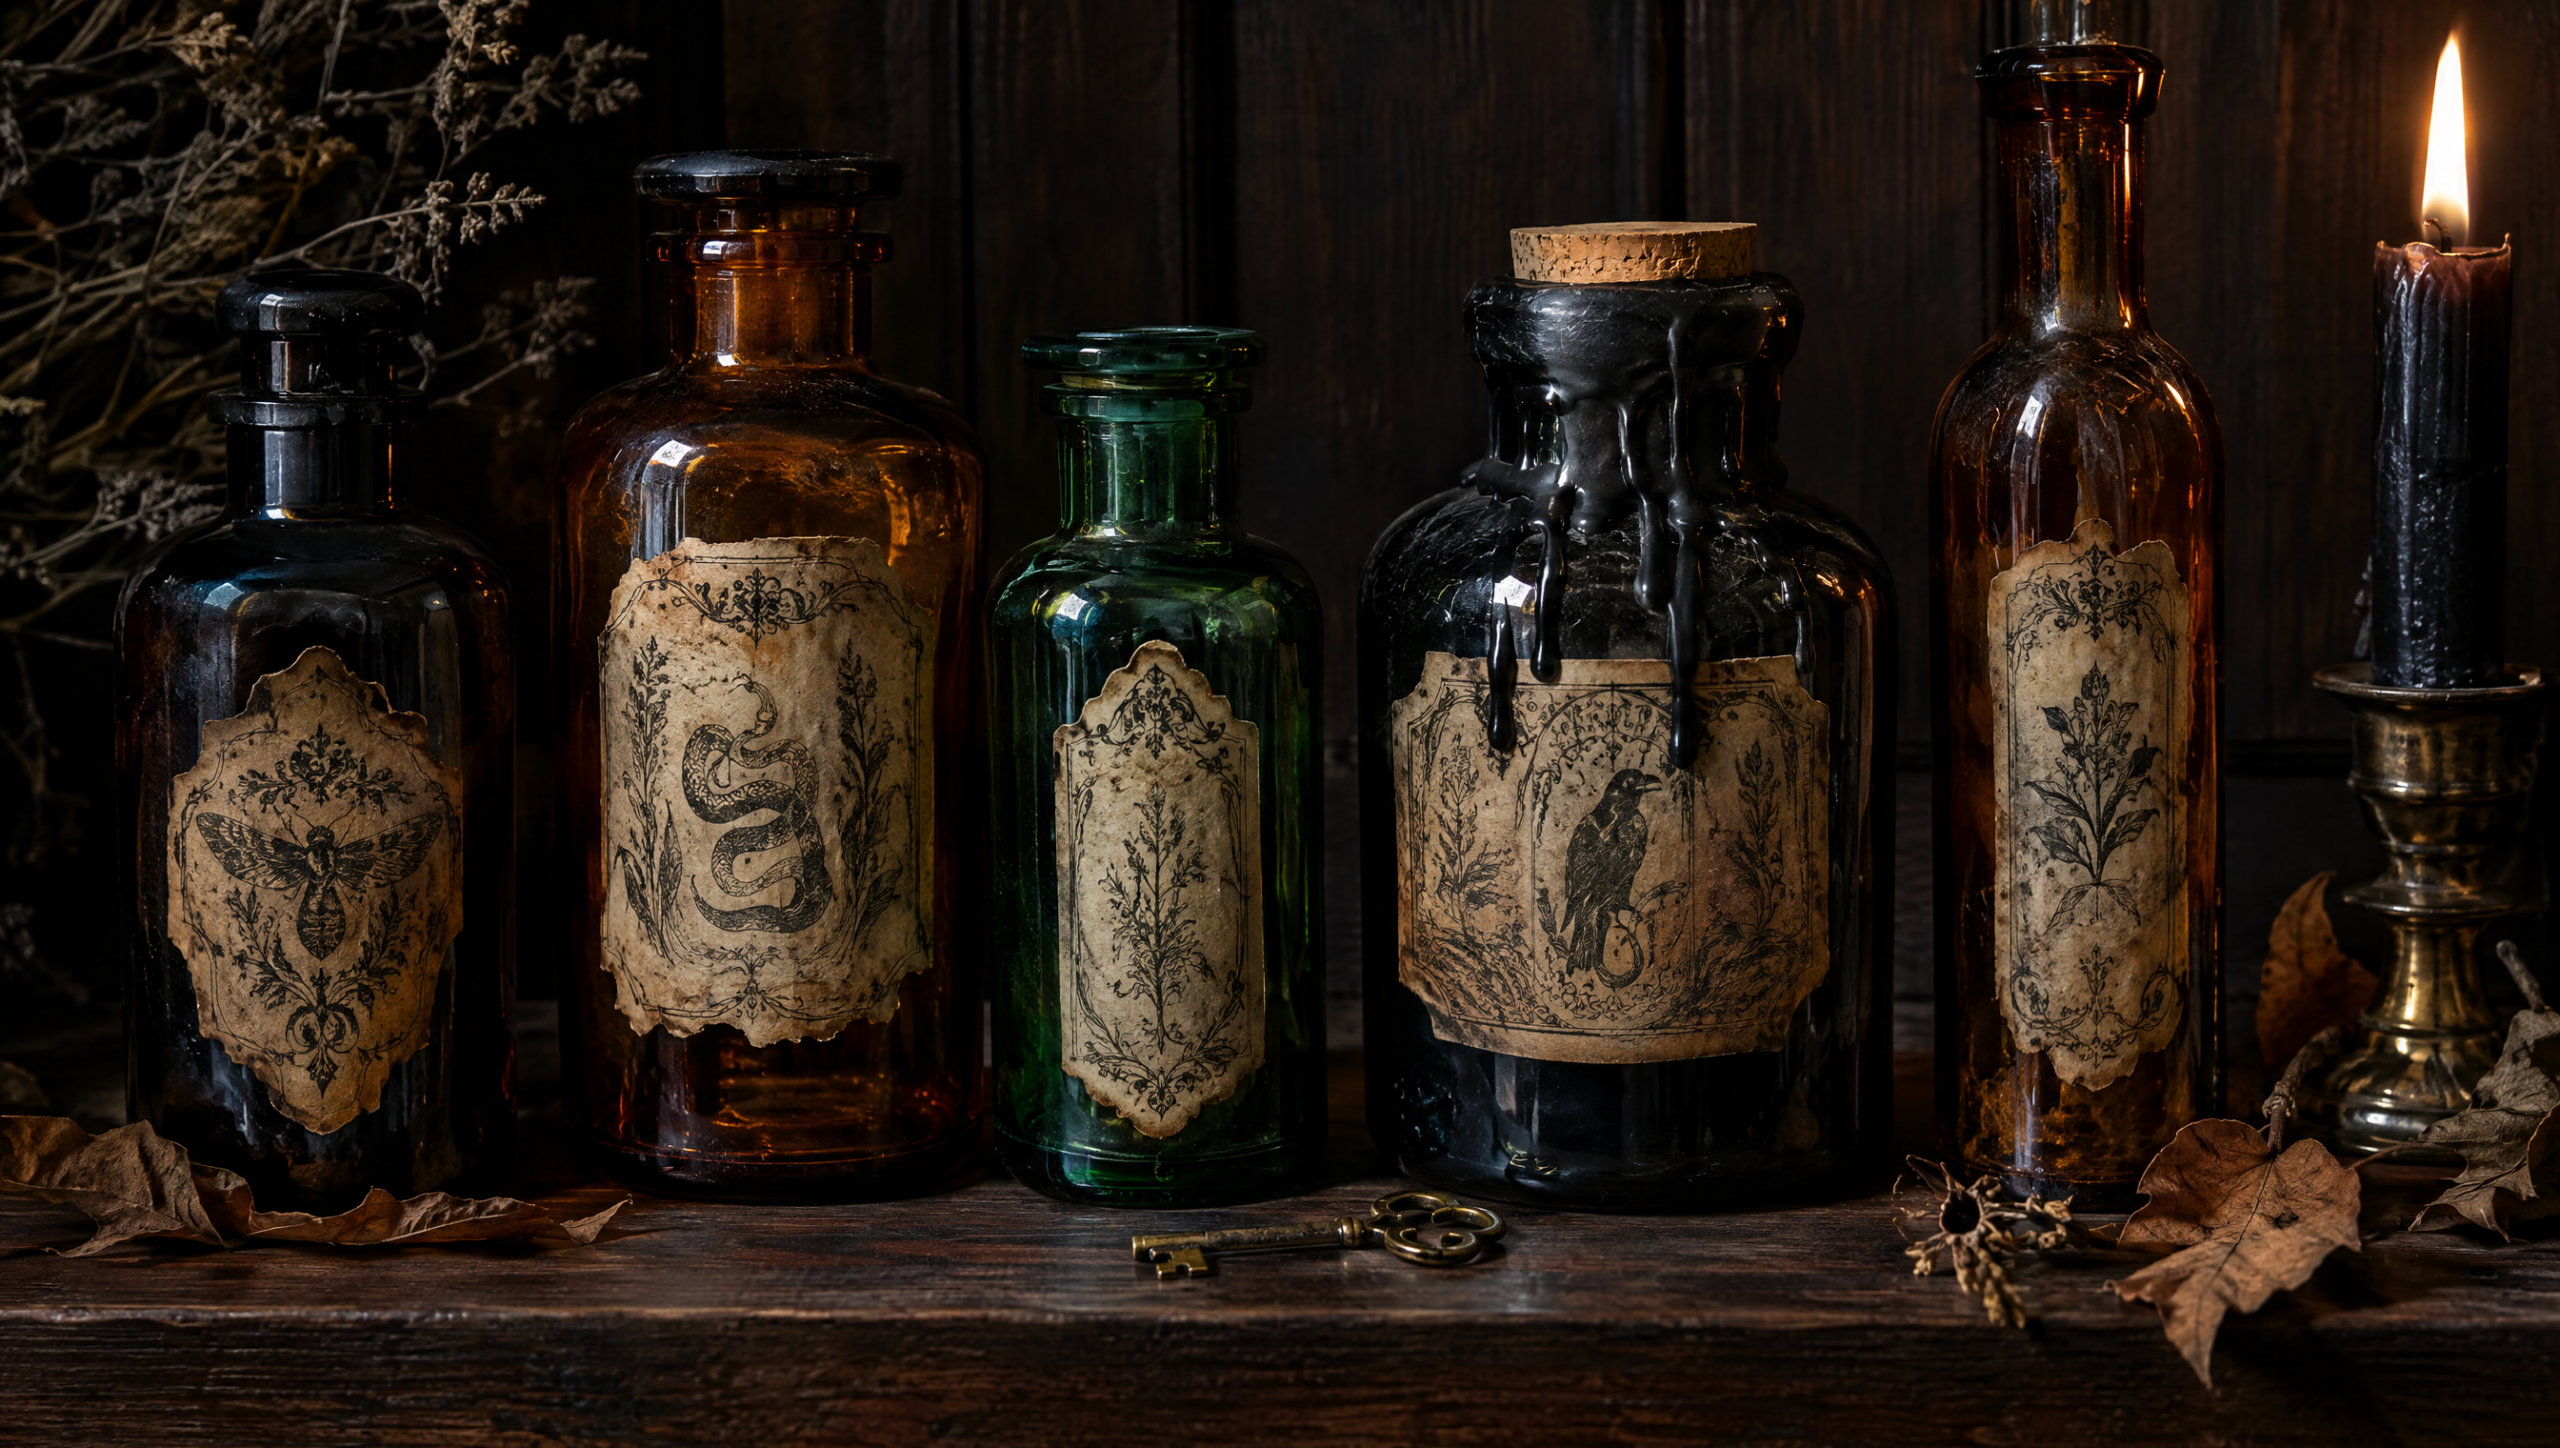
Witchy and Victorian gothic pieces are everywhere this season, and a shelf of potion bottles is the cheapest way to get the look. Paint saved jars and bottles in black, amber and deep green, add aged paper labels, then drip black candle wax down a few of the necks. Group them in odd numbers with one lit candle behind them.
6. Moon Phase Garland
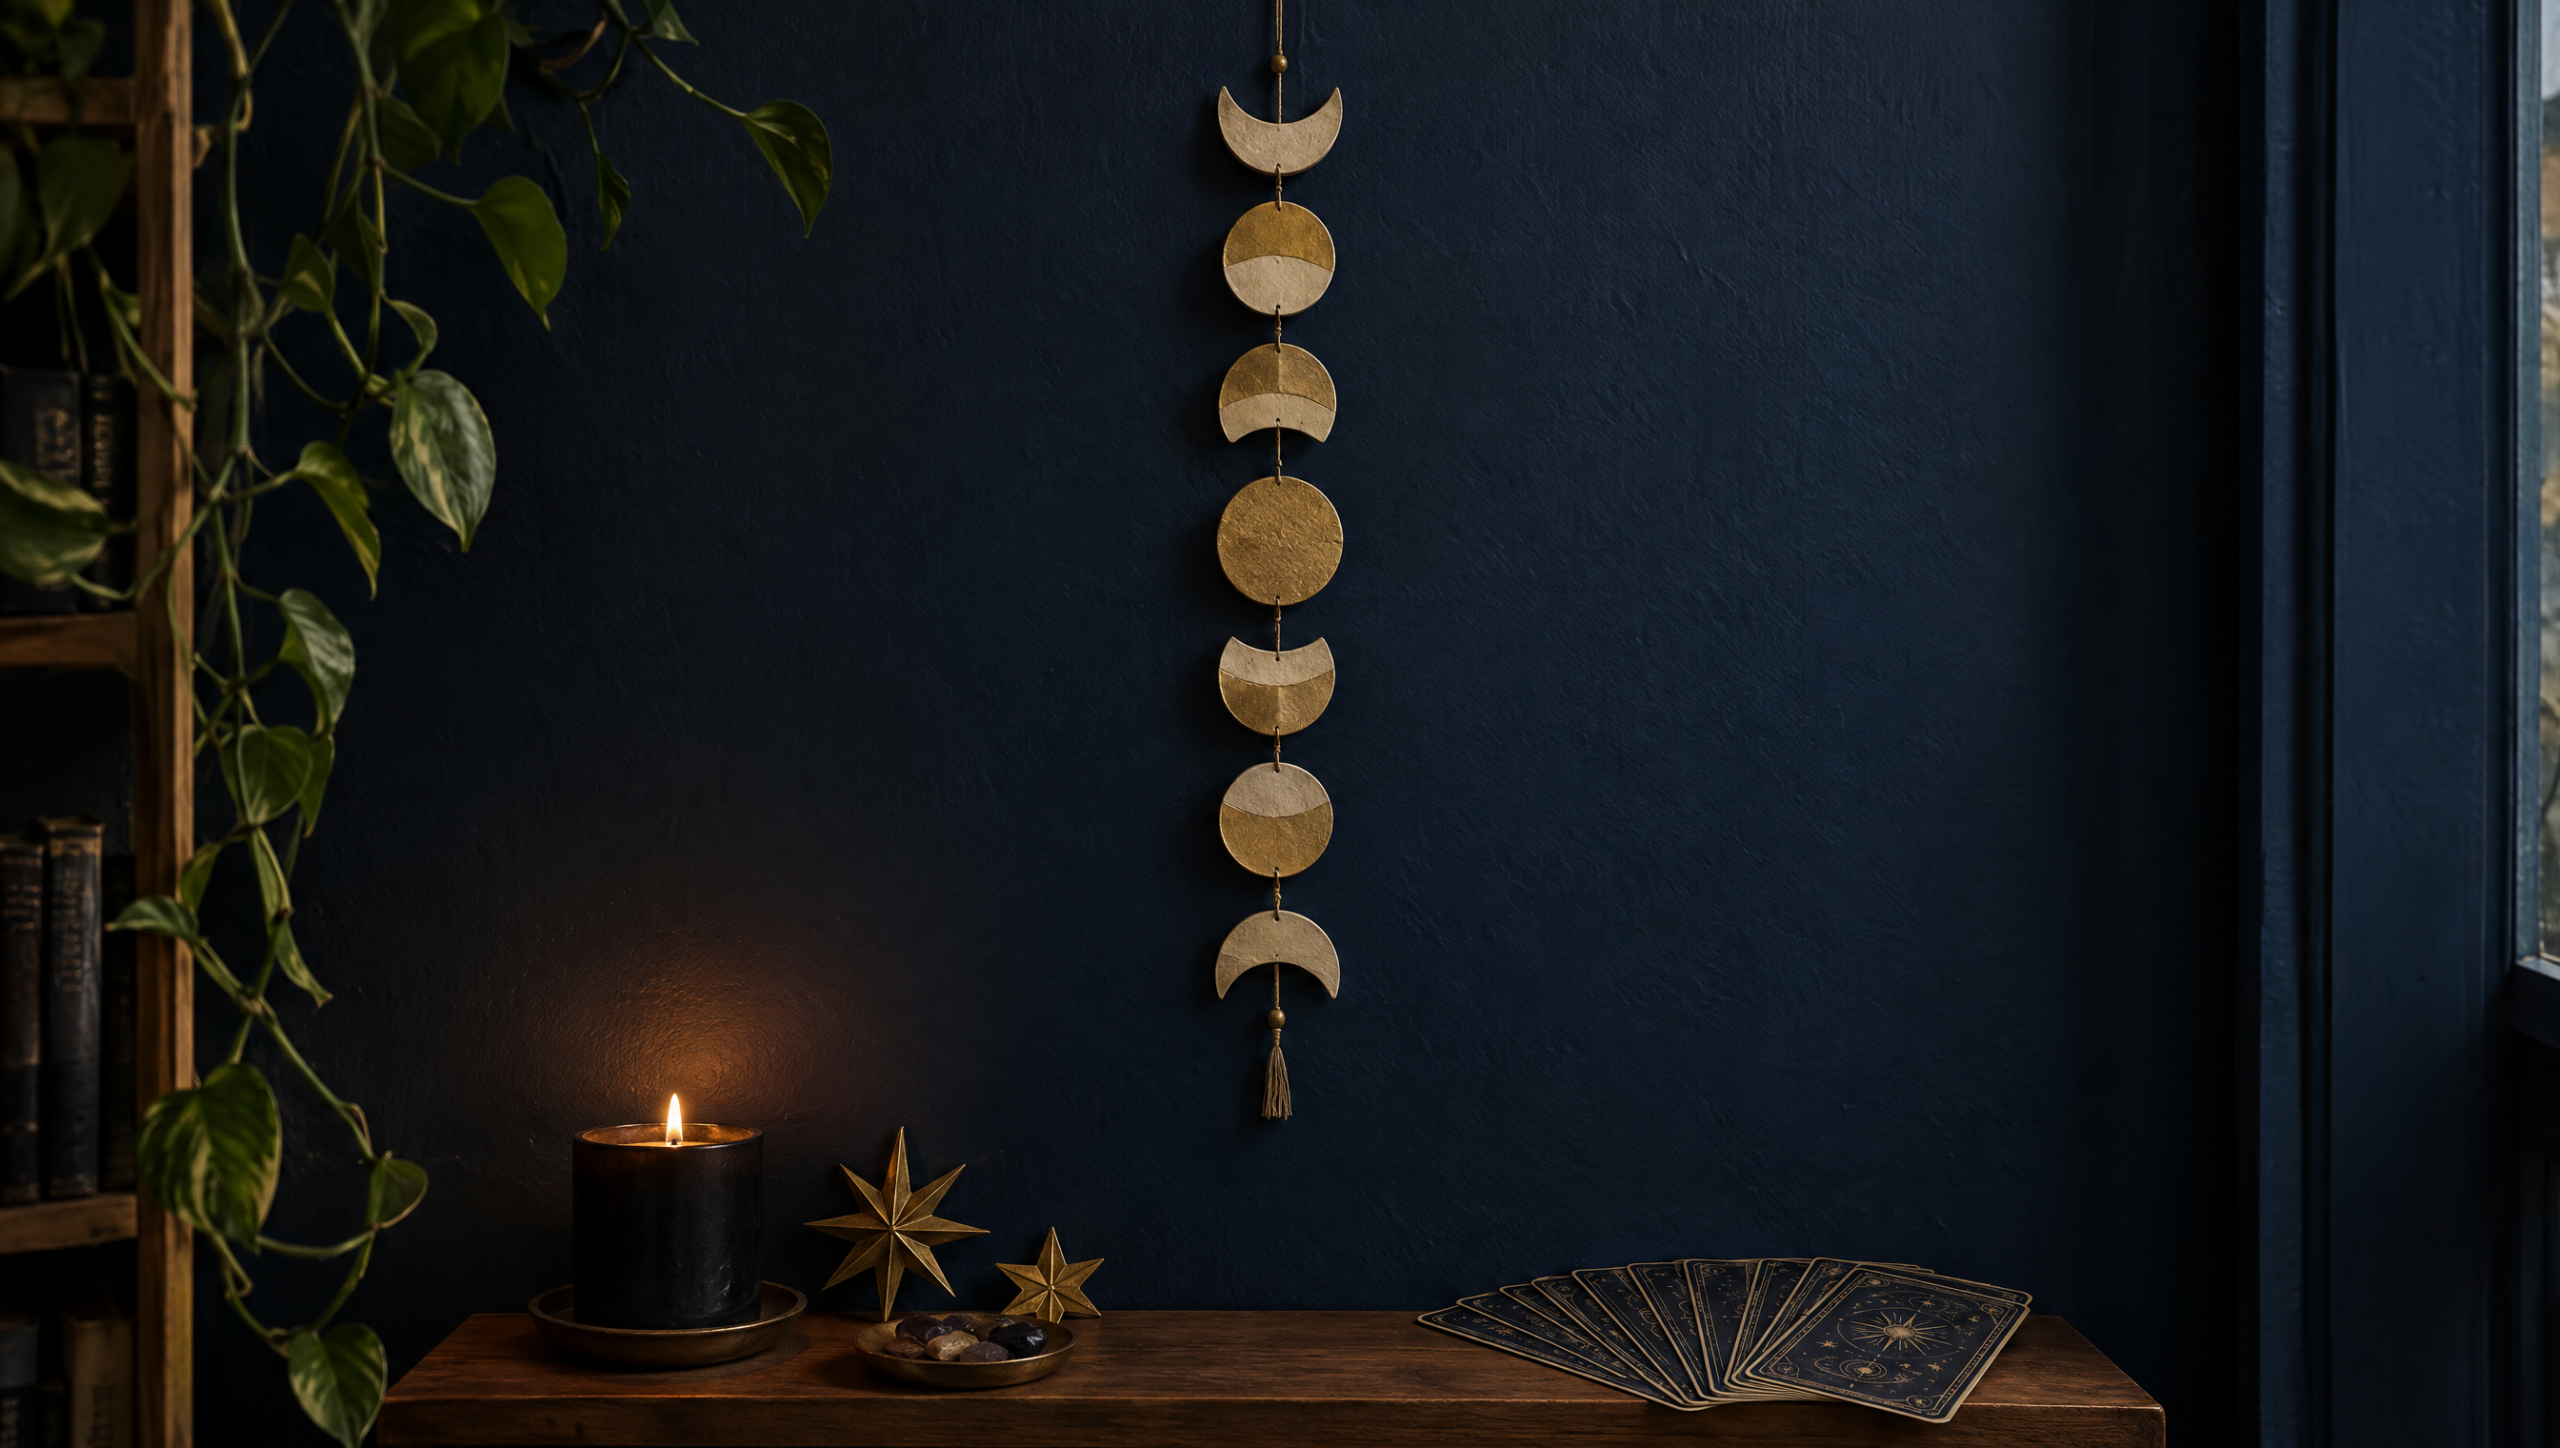
Celestial decor has crossed over from fall into Halloween, and navy, gold and deep purple make a nice break from orange. Cut eight moon shapes from air-dry clay or cardboard, paint them matte gold or cream, then string them in order from crescent to full. It looks good over a doorway or down the side of a bookshelf.
7. Dark Floral Entryway Arrangement
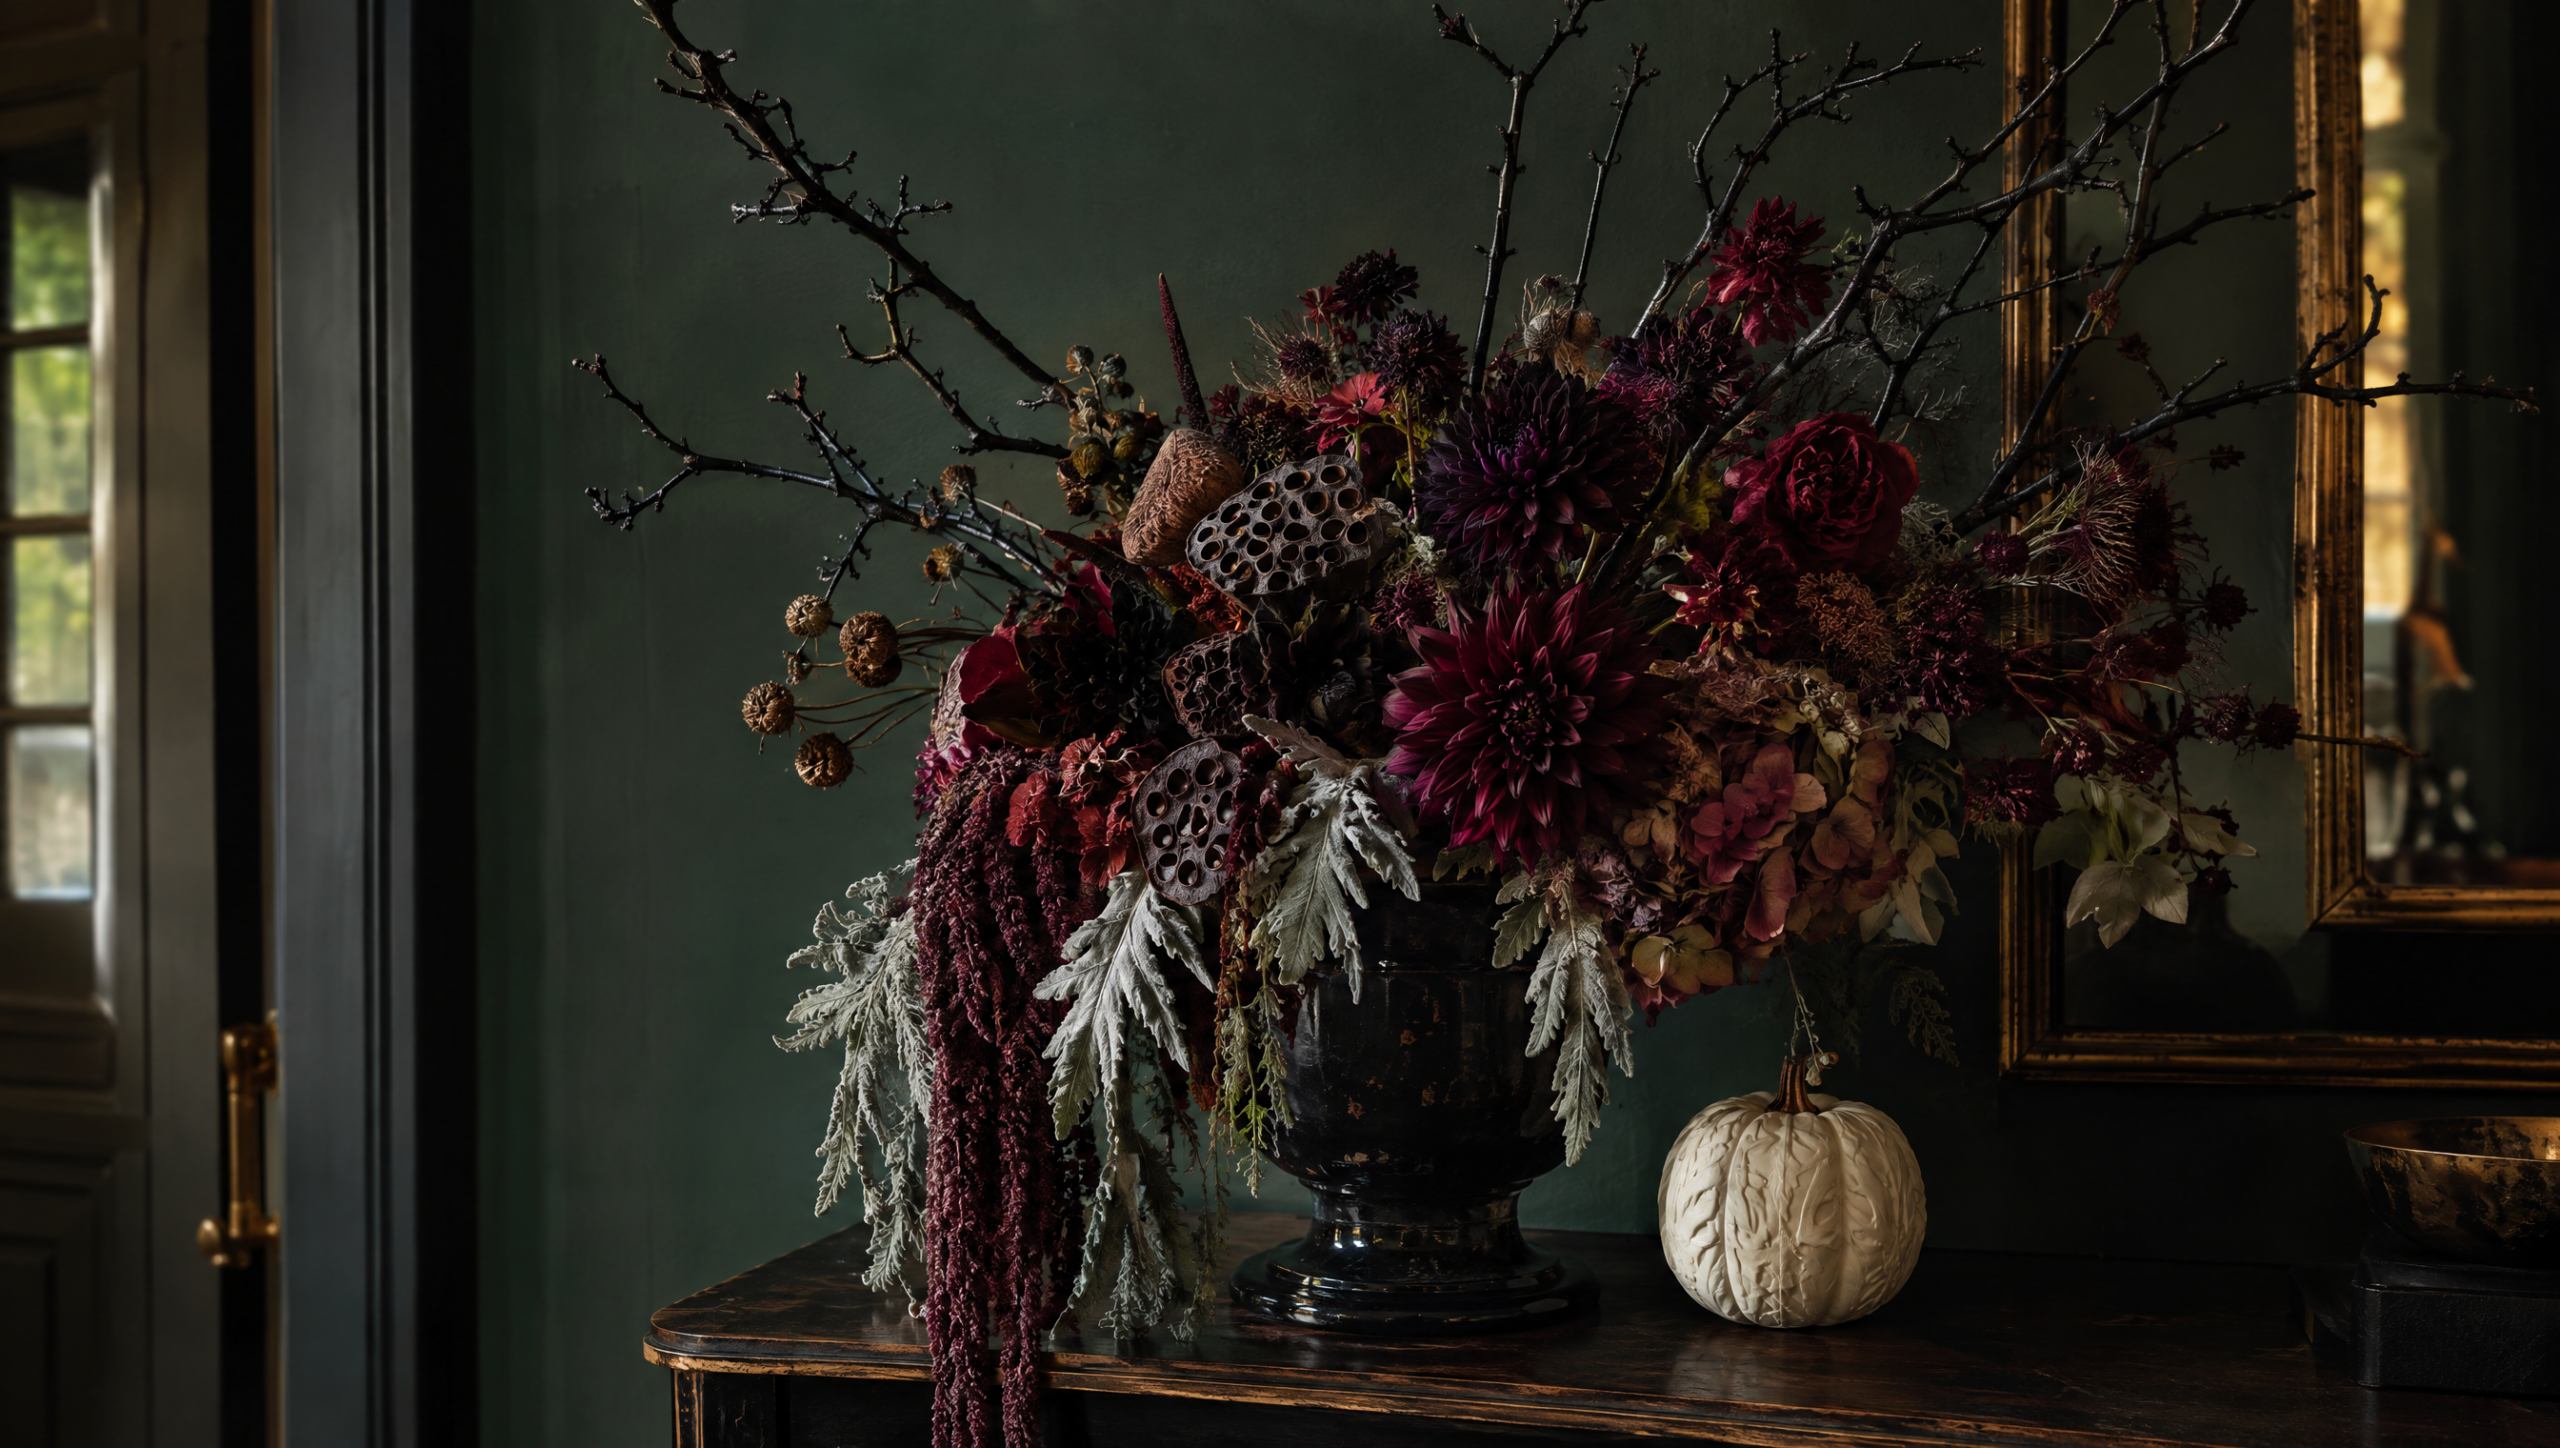
This is the grown-up end of Halloween decor, and it uses what’s already in the yard. Spray a few bare branches matte black, then build an arrangement in a dark vase with burgundy and plum dried flowers, seed pods and anything shriveled you find on a walk. It carries the entry table well past Halloween.
What are the easiest Halloween decorations to make in an afternoon?
These seven are the ones to hand the kids, or to make the night before a party when there’s no time left for drying and layering.
8. Halloween Boo Bottles
|Raid your recycling bin to create these glass ghosts in just 4 easy steps.
9. DIY Halloween Front Door Mummy
|Create this spooky but cute DIY Halloween front door mummy. It takes about five minutes and makes it look like you have much more going on inside.
10. DIY Spider Sack
|Use these cheap yarn spider webs to decorate light fixtures, drape over curtains, or hang from a railing.
11. Spooky Glowing Eyes
|Freak out everyone passing by your home with glowing eyes peeking out from the bushes. Punch two eye holes in a cardboard tube, drop a glow stick inside, and tuck the tubes into the shrubs after dark.
12. Mason Jar Jack-o-Lanterns
|Tissue paper, a jar and a battery tealight give you a row of little jack-o-lanterns for a few dollars. Follow this version with cut paper faces, or work through our own mason jar lantern projects for more finishes.
13. Floating Head Hanging Ghost
|A styrofoam ball under white fabric gives these ghosts a head that holds its shape outdoors. Hang these homemade ghosts from tree branches or porch railings.
RELATED: 31 Breathtakingly Easy-to-Make DIY Halloween Decorations
14. Illuminated Ghost Garland
|Give your guests a festive welcome with this illuminated ghost garland resting on your porch. It’s a cute and simple idea you can do with the kids.
How do you decorate walls and shelves for Halloween?
Indoor Halloween is having its moment this year, so this group covers the walls, the shelves and the table.
15. Trash Bag Spiderwebs
|Adorn your walls with these inexpensive trash bag spiderwebs, which give you festive creepy Halloween decor without the scary price.
16. DIY Halloween Bats
|A flock of black paper bats climbing a wall is still one of the cheapest wins in the house. Cut them in three sizes, bend the wings so they sit off the wall a little, and stick them up with removable putty so the paint survives November.
17. Paper Mice Halloween Decorations
|These paper mice decorations add a scary factor while giving your little ones a crafty project to do. Line them up the stairs or along a baseboard where someone will spot them later.
18. Halloween Mummy Jars
|Wrap gauze around re-purposed jars, add googly eyes, and drop in a battery tealight for these DIY mummy jars. They look great lined up on a windowsill with the rest of your Halloween table decor.
19. Halloween Spirit Jugs
|Spice up your space with a spooky glow by adding this display of lights made out of recycled old milk jugs.
20. Spooky Eyeball Wreath
|A creepy wreath to greet your trick-or-treaters in a one-of-a-kind display that adds some fright to your front door.
21. Haunted House Silhouettes
|Set up frightening shadows that tell everyone walking by something strange is going on behind the curtains. A lamp behind the paper is what sells it.
What Halloween decor works best outside?
These last four are built for the yard, the garage and the walkway, where the whole neighborhood sees them.
22. Haunted Tree
|This is the weekend project of the bunch, built from newspaper, tape and paper mache over a simple frame. Follow this haunted tree build, then put a speaker behind it and play something eerie.
23. Monster Doors
|This DIY monster door is a perfect way to liven up your front door for trick-or-treat night.
24. Monster Garage Teeth
|Transform your garage door into a big friendly monster. This is the one that makes kids point from the car window.
25. Paper Bag Lights
|In just a few minutes, you can line the walkway with these four DIY luminary ideas. Use battery tealights rather than real flames, and see our porch decorating ideas for how to lay the whole entry out.
Porch tip: Set your display up a few days early, then walk out to the sidewalk after dark. What reads clearly from there is what your trick-or-treaters will actually see.
When is it worth buying the decoration instead?
- Anything that plugs into an outlet outdoors. Buy outdoor-rated lights and projectors rather than rigging indoor ones, and leave new exterior outlets to a licensed electrician.
- Big yard inflatables and animatronics. The motors and stakes are hard to match at home, and a secondhand one costs less than the materials.
- Anything going up a ladder. If the roofline or a tall tree is involved, hire a handyman for an hour instead of balancing on the top step.
How do you know your Halloween display turned out right?
- One piece is clearly the star, and the rest supports it.
- Everything reads from the sidewalk after dark, not just up close.
- Nothing paper is sitting out in the open where rain can reach it.
- The whole thing still looks good on November 1, before you take it down.
Ready to haunt your house this weekend?
Pick three ideas from this list and give yourself one Saturday. Start with the cheesecloth ghosts, since they dry overnight and cost almost nothing, then add a piece at the door and one on a table. By trick-or-treat night you’ll have a porch worth slowing down for.
Show us how yours turned out! Post a photo of your display on our Facebook page, and save this list to your Halloween board on Pinterest so it’s handy when you shop for supplies.
A few helpful answers
Cute and creepy Halloween decor FAQs
Timing, weather, budget and storage.
Cheesecloth ghosts. Soak cheesecloth in watered-down glue, drape it over a balloon, and let it dry overnight. Paper bats are a close second, since they only need black cardstock and scissors.
Keep the shapes round and the faces simple. Friendly eyes, soft fabric and warm light read as cute, while sharp teeth and fake blood read as scary. Skipping gore also makes the display work for the youngest trick-or-treaters.
Glass, plastic and painted wood. Jar lanterns, milk jug ghosts and garage door teeth all survive weather. Keep paper bats, luminaries and cheesecloth under a covered porch or inside a window.
The first week of October is the sweet spot. You get a full month out of the work, and the weather is usually still kind to anything handmade. Put the lights up a few days before the rest so you can test them after dark.
Flat things go in a folder, round things go in a bin. Slide bats and silhouettes between cardboard so they don’t crease, nest the jars with paper towels between them, and pull the batteries out of every light before it goes in the box.
Still have a question? Ask in the comments.
Should Halloween decor lean cute or creepy?
Some porches go full smiling ghost, and some go for the thing that makes a grown adult jump. Where do you land?
Cast your vote, then tell us in the comments which decoration gets the biggest reaction at your house.
This video from Martha Stewart will show you how to prep your yard with creepy outdoor Halloween decorations:
Up Next:
- How to Make Pool Noodle Halloween Candles in 6 Steps
- Floating Witch Hat Lights That Last All Season on Your Porch
- 10 Easy Dollar Store Halloween Decorations You Should Try

Editor’s Note: This post was originally published on October 1, 2016, and has been updated for 2026 with current decor trends, new project ideas, and fresh tutorials.









