
At a Glance: Halloween Cricut Ideas
- Start with the material, not the design. Removable vinyl for windows and glass, iron-on for shirts and bags, cardstock for paper decor.
- Mirror every iron-on cut. It’s the one switch that saves a shirt.
- Most of these are quick. Window bats, a glowing ghost tee, jar lanterns and paper bats all fit in one evening.
The best Halloween Cricut ideas are the quick ones: bat and witch silhouettes for your windows, a glow-in-the-dark ghost shirt, vinyl-wrapped jar lanterns and a swarm of paper bats. Most use one main material and fit in an evening. Jump to the ideas or skip to the fixes for peeling and lifting.
If your Cricut has been sitting in the box since summer, Halloween is the best excuse to pull it out. The shapes are simple. Bats, ghosts and spiders are big, bold outlines, so there’s less tiny weeding than you’d think.
These Halloween Cricut ideas are grouped so the easy materials come first. Cardstock and removable vinyl forgive a bad cut. You just cut it again.
Iron-on comes after, once you’ve had a little practice.
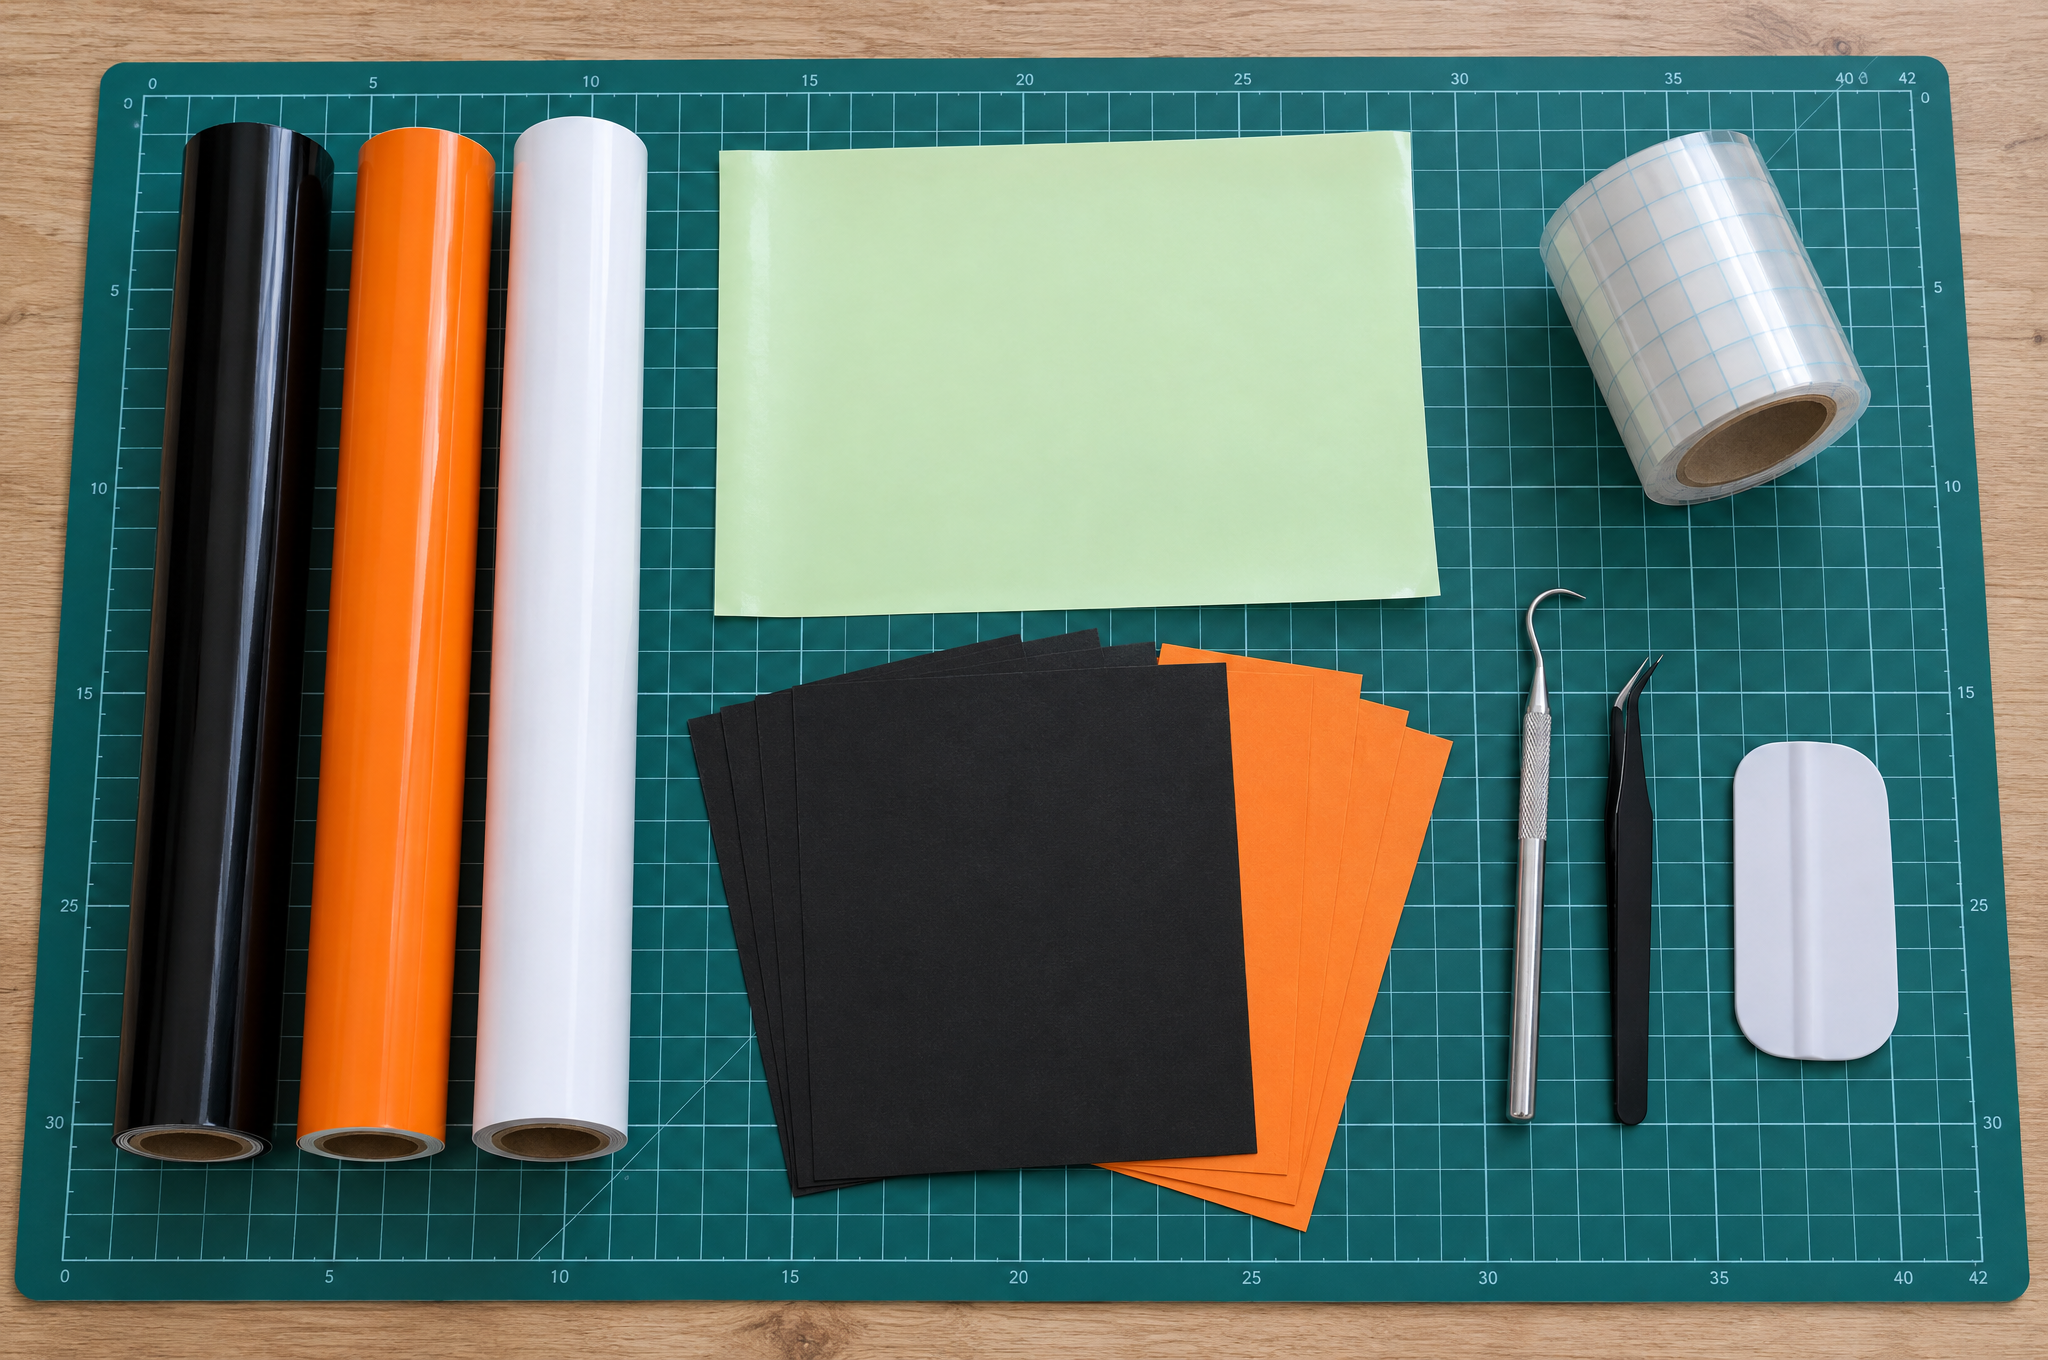
Before you start, find your weeding hook. A sharp, fine point lifts the inside of letters and the gaps in bat wings without tearing the vinyl. If yours has gone dull, that’s the one tool worth replacing first.
What do you need for these Cricut Halloween projects?
Covers all 10 ideas. Pick only the materials for the ones you’re making.
- Cutting machine and a StandardGrip mat. Any Cricut that cuts vinyl and cardstock works.
- Removable adhesive vinyl. Black, white and orange do most of the work. Use it for windows and glass.
- Permanent adhesive vinyl. For cups, buckets and anything you’ll wash.
- Iron-on (HTV). Black or glow-in-the-dark for shirts and tote bags.
- Transfer tape. Standard tape for smooth vinyl.
- Cardstock. Black and orange, for bats, garlands and treat boxes.
- Weeding hook, tweezers and a scraper.
- Rubbing alcohol and a lint-free cloth. For cleaning glass before vinyl goes on.
- A household iron or a heat press. Only for the iron-on ideas.
Quick tip: Cut a 1-inch test shape before every new roll. If it weeds clean, the full design will too.
Which Halloween Cricut ideas are easiest to make?
Ten ideas, easy materials first. Each one names the material and the one thing that makes it work.
1. Bat and witch window silhouettes
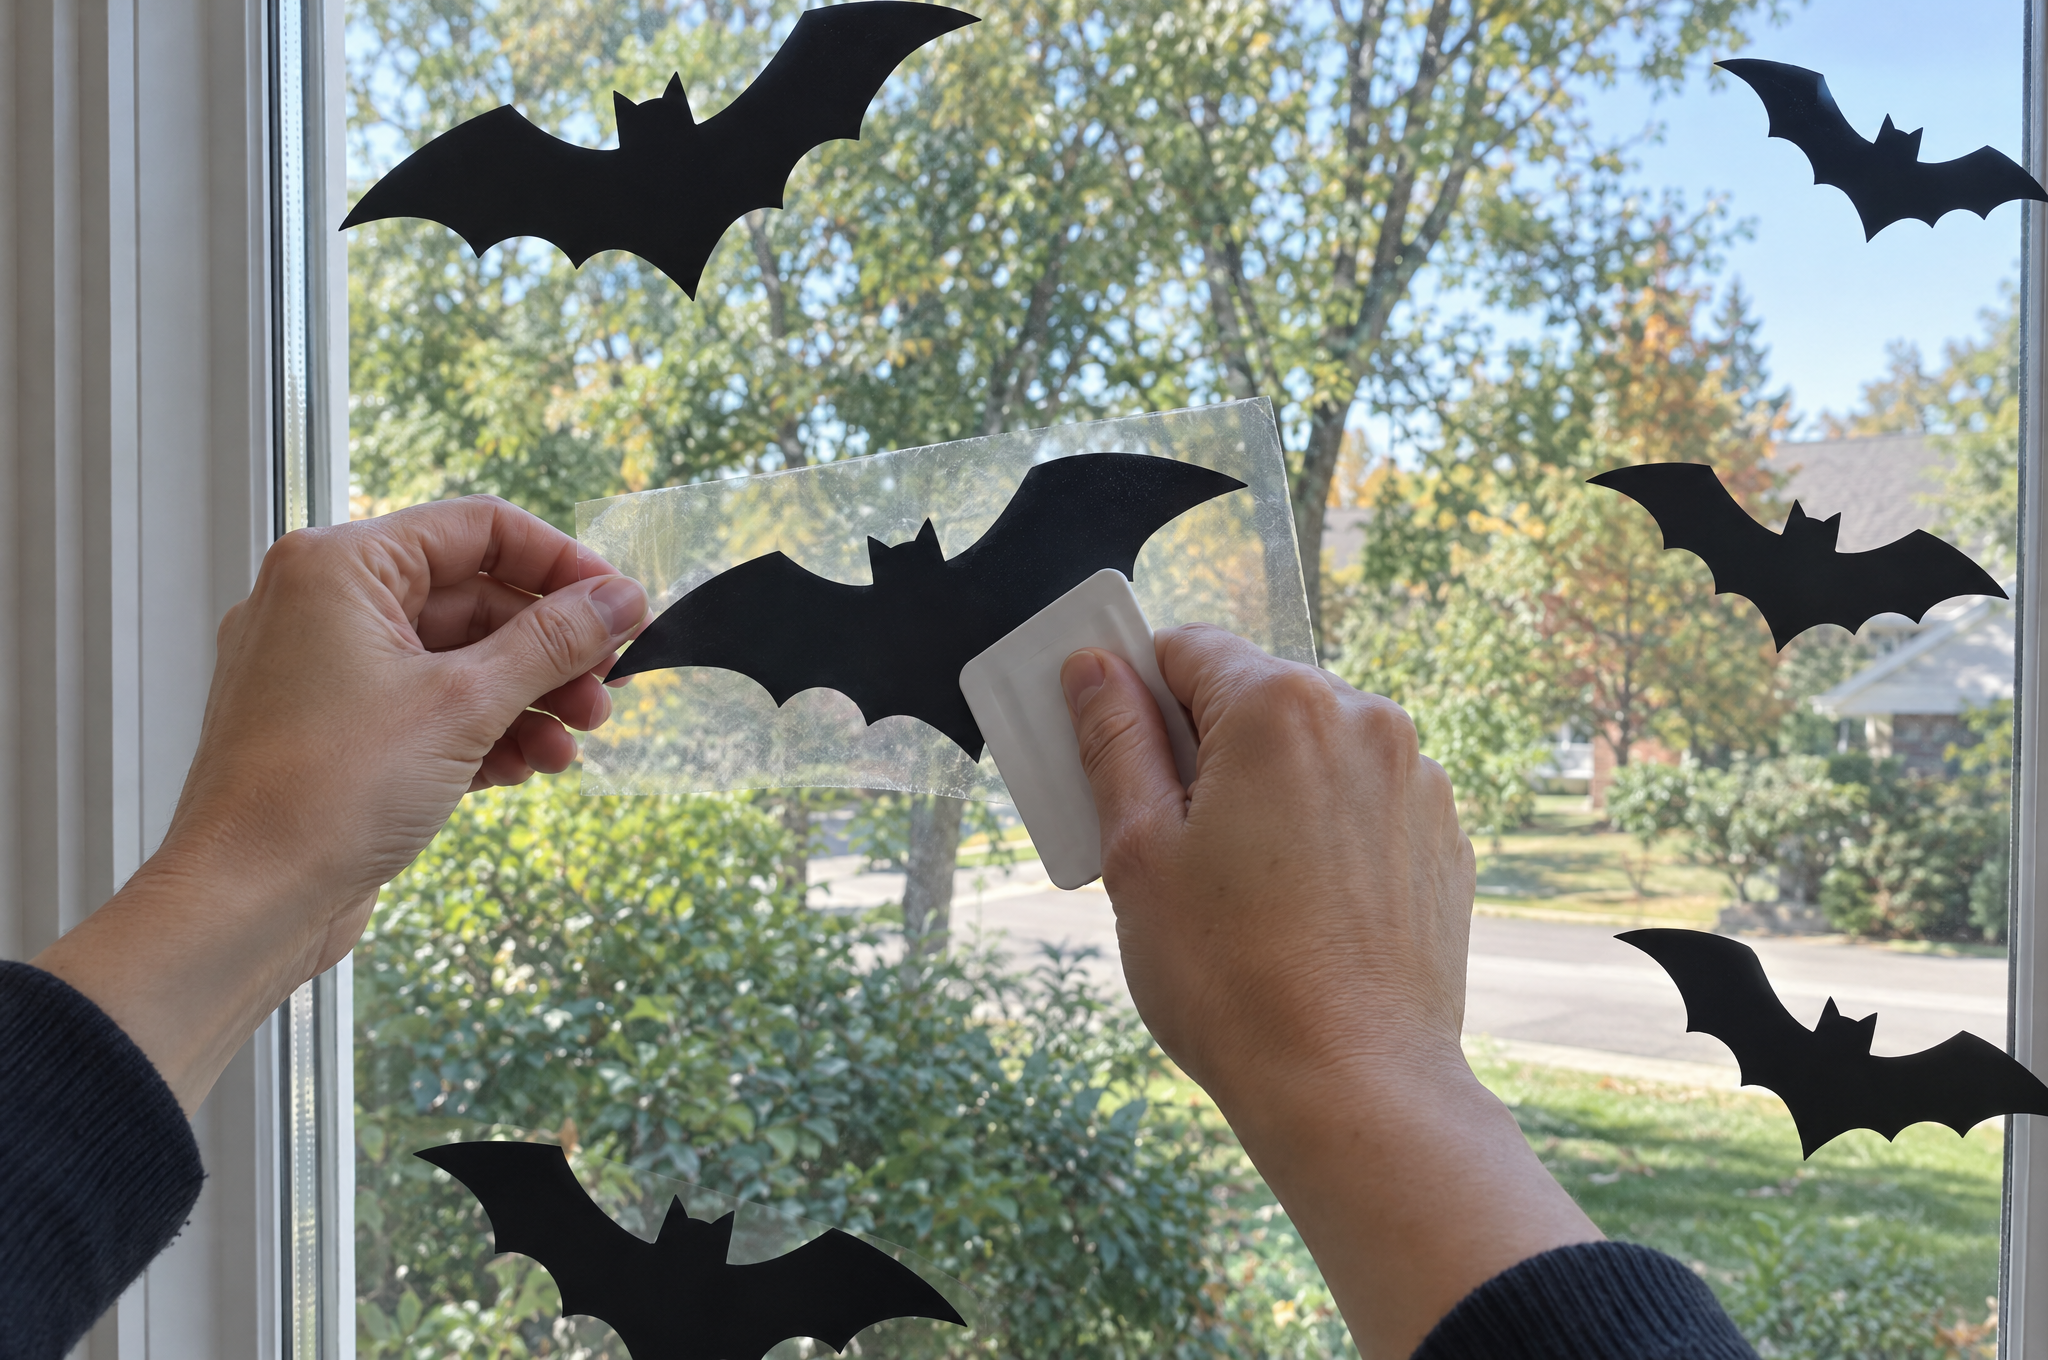
Cut bats, a flying witch or a spider in removable vinyl. Put them on the inside of the glass, facing out. Bold shapes read best from the street, so skip the thin details.
Clean the glass with rubbing alcohol first and let it dry. Lay the vinyl on, then press it down from the middle out with your scraper.
Peel the transfer tape back slowly at a sharp angle. If a wing lifts with the tape, press it down again and keep peeling. Removable vinyl comes off clean after the holiday. Add a strip of LED lights behind the glass and they glow at night.
2. Glow-in-the-dark ghost tee
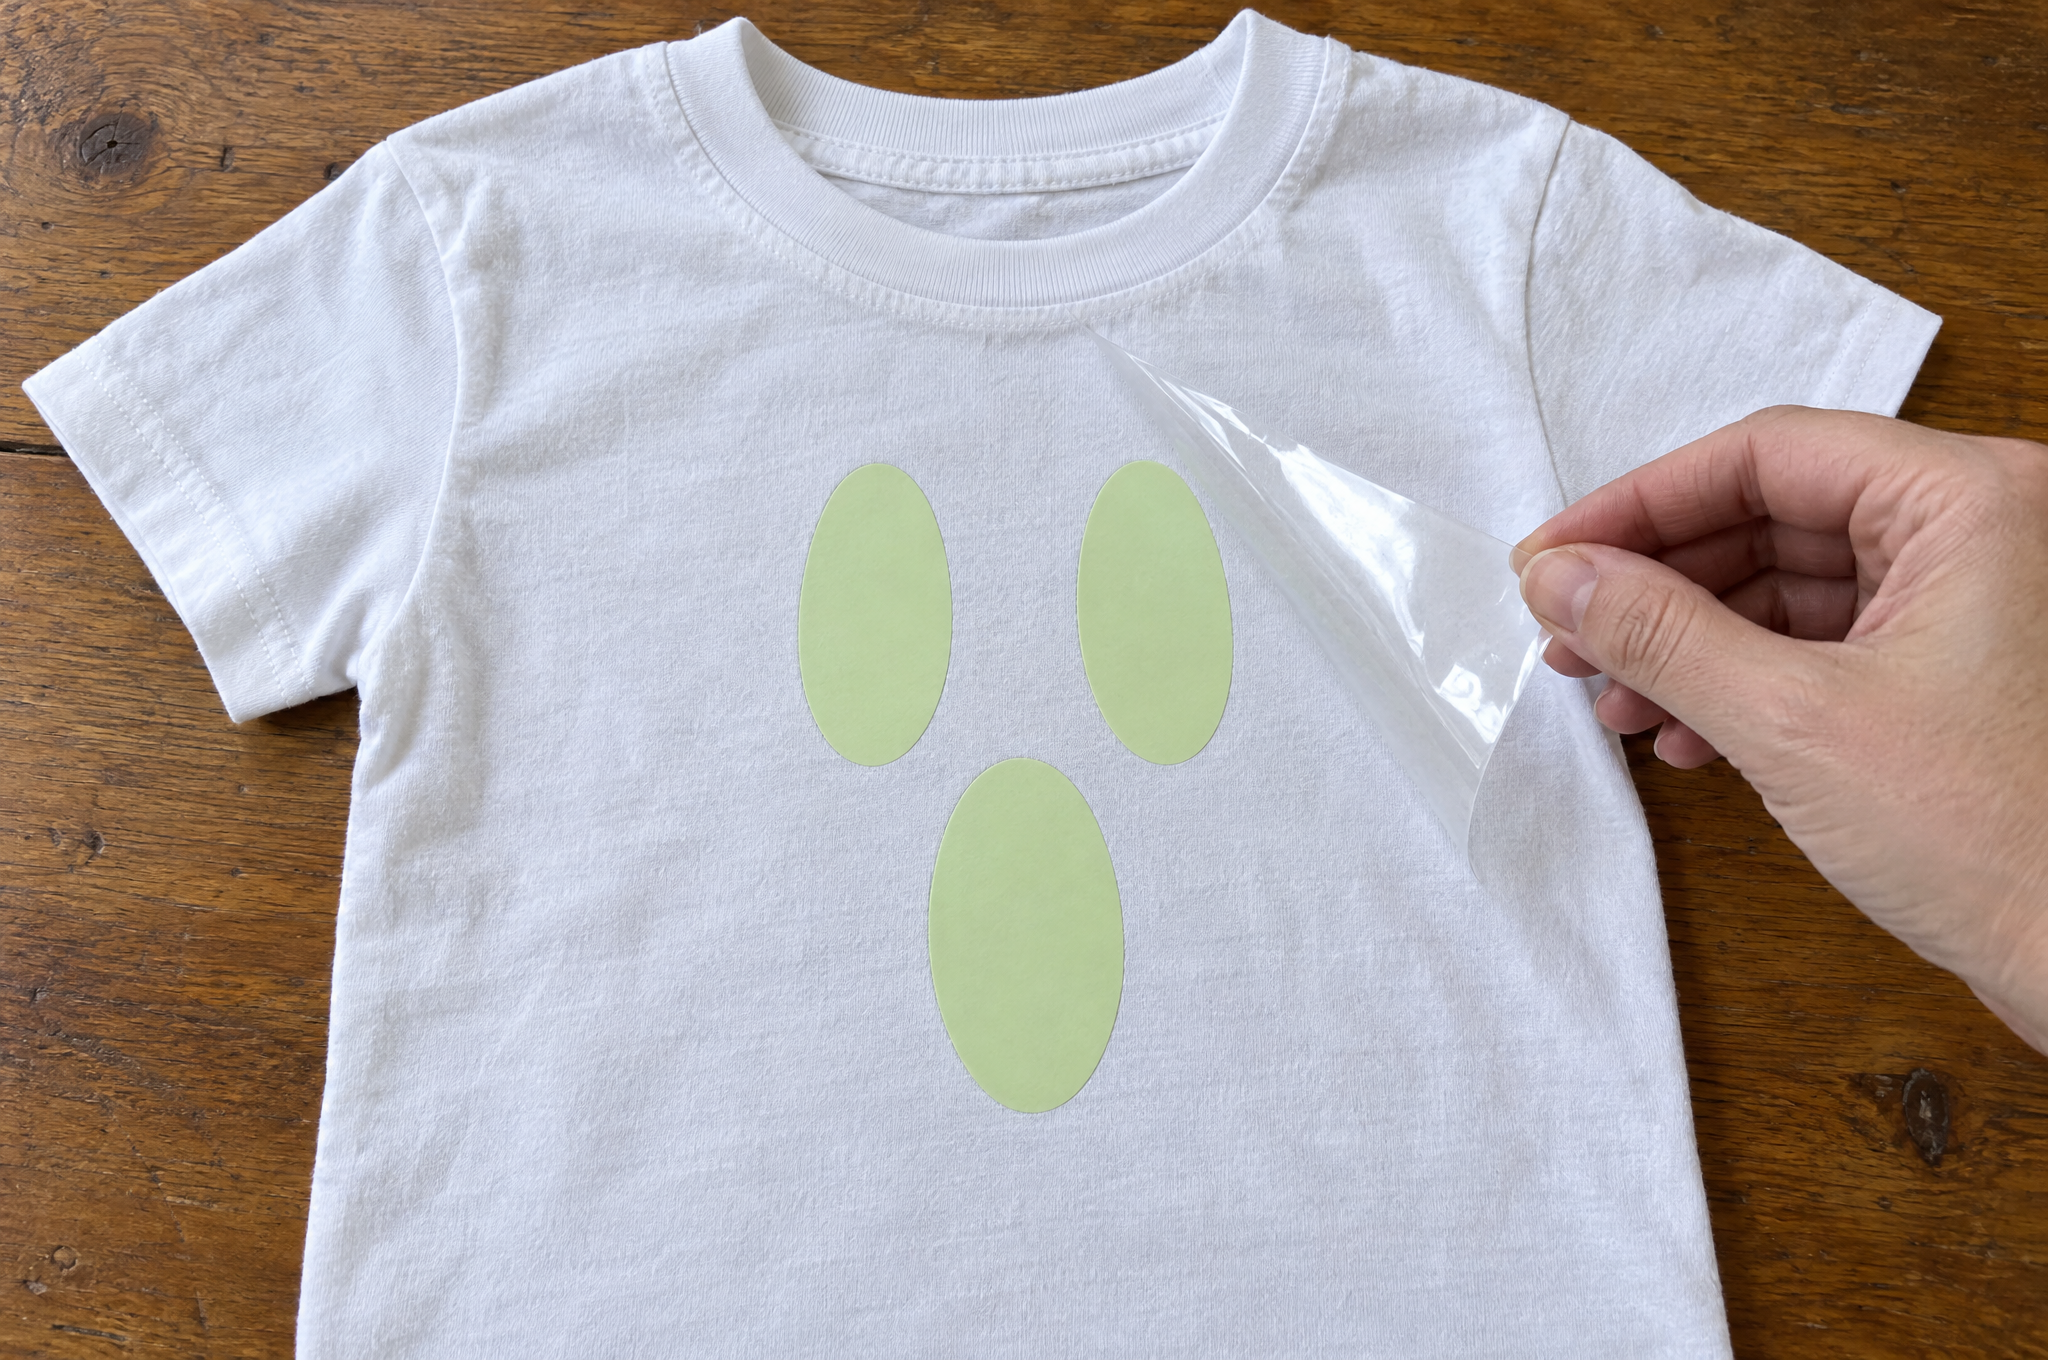
A simple ghost face in glow-in-the-dark iron-on on a plain tee. It’s a hit with kids on Halloween night.
Turn on Mirror before you cut. Wash the shirt first, with no fabric softener. With a household iron, use the Cotton/Linen setting with steam off. That’s straight from Cricut’s iron-on instructions.
Preheat the spot for 10 to 15 seconds. Press with medium pressure for 25 to 30 seconds. Flip the shirt and press the back for 25 to 30 seconds.
Let it cool, then peel the liner. Give it about 30 minutes under a bright light, and it glows for roughly 20 to 30 minutes. Using a heat press? Check Cricut’s Heat Guide for your exact material.
3. Trick-or-treat tote bag
A canvas tote with “Trick or Treat” or a pumpkin face in iron-on. Mirror the cut, then press it like the tee: iron on Cotton/Linen with steam off, 25 to 30 seconds on the front and 25 to 30 on the back. A tote is flat, so it’s the easiest first press.
Keep the design away from seams. Add the kid’s name and nobody mixes up the candy.
4. Jar lanterns with LED tea lights
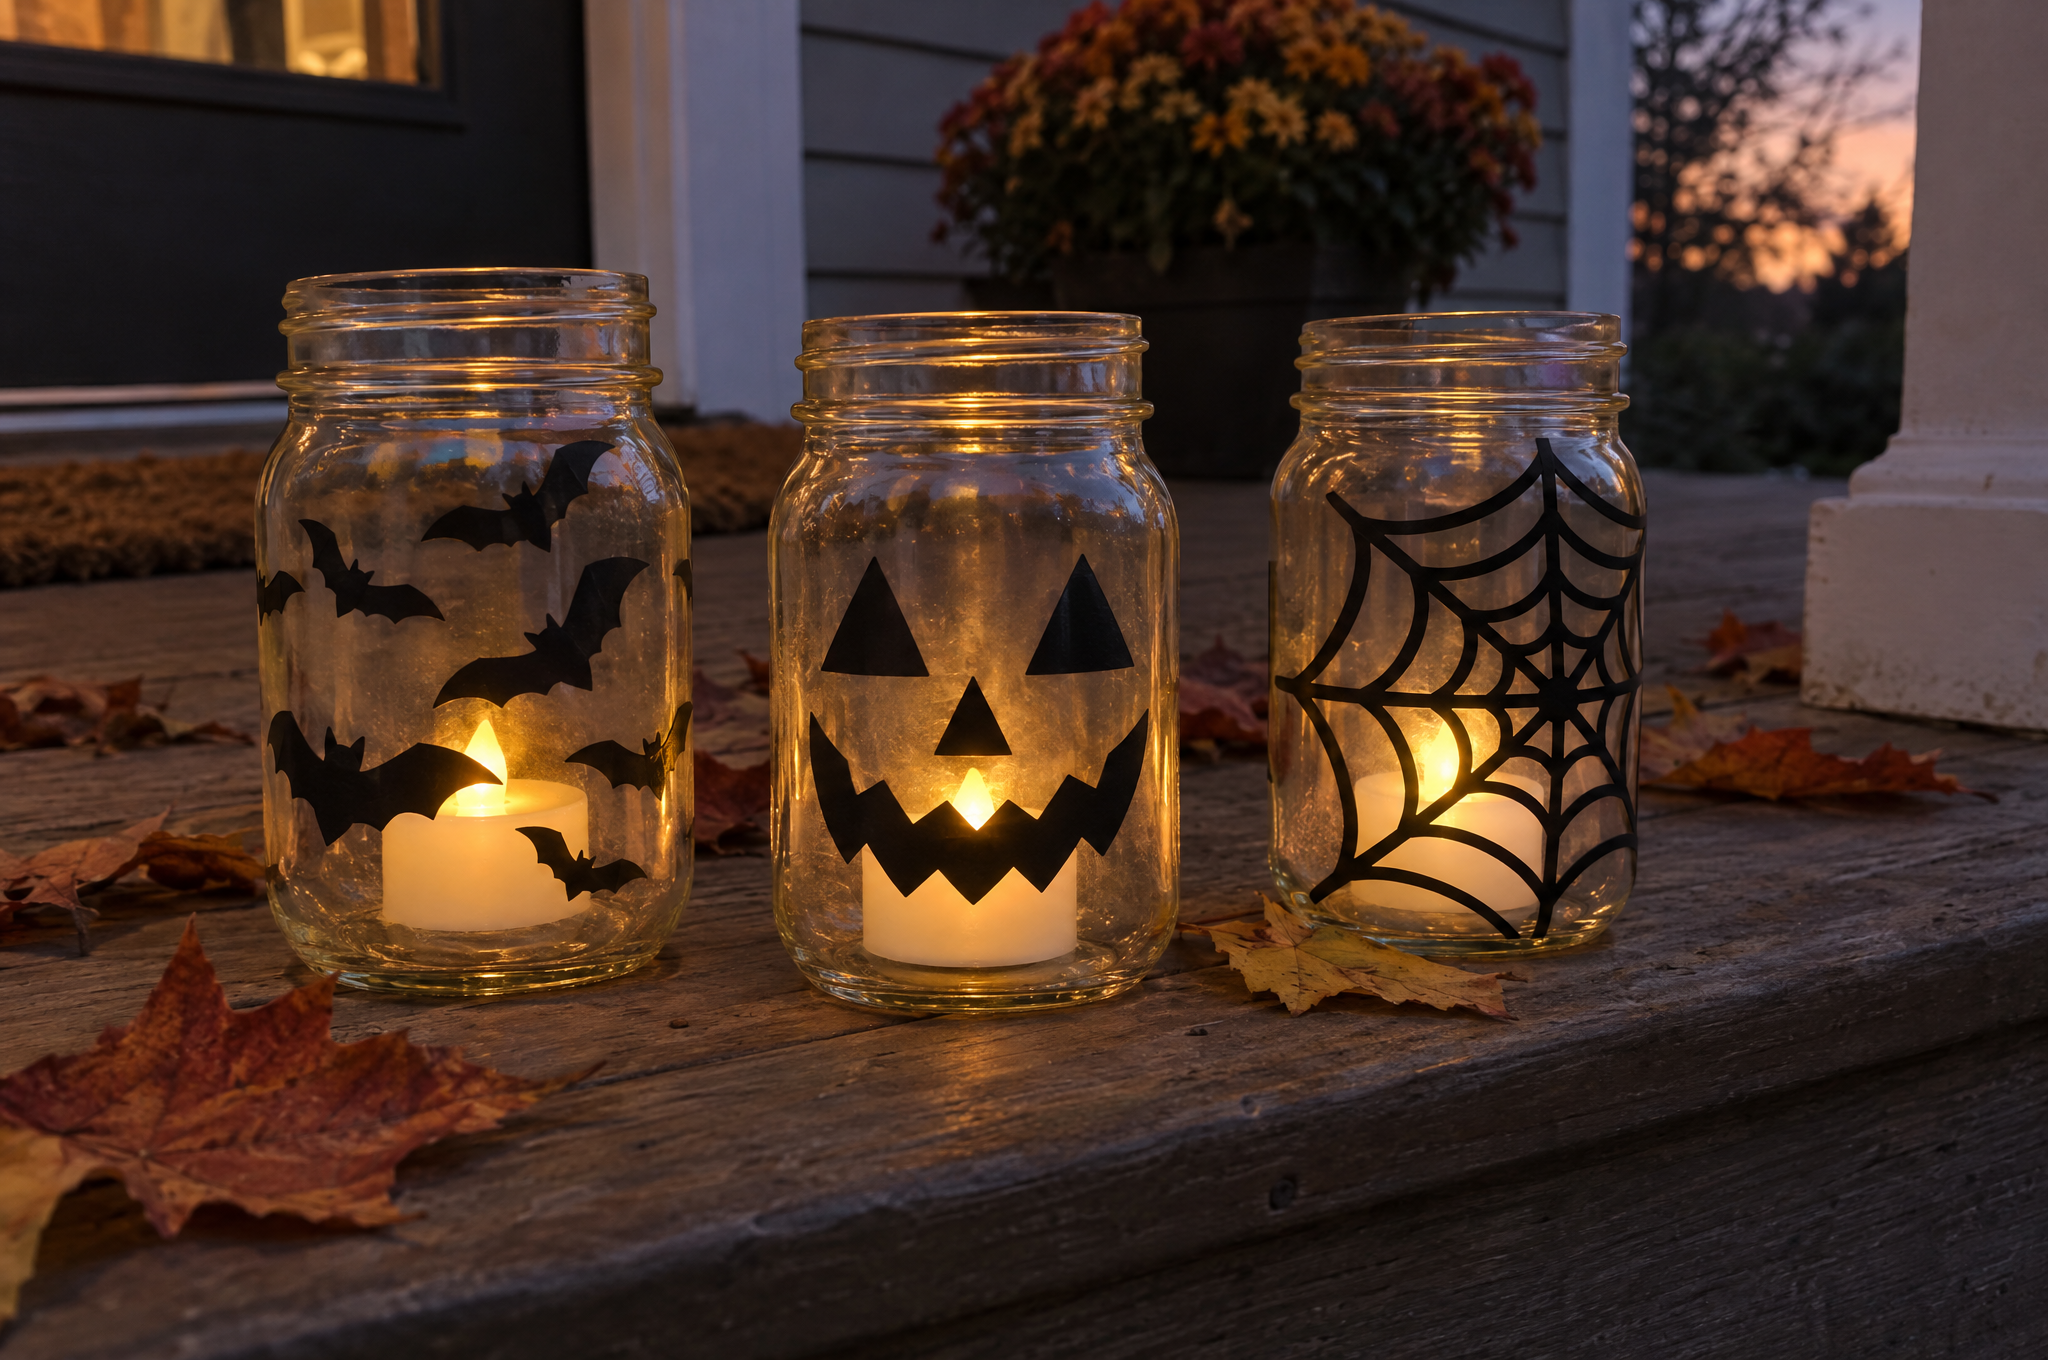
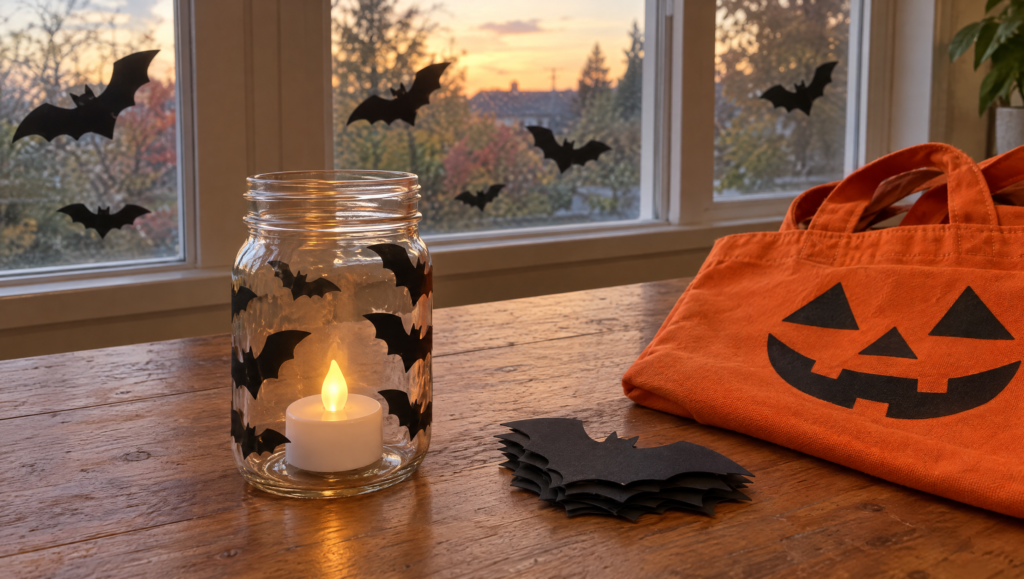
Wrap a mason jar or a glass candle holder in adhesive vinyl bats or a jack-o’-lantern face. Drop in a battery LED tea light. It glows like a candle, and you can leave it on the porch without worrying about a flame.
Clean the jar with rubbing alcohol first. Curved glass is easier with smaller pieces, so cut the design in two or three parts instead of one big wrap.
The tea lights are the one thing to buy in bulk. A multi-pack covers a whole porch of jars, and battery lights can sit inside vinyl-wrapped glass all evening. They’re small, so they won’t light up a big jar the way a real flame would. Stick to pint and quart jars. (paid link)
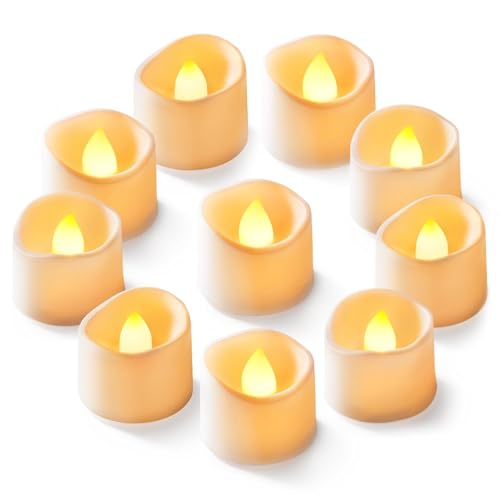
- WARM AMBER FLICKERING GLOW: The amber light recreates the rich tone of a traditional flame, while...
- 40X LONGER-LASTING GLOW: Each tea light comes with a pre-installed 240mAh CR2032 battery, ready to...
As an Amazon Associate, DIYProjects.com earns from qualifying purchases.
5. Poison bottle labels
Old sauce bottles or dollar-store glass bottles become a spooky apothecary shelf. Cut labels like “Bat Wings” or “Witch’s Brew” in adhesive vinyl.
Small text is where weeding gets fiddly. Pick a chunky font and size the words up.
6. A swarm of paper bats
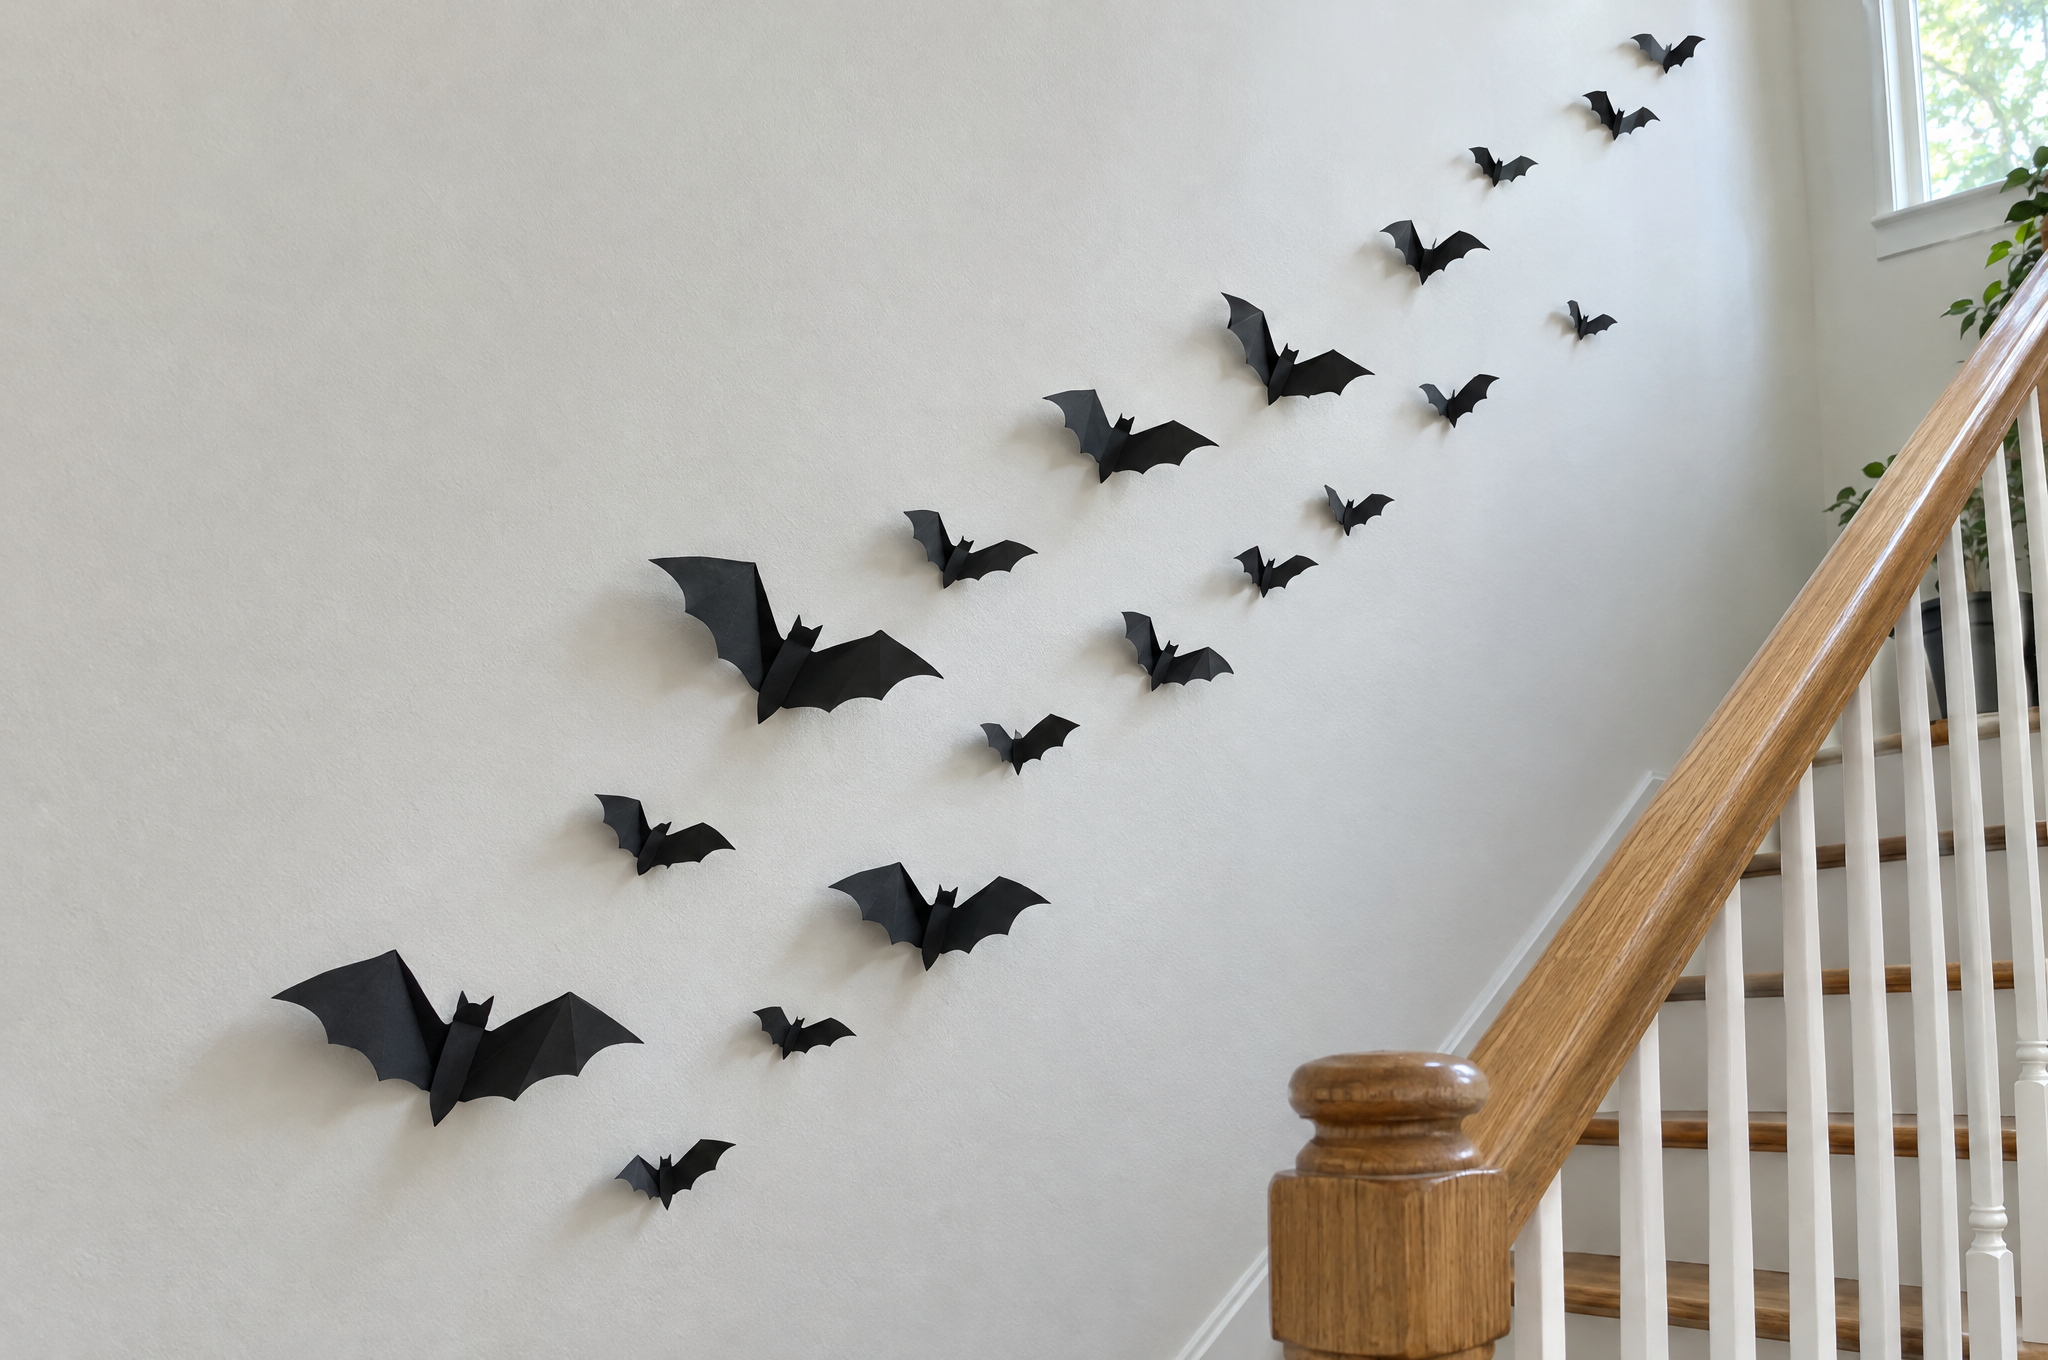
Cut 20 to 30 bats in black cardstock in a few sizes. Fold the wings up a little at the body so they lift off the wall.
Stick them on with removable putty or poster strips, flying up the stairs or across a mantel. If one tears, just cut another. Cardstock is the most forgiving material here.
7. Spooky door sign
Paint a wood blank black or orange. Add “Enter if you dare” or your family name in adhesive vinyl. Let the paint dry fully before the vinyl goes on, so it doesn’t pull up later.
8. Pumpkin decals
Cut a face, a monogram or a spiderweb in adhesive vinyl and press it onto a faux craft pumpkin. No carving and no mess. Smooth it on from the middle outward so it follows the curve.
9. Treat boxes and cupcake toppers
Cardstock treat boxes, candy corn shapes and bat cupcake toppers. Your machine scores the fold lines for you. A few of these make a party table look finished.
10. Candy bucket or Halloween mug
Use permanent vinyl on a plastic candy bucket, a mug or a wine glass. Permanent vinyl holds up to water and washing. Wipe the surface with rubbing alcohol first so it grips.
Two easy things to get right
Iron-on that peels after the first wash. This one usually starts at the press. Wash the shirt first with no fabric softener. Press on a firm, flat table, not an ironing board, because the board gives too much.
Wait 24 hours before the first wash. Then wash and dry it inside out. If an edge lifts right after pressing, cover it and add heat for another 10 to 15 seconds.
Vinyl that won’t stick to glass. The glass is almost always the problem. Clean it with rubbing alcohol and let it dry. Press the vinyl down hard with the scraper before you peel the tape.
Peel the tape slowly at a sharp angle. Cold glass makes it worse, so work on a warmer day or from the inside of the window.
What do these Halloween Cricut ideas cost?
These are rough planning estimates, assuming you already own the machine.
- Under $10: Paper bats and treat boxes from cardstock you have, plus one sheet of removable vinyl for the windows.
- About $25: A vinyl sampler, a sheet of glow iron-on, a plain tee and a tote. Enough for five or six ideas.
- $50 to $75: All ten ideas, with jars, bottles, a wood blank, a candy bucket and a few LED tea lights.
What should you watch for with a Cricut and heat?
An iron or heat press runs hot. Cricut’s own warning on its EasyPress Mini says it’s for household use and not for children 12 and younger. Set it back on its safety base when you’re not pressing, and don’t touch the plate. Some presses don’t shut off by themselves, so unplug it when you’re done.
Kids can design and weed with you. Keep blade changes and the press with a grown-up. Use LED tea lights in the jar lanterns, never real candles near vinyl. And keep fake spider webs indoors, where they can’t catch birds or bats.
Here’s how you know it worked. Your window bats peel off clean on November 1, and your ghost tee still glows after its first wash.
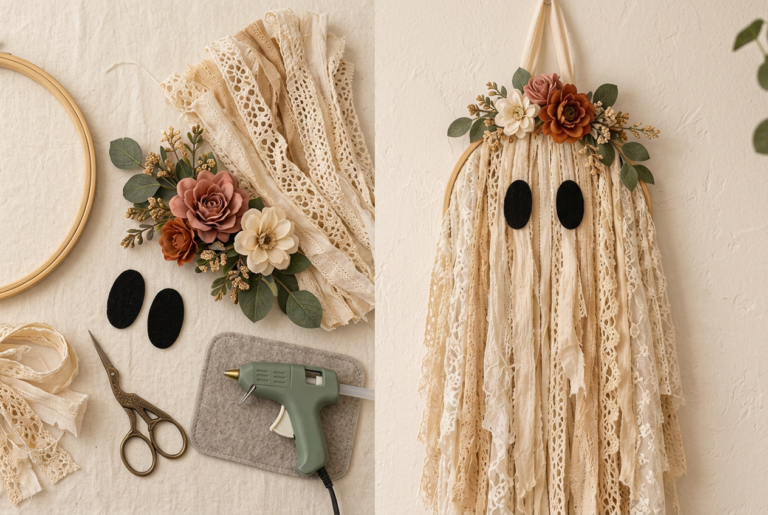
More Cricut projects? Start with our Cricut projects for beginners, then try the easy Cricut projects to make roundup. For decor that skips the machine, the boho ghost wall hanging takes about 40 minutes.
Pick one and start tonight
Pick the material you already have and start there. A sheet of black cardstock and an evening gets you a swarm of bats. These Halloween Cricut ideas build on each other, so the next one is always easier.
Show us what you made
Hang your bats and snap a photo of the window from the sidewalk. Tag us on Instagram so we can see it, and save the ideas you haven’t made yet to your Halloween board on Pinterest.
A few helpful answers
Halloween Cricut ideas FAQs
Mirroring, peeling, windows and little helpers.
Start with cardstock bats and removable vinyl window silhouettes. Both are forgiving, since a bad cut just gets cut again. Bats, ghosts and spiders are bold outlines, so there’s very little tiny weeding.
Yes, for every iron-on cut. Turn on Mirror for each mat before you cut. The same goes for Infusible Ink. Adhesive vinyl and cardstock don’t get mirrored.
Usually it’s the press. Wash the shirt first with no fabric softener. Press on a firm table instead of an ironing board, and wait 24 hours before washing. If an edge lifts right after pressing, add heat for another 10 to 15 seconds.
Removable adhesive vinyl or window cling. Put it on the inside of the glass, facing out. Clean the glass with rubbing alcohol first, and it peels off clean after the holiday.
Yes, with a grown-up nearby. Kids can pick designs, weed bats and stick decals on pumpkins. Keep blade changes and the iron or heat press with an adult. Cricut says its heat press isn’t for children 12 and younger.
Would a Cricut be worth having if you only used it for holiday decor?
A Cricut cuts neat shapes fast, and you can use it all year. But it costs money, and it may sit unused between holidays. Scissors and a stencil cost less, but they take more time.
Which side are you on? Vote, then tell us in the comments: do you own a cutting machine yet, and what would change your answer?