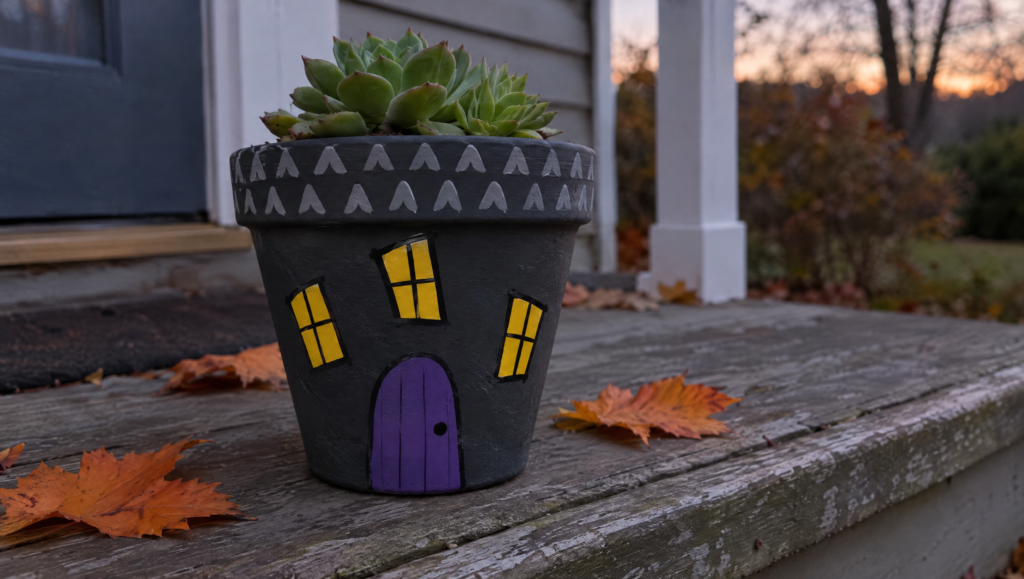

At a Glance: Haunted House Planter
- Seal the inside first. Wet soil pushes water through clay, and that’s what makes paint bubble.
- Dark house, glowing windows. Glow-in-the-dark paint lights it up at night with no candle.
- About an hour of hands-on time. That’s a planning estimate. Drying time is extra, so start in the morning.
- Keep the plant in its plastic pot. Real or faux both work, and you can swap in something new after Halloween.
To make a haunted house planter, you seal the inside of a terracotta pot, paint the outside dark gray, then add a door and a shingle roofline. The windows get glow-in-the-dark paint. Seal the outside and drop in a plant. That’s it. Jump to the supplies or skip to the windows.
If you’ve ever painted a clay pot and watched the paint bubble a few weeks later, you’re not doing anything wrong. Clay soaks up water like a sponge. This haunted house planter fixes that before you pick up a brush, so it still looks sharp on Halloween night.
If your paint drawer is running low, one starter set of acrylics covers every regular color here, and it comes with brushes. You’ll still need glow paint and sealer on their own. It’s more colors than one pot needs, which comes in handy if you make a whole haunted street. (paid link)
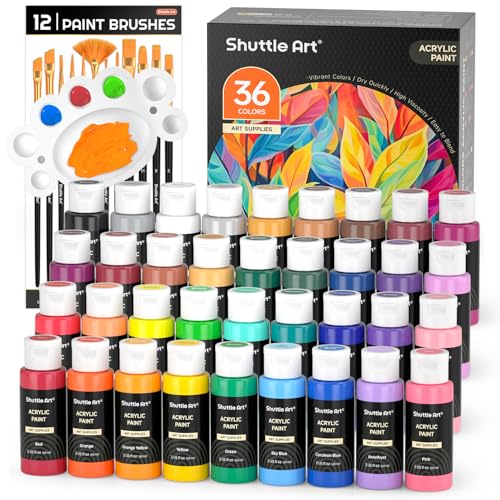
- 36 VIBRANT COLORS : Shuttle Art 36 colors acrylic paint set contains 36 unique colors highly...
- ARTIST QUALITY & STURDY PACKAGE: Creamy acrylic paints are easy to blend, mix and layer, providing...
As an Amazon Associate, DIYProjects.com earns from qualifying purchases.
What do you need to make a haunted house planter?
Makes one planter from a 6-inch pot
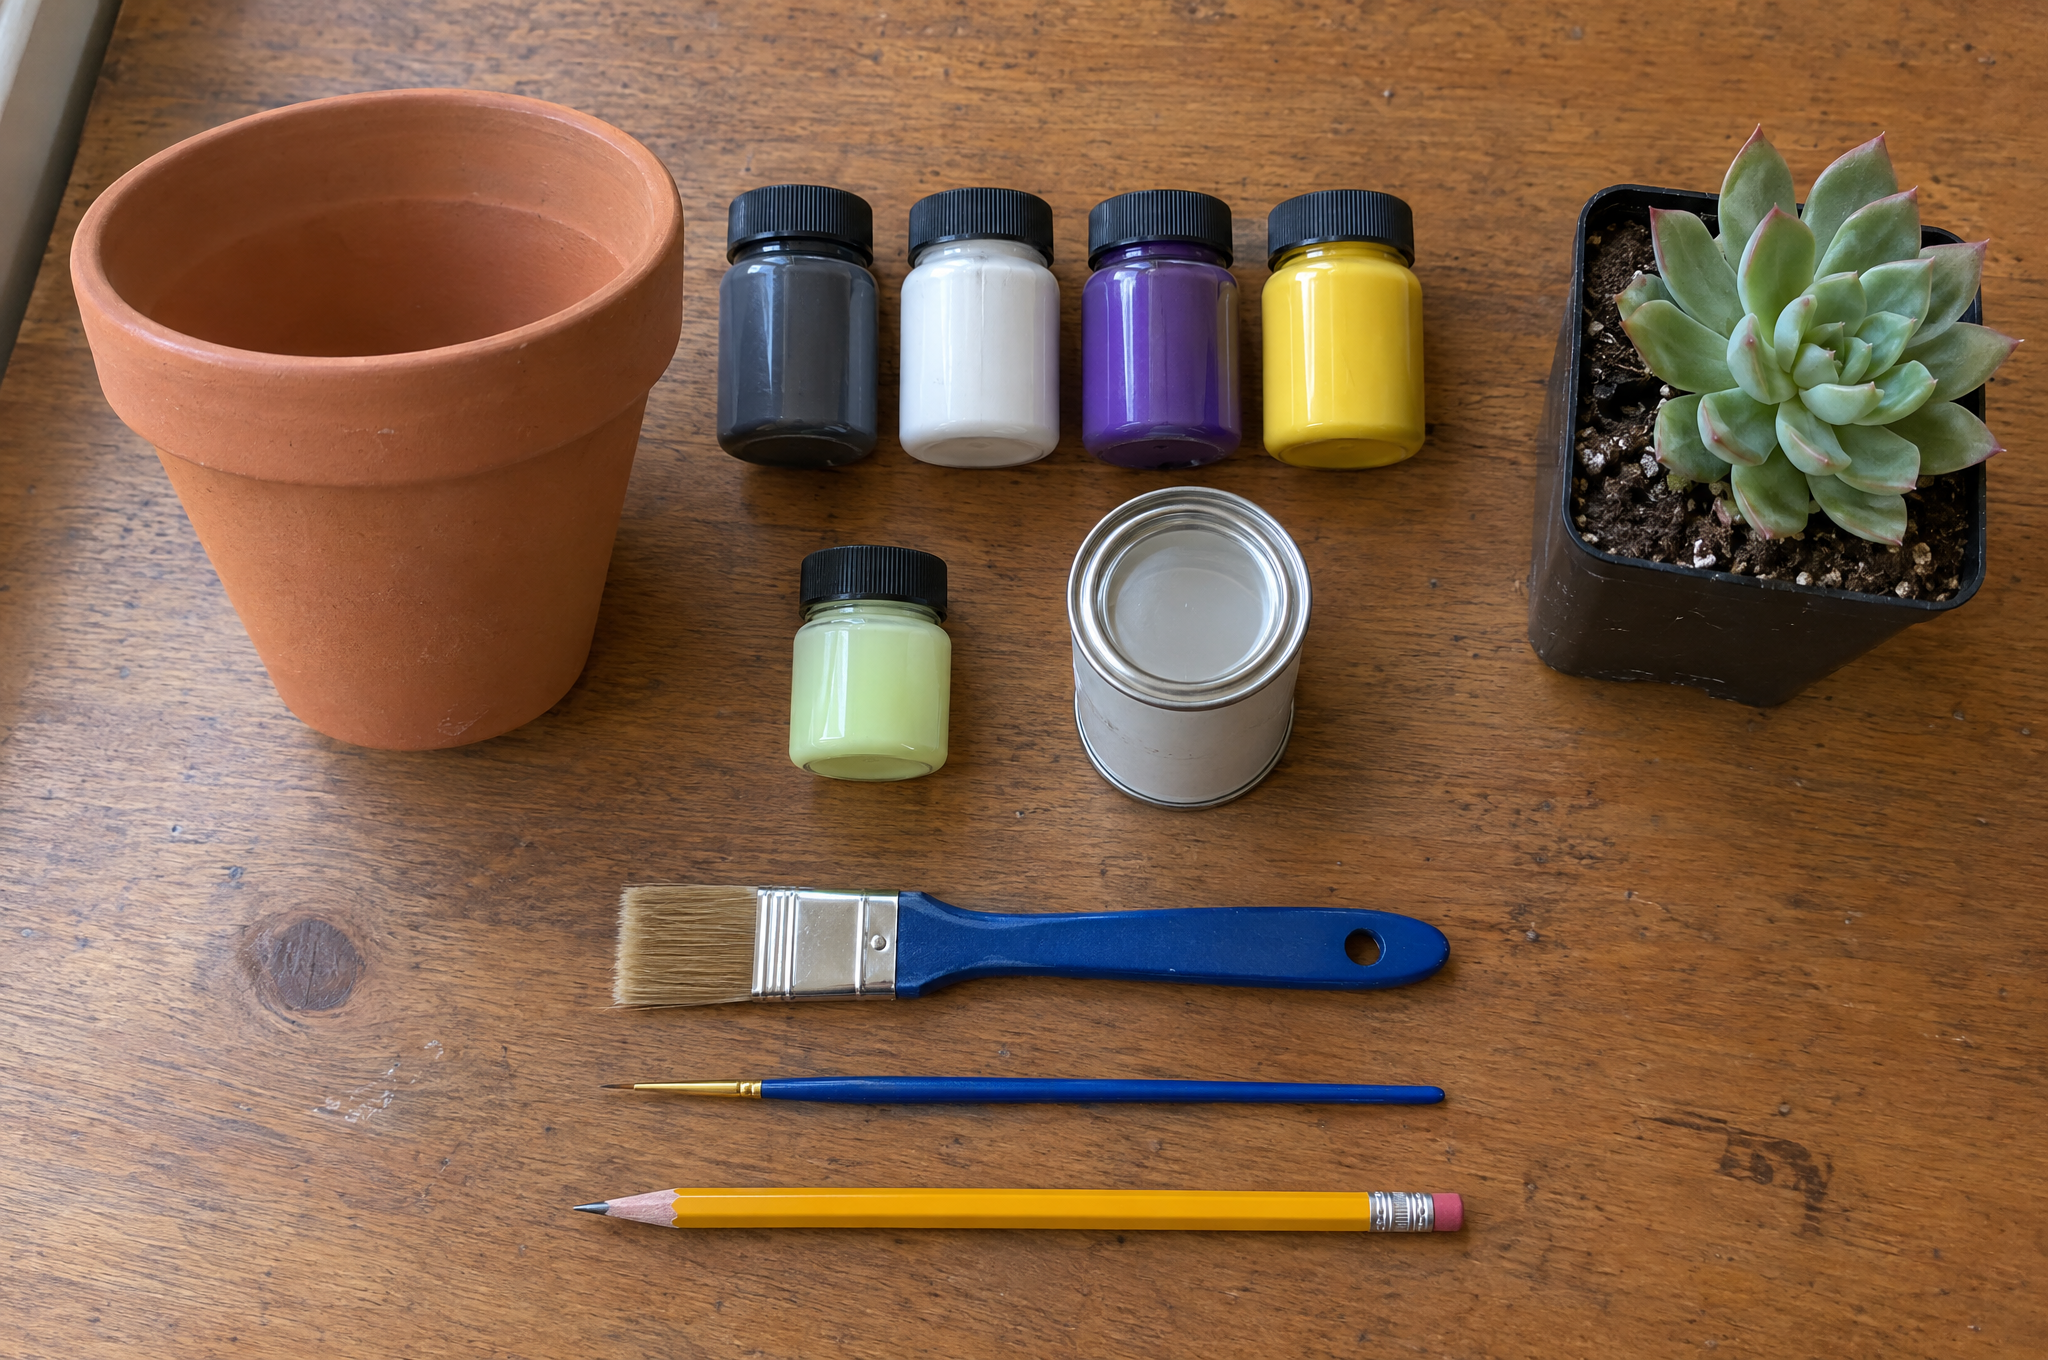
- Terracotta pot, about 6 inches, with a drainage hole. New or old, as long as it’s clean and dry.
- Clear outdoor sealer, brush-on. For the inside and the outside. Spray works, but it’s messy and hard to use indoors. A brush-on can lets you work at the kitchen table.
- Acrylic craft paint. Dark gray or black, plus white and a little purple.
- Glow-in-the-dark paint. For the windows. Yellow or green glows best.
- Small flat brush and a fine detail brush.
- Pencil. For sketching windows and the door.
- A plant in its plastic nursery pot. A small succulent or a mum works. So does a faux plant.
Quick tip: Wash old pots with warm, soapy water and let them dry all the way, overnight if you can. Paint won’t stick to a damp pot.
How do you make a haunted house planter?
Four steps. Most of the time is waiting for paint to dry, so put on a movie.
1. Seal the inside
Brush clear sealer all over the inside of the pot, including the bottom. Leave the drainage hole open. Let it dry as long as the can says. This stops water from the soil soaking through and lifting your paint.
2. Paint the house
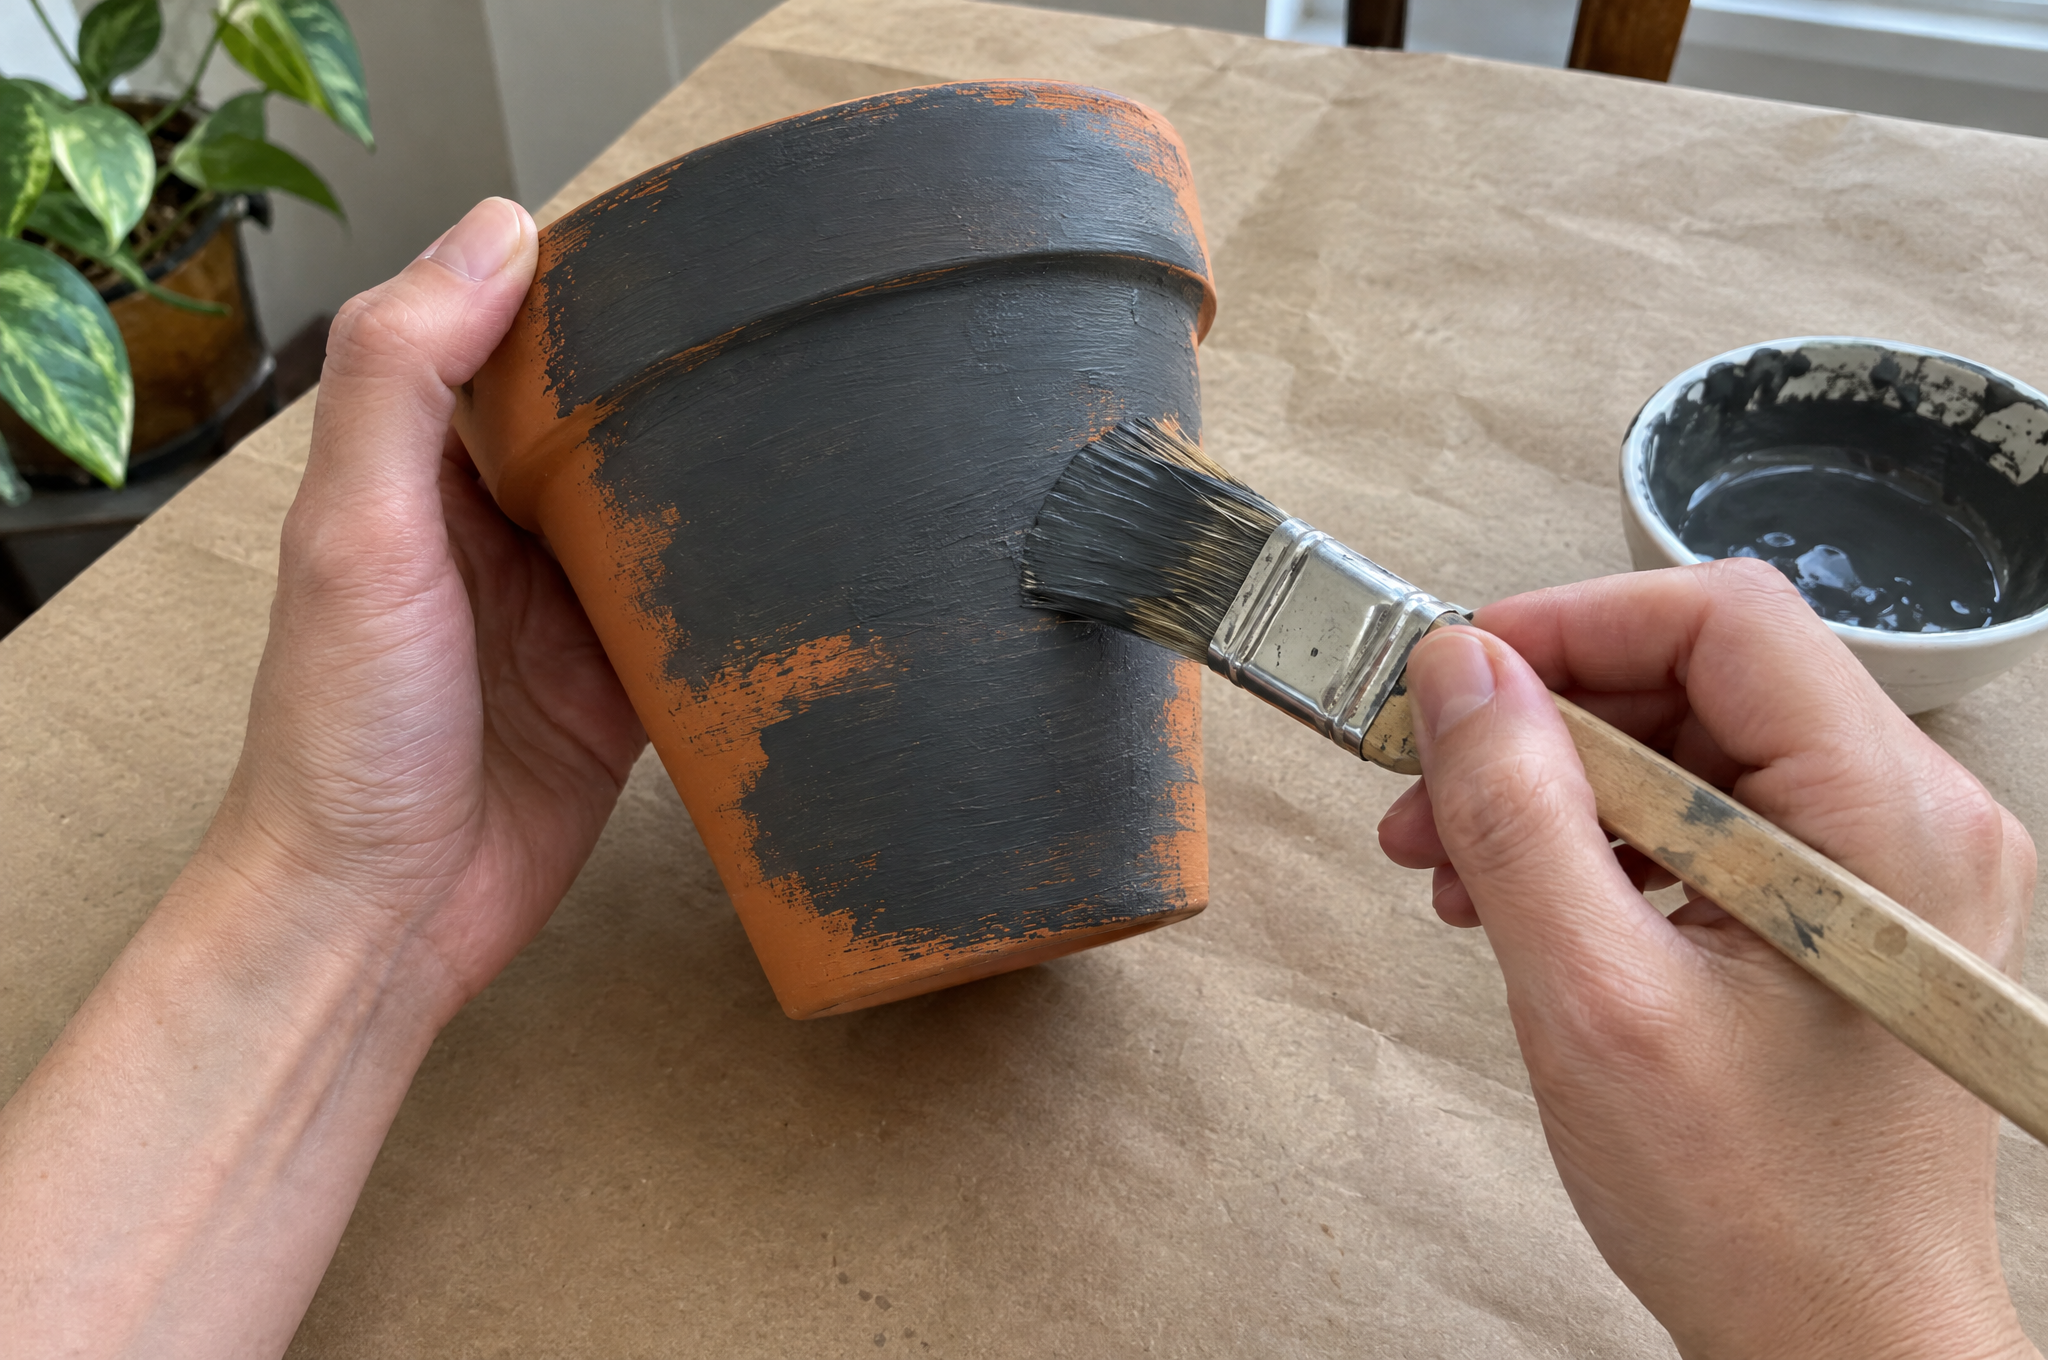
Paint the whole outside dark gray or black, plus the rim. Clay drinks the first coat, so it’ll look patchy. That’s normal. Let it dry, then add a second coat for solid color.
3. Add the door, roof, and glowing windows
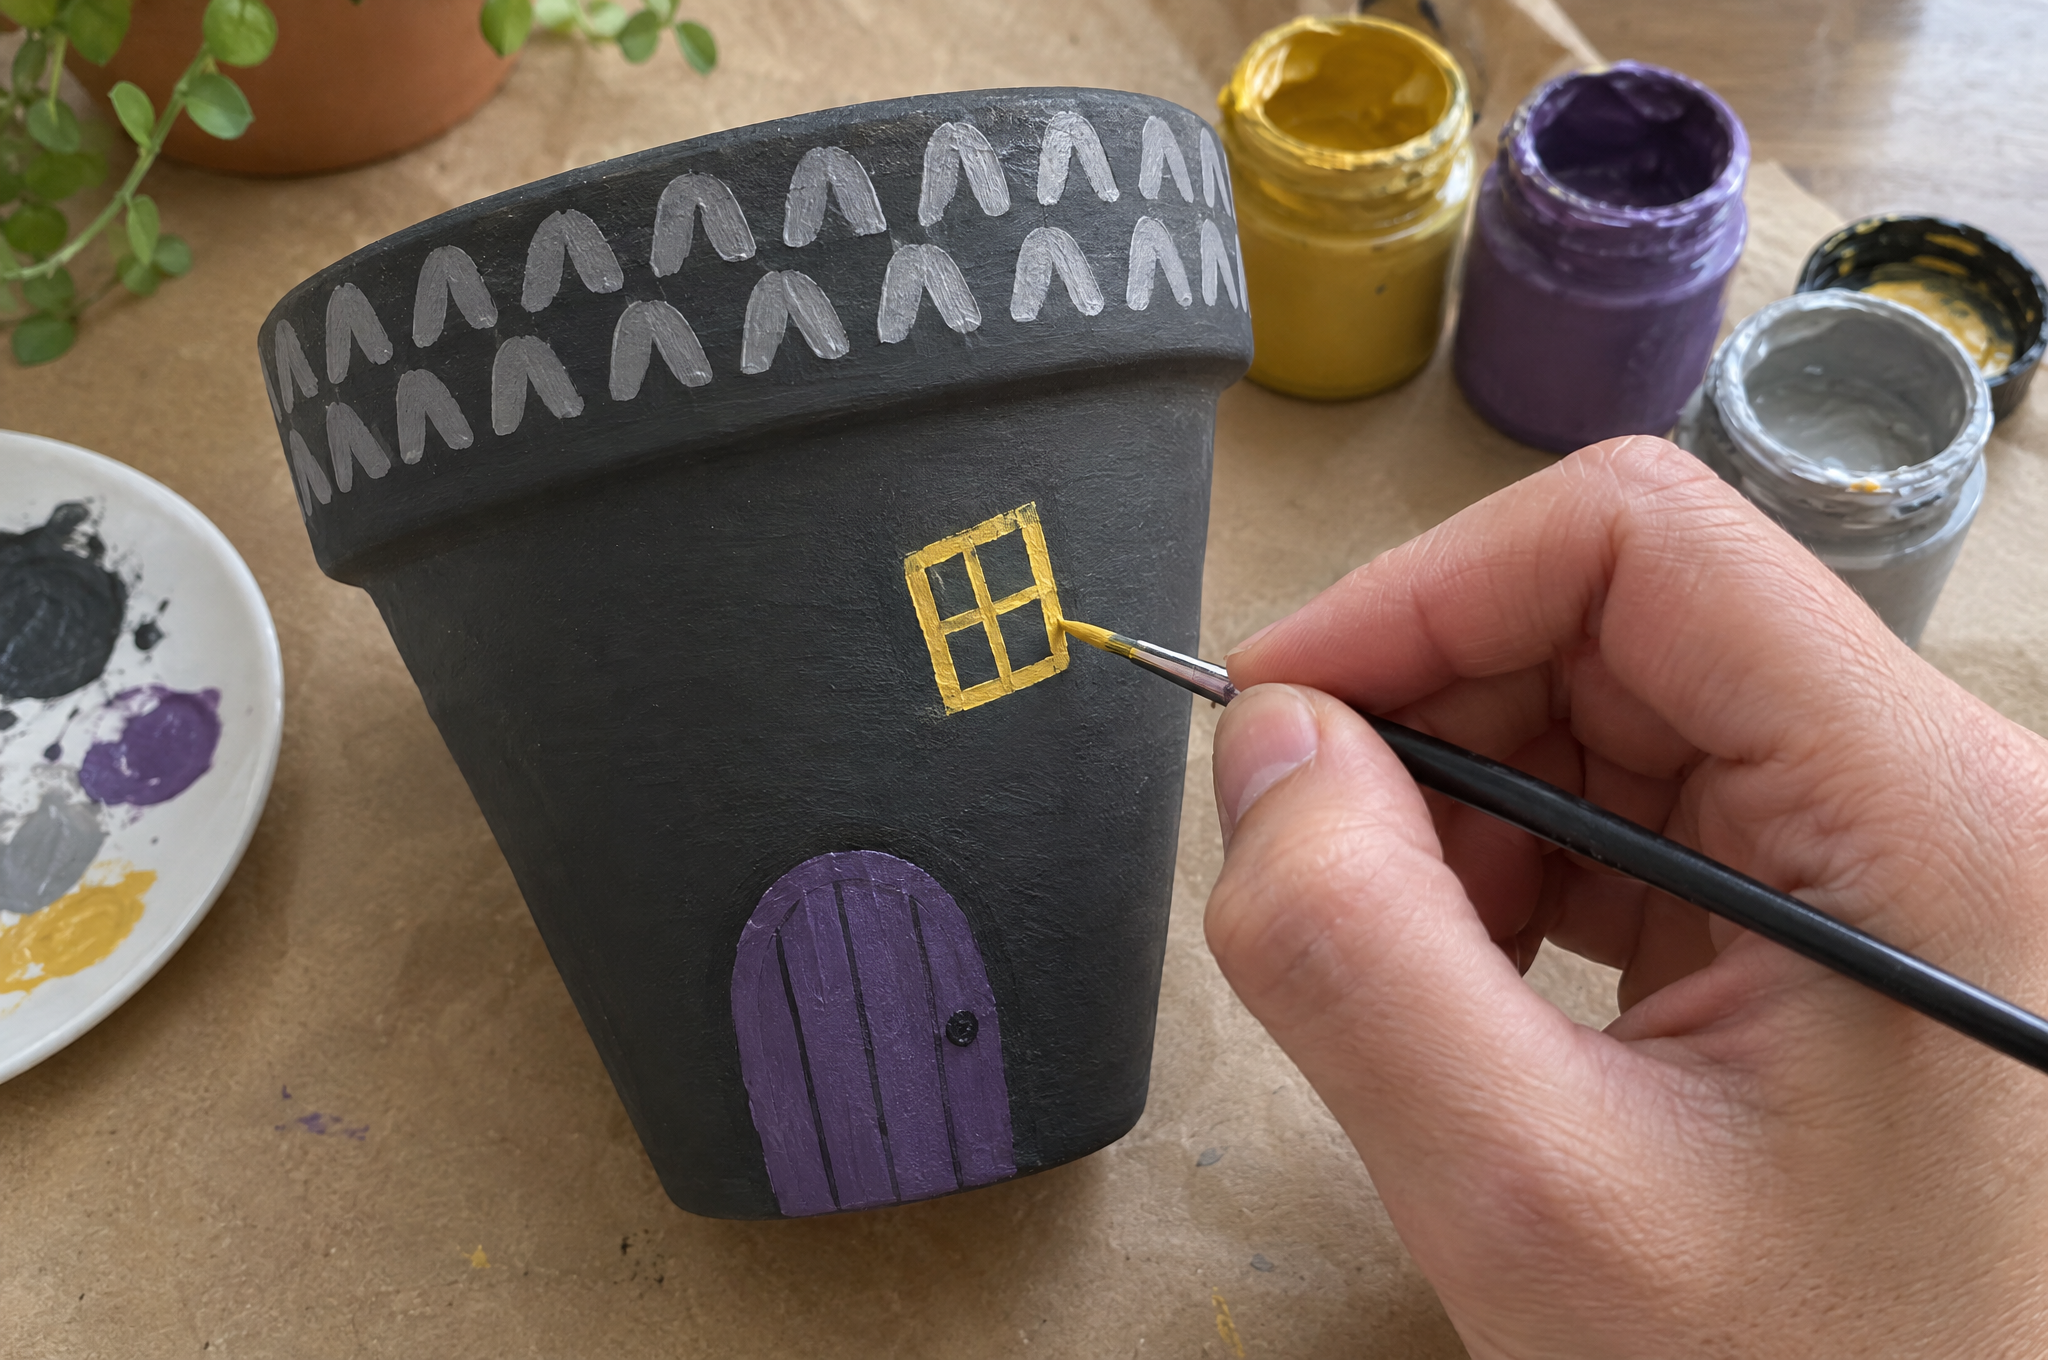
Lightly sketch a tall arched door at the bottom and three or four windows above it. Crooked windows look creepier, so don’t measure. Paint the door purple. On the rim, paint rows of little upside-down U shapes in a lighter gray. Now it looks like a shingled roof.
For the windows, paint them white first and let them dry. Then add two coats of glow paint on top. The white base makes the glow much brighter. Add a thin black cross in each window for panes.
4. Seal it and plant it
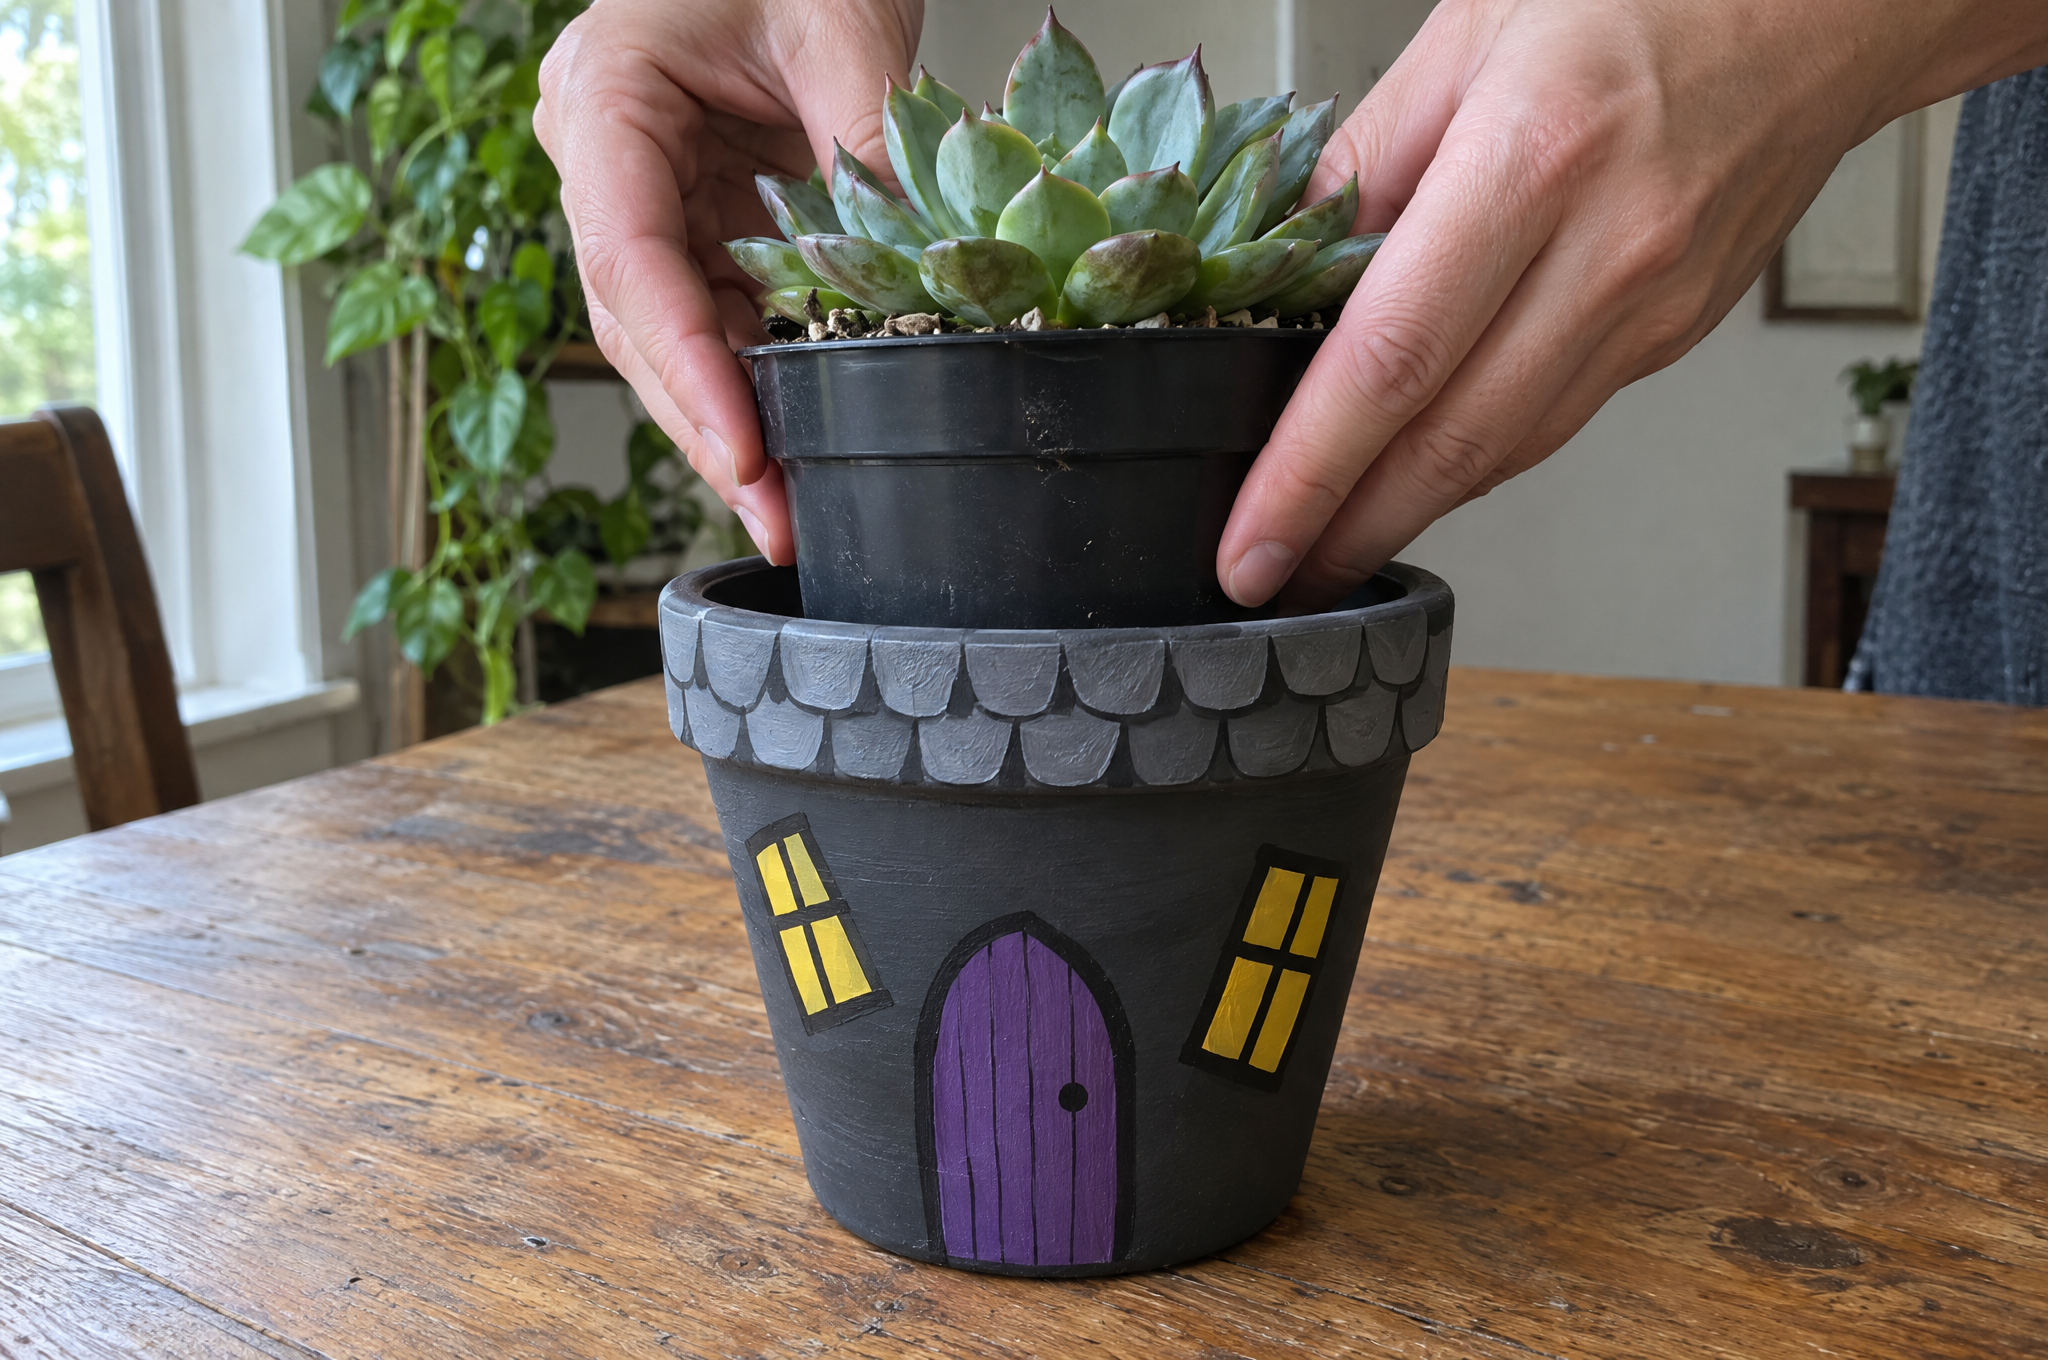
Brush on one coat of outdoor sealer over the whole outside. Add a second coat if your haunted house planter will sit out in the rain. Once it’s dry, set your plant inside, still in its plastic nursery pot. The plastic pot keeps wet soil off the clay, and you can swap in a new plant after Halloween.
Want a whole street? Make three in different pot sizes and line them up on the steps.
What two things should you get right?
Seal before you paint. If you skip the inside coat, water from the soil works its way out and pushes the paint off in bubbles. It’s a common reason painted pots peel.
Give each coat its full dry time. Sealer over damp paint turns cloudy. Check the label, wait it out, and you’ll get a clean finish.
What does a haunted house planter cost?
These are planning estimates. Prices change by store and season.
- Under $10: Use a pot you already have and the paint in your craft drawer. Just buy a small glow paint and a sealer.
- About $20: A new pot, a few colors of acrylic paint, glow paint, sealer, and a little succulent. You’ll have paint left for more.
- $40 to $50: A haunted street of three pots in 4, 6, and 8-inch sizes, each with its own door color and a real plant.
Where should you put it?
A covered porch step or a sunny windowsill is perfect. Keep it out of standing water, and empty the saucer after watering. Please don’t put a candle inside or near it. Dry leaves and plants catch fire fast, and the glow paint already lights it up.
If you want more light, set a battery tea light nearby. Kids can paint the door and windows, but let a grown-up handle the sealer, and open a window while it dries.
Here’s how you know you nailed it. Turn off the porch light after dark. If the windows glow and nobody can tell it was a plain pot, you did it.
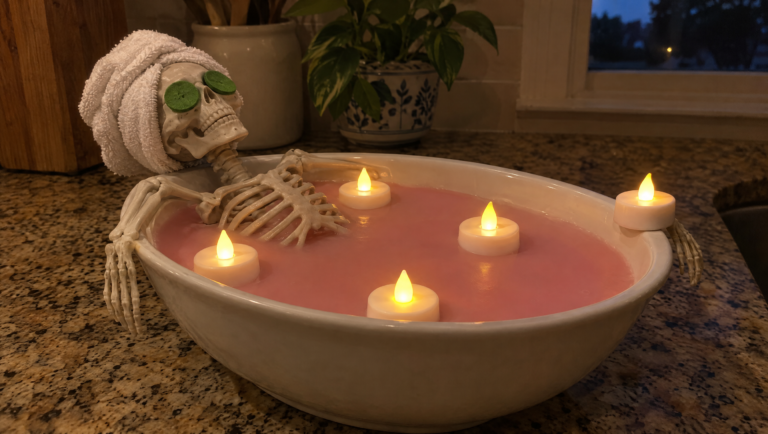
Want more Halloween projects? Our painted terracotta pots for kids are a great warm-up, and the skeleton spa day candle uses the same no-flame trick.
Ready to make your own?
A haunted house planter looks like a big project, and it’s really just paint on a pot. Seal it inside and out, then make the windows glow. Your porch is ready.
Show us your haunted house
We’d love to see your spooky little house. Share a photo with us on Facebook, save this one to your Halloween board on Pinterest, and follow along for more easy fall crafts on Instagram.
A few helpful answers
Haunted house planter FAQs
Bubbling paint, rain, and glowing windows.
Water from the soil soaks through the clay and pushes the paint off from behind. Seal the inside of the pot before you paint, keep the plant in its plastic nursery pot, and seal the outside when you’re done.
Yes, if you seal the outside with two coats of clear outdoor sealer. A covered porch is still kinder to it. Empty the saucer after rain so the pot doesn’t sit in water.
Paint the windows white, let them dry, then add two coats of glow-in-the-dark paint. Set the pot in daylight or under a lamp for a while before dark so the paint charges up.
A small succulent or a mum works well, and so does a faux plant. Leave it in the plastic pot it came in. After Halloween, swap in something new and the pot keeps going.
Yes. Kids can paint the door and the windows. Let a grown-up brush on the sealer and keep the room aired out while it dries.
Where will your haunted house planter sit?
The porch steps put it where trick-or-treaters see it, but it takes the weather. A windowsill keeps it dry and glowing for you, but fewer people notice. The party table makes it a centerpiece, but only for one night.
Vote, then tell us what you’ll plant in yours.