

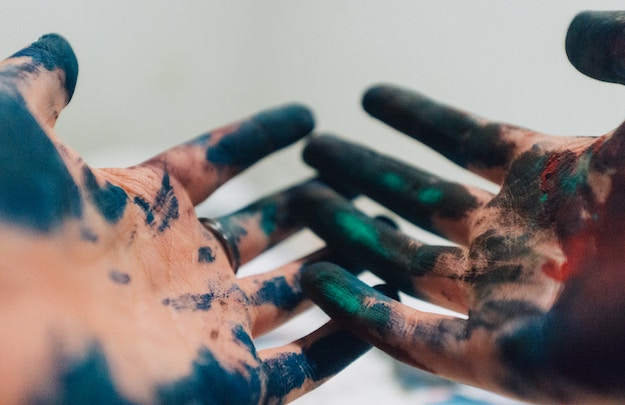
Change the walls in your home to something worth talking about. Learn how to easily apply chalkboard paint for some artistic home improvement.
Learn How To Apply Chalkboard Paint To The Walls In Your Home
Your home is missing something, but what could it be? New furniture? Updated appliances? More plants? Sometimes, giving your home a breath of fresh air is as easy as a new coat of paint. But we’re not talking just any paint …. we’re talking about chalkboard paint.
Writeable and erasable latex chalkboard paint can be easily added to the walls in your home, turning a once boring wall into a piece of art. If you have kids, this is an awesome DIY that can keep them occupied in the kitchen or living room.
If you’ve ever wanted a chalkboard wall in your home, check out the tutorial below.
What You’ll Need:
- chalkboard paint
- 120-grit sandpaper
- painter’s tape
- level
- measuring tape
- pencil
- putty knife
- paint roller and frame
- paint tray
- small paintbrush
- ladder
Directions:
Step 1: Determine painting area
Figure out first and foremost if you’re going to paint an entire wall or simply a section. Once you have that confirmed, measure the area in square feet. You’ll need to buy the appropriate amount of paint to cover that area and then some. A one quart (or 30 fl. oz.) can covers about 50 sq. ft. while a gallon (128 fl. oz.) covers 200 sq. ft.
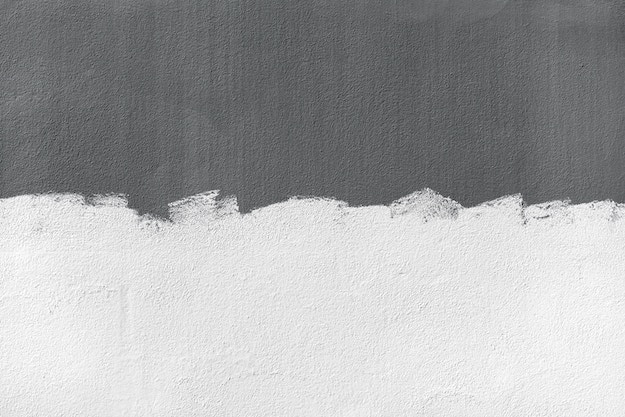
Step 2: Prepare wall
Remove anything that is in the way such as nails, appliances, frames, baseboard, shoe mold, etc. Grab your sandpaper and lightly sand down the entire area that you’ll be painting. This is so the paint sticks better. Finally, place the painter’s tape all around the area you’re painting. If you’re only painting an area, use a level and pencil to draw out the area. Use a putty knife to seal the tape down on the wall. You don’t want any paint seeping under the tape.
Step 3: Setup & paint
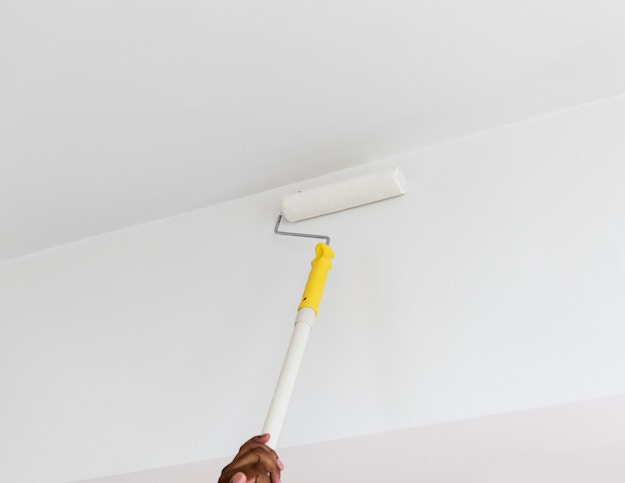
Before painting, make sure to tape newspapers/cardboard/plastic sheeting on the floor. Open the chalkboard paint and add it to the paint tray. Using a clean roller, roll small amounts of the paint across the wall in a “W” motion. Use a regular paintbrush to paint any edges.
Step 4: Second coat
After the first coat is done, allow the paint to sit for anywhere between 2 to 4 hours (check can for instructions). When applying the second coat use lighter strokes so that there isn’t a drip.
Step 5: Clean up and let it sit
Remove all the tape while the paint is still wet. Clean any brushes and rollers and put everything away. Once your area is clean, let the paint sit for 3 whole days.
Step 6: Season chalkboard
After the three days, use the long side of the chalkboard to rub the entire surface of the chalkboard paint. Use a damp cloth or paper towel to remove it.
Step 7: Draw and enjoy
Your chalkboard is now open for use!
Also make sure to check out how to make your own chalkboard paint and other chalkboard paint projects.
![]()
Stay connected with me on Facebook, Twitter, Pinterest and Instagram!
cover image via Shutterstock


