

Keep your important items such as jewelry, cash, documents and gun safe inside this DIY secret shelf you can easily build!
Safely Stash Your Valuables In This DIY Secret Shelf
You can upgrade a decorative floating shelf you have at home, and equip it with a secret compartment. You can keep whatever valuables you want to be hidden. Like emergency money, your passport, or shockingly even a weapon to be invisible from an untrained eye! Are you ready to get started? Here we go!
What You’ll Need:
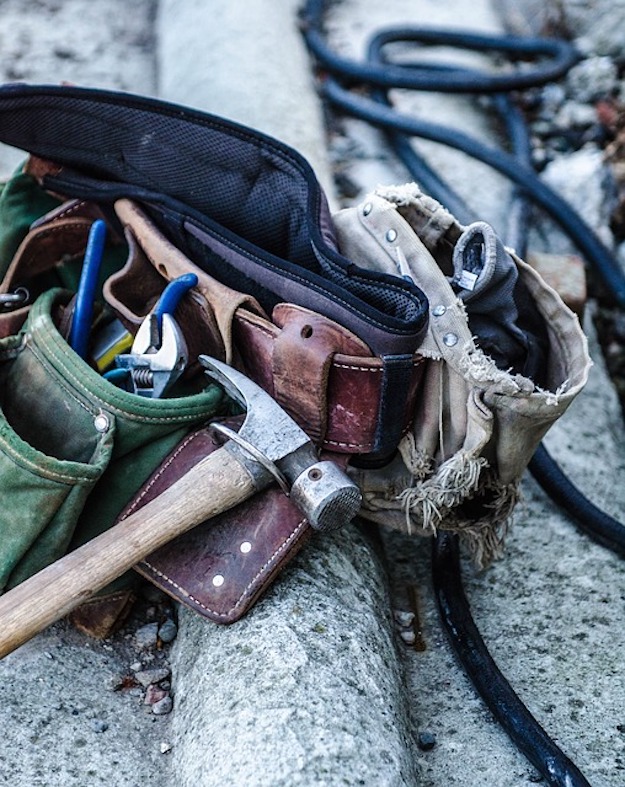
Tools:
- Circular Saw
- Drill
- Clamps
- Hammer
- Arm Saw
Supplies:
- Reclaimed Wood
- Plywood
- Wood Glue
- Nails
- Hinges
- Screws
- Magnetic Lock
- Veneer
- Latch
- Gun Holster
- Velcro
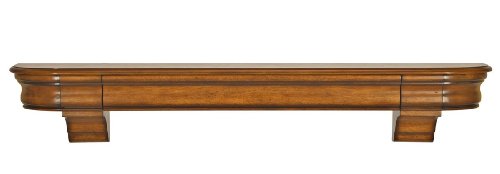
- 72-Inch wood mantel shelf with unique hidden drawer feature in distressed medium oak finish
- For use in any room not just for the hearth
How To Make A DIY Secret Shelf:
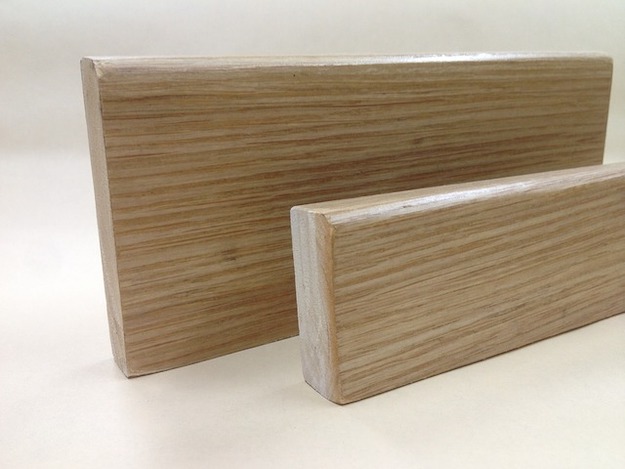
Step 1: Joint Down And Glue
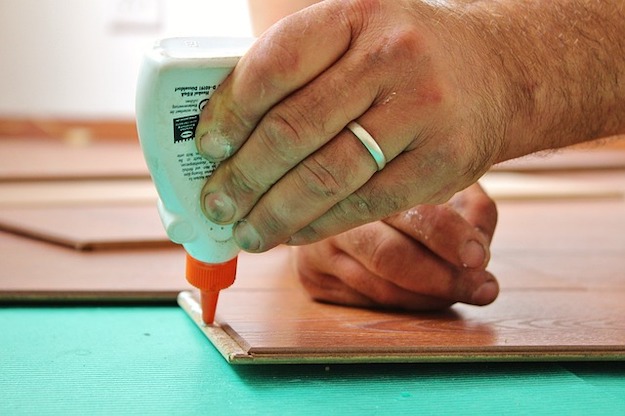
Trim down the sides of the shelf when making the top and bottom panels. Make sure they will fit in properly. Glue the panels together and keep them in place with a clamp. Let them dry overnight. That’s roughly around 10-12 hours.
Tip: Letting the glue dry completely will ensure its strength.
Step 2: Plane And Smooth Out
Tidy up the reclaimed wood you have collected, by smoothing it out with a Jack Plane.
Step 3: Actual Box
Use your arm saw to cut the plywood into the correct lengths of your secret box compartment. Now you will need to create the box joints. This is an essential part of the box since these are used to attach the four corners of the box and give it strength.
First connect the wood parts together by using glue. Once this is done you will want to secure the adhesion by hammering in nails.
Step 4: Attach The Hinges
Lay out the center points for the location where the hinges will be placed. Next, drill out holes and attach the hinges with screws.
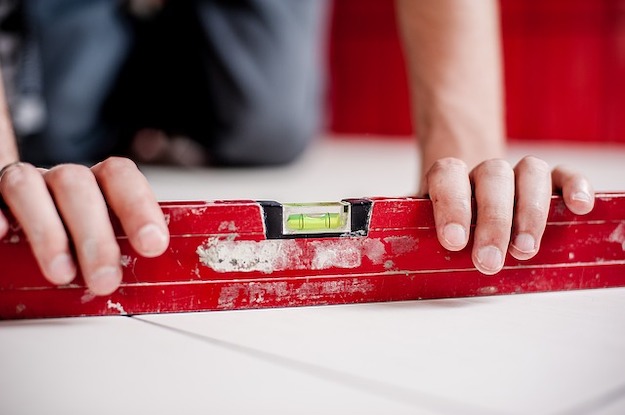
Step 5: Panels
Yank the top and bottom panels a bit, to perfectly fit the splines together, and then glue. Then you will cut it to the required length and attach it to the box with glue and nails. Chisel out some portions of the wood, so as not to hit the wall when it is opened.
Step 6: Compartment Holders
If you have an emergency weapon like a gun, attach the gun holster with the help of a little latch as its holder. Attach the velcro with the use of screws to hold other items.
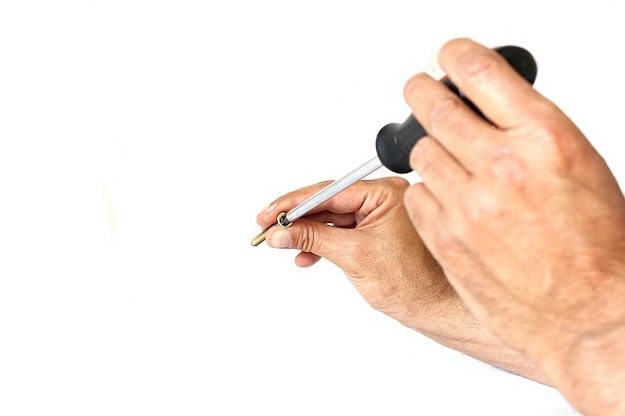
Step 7: Magnetic Lock And Key
Put the magnetic lock in the compartment by using more screws. Create a magnetic key out of an ordinary-looking decor.
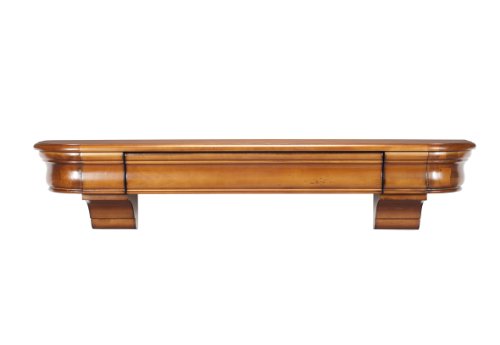
- 48-Inch wood shelf with decorative corbels in distressed medium oak finish
- Unique hidden drawer feature
Step 8: Put It Up On The Wall
And now you’re good to go!
No products found.
Watch Adam Gabbert‘s full video tutorial on this project:
Now that you have your very own secret compartment floating shelf, your next challenge is how to KEEP IT SECRET. This kind of woodwork is hard not to brag about, believe me! So I guess, you better keep your lips sealed, and just make more of our DIY Projects you can add to your bragging rights then!
What do you think of this DIY secret shelf? Will you build one for your valuables? Let us know in the comments section below.
Want another super cool DIY project? Check out this coolest pallet project perfect for backyard parties, DIY cooler box! This is the kind of project you’ll enjoy bragging!

Stay connected with us on Facebook, Twitter, Pinterest, and Instagram!
Editor’s Note – This post was originally published in April 2016 and has been updated for quality and relevancy.


