


Want to know how to make a headboard out of a repurposed pallet? Pallets are easy to work with and making a pallet headboard would make for great bedroom decor (and you can follow it up with a pallet table to display all your crafts projects!). If you’re looking for DIY wood headboard ideas, here’s one you should try. This is an easy woodworking project anyone at any skill level can make.
DIY Rustic Pallet Headboard
Old pallets are so easy to come by and they come in really affordable price. The great thing about pallets is you can do so much with them – the possibilities are endless! And today, our featured DIY project is rustic pallet headboard. So if you’re thinking of giving your bedroom that rustic warmth and country look, you may want to give this project a go!
Read on and learn how to make a rustic pallet headboard. This do-it-yourself project can be done with pallet boards and old barn wood.
You’ll need only a few slats of wood (and they don’t have to all be the same shade or color) to put together to create this awesome headboard.
You’ll need these supplies for your DIY headboard:
- About two store-bought 2×3″ wooden pallets worth of wood
- Preferred color of wood stain
- Screws (dependent on the thickness of your wood)
- Nails
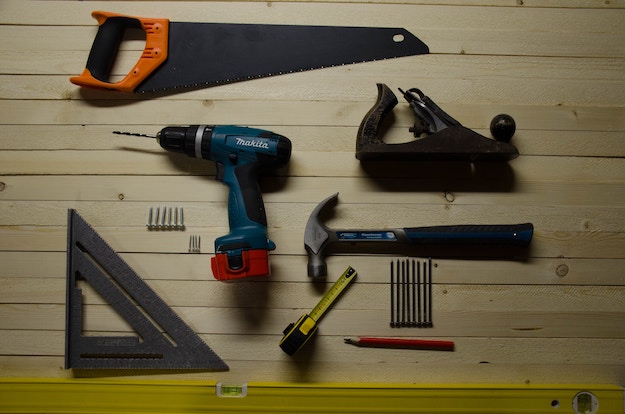
- Nail gun or hammer
- Power saw or hand saw
- Drill
DIY Pallet Headboard | How to Make a Headboard
Step 1

First, measure the length of your bed frame and add about two to three inches to the measurement of your headboard to make sure that it’s wide enough. Then, you’ll need to assemble the frame of your headboard.
Step 2

Add screws to all frame connections of the pallet.
Interior Designers know to do this to make the perfect gallery wall! Click to see all our budget friendly tips to… https://t.co/whgSZrCcmN
— DIY Projects (@DIY Projects) May 24, 2016
Step 3
Next step is adding slats to the frame. Note the extra frame spaces. Slat layout would eat most of your time in this do-it-yourself project.
Step 4
This time, to ‘finish’ the open ends of the headboard, we’ll need to add corners. That would give clean and smooth look on each end of your pallet headboard.
Step 5
Screws were also added to corner pieces to make it more sturdy.
Step 6
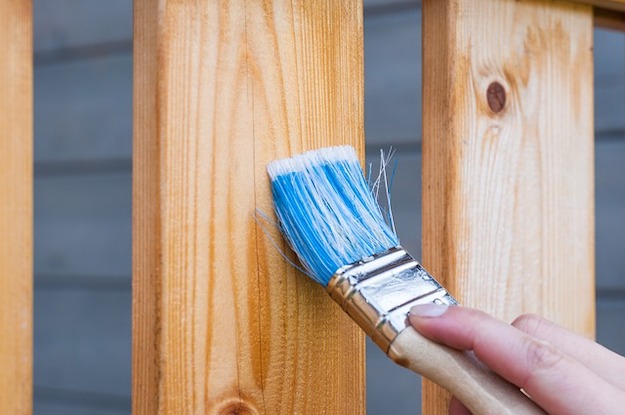
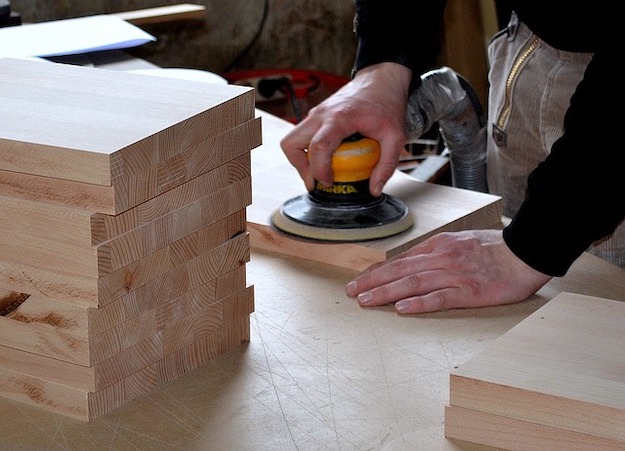
Apply linseed oil and stain to give the ‘aged’ and vintage look. And finish off by sanding (expect lots of sanding) the rough spots of your DIY headboard. We recommend you stain the pallet headboard after sanding. Attach it to your bed.
And you’re done!
You’ve just finished your easy homemade rustic pallet headboard that any skill level can accomplish.
Try it and make this your weekend DIY project. Enjoy and happy DIY-ing, everyone!
Check out the full video tutorial on how to make a headboard from Homesteadonomics below:
Are you going to give this pallet project a try? Let us know below in the comments!
Stay connected with us on Facebook, Twitter, Pinterest and Instagram!


