
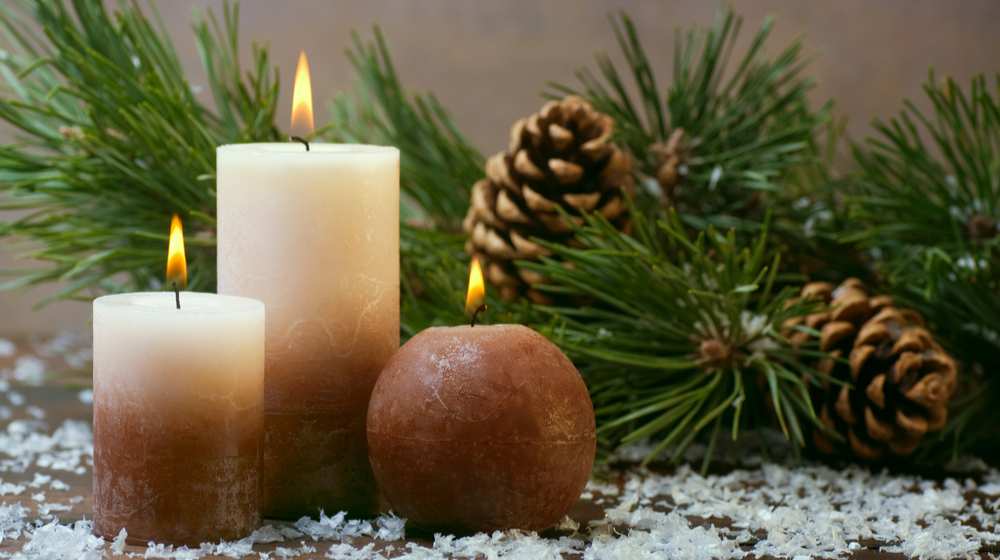

Bring the scent of the forest to your home with this pine-scented candle tutorial. There’s no scent that screams “fall” more than this.
RELATED: How To Reuse Candle Wax To Make New Candles And Save Money
How to Make a Pine Scented Soy Wax Candle
What You Need:
- 1 lb soy wax chips
- Candle wicks
- Wick stickers
- Any candle container
- Wick bars (or clothespins, popsicle sticks, or pencils)
- Pine scent oil
- Digital scale
- Metal pouring pitcher
- Medium saucepan
- Candy thermometer
- Warning labels
1. Create Your Double Boiler
Fill up your saucepan with water and put it on medium-high heat. This creates a double boiler to place your pouring pitcher in so you don’t end up scorching or burning your candles.
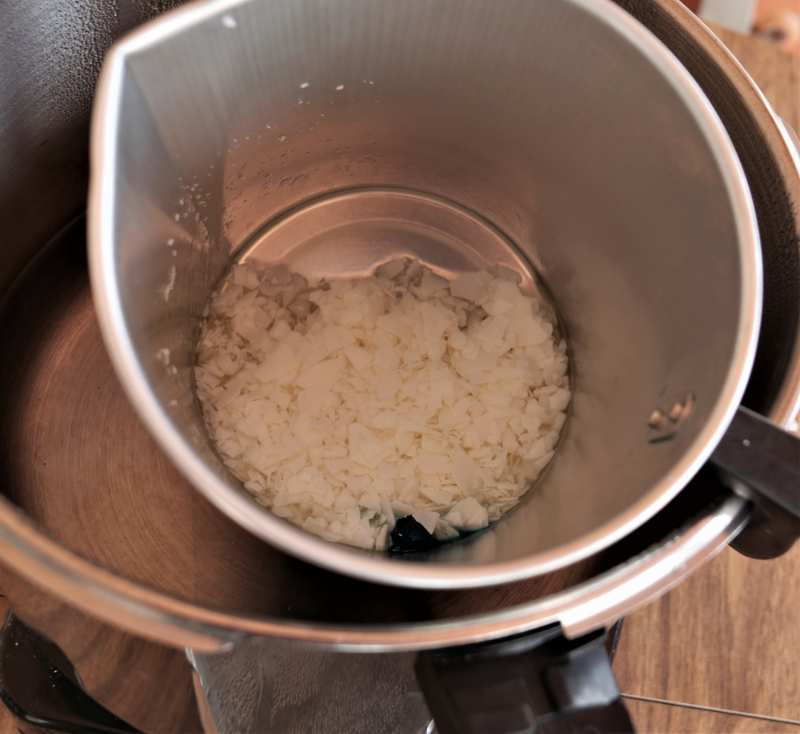
2. Weigh and Melt Your Soy Wax Chips
Set your pitcher down on the digital scale and press the tare button to zero out the measurement, then weigh 1 lb worth of wax. Then place your pitcher in the double boiler.
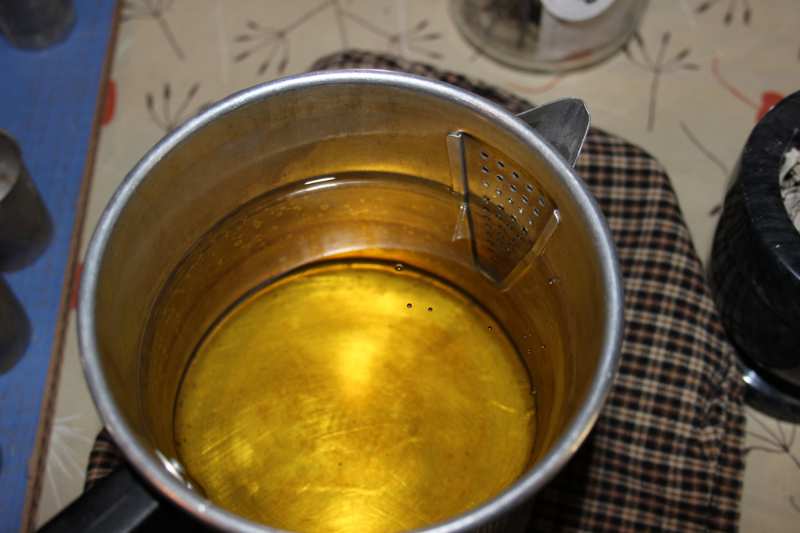
3. Add Your Pine Scent

Once your wax reaches 185 degrees F, add 1oz of pine scent oil and remove your pitcher from your double boiler. This temperature is hot enough for the oil to bind with the wax, but not too much that you lose fragrance during the heating process.
Stir thoroughly for about 2 minutes. Stirring evenly distributes your pine scent oil and helps get the best scent out of your candle.
After, prepare your wick. Remove the wick sticker and place the sticky side at the bottom of the wick tab. Stick this at the center of your candle tin.
RELATED: Soothing DIY Lavender Candles To Melt Your Stress Away
4. Pour the Wax and Center the Wick
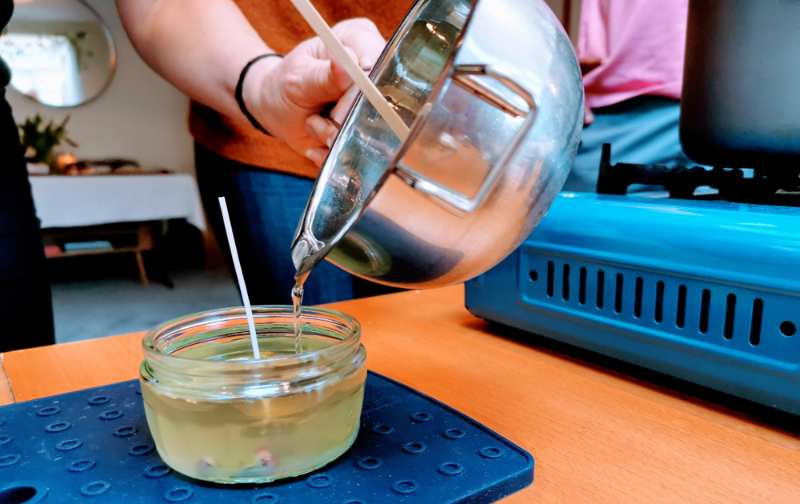
Once your wax cools to around 135 degrees F, pour your wax into your candle tin. Make sure to leave a quarter-inch gap from the top.
Push the wick into the center groove of your wick bar to center the wick in your tin.
Tip: If you don’t have wick bars on hand, you can use a clothespin, popsicle stick, or even a pencil to center your wick.
5. Let Cool Overnight
Allow your candle to cool overnight, then trim the wick to a quarter-inch long and close with a lid. Don’t forget to add a warning label at the bottom of the container.
Reminder: Allow your pine-scented candle to cure for 4-5 days before lighting. If you can wait a little longer, wait for at least 2 weeks to get the best fragrance.
You can also add some lavender too for extra aroma or keep it with the plain pine scent.

Watch this video by Sheri Vegas for a beginners guide on candlemaking:
Pine scented candles bring warmth to chilly fall nights. We hope you enjoyed this tutorial and let me know what you think.
What is your favorite candle scent? Share your tips and experiences in the comments section below!
UP NEXT:
- Fun Fall DIY! Make Your Own Rustic Candle Sconces
- Candle Making Kit Checklist To Get You Started
- Bike Repair: 7 Common Problems And Fixes Without Going To The Shop
Calling all crafting DIYhards, DIY Projects needs YOU! Click here if you want to write for us.
Don’t forget to stay connected with us on Facebook, Twitter, and Instagram!


