


When I was 14 years old, my dad taught me how to make my own birdhouse and back then, it was one of those easy DIY projects for teens. I just got hooked immediately to DIY and woodworking after that experience. Do you want to introduce your teens to the world of DIY? How about you start them off with this DIY Wooden iPhone Charging Dock?
Easy DIY Projects For Teens | DIY Wooden iPhone Charging Dock
Functional and pretty simple to make, a wooden iPhone charging dock doesn’t take too much time, effort, and resources to make. I think it’s one idea of a gift that anyone with an iPhone would easily be able to appreciate. If you’re looking to devote a small bit of your time to someone special or if you just want to create something over the weekend that’ll steady and keep your phone from dust while its charging, the steps to making your own DIY iPhone charging dock are pretty simple. All you’ll need are the following:
Tools and Supplies You’ll Need:
- Saw
- Drill
- Sander (or – sanding paper)
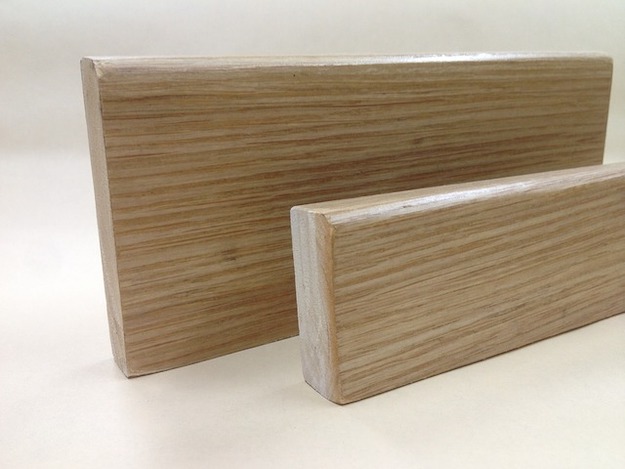
- Block of Wood
- Pencil/marker
- Wood Carving Knife
- (Optional) Linseed Oil Wax Wood Finish
Steps:
1. Measure and Trim the Wooden Block

Of course, we need to start with measurements. Planning is essential in any DIY project, even the easy ones, and it’s just the same with this iPhone charging dock. Measure the block wood with both your iPhone. An iPhone 5 would range 2.31 inches in width, an iPhone 6 about 2.64 inches, an iPhone 6 Plus about 3.06 inches.
Leave an inch or so in addition to the space allotted for the iPhone when cutting the wood with your saw. We want to make sure we have more than enough room for the iPhone to go around in on.
Afterwards, thinly saw away the rough edges of the block of wood.
2. Saw and Chip Away A Portion
After you’ve completed the trimming, you’re ready to saw out the part of the charging dock where the iPhone will dock. Measure carefully the area with a pencil and slant your measurement when it comes to the lean side of your iPhone charging dock. Thoroughly drive your saw through the lines.
With your wood carving knife, chip away the portions of the wood that are unwanted. You’ll want the charging dock to be smooth and easy to hold, not rigid and full of bumps.
3. Sand the Wooden Block
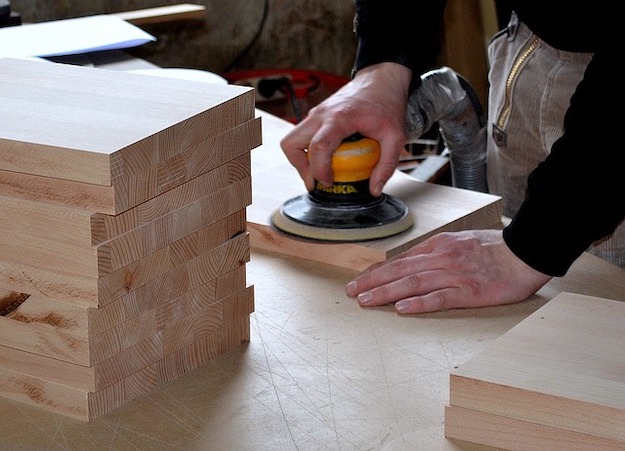
As with any wood project, it’s important the wooden block to lessen the rigidness of coarse areas to avoid any prickly that might cause wounds. The same should go for your own iPhone charging dock-to-be.
4. Drill a Hole and Let Space for the Wire

Once the wood is sanded and smooth, you can now proceed in the happy task of drilling a hole for your charger. Make sure to bore a hole that is big enough to fit your charger in.
Using your saw or carving knife, make room on the underside for the wire of your charger. After that, your simple yet functional charging dock would be good for use!
Of course, you may opt to permanent your charger and wire to the charging dock. In which case, you can use a glue gun in order to make attach your charger to the charging dock permanently.
5. (Optional) Finish Your Wood With Linseed Oil Wax
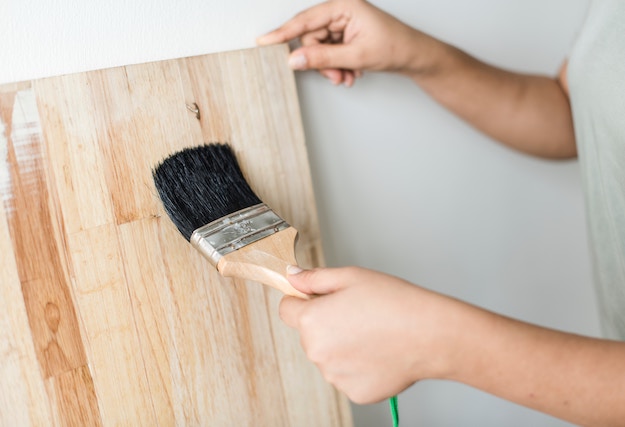
Apply lindseed oil wax to your charging dock as finish. It’s to make the wood of your charging dock luster in a nice velvety colored wood.

Interested in getting more visual cues when setting up your own DIY wooden iPhone charging dock? Watch it straight from the video by Giaco Whatever!
Or perhaps interested in something else DIY, like a DIY Murphy Bar? Read this next!
Like this? You’ll also like…
Save On Crafts | 31 Easy DIY Crafts

DIY Projects | Make Your Own Pallet Wine Rack

21 Super Cool Reclaimed Wood Craft DIY Ideas | DIY Projects


