

Over time, your cabinets accumulate layers of grease and dirt, but it’s not necessary to buy a new one especially when you’re on a tight budget. Make your kitchen cabinets look new again with these 5 easy steps on how to refinish cabinets.
RELATED: 10 DIY Cabinet Refacing Ideas
How to Refinish Cabinets | 5 Simple Steps to Give Your Cabinets a Refreshing Update
What You’ll Need:
Step 1: Clean Your Kitchen Cabinets Using a Damp Cloth
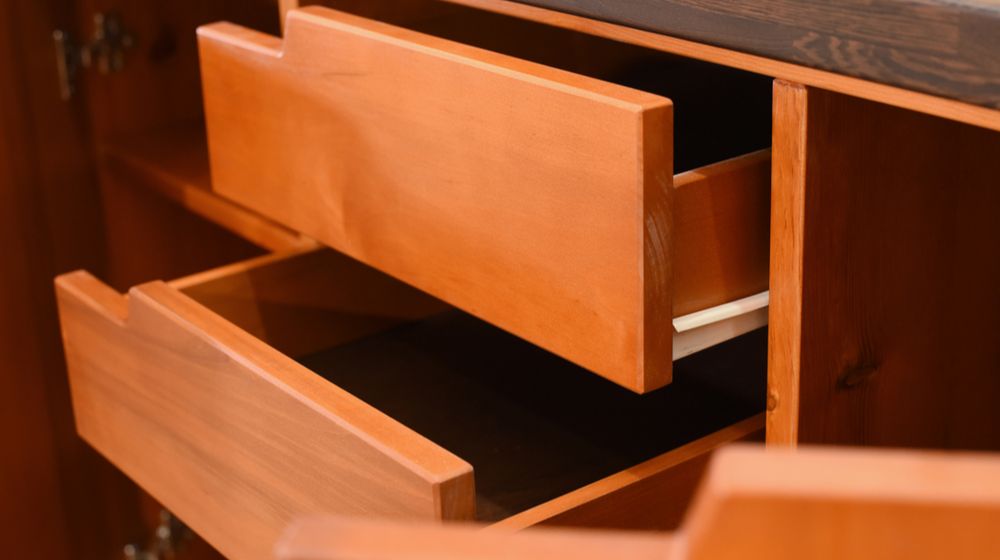
To properly clean your cabinets, take off the hinges and detach the doors from them. Remove the drawers, shelves, and knobs or handles as well.
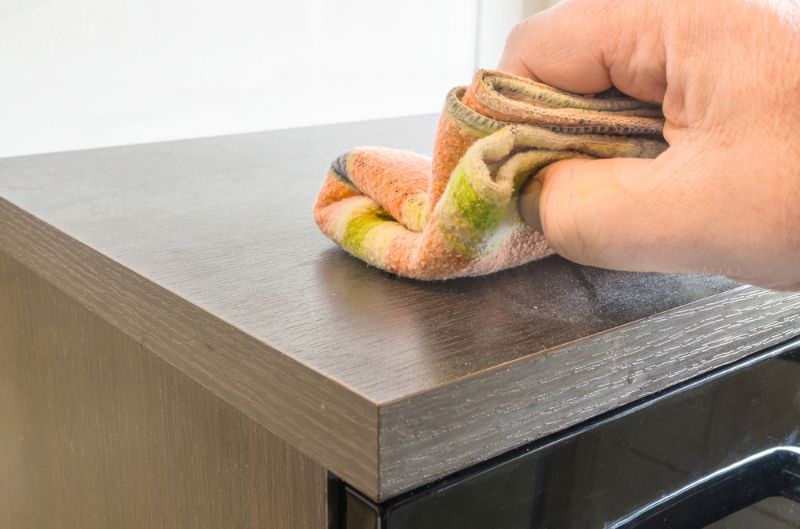
Wipe the surfaces vigorously with a clean, soft, and damped rag to remove the grease and dust. Apply a wood cleaner or make a natural solution by mixing equal amounts of hot water and vinegar. You can also produce a thick paste by combining baking soda and water.
Tip: Turn the rag over or replace it as needed. Don’t forget to get into the corners of your cabinets to remove any unwanted and built-up dirt.
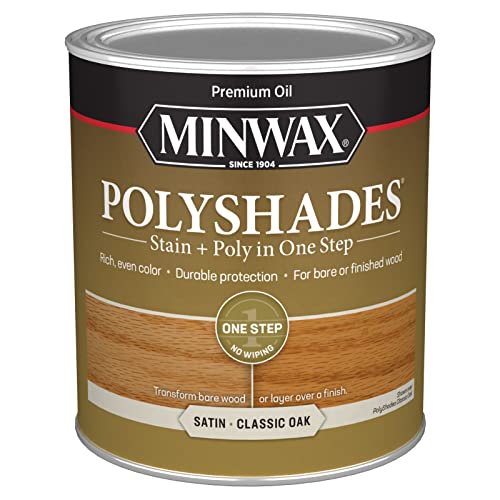
- POLYSHADES WOOD STAIN – Minwax PolyShades is an oil-based wood stain and poly in one. It enhances...
- REDUCE FINISHING TIME – This one-step wood finish can be used over polyurethane finishes, so you...
Step 2: Sand Your Cabinets
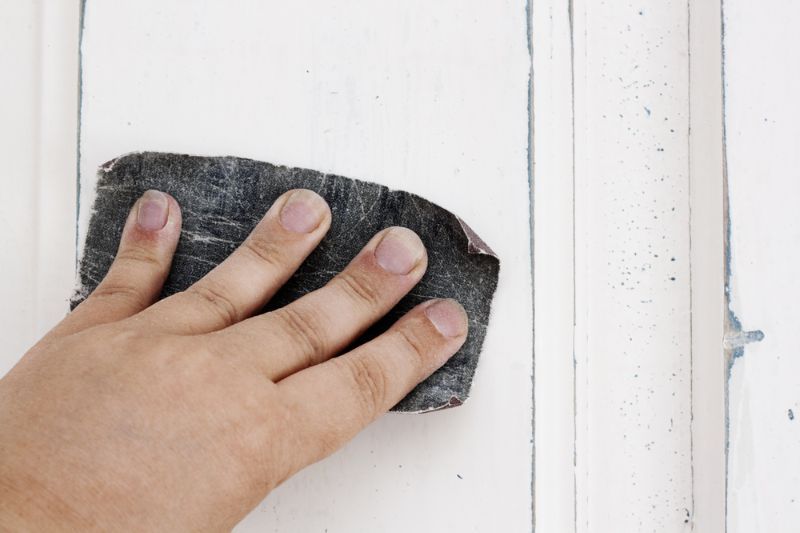
Once your kitchen cabinets are dry, use fine sandpaper to smoothen the surface. Wipe off the dust using a soft cloth.
Tip: You can do this outdoors while wearing a dust mask, gloves, and goggles for your safety. If you wish to perform this indoors, you may want to cover your floors, countertops, and appliances with an old cloth.
3. Touch up Your Kitchen Cabinets With a Wood Marker
After sanding, you’ll notice some serious wear spots on your cabinets. Hide these imperfections using a colored wood marker.
Apply a shade that matches the current color of your cabinets to effectively fill in the marks. Shake the pen thoroughly to apply the liquid evenly onto the surfaces. Let it dry for a few minutes before wiping off the excess and blending in the edges.
Tip: You can use these markers similarly to how you use felt tip pens. These will help restore the missing color in various wood tones.
RELATED: A Beginner’s Guide On How To Paint Kitchen Cabinets White
4. Protect Your Cabinets With a Finishing Material
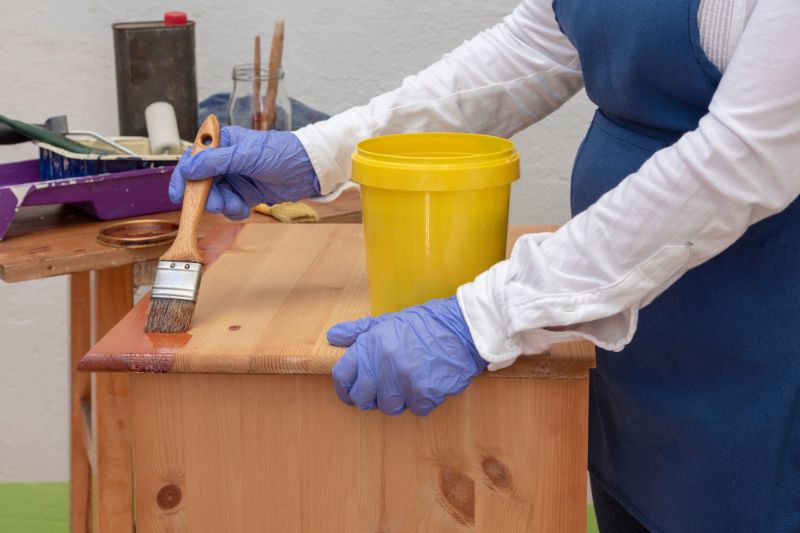
After touching up, apply a combination of stain and polyurethane to protect your kitchen cabinets. Load your brush with this finishing material and start glazing the details in the panel of your kitchen cabinets.
Note: It’s common for the pigments in this type of material to settle at the bottom of the can. It’s important to mix it properly using a stick and pull up the pigments as you go.
5. Install New Hardware on Your Kitchen Cabinets
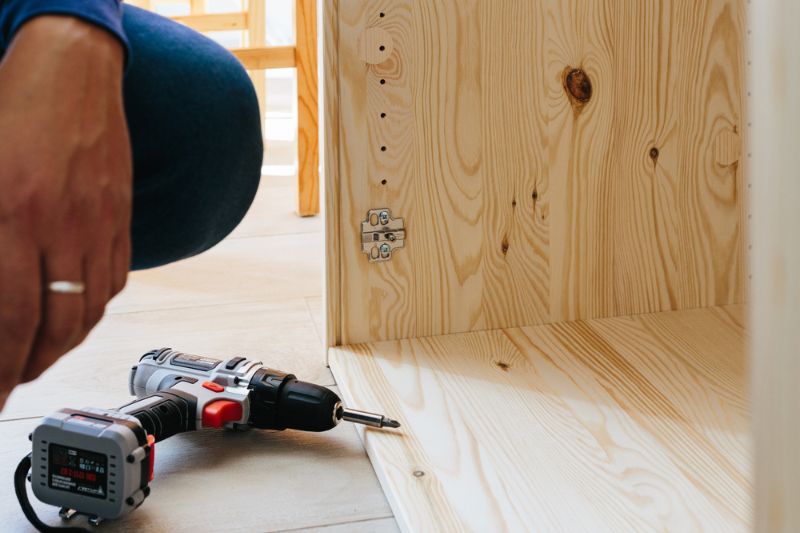
Add finishing touches to your kitchen cabinets depending on the vibe you want to achieve.
Before going to your local store, don’t forget to measure the size of the screws as well as the distance between the screw holes of your cabinets. You can also take with you the actual knob or handle for your reference.
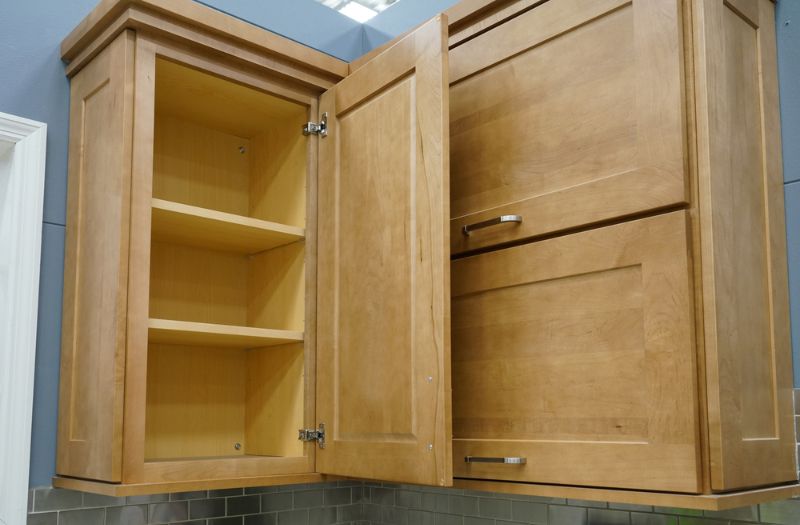
This is how it should look like:
Aside from knowing how to refinish cabinets, learn how to do a Victorian-themed kitchen makeover from this video by House & Home:
Tune-up the aesthetics and improve the mood of your kitchen without breaking the bank. Hide imperfections, bring back the color, and extend the life of your cabinets by following these 5 steps on how to refinish cabinets.
Do you have other ideas on how to refinish cabinets? Share them with us in the comments section below!
Up Next:
- 7 DIY Display Cabinet Project Ideas You Need To Try Out
- Personal DIY Projects – The $20 Bathroom Cabinet
- Create A “New Broom Parking” Halloween Sign
Calling all crafting DIYhards, DIY Projects needs YOU! Click here if you want to write for us.
Don’t forget to stay connected with us on Facebook, Twitter, Pinterest, and Instagram!


