


How to make lotion you ask? We can help with that! Making your own lotion starts with proper knowledge, ingredients and the right equipment. While there are lots of great options already on the market, the ingredients contained in many of them are questionable–to say the least. If you want healthy skin with products made from natural ingredients, it’s always best to make it yourself. Don’t worry, we’ll show you how!
How To Make Lotion
I have heard good things about homemade lotions, and I was determined to try it out and see if I could not master this one, and if I did, simplify the process for others.
No one wants to spend the money and time procuring high quality ingredients only to have them go to waste. I was the guinea pig. I tried them all. This article will tell you what I found, and tips I discovered.
Why Would You Want to Make Homemade Lotion, Anyway?
First, because you choose the quality of ingredients which go in your lotion, this is very important. You will pay a lot of money for lotions made with the best ingredients, but you can get all the supplies you need to make this high quality lotion at home. Second, because when you make your own lotion, you get to customize it to your particular liking. You decide what aromatherapy oils and fragrances go in your lotion as well, you get to add the color of your choice or leave it natural, plus you can opt to add in fun ingredients like sparkly glitter.
You can add extracts from plants, like rosemary or thyme, and even fresh ingredients like cucumber and mint.
These lotions will not have as long of a shelf life, and they will need to be refrigerated, but if you have not tried a fresh lotion like this, I highly encourage you to. I first purchased a facial lotion with cucumber and herbs from a very expensive specialty store. I was hooked. When I discovered I could make the same thing at home for a fraction of the cost, I was thrilled.
After I spent some time researching the best ways to make lotion, I also read that one of the benefits of making your own lotion is that you eliminate the risk of all kinds of unknown chemicals in your lotion. I was truly surprised when I found out what was in some of the lotions I was using at home. I encourage you to read the labels of and do some research . You may no longer want to be putting the stuff you thought was safe on yourself or your children. I certainly don’t.
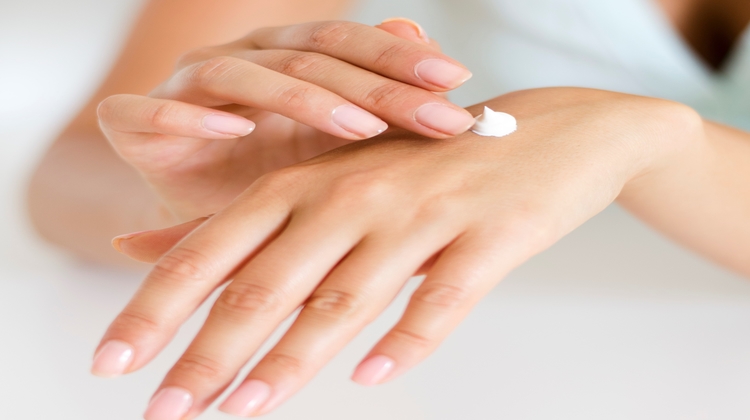
Homemade lotion can help you save money and avoid toxic chemicals and additives you do not need. Homemade lotion is so much better than most all lotions you can buy in stores, more luxurious, cheaper, and safer.
I experimented with several types of homemade lotions, and most of them turned out okay, but the one i’m about to show you is my favorite.
Ingredients You Need To Make Basic Lotion
- 1/2 cup almond oil
- 1/2 cup (4 ounces) of coconut oil (grapeseed oil and jojoba oils work really well, too. I liked the texture of the coconut oil better)
- 2 Tablespoons beeswax (this comes in blocks, pastilles and in grated and shaved forms)
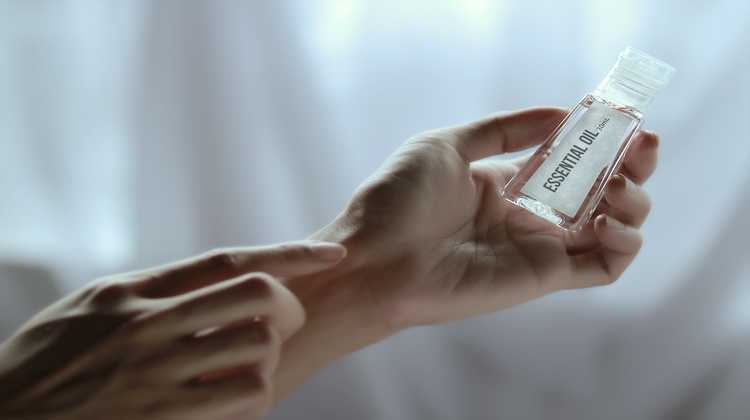
- essential oil of your choice (optional ingredient, but we show you how and when to add it)
 Supplies You
Tools Needed To Make Basic Lotion
- An electric mixer or a whisk and some patience
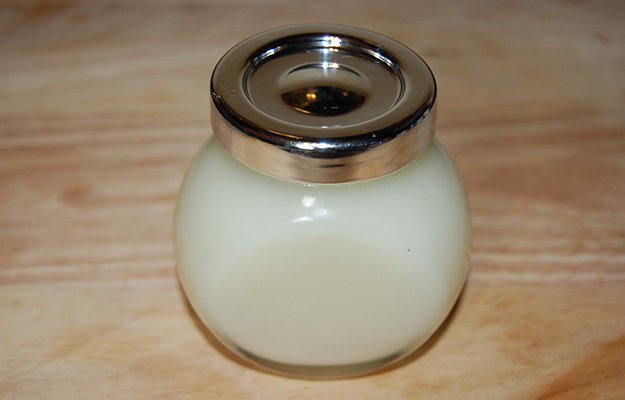
- A double boiler or a glass container that can be heated (this will need to fit inside of a pot of water on the stove, and will need to be one you do not mind making lotion in. Mason jars work great for this, and they have lids, so you can later store your lotion in them!)
Instructions
Step 1: Gather your ingredients.
For basics, you need an oil base and beeswax. I liked the combination of almond oil and coconut oil for the oil base, but grapeseed oil jojoba oil also work well with almond oil. I do not recommend the method or recipes that use water, as these have a shorter shelf life, and the consistency of the final product is not as good. Same goes for recipes using aloe vera gel.

Step 2: Using a double boiler or saucepan with glass jar, add all ingredients
Add your almond oil, coconut oil and beeswax.


Step 3 (optional): Add 5 or more drops of your favorite essential oil(s) and/or fragrance

Step 4: Turn heat to low to melt all lotion ingredients.
Please be patient here and do this slowly. You do not want to scorch these ingredients, and if you heat slowly, there is little risk of that. This is why you do not want to heat the ingredients directly in a saucepan. The extra layer in a double boiler or a glass container will allow the ingredients an extra layer of protection from the heat, which keeps them from burning. (This is why you also heat chocolate this way, and delicate sauces like hollandaise.) You can even turn the heat off before it is entirely melted. This is not necessary, but you do not want to overheat. All you need is to melt everything together, then remove from heat.

Step 5: Remove from heat
Place the mixture from the double boiler into a mixing bowl. Do not delay in doing this, or it will be difficult to transfer the lotion mixture. You can go ahead and add water to the pan the lotion was mixed in. It will easily clean later with soap and water.
Step 6: Whip with mixer or whisk
Whip up your lotion mixture with an electric mixer or whisk until your lotion becomes thick and creamy. It should have a buttery consistency.
Step 7: Let sit for 15-20 minutes
Your lotion needs time to cool so it will get thick. You do not need to cover it. Set it aside and come back within 15-20 minutes.
Step 8: Place in covered jar or container
Your lotion should now have congealed, and it is time to scoop it into the container you want to store it in. This basic lotion will not pump in a lotion container. Use a jar.
That’s pretty much it, you just made your very own homemade lotion.
We love hearing from you so share your feedback in the comment section.
Homemade Lotion Bar Recipe:
Homemade Lotion Bar Recipes
7 Homemade Lotion Recipes and More
Ready to Make Lotion?
You should be able to find these locally if you look around a lot, but I recommend buying it all online and having it shipped. **I had to go to three craft stores to find beeswax, and I never found the pastilles, except online. Pastilles are my top pick on beeswax.
Beeswax Pastilles
Stakich 1 lb Pure Yellow BEESWAX Pellets – Cosmetic Grade, Top Quality –Beeswax blockStakich 2 lb Pure Yellow BEESWAX Blocks – Cosmetic Grade, Top Quality –
Almond OilNOW Foods Sweet Almond Oil, Moisturizing Oil, 16 ounce
Coconut Oil


This is the one I used in my recipe here:

But I also really like this one
Nature’s Way Coconut Oil, 32-Ounce


