


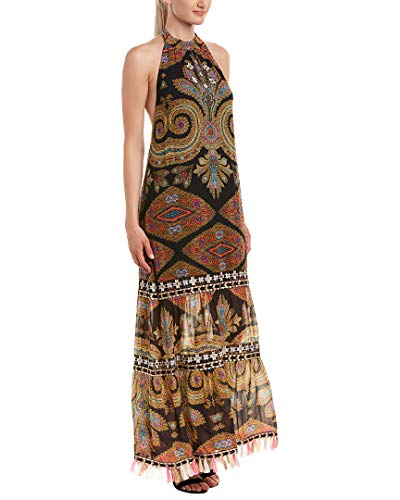
Floral maxi dresses were all over the 2018 runway shows;after all spring has sprung. While you may not be able to splurge on Diane Von Furstenberg’s latest design,you can create your very own maxi dress for a fraction of the price. We can show you how to create a beautiful spring maxi with these simple steps.
DIY Stylish Maxi Dress for Spring
Maxi dresses can be worn year round,but since it’s spring, you can opt for floral designs and bright colors that reflect the season.
My BFF wanted a maxi dress, and gosh darn-it, she’s going to get one!
My last trip to LA included a trip to Mood to pick out the maxi fabric. She chose a sheer jersey printed knit (my girl has an eye for prints, I LOVE the one she chose!). In order to avoid flashing the world, we also chose a lightweight, off-white, knit jersey lining. Fabric plays a big role here…ugh. But all would not be well in paradise…
Let me just say, working with these two fabrics was THE WORST. It was fighting me every step of the way. Not only did it constantly stick together, the lining kept rolling into huge, bulky 2” rolls (oddly resembling middle fingers being thrown in my face). I spent a good 30 minutes wrestling with the fabric. But it is about learning from mistakes, and now I know: USE LINING FABRIC FOR LINING!!!!
*sigh* okay. I had to baste stitch the top of the dress together to help keep everything aligned and prevent those edge rolls.
Directions
Okay, so the first thing you need to do is purchase a fabric of your liking. If you’re not sure how many yards you’ll need just ask for assistance at the fabric store. Remember to get a bit more fabric than is needed for the dress, in case of any mistakes.
- Ties at center back neck
- Fully lined
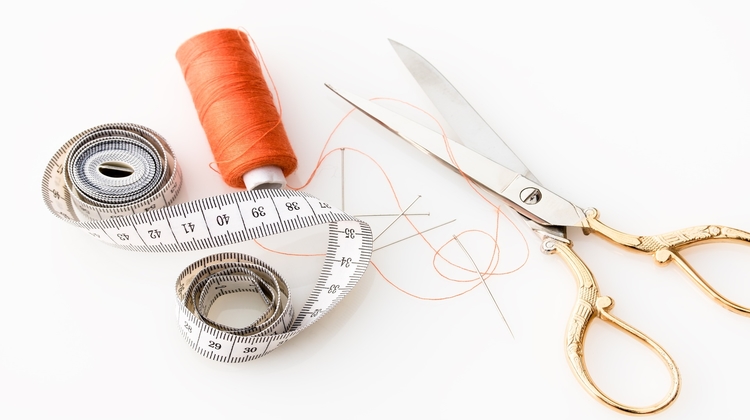
For your DIY maxi dress creation, you also need the necessary tools.
Needle, thread,measuring tape, scissors and all the other items should be at hand.
Step 1:
Fold the fabric, right-sides-together and cut to the measurements of the armpit-to-armpit.
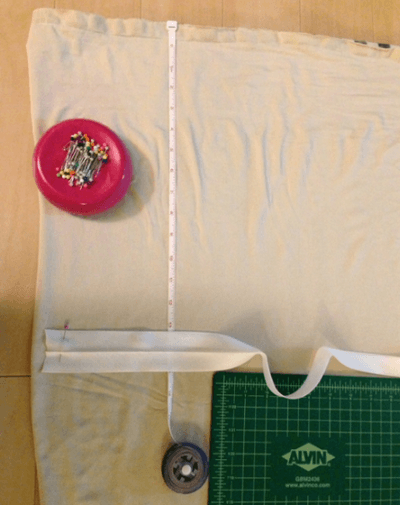
Step 2:
Measure 12” down from the top and pinned bias tape to form the elastic waist casing. My elastic is an inch thick, so I unfolded the bias tape once.

Ta da!!!
No products found.
Step 3:
Then I stitched the casing to the dress. A straight stitch is fine for this, as this part of the dress will not be stretched, it’ll be bunched.

Step 4:
Then I formed the casing to the top to form the strapless dress:

Step 5:
Stitch up the open side seam of the dress and you’re almost there. Pull the strapless top elastic and waist elastic through the casings and voila!
Step 6:
I put it on to adjust the fit, and draping (and to admire the hard work). My BFF is tall, so don’t mind the dragging.

As you can see, it’s easy peasy! The hardest part of making this dress was wrestling with the two knits in an attempt to get it as flat and aligned as possible. If you use lining fabric you could probably finish this dress in 1 hour.
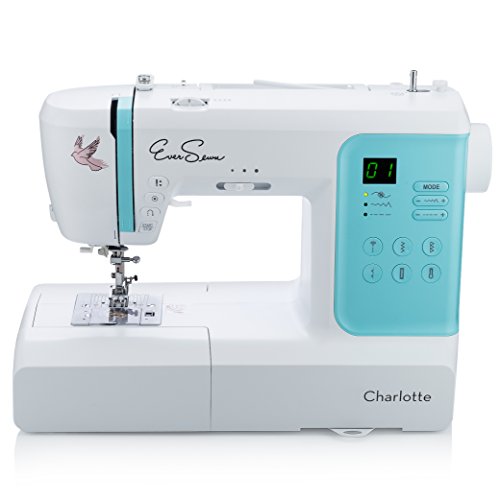
- 70-stitch package, 7mm maximum stitch width, LED stitch panel
- 6.5 inch wide sewing space with feed dog drop for both quilting & embroidery
And there you have it; an easy diy maxi dress for spring.
This was originally posted on Aeri’s blog to view the original post, go here: DIY Knit Lined Maxi Dress


