

Quick Summary
- Uses dryer lint, wax, and a cardboard egg carton to create cheap, reliable fire starters.
- Fill each egg cup with dryer lint, then pour melted wax over the lint to bind it together.
- Once cooled, cut the carton into individual pods; each becomes a single fire starter.
- Lights quickly, burns hot and long, and works for campfires, fireplaces, grills, or emergency kits.
- Makes use of household waste and is safer and more effective than liquid fire starters.
RELATED: How To Build A DIY Firewood Rack
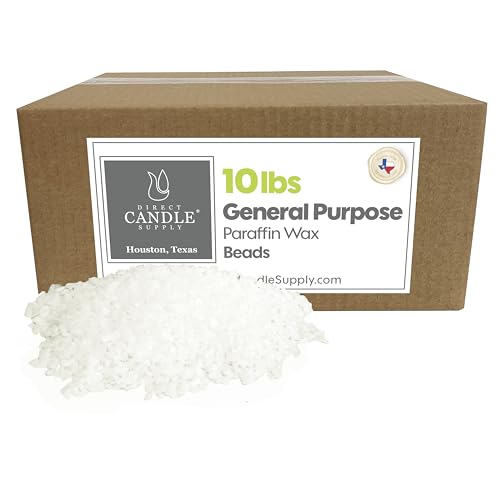
- COVENIENCE: Ships in easy-to-use pastille form. This candle wax for candle making is perfect for...
- QUALITY: Pure Fully Refined Paraffin Candle Making Wax - Low melt, excellent for candles; Like any...
(As an Amazon Associate, we earn from qualifying purchases.)
Ever Wanted to Know How to Make Fire Starters Using Egg Cartons?
Starting a fire shouldn’t be complicated or expensive, especially when you can make powerful, long-burning fire starters using materials you already have at home. This DIY egg-carton fire starter project transforms dryer lint, melted wax, and a simple cardboard carton into reliable, easy-to-light pods perfect for camping, survival kits, fireplaces, or backyard bonfires. Not only are they highly effective, but they’re also eco-friendly and budget-friendly, making them one of the most popular homemade fire starters for beginners and seasoned outdoors enthusiasts alike.
Why Would You Want to Make These Fire Starters?
Recently, I was camping and having trouble getting a fire started due to the humidity and rain. I was sure glad I had some of the egg carton fire starters in my bag. Way better than matches or a pile of kindling, the wax and dryer lint combo really helps your fire stay going. I also conducted a burn test using only these fire starters. Please keep reading to see how long they stay lit.
Materials:
- Dryer Lint: You should know what this is. Any variety will do.
- Paper Egg Carton: The size of the egg carton does not matter. It can be a dozen, a carton that holds 18, or even more. You want to make sure it is the kind made out of pressed paper, not styrofoam or some other material you might buy eggs in.
- Wax: We highly recommend using the wax from old candles and putting it to good use, but you can also buy paraffin wax or beeswax.
Note:
It’s much cheaper to buy big candles for this project. The wax does not have to be food grade. You can also use leftover broken crayons. We like to use all those restaurant crayons that end up with no home.

- Wicks Dimension - 6 inch length.Base dia:12.5mm.
- Materials - little to no soot, non-toxic and biodegradable. CONTAINS NO LEAD, ZINC OR OTHER METALLS.
Step 1: Eat Some Eggs and Do Some Laundry
![]()
First, get your egg carton and set it aside. and collect your dryer lint by cleaning off the lint trap of your dryer. I just stored mine in a pile until I thought I had enough. This did not take long.
I finally wanted to do laundry because I was going to get to do something cool, not just fold clothes. Amazing!
Step 2: Stuff the Dryer Lint in the Egg Carton
Next, stuff the dryer lint in the egg carton in the little holes where your eggs were. Do not stuff it in too tightly. You want the wax to penetrate the dryer lint so it will burn really well.
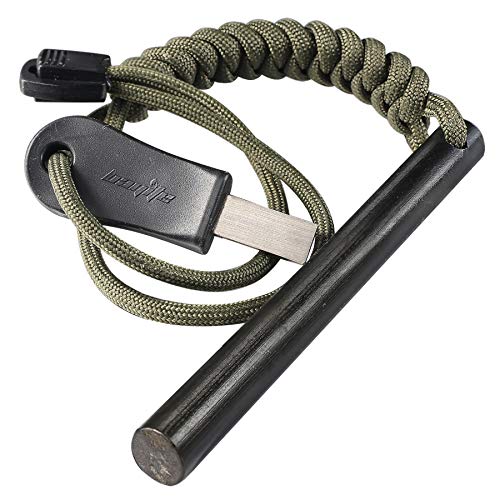
- 5ft Paracord included, gives you a good grip and never comes off. Comes with a bayite Striker-Pro...
- bayite 6 Striking Edges Striker-Pro striker is made from TOOL GRADE HSS STEEL and has a distinct...
Step 3: Melt Your Wax
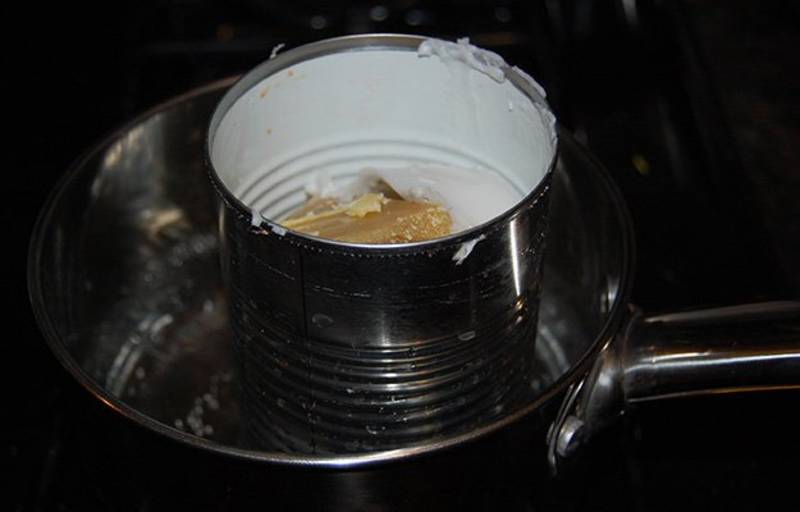
Set up a double boiler to melt your wax. You need a pot with water in it, and a can or jar of some kind- soup cans and mason jars both work great. Basically, you need a metal or glass container that will fit inside your pot of water with room to spare around it, preferably one that you can throw away later, and not have to clean wax out of.
I recommend not using one of your favorite pots, either. The pot will be clean, but you will likely end up with some wax in it.

Here’s a neat trick. Set an old candle right in the pot, and melt the wax right in the jar it is in. Put your wax in the can and the can in the pot of water, and heat the water. The wax will melt inside the can.
Alternatively, melt your old candles right in the glass candle holder. You may need to do this with more than one, though. Guess that depends on how big your candle is and how much wax you have left.
It was much easier than scraping the wax out of the glass, though.

One way or another, you should end up with melted wax, which looks like this.
- All-In-One Starter Kit – Everything you need to dive into candle making! Our Etienne Alair soy...
- Super Easy to Use – No messy blocks or confusing steps — our flakes melt quickly and smoothly...
Step 4: Pour Wax Into the Dryer Lint

When the wax is melted, pour it onto the lint in the egg carton. Use a hot pad or towel so you do not burn yourself on the can or jar. I wrapped a dish towel around mine, which worked perfectly.

You’ll want to put your egg carton on something that the wax can leak through onto (like waxed paper, foil, or a piece of cardboard, basically something you don’t mind getting wax on). Some of the wax will soak through the egg carton; be prepared.

Start with a little wax in each one to make sure you have enough wax to cover all your dryer lint babies. When you’re finished, let your fire starters cool and harden.
RELATED: Waterproof Fire Starters
Step 5: Let Your Homemade Fire Starters Cool
Come on, are you that impatient? I do have to admit I was. Let the wax cool for at least 45 minutes before you go on to the next step. Seriously. Otherwise, you are going to get wax all over your scissors. Trust me.
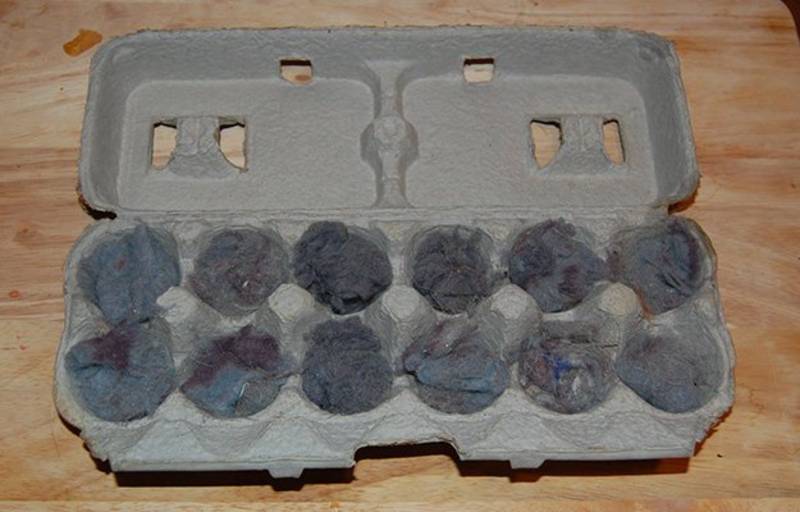
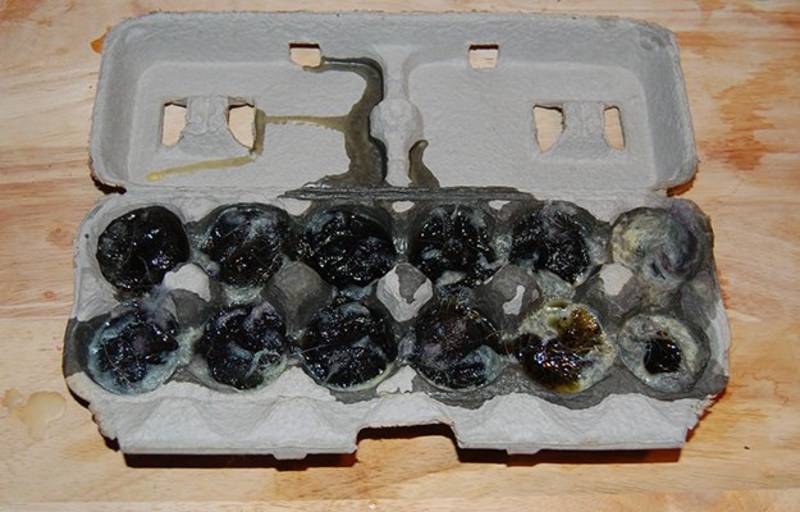
Step 6: Cut Them Apart

You can leave them all together in the shape of an egg carton and then tear them off one at a time, or tear them all apart and store them separately.

It should look like this.

They won’t light with a spark, so you’ll need matches or a lighter to get them burning. Throw some in your emergency kit, car kit, camping kit, or whatever else kit you have that has matches in it.
In our fire test, one of these babies burned for 17 minutes and put out a good flame sufficient for even fire novices to get something burning with!

- Waterproof container includes 25 matches and spare strikers
- Integrated striker located on outside of match container
Step 7: When You Need Them, Light Them

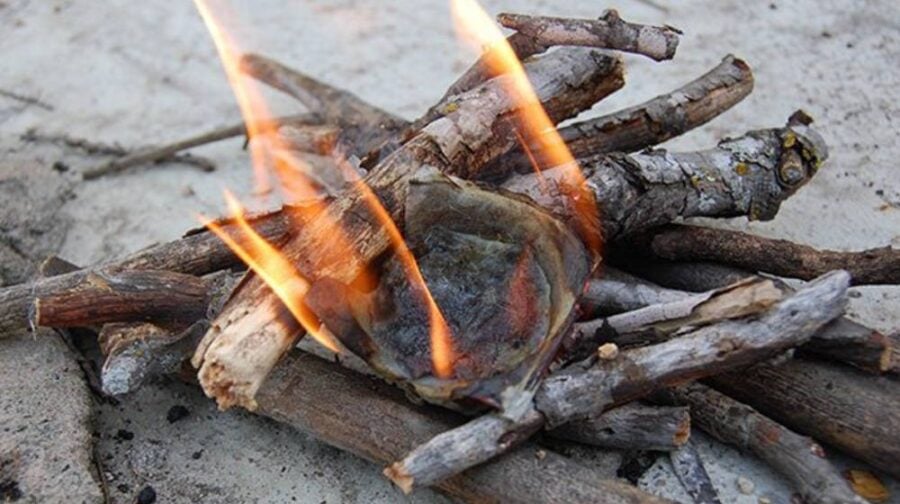
Now what’s left to do is use it outdoors and start a fire. It’s best to light up your broken branches and egg carton on the sand and not on the grass to not damage your lawn.

All you have to do is put the firestarter under the wood and light it up. Combustion will last for over 10 minutes, and the flame can go high, so please watch yourself.
The final product will look like this when it’s on fire:

Flame got surprisingly big here. Amazing how well the combination of wax and dryer lint stays lit, and with a great big flame. Perfect for getting your fire started.

Simple, Reliable, and Ready for Any Fire-Starting Need
Making your own egg-carton fire starters is one of the easiest ways to create a dependable ignition source using items that would normally go to waste. These lightweight pods burn long, handle moisture well, and ignite with minimal effort, making them ideal for camping trips, emergency preparedness, and everyday fire-building.
Ready to upgrade your fire-starting game?
👉 Try making a batch today and keep a few in your backpack, car, and emergency kit.
👉 Want more DIY outdoor hacks? Explore our latest tutorials for survival gear, camping tools, and eco-friendly household projects.
If you want to boost your outdoor skills, reduce waste, and save money, this DIY project is the perfect place to start.
Watch this video from Specific Love Creations for more firestarter ideas you can do at home:
FAQ
1. How long do these DIY fire starters burn?
Most egg-carton fire starters burn between 8–15 minutes, depending on the amount of wax and lint used. That’s more than enough time to ignite kindling or damp wood.
2. Can I use scented or leftover candle wax?
Yes! Any wax works, paraffin, soy, beeswax, or old candle remnants. Scented wax doesn’t affect performance.
3. Are these fire starters waterproof?
They’re not fully waterproof, but the wax coating makes them highly water-resistant. For full waterproofing, dip each pod completely in melted wax after cutting.
4. Do I need to use dryer lint specifically?
Dryer lint works best because it lights quickly, but you can also substitute shredded paper, sawdust, or cotton balls.
5. Is it safe to burn the cardboard egg carton?
Yes, cardboard burns cleanly and helps the fire starter ignite evenly. Avoid foam or plastic cartons; only paper/cardboard is safe.
6. How should I store homemade fire starters?
Keep them in a dry container, zip-seal bag, or tin, away from direct heat. They last indefinitely when stored properly.
7. Can I use these in wood stoves or indoor fireplaces?
Absolutely. They produce a clean, steady flame that’s safe for indoor fireplaces, fire pits, and wood stoves.
Now that you know how to make fire starters from scratch, we’d love to see you try it! Share your experience in making one in the comment section below.
Up Next:
- 11 Fireplace Front Ideas For A Cozy & Homey Upgraded Look
- Simple Mini Fire Pit Ideas Perfect For Your Small Yard
- Fun Fall DIY! Make Your Own Rustic Candle Sconces
Calling all crafting DIYhards, DIY Projects needs YOU! Click here if you want to write for us.
Don’t forget to stay connected with us on Facebook, Twitter, and InstagramEditor’s Note: This post was originally published on May 17, 2018, and has been updated for quality and relevancy.


