


If you’re looking for a durable DIY cutting board, you’re in for a special treat today with this easy tutorial. Check out this awe-inspiring kitchen cutting board that’s bound to be your new best friend in the kitchen.
Create Your Own DIY Cutting Board In 6 Simple Steps
Wooden cutting boards have an advantage over any other type of cutting board. It has natural antiseptic characteristics that can reduce the risk of contaminating food with unwanted bacteria. But you have to choose the right wood for this project because some wood has toxins and allergens. Before we continue with this DIY cutting board, here are the materials and the tools you’ll need.
What You’ll Need:
Materials:
- Hardwood (new or scraps)
- Wood Glue
- Glue brush
- Sanding pads (100, 150, 220, 320, and 400 grit)
- Food-safe finish (such as beeswax, mineral oil, or walnut oil)
Tools:
- Miter Saw
- Tablesaw
- Sander
- Planer
- Clamps
- Router
- Roundover bit
How To Create Your Own DIY Cutting Board:
Step 1: Assemble The Wood

Make sure every wood piece is cut exactly and smoothly, depending on the size of your cutting board. But on this project, it’s 16″ long by 1″ thick.
Step 2: Glue The Cut Pieces Of Wood
Apply the wood glue and spread it evenly using your glue brush. Flip each board over and place glue on one of the planed side and stand it back up to the other pieces, to stick them together.
Step 3: Clamp Boards
Hold the pieces of wood together utilizing the clamps. Ensure that the joints are aligned by securing the clamps. Allow boards to be clamped for a couple of hours to ensure it is durable enough.
Step 4: Remove Excess Glue
https://www.instagram.com/p/BsxJMwbhNsZ/
Remove excess glue using the glue brush and wipe it out with wet paper towel. Do it carefully to prevent any damage to the board. Repeat this step on every seam.
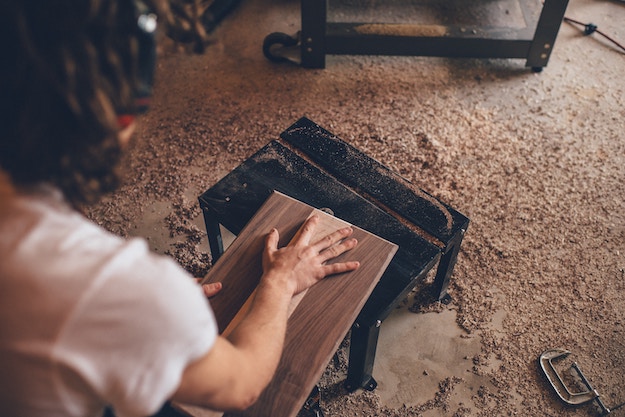
Step 5: Sand The Board
Start sanding with 100 grit, then 150 grit, and 220 grit. After 150 grit, spray the board with water, then dry it off. Use flexible sanding pad to smooth up all the edges and making sure everything feels smooth. Then, finish the hand sanding process with 320 grit and 400 grit sandpapers.
Step 6: Finishing
https://www.instagram.com/p/Bstf5SQg2Kh/
Ensure to sand off every bit of dried glue before finishing. Rub the whole cutting board with a few coats of food-safe finish, such as beeswax, mineral oil, or walnut oil. You have to allow the oil to be fully absorbed and dry it overnight.
Want to see this DIY cutting board in action? Check out the video below from Fix This Build That:
There are a lot of things you can do out of a wooden log, like this cool kitchen cutting board. This wooden kitchen cutting board is not only a useful kitchen tool but it also gives a rustic appeal to your kitchen. It is so easy to DIY and will make your food preparation better and more convenient. So what are you waiting for? Make your own kitchen cutting board now and prepare the best dish ever that will entice the whole fam. Woodworking ideas and DIY projects like this will surely make your daily lives convenient.
What do you think of this DIY cutting board? Will you make one for your kitchen? Let us know what your thoughts are on this DIY cutting board in the comments section below.
Up Next: How to Make a Wooden Table | DIY Tutorials

Stay connected with us on Facebook, Twitter, Pinterest, and Instagram!
Editor’s Note – This post was originally published in August 2016 and has been updated for quality and relevancy.


