


Are you a furniture fanatic? Bored with cookie cutter Ikea pieces? Opt for something new and fascinating by creating your own stylish side or coffee table. Pick any old furniture piece and kick it up a notch. You can learn how to make a wooden table, whether your aesthetic goals are vintage, modern, rustic or classic.
Your homemade table won’t just save you money, it’s guaranteed to impress all house guests. After all, there’s no way they’ve seen anything exactly like it. Think the project’s beyond your scope? Think again. We’ll take you through the step-by-step process of how to make a wooden table.
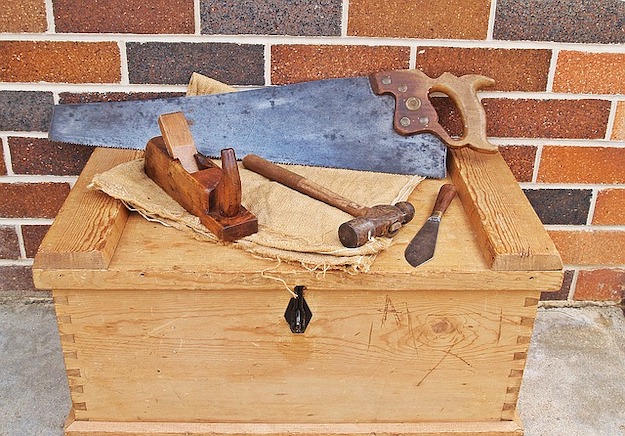
How to Make a Wooden Table
1. Measure

The most tedious part of building a wooden coffee or side table is the expansion of the round wooden top. When settling on the size, the essential thing is to ensure that all pieces of the wooden coffee table fit together. The top size should fit the room nicely and the legs need to be the correct height to fit the top.
2. Construct the Top of the Table

Append the board together to make one complete surface and then paste them together. Clasp them firmly together until the paste has fully dried. If the blocks pop while clasping, use your elastic hammer to re-embed them. Tidy up any excess paste with your putty blade.
3. Denoting the Table Top
You will now need to find the center of the wooden board. This can be easily accomplished by drawing a line from one edge of the wood to the next, passing through the center. Repeat this several times so that you can see where the lines cross in the middle. The point where all the lines cross is the center. Next, embed a strong pin in the center and connect a string to it. The bigger the string, the greater the end table top. Once you’re done, append a pencil to the other end of the string. Use it to draw its perimeter in a clockwise direction.
4. Cutting the Table Top
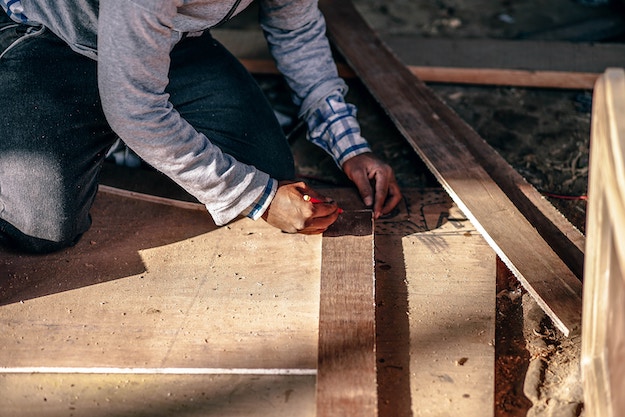
Using a band saw, cut the table top from where it is marked. Once cut, you can use a sanding belt to give it a totally a smooth top. Check for splits or cracks in the wood and fix them with wood putty if necessary. If you do end up using of wood putty, it is important to re-sand those parts while drying.
5. Choose Table Legs

You can go with four legs or a central base. Many people go for a pedestal, which is considered the “most appropriate”base for a coffee table base. You can buy a proper platform base which corresponds with your table top without breaking the bank. Another alternative is to make 4 wooden legs exactly the same size, and cut them to the same height. Once you’ve completed the process, use a sanding belt to smooth the edges.
6. Join the Legs or Pedestal
The same system applies to both, with some minor adjustments. Make a hole to join each of the 4 legs or pedestal to the table top. Attach them firmly by using bolts.
7. Varnish and Paint

The last step is to check for any deformities. If none are found, then you should simply start repainting the table. The type of stain you choose is completely your decision. As always, make to follow the manufacturer’s instructions.
There you have it — the basics of how to make a wooden table! If you have your own DIY method, please let us know in the comments below!
Dan Kogan is owner of NY handyman NYC in New York City. He has more than 20 years of experience and is passionate about all things related to home improvement.
Now that you’ve seen a basic handmade table, go check out this AMAZING DIY Etch-a-Sketch Coffee Table. It’s guaranteed to impress all your friends.
Don’t forget to stay connected with us on Facebook, Twitter, Pinteres


