


Have you ever thought of having something new without actually buying it? Yes, it is possible, and don’t argue with me on this one because one solid proof is through painting. You get to have a new look to something that’s been with you for some time now, like your furniture that needs some makeover. Check out this awesome chalk paint furniture tutorial and we’ll show you how it’s done.
Chalk Paint Furniture Tutorial You Can Easily Do Yourself
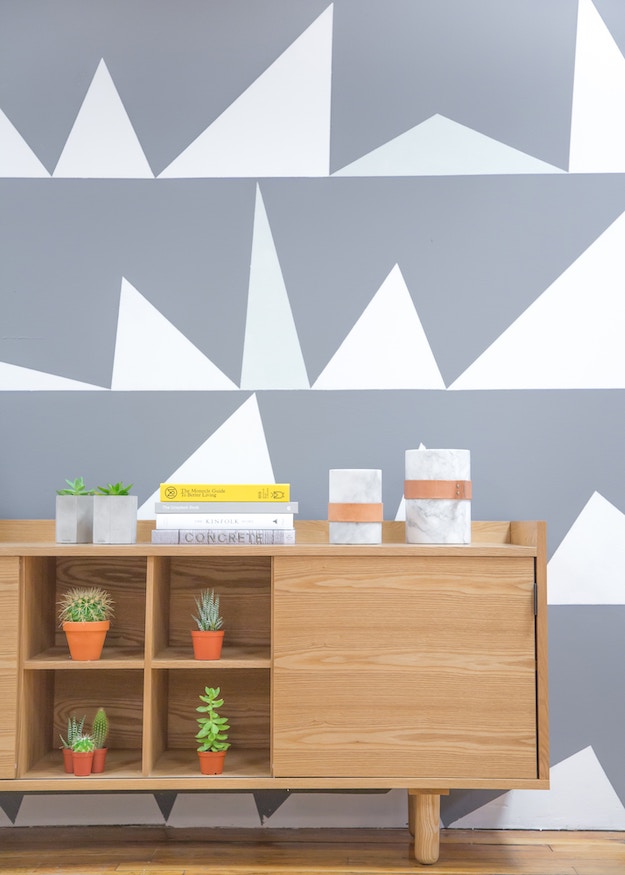
In this particular project, a TV stand was transformed into a chalk paint furniture. The TV stand had shelves and drawers in it. We will also show you tips on how to paint those furniture pieces with drawers and shelves. I also suggest using the Annie Sloan chalk paint, as it is very famous for these types of DIY projects. Now, let’s begin.
Supplies You Will Need for the Chalk Paint Furniture Makeover:
- Annie Sloan Chalk Paint
- Annie Sloan Soft Wax
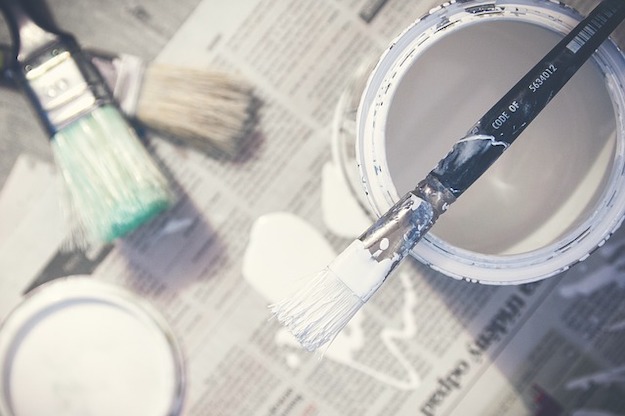
- Paintbrushes
- Furniture Cleaner (TSP Substitute)
- Soft Cloth
- Sandpaper
Steps:
1. Remove all the hardware and drawers.
Unscrew the knobs and pull the drawers out.
2. Clean the surfaces of the furniture.
Use a furniture cleaner to remove dirt, grease and anything that will keep the paint from adhering. We used TSP substitute for this step. Use a soft cloth to wipe the cleaner onto the surfaces.
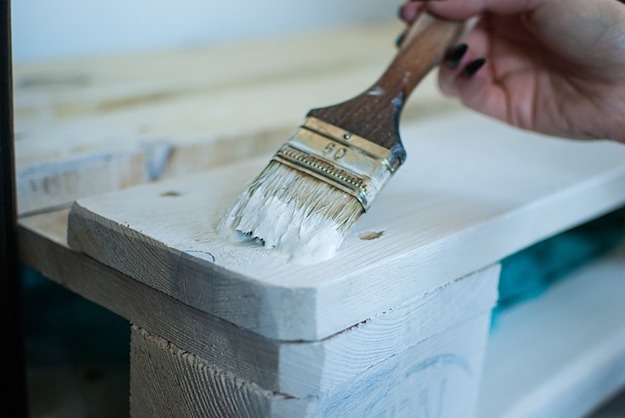
3. Paint the furniture.
Turn the stand upside down to start at the bottom and the legs of the furniture. Once done, paint the rest of the furniture with nice, long strokes.
Paint the top shelves. You can choose not to paint the area for the drawers because it’s not visible anyway. For different furniture, you can just paint the parts that will be seen most. Continue painting the top portion.
4. Paint the drawers.
Paint the exterior parts of the drawers. It’s up to you if you want to include the interior parts as well.
5. Sand it.
If there are paint that’s built up and uneven, you can use sandpaper to even it out. If you want a cool, distressed look for your furniture, you can sand it more to achieve that look.
If the paint is lighter than the original color of the furniture, apply a second coat of paint like what we did in this project.
6. Leave it to dry.
Allow it to dry for a few hours.
7. Seal the paint.
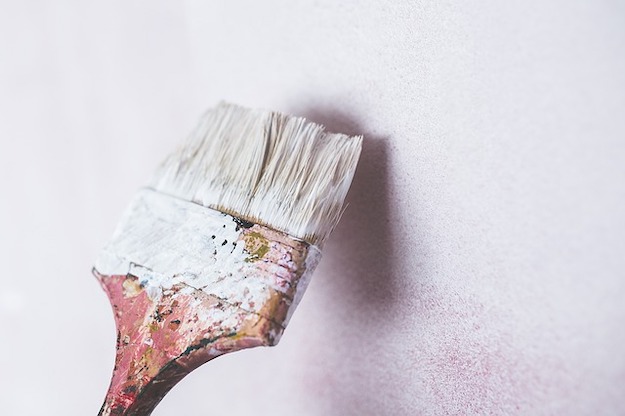
To protect your paint from stains, spills or fingerprints, use the soft wax. This will also enhance the color of the paint. Using a brush, get a little of the wax and apply it on the surface. Don’t overuse it, though.
Wipe off any excess with a piece of cloth.
The wax will dry in a day, and it will continue to cure over the next 30 days, so just be careful with putting something really heavy on top of your furniture in that period of time. To add more details to your makeover, you can also change its other parts, like the knobs for your drawers before putting it back together.
Here is the full video tutorial for the chalk paint furniture makeover from Allison Anderson:
Now you have something new without spending a dime! A new look for your furniture is better than buying an entirely new one. Make sure to choose the color you like best. Chalk paint furniture will surely complement the design and overall aesthetics of your home.
Click here for more DIY painting projects for your beautiful home.
Like this? You’ll also like…
How to Paint Wood Furniture | DIY Home Projects

Dry Brush Furniture Painting With Style! | Home Furniture Ideas

Painted Concrete Floors | How To Paint Concrete Floors

Featured Image from Allison Anderson


