


Looking for a neat way to dress up dessert? Try this DIY cake stand!
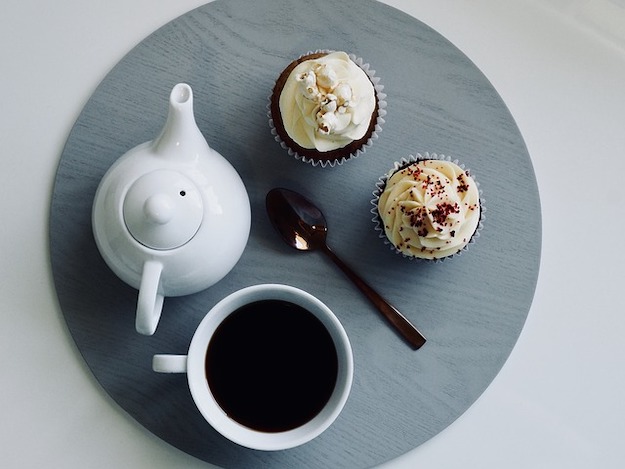
If you’re like me, presentation is very important. I LOVE to bake for my friends, and it’s equally important to me that whatever I make looks as good as it tastes.
The other day I saw a beautiful vintage cake stand in a window and stopped in to see how much it was. It looked like the perfect way to improve the presentation of my cakes and other desserts… Unfortunately, it was $80! Yes, you read correctly, 80 whole buckaroos! I decided to try to save the cash, and make my own. Because with all the money I saved, I could invest in some really high quality baking ingredients.
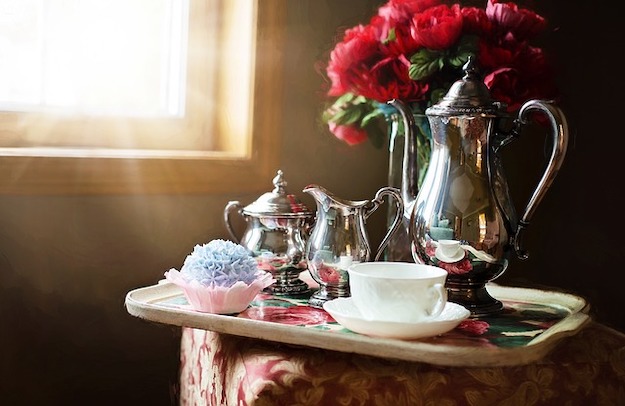
Turns out it’s super easy to make a DIY cake stand! Check out these detailed instructions for a DIY cake stand courtesy of Diane Cowen. The most time consuming part is also the most enjoyable part — heading to the thrift store to find an old teapot and other tableware. Want to make your own? Just read on!
SEE ALSO: How To Decorate A Cake With Fondant Flowers
How to Make a DIY Cake Stand
Supplies:
- Cereal bowl
- Tea pot (without lid)
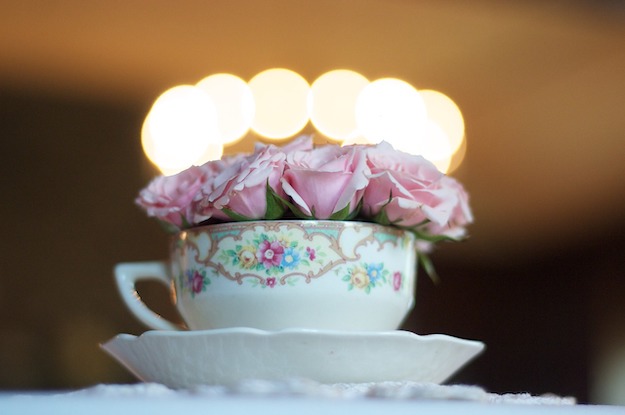
- Cup
- Saucer
- Dinner plateor roundplatter
- Sandpaper(fine grade)
- E-6000 glue(clear)
- Primer oradhesionpromoter
- Spray paint
Instructions:
Step 1
Collect the items you need. The cereal bowl will be your base, so find one that’s sturdy and wide to keep the stand from toppling over. The teapot will give it height; the cup and saucer will add an interesting element just under the plate or platter. You won’t want to paint the surface food will go on, so use a white platter/plate or get one with the surface color or design that works for your finished product.
Step 2
Stack the pieces in a way you like. We liked the teapot and cup handles opposite each other, but feel free to put them on the same side. Experiment with placing mugs instead of teacups or even stacking them upside down, if that’s what you like. Be sure to use a level to make sure your stacking pieces are straight and sand the bottom rim of each piece a little so the glue will adhere better.
Step 3
Once you have a structure you like, use clear E-6000 to glue the pieces together, starting at the bottom. Allow each piece to dry for a few minutes before moving on to the next one. Allow to dry thoroughly before painting.
SEE ALSO: How To Bake Cake in a Jar
Step 4

Use spray paint according to directions on the paint can. Because you want the surface of the dessert stand to be unpainted, turn the structure upside down, painting the underside of the plate or platter and each piece afterward. If your paint does not include a primer, be sure to paint with primer first. Apply additional coats if needed. Allow to dry before handling; at least one hour.
Love this tutorial on how to make a DIY cake stand? Then you’ll also love…
46 Awesome Baking Hacks
Triple Berry Pie Recipe for You DIY Dessert Divas
32 Easter Desserts Recipes to Make this Year
Learn to be more figurative in ceramic art or pottery, visit Soul Flamepottery.


