


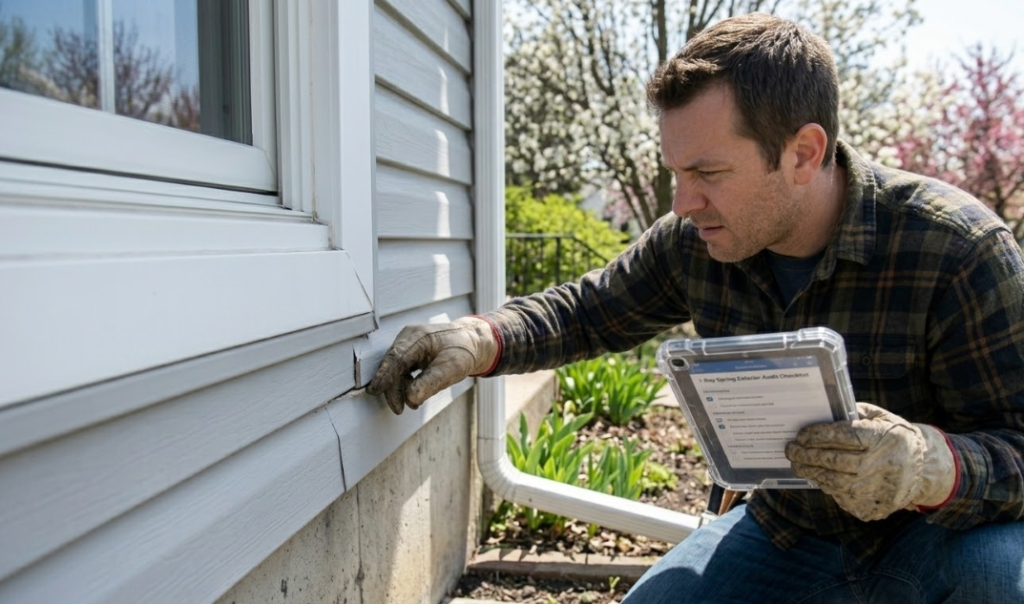

At a Glance: The Spring Home Exterior Checklist
- Performing six essential exterior audits in March prevents costly water damage and protects home project budgets.
- This spring home exterior checklist includes cleaning gutters to ensure proper drainage and scraping out old caulking before resealing windows and doors.
- Maintenance tasks also include washing window screens, patching holes, and checking the deck sealant with a quick water absorption test.
March is the ultimate spring prep month. I learned that the hard way last year after ignoring a tiny crack in my window caulking. One heavy spring downpour later, I was staring at a soggy drywall nightmare and a repair bill that wiped out my entire summer DIY budget.
Preventative exterior maintenance can save homeowners thousands in emergency repairs. To help you stay ahead of those surprises, we put together a Spring Home Exterior Checklist covering six quick audits you can run in an afternoon so you can protect your home and get back to the fun projects.
RELATED: 7 Easy and Affordable Spring Home Decor Ideas to Refresh Your Living Space
Jump to:
- Gutter Check
- Caulking Audit
- Screen Repair
- Roof Scouting
- Deck Test
- Siding Scrub
- FREE spring home exterior checklist
The Spring Home Exterior Checklist: 6 Spots to Check
A few overlooked exterior spots are responsible for most surprise repair bills after winter. These six areas are where small problems most often hide.
1. Gutter Check: How do I perform a spring gutter flush and flow test?
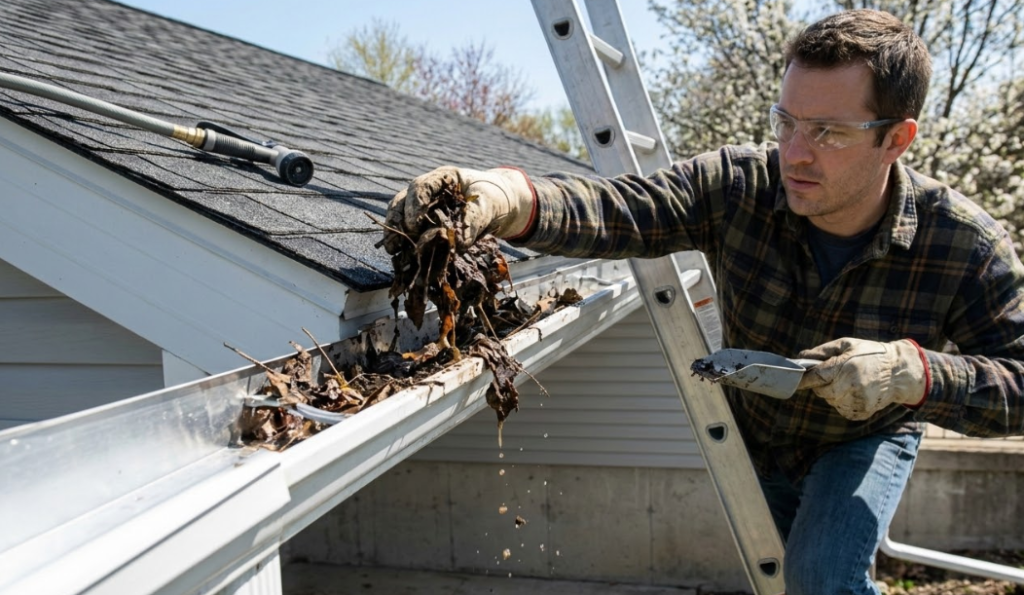
I once ignored a clogged downspout and the resulting wood rot stole my entire craft fund. Now, I flush my gutters every March to protect my home’s foundation and avoid gutter expenses down the road.
The Weekend Toolbox: Garden hose, sturdy work gloves, and a ladder or gutter pole.
The Audit & Fix Steps:
- Clear Debris: Scoop out the winter muck and leaves by hand or using a gutter tool.
- The Flush Test: Run a garden hose at full blast into the gutters at the highest point.
- Inspect the “Elbow”: If water doesn’t gush out of the downspout, that means you have a clog in the bend.
- Divert the Flow: Confirm that your downspout extensions are attached and pointing away from the house.
The Pro Secret: Ensure downspout extensions direct water at least 3 to 5 feet away from your foundation to prevent basement flooding.
2. Caulking Audit: What’s the best way to audit exterior window and door caulking?
I used to think tiny cracks were just surface-level until a drafty window spiked my utility bills and soaked my drywall. This audit keeps my home’s “skin” sealed so I can spend my money on fabric and wood, not contractors.
The Weekend Toolbox: A putty knife and a tube of high-quality exterior-grade caulk.
The Audit & Fix Steps:
- The Perimeter Walk: Inspect every area where two different materials meet (e.g., window frames against siding).
- The Knife Test: Poke the existing caulk; if it’s brittle or pulls away, it’s failing.
- Clear the Gap: Scrape out the old, failing caulk and never just goop new stuff over the old.
- The Seal: Apply a fresh, smooth bead of exterior caulk to create a water-tight bond.
The Pro Secret: If a gap is wider than a 1/4 inch, use a foam “backer rod” before caulking to ensure the seal doesn’t sag or crack.
I’ve swapped my old putty knife for this 3-in-1 scraper; it cleans out failing caulk in seconds and leaves a pro-level bead. It’s also my secret for smoothing the concrete repair we’ll tackle in Step 6.

- 🛠️【Caulking Tool Kit】include Multifunction caulking scrapers, silicone pads, different...
- 🛠️【 4 IN 1 Caulking Finishing Tool】This caulking tool can help you repair the gap and clean...
3. Screen Repair: How can I quickly repair window screens for spring?
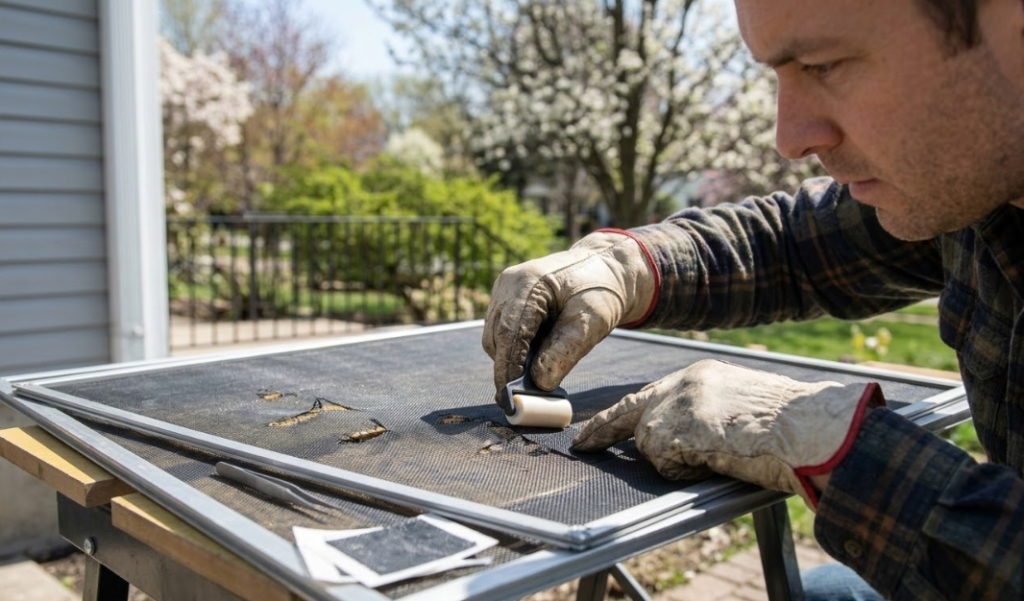
A torn screen once turned my workspace into a bug-filled nightmare. Now, I give them a quick soapy “bath” to keep pollen out and keep my focus on my fun projects instead.
The Weekend Toolbox: Mild soap, a soft brush, and adhesive tape
The Audit & Fix Steps:
- The Bath: Pop out your screens and scrub them gently with soapy water.
- Inspect for “Ghosting”: Hold the screen to the light; if sections look thin or silver, the mesh is failing.
- Patch the Holes: Use a $5 adhesive mesh patch to cover any small tears or punctures.
- Frame Check: Ensure the rubber “spline” (the cord holding the mesh in) is tight.
I use this adhesive mesh tape to patch small tears in seconds, saving me from having to rescreen the entire frame.
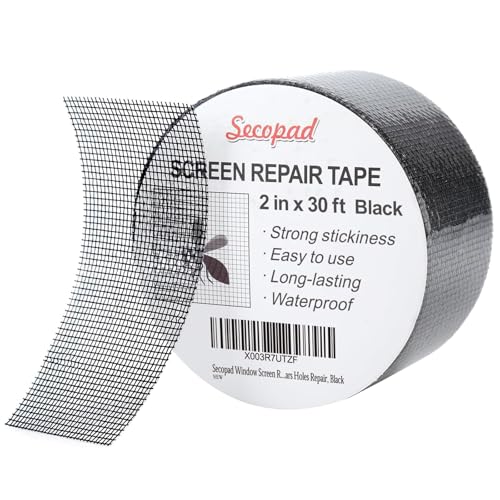
- Easy and Fast: Cut a suitable size or shape of the screen repair tape, then cover the tear or hole...
- Ultra Strong Adhesive: This screen door repair kit was made of fiberglass and specialized glue, it...
4. Roof Scouting: How to inspect my roof for damage without using a ladder?
I used to have major anxiety about high ladders, so I just didn’t check my roof until a leak ruined a handmade project. This driveway method gives me a pro-level view from the ground.
The Weekend Toolbox: A pair of binoculars and a clear spot on your driveway.
The Audit & Fix Steps:
- The Shingle Scan: Use binoculars to scan for shingles that are “cupping” (edges up) or “clawing” (centers popping up).
- Search for Gaps: Look for missing shingles or exposed nails around chimneys.
- Check for “Sand”: Inspect your gutters for excessive granules; if they are full of “sand,” your shingles are losing their protection.
The Pro Secret: Granule loss is often the first sign that you need to start saving for a roof replacement, letting you plan ahead for future costs.
5. Deck Test: How do I perform a deck water test and safety check?
I was so proud to show off my stained deck, but I didn’t realize the sealant had failed until the wood started warping. A simple water test ensures my outdoor space stays safe for bare feet.
- The Weekend Toolbox: A glass of water and a hammer.
- The Audit & Fix Steps:
- The Water Test: Sprinkle water on various parts of the wood.
- The Absorption Check: If the water soaks in and turns the wood dark, it’s time to reseal.
- The Nail Search: Walk the deck to find “nail pops” (nails rising due to wood expansion).
- Reset: Hammer down any loose nails to keep the surface smooth.
6. Siding Scrub: How to remove algae from siding and check the foundation?
I used to dread “the green stuff” on my siding, thinking I needed expensive equipment. A simple scrub-down gives me instant curb appeal and lets me spot foundation issues early.
The Weekend Toolbox: A long-handled scrub brush and an oxygen bleach solution.
The Audit & Fix Steps:
- The Algae Scrub: Use your brush and oxygen bleach to clean shaded areas where mildew thrives.
- The Low-Level Lap: While you’re at ground level, inspect the concrete foundation for any new cracks.
- The Hairline Patch: Use a $15 concrete patch on small cracks today to prevent a massive water intrusion issue.
Download the FREE Spring Home Exterior Checklist here
FAQs: Spring Home Exterior Checklist
When should I start my spring home maintenance? Aim for March or early April, ideally after the last freeze but before the heavy spring rain begins.
Can I clean my own gutters safely? Yes! If you aren’t comfortable on a ladder, you can use a telescopic gutter vacuum or a specialized pole and brush.
How often should I reseal my wooden deck? Most decks need a fresh seal every 1–3 years, depending on sun exposure and weather. Always perform the “water test” to be sure.









