

Last Updated: March 2026
Spring is almost here, and it’s the perfect season to breathe new life into your home. This year, you won’t need to spend on expensive decor because we have affordable yet quality spring home decor ideas you can create to brighten your space.
Jump to:
#1 Project
#2 Project
#3 Project
#4 Project
#5 Project
#6 Project
#7 Project
The Reveal
My DIY Haul
Safety Reminder: Wear PPE (gloves and a dust mask) when working with paints or adhesives in enclosed spaces. Use hot glue guns and cutting tools responsibly. Work in ventilated areas to minimize fumes and dust.
Welcome Spring with Fresh Updates for Your Home
1. “Baking Soda” Stone Vases
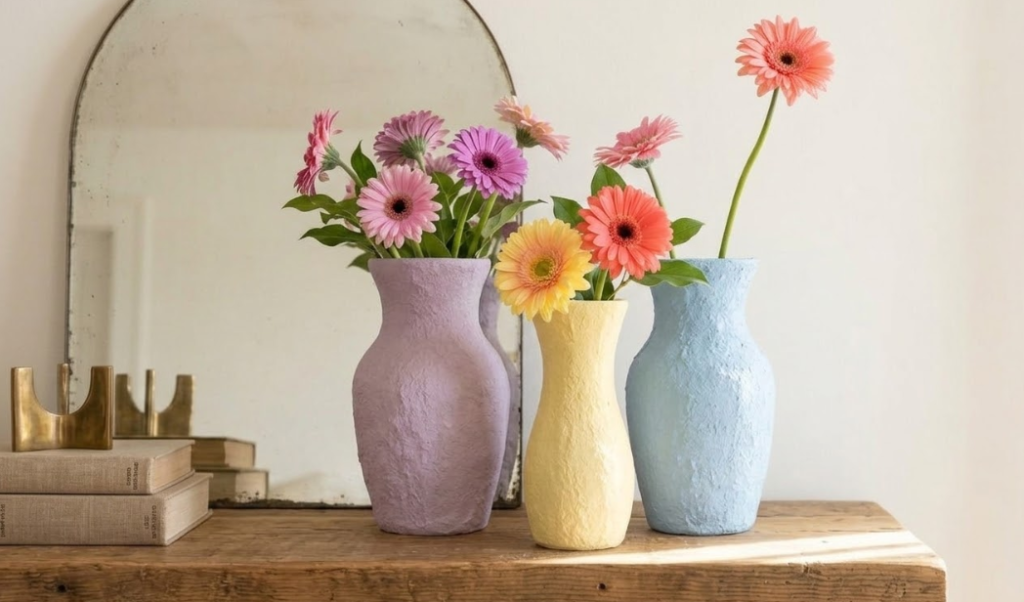
I spent an afternoon scrolling through high-end decor sites only to find that a single “textured ceramic” vase costs more than my weekly groceries. I wanted that heavy, organic 2026 stone look without the designer price tag or the pottery wheel.
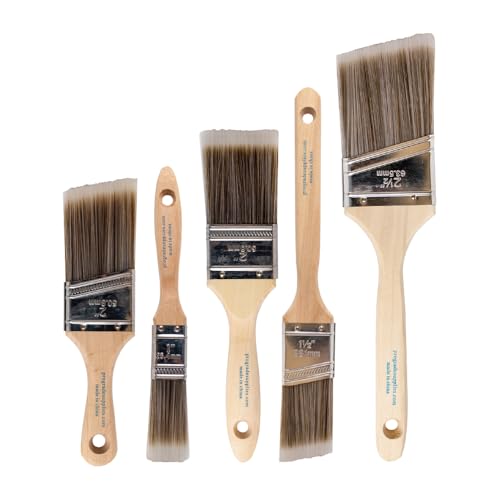
Materials List
- Thrifted Vases: Glass or plastic.
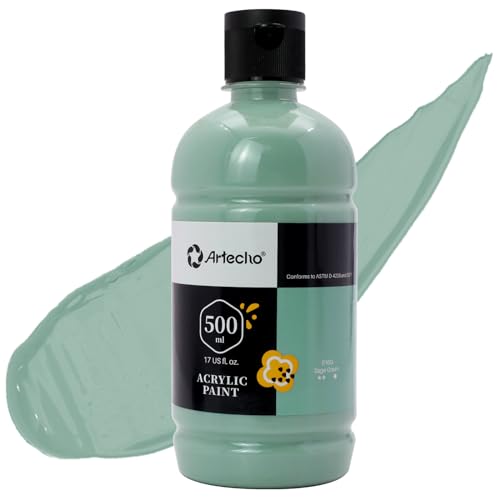
- Acrylic Paint: Choose earthy tones or spring colors
- Baking Soda: Standard household box.
- Tools: Mixing bowl, spoon, and a coarse paintbrush.
Step-by-Step Instructions
- Prep the Surface: Clean your thrifted vase thoroughly with rubbing alcohol to ensure the paint sticks.
- Mix the “Stone” Paste: In a bowl, mix 1 cup of acrylic paint with 1/2 cup of baking soda. Stir until it reaches a thick, gritty consistency.
- First Coat: Brush the mixture onto the vase using horizontal strokes to mimic ceramic wheel lines.
- Texture Pass: While the first coat is tacky, “stipple” (dap) the brush to create a pitted, stone-like texture.
- Dry & Display: Let the vase dry for 2–4 hours.
Troubleshooting
Peeling? Clean glass with alcohol first. Mixture Too Thick? Add a tsp of paint to thin the paste.
2. Dollar Tree “Bunny Ear” Vases
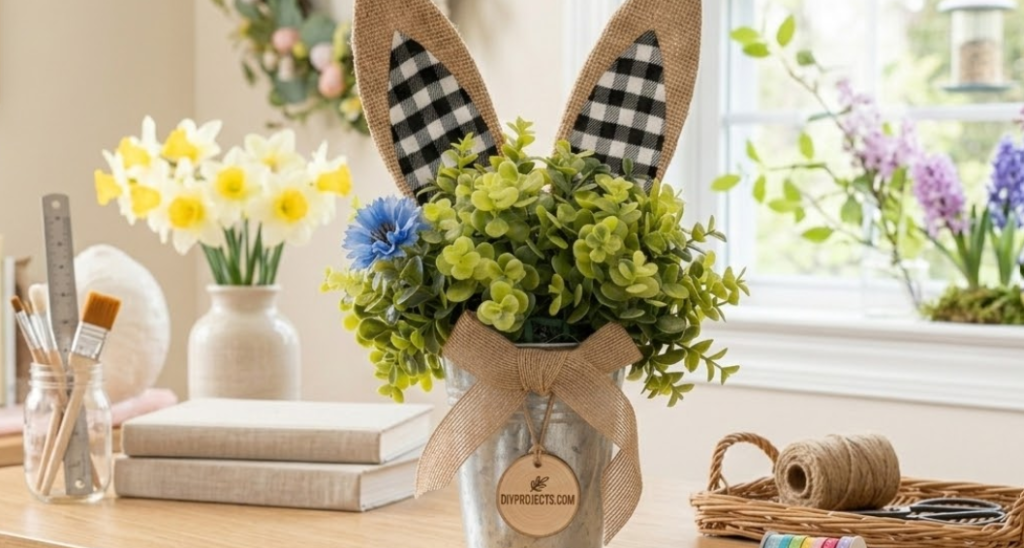
Standard modern decor can feel a bit “cold” and sharp. I wanted something that felt nostalgic and playful for the season, but I’ve seen similar ‘whimsical’ boutique items go for $40+. I challenged myself to do it for $5 using a literal trash-to-treasure method.
Materials List
- Glass Cylinder: Standard Dollar Tree find.
- Cardboard or Wire: For the ear shapes.
- Twine & Hot Glue: For assembly and rustic texture.
- Filler: Faux greenery or moss.
Step-by-Step Instructions
- Cut the Ears: Trace two long “bunny ear” shapes onto cardboard.
- Attach to Cylinder: Use hot glue to secure the bottom of the ears to the back rim of the glass cylinder.
- The Twine Wrap: Starting at the bottom, wrap twine tightly around the cylinder and the base of the ears to hide the glue and add a “cottage-core” feel.
- Optional Fabric: Glue a small piece of buffalo check fabric to the inner ear for a “high-end designer” look.
3. Zero-Maintenance “Moss Wall”
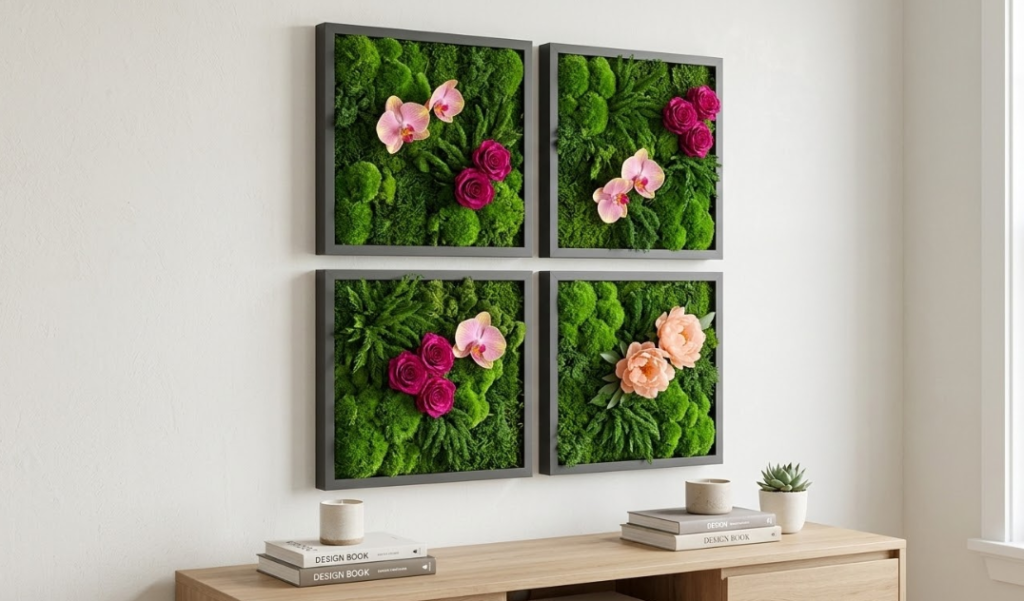
I love the biophilic trend, but I’m a notorious ‘plant killer.’ I wanted the mental health boost of a lush green wall in my office without the anxiety of a watering schedule or specialized lighting.
Materials List
- Shadow Box: A deep wooden frame.
- Preserved Reindeer Moss: Various shades of green for depth.
- Hot Glue: High-temp works best here.
Step-by-Step Instructions
- Plan Your Layout: Lay the moss inside the shadow box without glue first to create a natural-looking “map”.
- Glue by Sections: Apply hot glue to a small area of the frame backing and press a clump of moss firmly into it.
- Vary the Color: Mix light and dark green moss to create a high-texture, 3D effect.
- Tuck the Edges: Ensure the moss goes all the way to the frame edges so no backing is visible.
Troubleshooting
Falling Moss? Use high-temp glue only. Looks Flat? Mix light and dark clumps for 3D depth.
4. Scalloped Edge “Color-Drenched” Trays
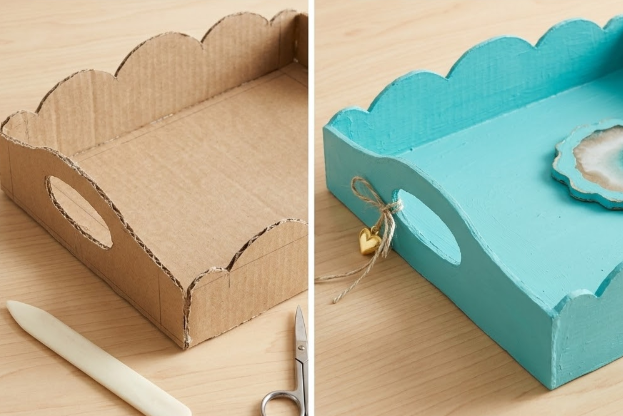
My coffee table felt cluttered and flat. I noticed that 2026 interior trends are moving away from straight lines toward “curved movement,” so I used a leftover delivery box to create a high-fashion tray that anchors the room.
Materials List
- Base: A flattened cardboard storage box or a basic tray.
- Tools: Scissors or utility knife and hot glue.
- Tracer: A small glass or large coin to create the “curves”.
- Paint: Matte paint in 2026 trendy tones like “sage green” or “earthy ochre”.
Steps
- Prep the Walls: Cut four strips of cardboard from your box to serve as the tray walls.
- Trace the Scallops: Use your glass or coin to trace a semi-circle pattern along the top edge of each strip to create a “wavy” look.
- Cut Detail: Use scissors to cut out the scalloped pattern and a utility knife to cut out oval handle holes on two of the sides.
- Assemble: Hot glue your scalloped strips to the outer vertical edges of your tray base.
- Color-Drench: Paint the entire piece—inside, outside, and the handle cutouts—one solid matte color to make it look like a single designer piece.
5. Framed “Soda Bottle” Cherry Blossom Art

I wanted sophisticated botanical art for my hallway, but I’m not a painter. I needed a method that was literally impossible to mess up while upcycling the plastic taking up space in my recycling bin.
Materials List
- Plastic Soda Bottle: Clean, with a 5-lobed bottom.
- Acrylic Paint: Pink (blossoms) and Black/Brown (branches).
- Heavy Cardstock & Frame:.
Step-by-Step Instructions
- Paint the Branch: Hand-paint a simple, spindly black branch across your cardstock. Don’t worry about perfection; nature isn’t perfect!
- The Stamp: Pour pink paint into a shallow plate. Dip the bottom of the soda bottle into the paint.
- Stamp the Blossoms: Press the bottle firmly onto the cardstock at various points along your branch.
- Frame It: Once dry, place in a simple frame for an “archival” botanical look.
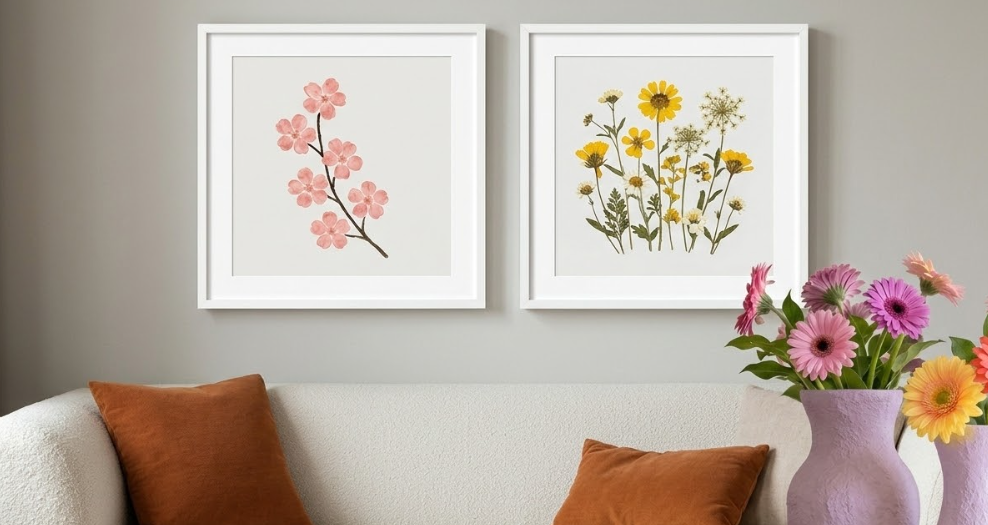
6. “Cottage-Core” Pressed Flower Frames
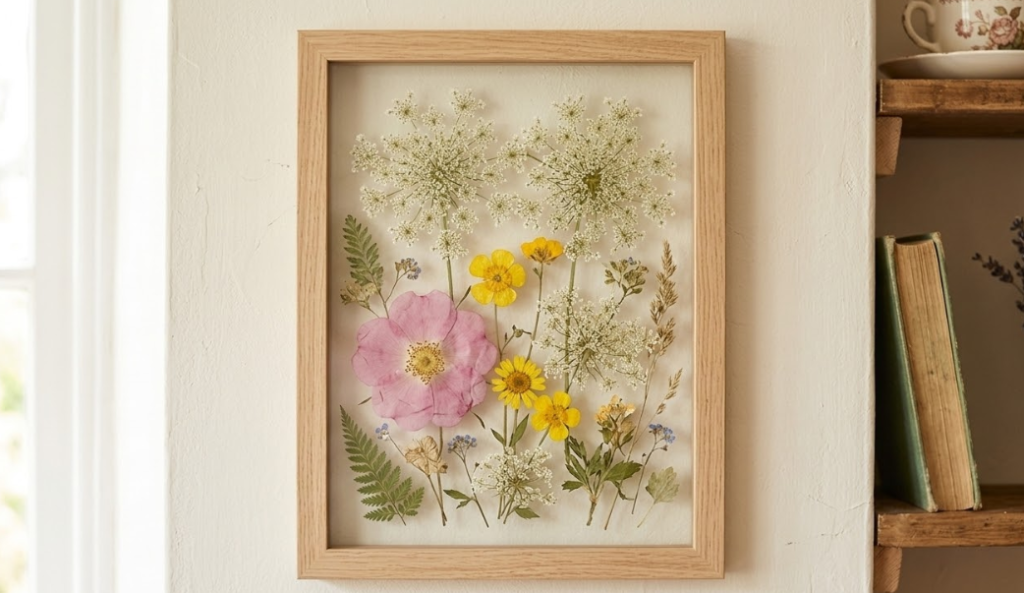
I wanted to ‘bottle up’ the first flowers of the season so they’d last all year. Standard frames felt too heavy, so I went for the ‘floating’ look to keep my walls feeling airy and light for spring.
Materials List
- Specimen Frame: Or two pieces of glass from a thrifted frame.
- Dried Flowers: Pressed flat (Heritage florals like cosmos or ferns work best).
- Clear Adhesive: Tiny dots of glue.
Step-by-Step Instructions
- Prep Flowers: Ensure your flowers are completely dry and flat.
- Arrange: Place your flowers on the bottom piece of glass in a “floating” design.
- Secure: Use a microscopic dot of glue on the back of the flower to prevent sliding.
- Sandwich: Place the second piece of glass on top and secure it within the frame.
7. The “Wavy” Scalloped Mirror Flip
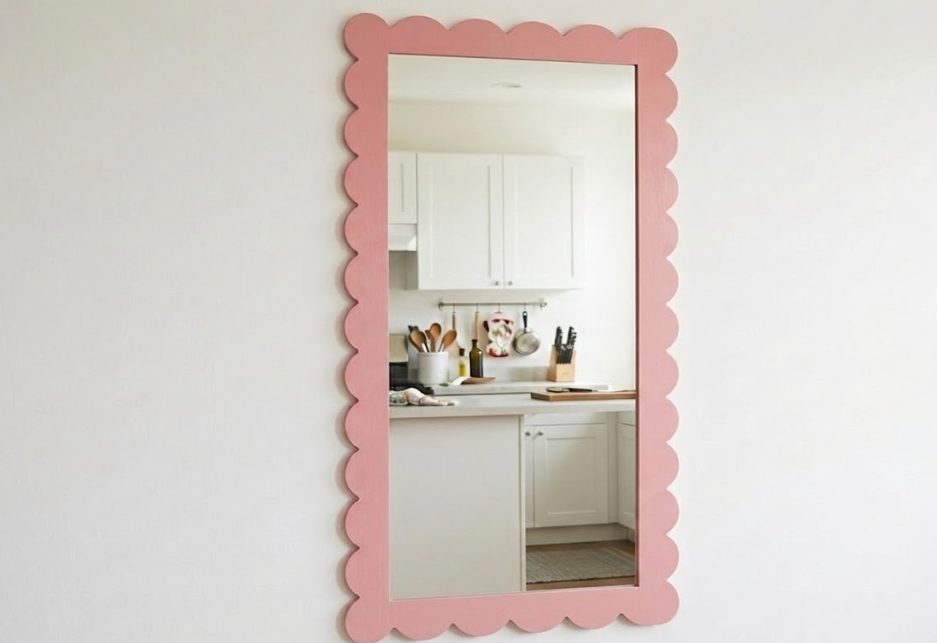
My basic rectangular mirror screamed ‘builder-grade.’ I wanted an organic, wavy statement piece but didn’t want to deal with the mess of power tools or sanding down wood.
Materials List
- Thrifted Mirror: Simple rectangular frame.
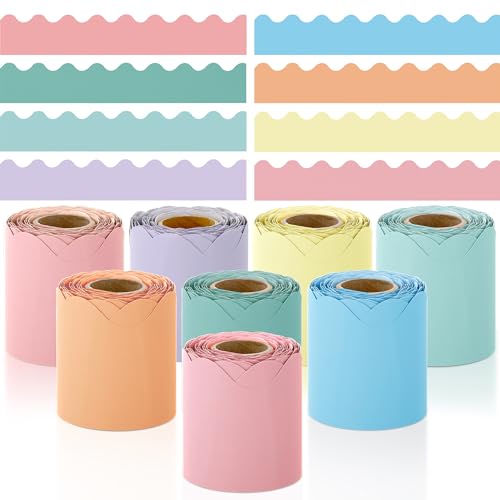
- Poster Board or Wavy Tape: “Classroom borders” from Amazon also work.
- Matte Spring Paint: Solid color.
Step-by-Step Instructions
- Template: Trace a scalloped border onto poster board or cardboard.
- Attach: Glue the scalloped border to the existing mirror frame, overlapping the edges slightly.
- Paint: Use a solid, matte paint to cover the entire frame and the new border.
- Finish: Clean the mirror glass with a scraper if any paint bled through.
Check out the matching scallop trinket plate here (#1).
Your Home is Now Spring-Ready!
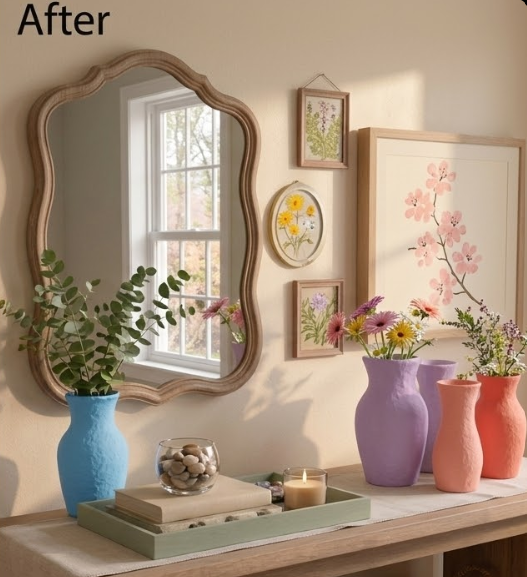

👆 Drag to compare before and after
🛒 Sneak Peek: My DIY Project Haul
I’ve been patiently waiting for these boxes to arrive, and they finally landed on my doorstep yesterday! I’m officially ready to kick off my spring home refresh this weekend.
Spring Home Decor DIY: Frequently Asked Questions
What are the most budget-friendly spring decor projects?
The Dollar Tree Bunny Vases and the Soda Bottle Cherry Blossom Art are the most affordable, both costing under $5 to complete.
Which project is fastest for a quick home refresh?
The “Wavy” Scalloped Mirror Flip is the quickest update, taking approximately 15 minutes to transform a standard frame using scallop tape.
How do you create a “stone” texture on glass vases?
Mix 1 cup of acrylic paint with 1/2 cup of baking soda until gritty; apply in horizontal strokes to mimic high-end ceramic finishes.


