




Garage storage ideas come in many forms. For a woodworking enthusiast like me, it’s important to have your lumber stored properly because they can take up a lot of space when left unattended. To prevent this from happening, it’s better to organize lumber with a garage DIY lumber rack. With just 5 easy steps, you can manage getting wood out of the way and store them nicely.
The $ 5 DIY Lumber Rack Tutorial | Awesome Garage Storage Ideas
A DIY lumber rack is what you need to manage your garage space. You need the rack to store your wood for woodworking purposes. You can also maximize the space available to you inside your workshop (a.k.a. your garage). Prepare the tools and supplies you will need and let’s get the job done.
Tools:
- Clamps
- Saw
- Screwdriver
- Sander
Supplies:
- Lumber (2×4’s)
- Wood glue
- Screws
- Countersunk
- 3″ with washer
Steps:
1. Cut the 2×4’s to size.

Cut the 2×4 lumber into 10″ vertically and 13″ horizontally. This is what you will put together to form the rack.
Cut the area where you will enjoin the two wood pieces, so that they fit perfectly. In this project, a table saw was used. You can use a different kind of saw if you don’t have one. The joint area is 3″ x 3″.
2. Attach the horizontal and vertical parts.
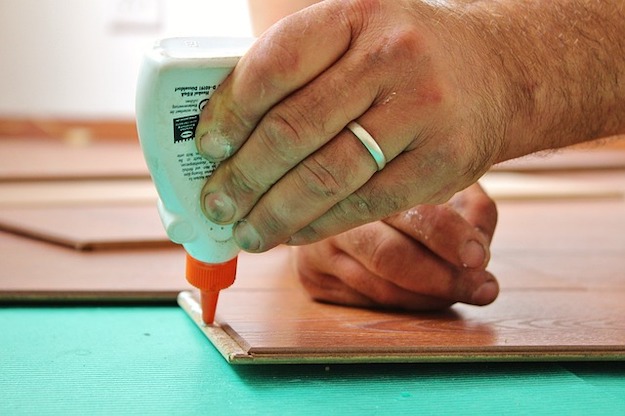
Apply wood glue to the area where the parts will be connected.
Clamp them tightly and secure with screws.
3. Enhance the form.
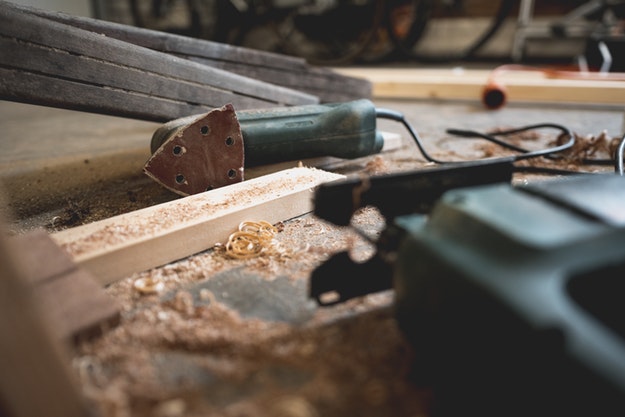
You can attach the created L – shape wood to your wall. While it can serve already as a rack, we just need more of the blocks. But in this project, the form is enhanced with curves and reduced to 2″ and still maintaining the 3″ x 3″ joint area. Cut into shape with a saw available to you.
Sand the piece after cutting to smoothen the surface. Create more pieces as needed.
4. Attach the pieces to the wall and assemble the rack.
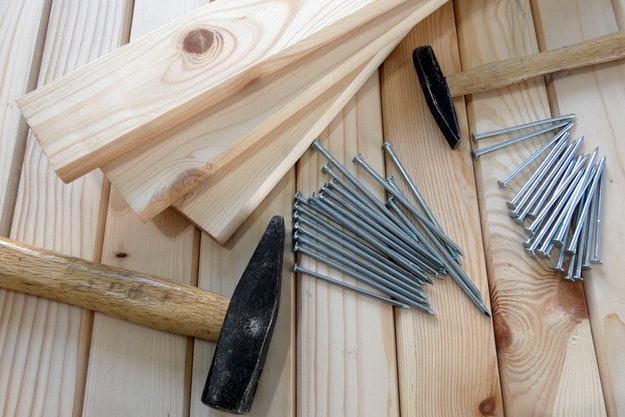
Create pocket holes into the pieces. There should be one pocket hole for the horizontal piece and two countersunk screws on the vertical piece.
Use 3″ screws with washers to get more depth on the pocket holes.
Screw it into place.
5. Place your lumber.
Place your lumber in your newly created rack and enjoy your clutter-free garage space.
Here is the full video tutorial of this clever garage storage idea from Jay Bates:
Like this? You’ll also like…

Low Basement Ceiling Ideas | Basement Makeover

Garage Door Repair | How To Repair A Crooked Garage Door

Featured Image from Jay Custom Creations









