

Looking for DIY hacks for your woodworking projects? If you consider yourself a craftsmen (or craftswomen) you’ve probably picked up your own tricks of the trade, but there’s always more to be learned! I’ve rounded up some DIY hacks straight from pro woodworkers. Are we missing any? Let us know in the comments below.
8 DIY Hacks To Make Your Woodworking Projects Easier
Woodworking projects are not easy. I am just putting it out there. The time it takes for you to prepare, cut, measure, polish, and stain can be overwhelming for anyone. Thankfully for you, there are some DIY hacks to help cut your time short, leaving you with plenty of time for another task, or that much closer to finishing before sundown…
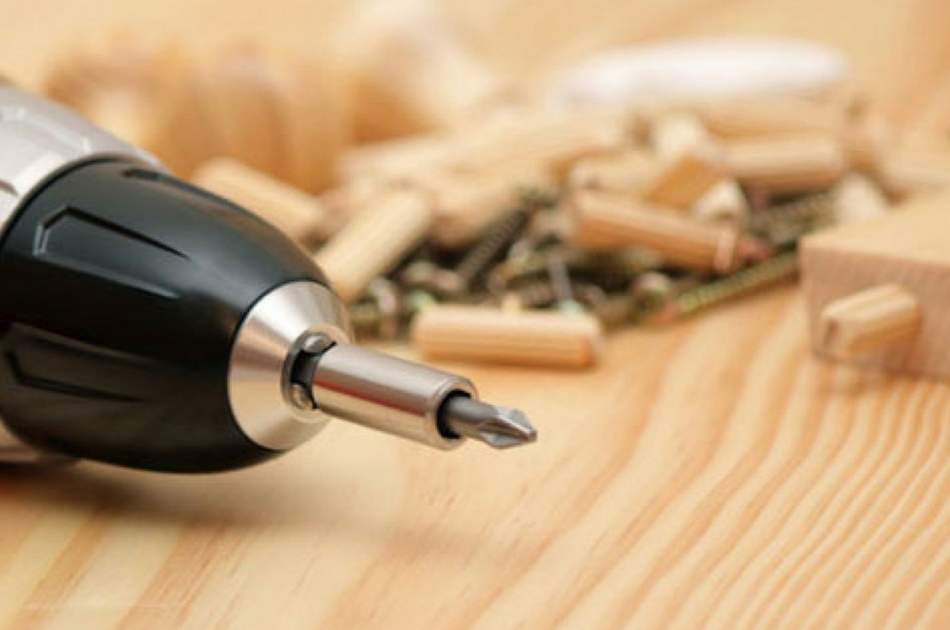
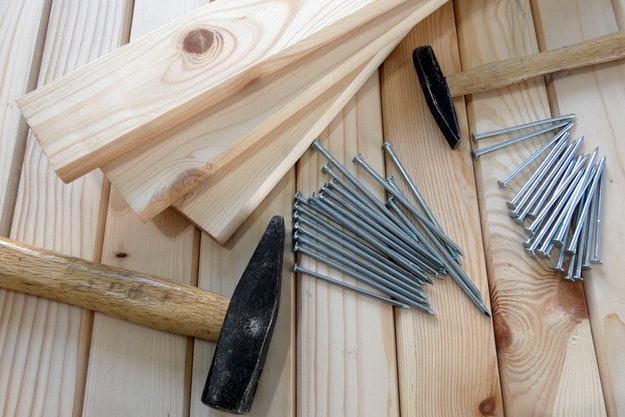
DIY Hack #1: Use a nail as a drill bit.
Remove the nail’s head then put it in your drill. This will make a great substitute to your drill bit in making a pilot hole. You can use different sizes of nails depending on your need.
DIY Hack #2: Use a metal straight edge to tear wax paper.
If you can’t find your scissors, you can still cut wax paper or any other paper just by tearing it with a metal straight edge. Just hold the metal straight edge down and pull the paper. Wax paper helps to prevent your working surface not to get glue on.
DIY Hack #3: Create your own instant clamp.
If you don’t have clamps to hold glued wood together, this trick can do wonders. Grab some scrap wood pieces and screw them down on a surface just a little bit wider than the actual size. Put wax paper underneath, place the pieces of wood, then insert wedges to tighten it. You now have a pair of clamps.
DIY Hack #4: Use table salt to avoid glued wood from sliding around.
More often than not, your wood will slide around after applying wood glue, making it hard for you to keep them aligned. To prevent sliding, put a small amount of table salt. Don’t worry, it will not affect the adhesion.
DIY Hack #5: Cut C – shaped wood pieces to serve as clamps.
In the event that you run out of clamps, you can make some out of wood with a mouth wider than the one you are clamping. You can also cut pieces of wood and attach them together. Measure the wood that you will clamp and make sure that the mouth of your wood clamp is larger.
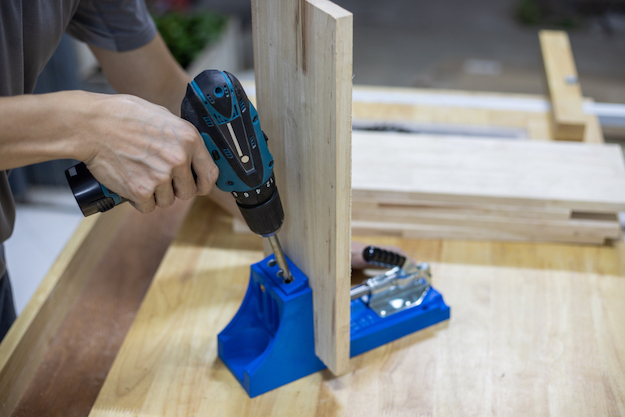
DIY Hack #6: Drill a perfect 90 – degree hole with a piece of scrap.
Take a piece of scrap wood, and cut out a corner. That will make a 90 – degree angle. Rest your drill bit in there and that’s it! If you can’t cut a corner, you can just join two pieces of dimensional lumber with straight, nice edges that will also form a 90 – degree when you stack them together.
DIY Hack #7: Sharpen your knife with a coffee cup.
Make sure you’ve finished your coffee before doing this. Flip your coffee cup over and use the bottom rim as a sharpening tool for your utility knife. It also works for almost every type of knife. Make sure you use a ceramic cup for this.
DIY Hack #8: Dab some toothpaste over a small wall hole.
Apply some toothpaste on a small hole on your wall and let it sit for an hour or two, and then you can paint over it. No need for cement to fill in those small holes.
Here is the full video on money – saving hacks for woodworking by Izzy Swan:
It is awesome to learn new things especially when it can make your job a lot easier. These DIY hacks can make your woodworking projects a little less complicated. So, are you ready for your new project?
Click here for more DIY hacks.
Like this? You’ll also like…
DIY Projects’s Ingenious DIY Hacks For Home Improvement  34 DIY Pottery Barn Hacks For Design On A Budget

The Complete Guide To Wood Working Tools For Beginners 
Featured Image from Woodwork


