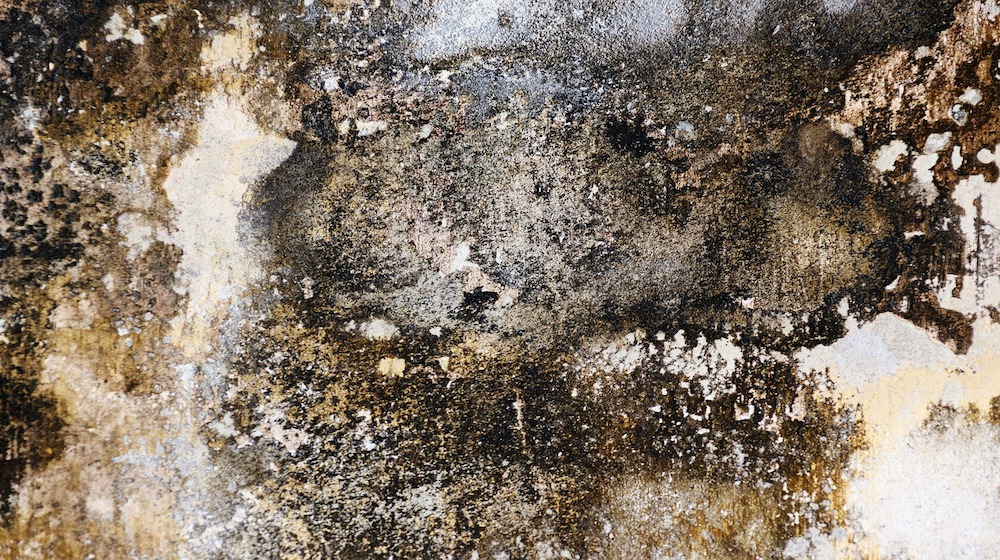


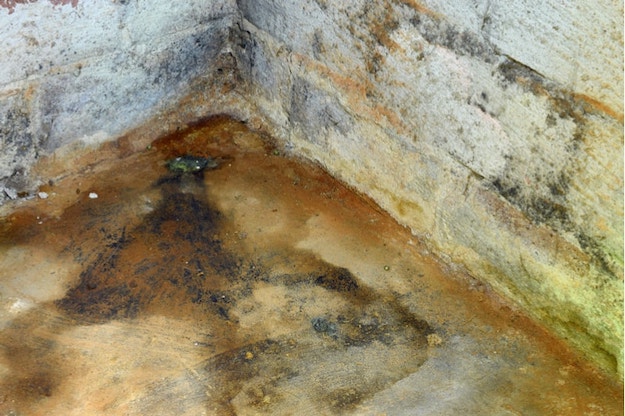
Molds are a nuisance as they reappear a few days after you remove them. However, if you do the whole process right, you can say goodbye to those annoying black spots. Removing molds is easy as 1-2-3 but it can be a huge task depending on the root cause of the problem. Learn how to remove mold in basement and prevent them from spawning again!
Mold In Basement: How Do You Remove Them?
can occur anywhere in the house especially in places where there is very little room for air to move. Consequently, moisture settles in and the surface makes it a good place for molds to grow. Some molds can be hazardous as they produce toxins that cause irritation or any other effect to pets or humans. So take a tour around your house and if you see any molds in your basement, or any part of the house, this is how you remove them:
What you’ll need:
- Fungicide
- Scouring pad
- Paper towels
- Gloves
- Protective eye wear
- Face mask
- Fan(situational)
Instructions:
Step 1: Apply initial fungicide coating
The first step is to apply an initial coating of fungicide over the affected area. While doing so, be sure that you are wearing the necessary protective equipment i.e. face mask, gloves, and goggles. Spray an even layer of fungicide and wait for it to dry. While drying, the fungicide is doing its job killing the molds and their roots. Let it dry for a couple hours and use a fan when working on rooms with little ventilation.
Step 2: Reapply fungicide and scrub
After the first layer of fungicide dries up, apply another coat of fungicide over the area and scrub the stains off. By this time, all the bacteria and harmful microorganisms are dead and all that’s left is the stain. Using the scouring pad, rub the black marks off in a circular motion repeatedly. Keep on spraying and scrubbing until the walls are clean.
Step 3: Wipe excess fungicide
Fungicides are toxic substances so you’ll need to rub excess off the wall. Use the towel or any piece of clothing to wipe it off and remove any toxic chemicals remaining on your wall. This is also to prepare your wall for a paint job if you feel like repainting it for a neat finish.
Step 4: Leave to dry
The next step is the easiest and you literally don’t need to do anything here. Just leave the wall to dry for another couple of hours. Again, if you’re working on rooms with very little ventilation, use the fan to dry it off. It’ll dry much quicker that way.
Watch the steps in action by hitting the play button below – or click [here]!
With these easy steps, you’ll have a mold-free wall but determining the root cause of moisture will help a lot from preventing them from coming back. Most common sources are broken water heaters or pipe leaks causing the water to settle in on closed areas. If you have other tips on how to remove mold in basement, let us know through the comments!
Click here for more DIY projects!
Featured image via HGTV