


Want to know how to make a mason jar chandelier for your home or office? Mason jar crafts are always fun to make. If you want a mason jar lights project, this would be the tutorial for you. Add a home decor that everyone will talk about. A DIY mason jar chandelier will make a great addition to any home.
Mason Jar Chandelier | DIY Chandelier
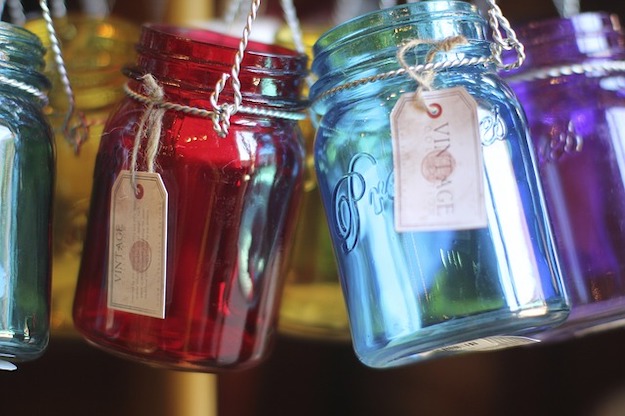
Rustic chandelier adds that warm glam to any room but can cost you an arm and a leg to get one! Now you can DIY your own unique rustic chandelier using mason jars! Yes, mason jars are not only great for yummy treats! You can also use them to make functional and cool DIY projects for your home!
I just love to use mason jar for my craft projects. If you can get your hands on some wood and mason jars, you can make one too.
Materials for your Mason Jar Chandelier:
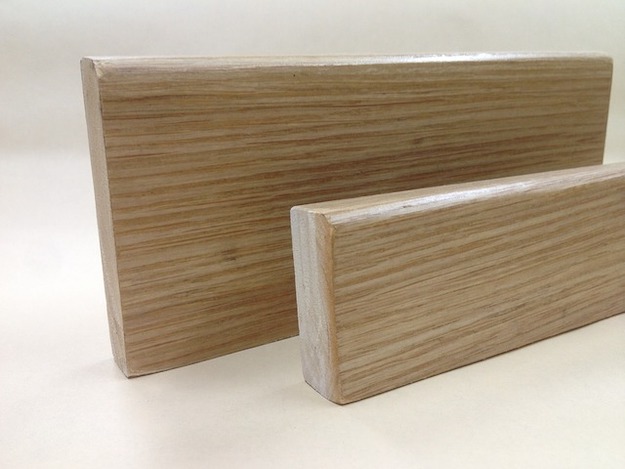
- 2 x 12 x 3(ish) African Mahogan
- Minwax Espresso Stain
- Rustoleum Chalk Board Paint
- Kerr Mason Jars
- One Large Pickle Jar
- Westinghouse Pendant Lights
- 14 gauge Romex
- 3 – 7 contact grounding bars
- wire nuts
- 3/4 inch maple plywood
- 1/4 inch ply
- 1×2 birch
Tools:
- Skil corded hand drill
- Hitachi 18v cordless driver
- Skil direct drive Circular Saw
- Ryobi 9 inch Band Saw
- Kreg Jig
- Kreg 90 degree clamp
- dewalt trigger clamps
- Spring Clamps
- C Clamps
- Wire Stripper/Clipper
- Dewalt 1/4 drill bit
- Dewalt 1/8 drill bit
- 3M Blue Tape
- Kreg square driver bit
- 1 1/2 inch course thread Kreg Screws
- 1 1/4 inch course thread Kreg Screws
- 1 inch course thread Kreg Screws
- Gardner Bender Spray Liquid Electrical Tape
Step 1
Trace the fixture size on the top of the mason jars.
Step 2
Then cut out the holes.
Step 3
Once the holes are cut, you are going to remove the ring from the end of the fixture. Twist the top of the jar, where you cut the hole, including the outer ring onto the fixture.
Step 4
Once that’s on, return the black ring to the bottom portion of the mason jar lid and twist to secure the lid to the fixture.
Step 5
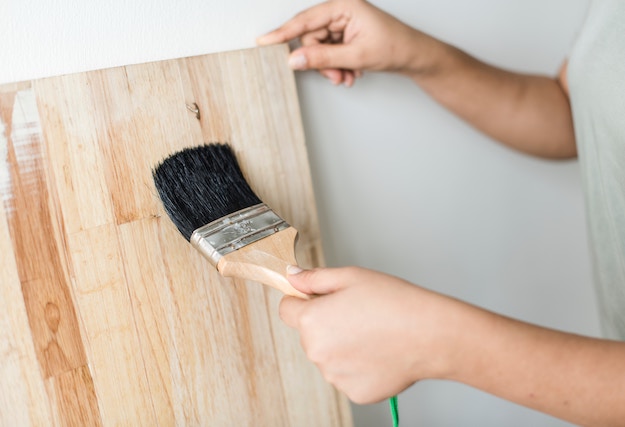
Put the Minwax Espresso Stain on the Mahogany.
Step 6
You’re almost done with your DIY Mason Jar Chandelier! You need to wait for about 10 minutes of soak time before you can wipe the excess off to get a great finish. The dark stain will match the rest of the mason jar light fixture in your living or dining area.
Step 7
Drill vent holes to allow excess heat from the Edison bulbs to escape. The jars don’t heat up dramatically but still, it’s better to take precautions, right?
Step 8
The Rustoleum Chalkboard Paint has a satin finish close to the pendant lights of your Mason Jar Lights so you can paint the lids to match!
Step 9

Measure and mark where you’d like your jars to go and drill holes in the marked areas. Make sure you make them large enough to fit the cords through.
Thread the wires from the top into the box and pull through. Decide and measure the length that you want each light to hang.
Now you can turn the wall switch on and enjoy the great satisfaction of a job well done!
Congratulations! You have just made your DIY mason jar chandelier!
Here’s the full video tutorial for the DIY chandelier from Donald Stockton below:
Did you enjoy our tutorial on how to make a mason jar chandelier? Let us know in the comments section below what your thoughts are on this DIY mason jar chandelier. Do you have any other mason jar projects you’d like to share? Share it with us and we’ll give it a try. We love doing cool DIY projects by making craft projects, home decor projects, upcycling ideas, recipes, tutorials and anything you can do yourself. That’s why we created this site, we want people to be more in touch with their creative side and realize that there’s a lot of things that they can do themselves. We’d love to hear from you and create a community of DIY enthusiasts where any project is just a click away. Stay connected with us on Facebook, Twitter, Pinterest and Instagram!


