

Want to know how to make DIY water blobs? If you’re looking for something that will keep the kids entertained for hours, then this is the DIY craft project for you. Cool down anytime you need to.
How to Make DIY Water Blobs | Cool DIY Project
With summer just around the corner, I’m sure that you’re looking for a craft project that will help you cool down. The kids or you may get restless with the heat, so my solution, a DIY water blob.
I would normally take out our plastic pool but we recently had an incident and resulted to an irreparable a tear. So instead of buying a new one, I searched the web for an alternative and as usual Pinterest had the answer. So if you want to make your own or make a large one for the kids to play on, continue reading.
Don’t Miss our mini tutorial for How To Make Mini Water Blobs at the end of this post!
What you’ll need for your DIY water blob:
- plastic sheeting (for big water blobs, get the biggest: 10ft x 25 ft 6.0 Mil)
- duct tape
- parchment paper
- blue food coloring
- iron
- hose
- plenty of water
Step 1
Take a piece of parchment paper and fold it in half. Draw a line from about 2 inches from the fold. This will give you consistency when ironing your plastic.
Step 2
Lay your plastic out and fold it in half.
TIP: If you would want to make a smaller one you can cut it into the desired size and fold it in half afterwards.
Step 3
Insert the edge into your folded parchment paper and start ironing. Your iron’s setting should be set to high.
Step 4
Once you’ve ironed one part, remove the parchment paper and move on to the next section. Let the plastic cool down first before touching it. You should have something that looks like the photo above after.
Step 5
Iron all the edges and leave a small opening to insert the hose. You can label it so it would be easier for you to spot.
Step 6
Once you’ve ironed all the edges, double check for any gaps you may have missed. You wouldn’t want any water coming out.
Step 7
Now that you have all the edges sealed, time to fill her up.
NOTE: With a water blob this size, it may take you about 20 minutes to fill it. Remember not to fill it up with too much water so it won’t burst.
Step 8
When you’re about half way done filling up your water blob, add a few drops of blue food coloring to give it a little color. (This is an optional step, but I will make your water blob look awesome!)
Step 9
Once you’re done filling it, time to seal it up. Take a few pieces of duct tape and seal the hole.
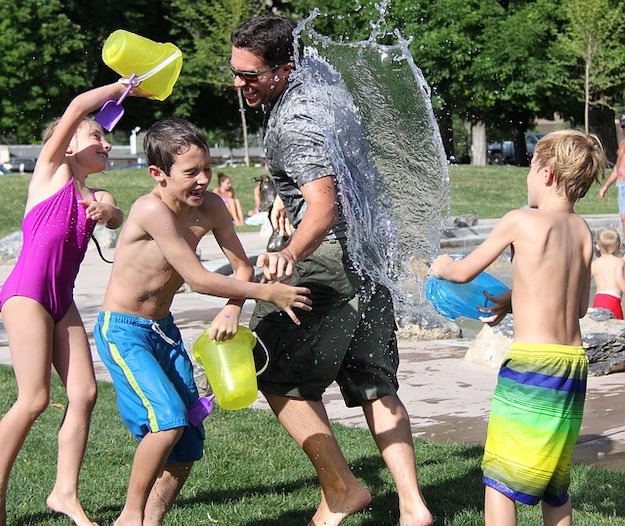
And that’s it! Call the kids and let them have fun in your DIY water blob. Watch them jump, roll and do whatever kids do. A word of caution, your water blob will last depending on the usage. So if the kids are a little too wild, you may still encounter a few gushes of water here and there so have your duct tape ready. But otherwise, enjoy your homemade water blob!
If you’d like to see how to make a water blob, check out this video tutorial from ThreadBanger:
We also LOVE this water blob tutorial by HelloWonderful, for mini water blobs! They even stuffed them with little plastic sharks. Click here to learn more
Did you enjoy our tutorial on how to make a DIY water blob? Let us know in the comments section below what your thoughts are on this homemade water blob. Do you have any other cool DIY projects you’d like to share? Share it with us and we’ll give it a try. We love doing cool DIY projects by making craft projects, home decor projects, upcycling ideas, recipes, tutorials and anything you can do yourself. That’s why we created this site, we want people to be more in touch with their creative side and realize that there’s a lot of things that they can do themselves. We’d love to hear from you and create a community of DIY enthusiasts where any project is just a click away. Stay connected with us on Facebook, Twitter, Pinterest and Instagram!


