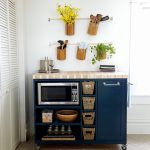
Organization, function, and style. These are the essential three things you need to keep your household in top shape. All these three key points can be found in these DIY 3-step crate shelves. Both functional and redefining, this DIY project is a great addition to any house interior, so we’ll show you how it’s done.
Three Step Wood Crate Shelves For All Your Storage Needs
Change Your Storage Game with DIY Wood Crate Shelves
Who wouldn’t need shelves in their house? Available in various forms and sizes, all shelves naturally serve the same purpose: to help you organize your things and store them properly. A good added bonus would be if your shelves are display-worthy too. Now, imagine to find all these factors in one DIY project. That’s this one, a simple blueprint that converts wood crates into storage shelves. The steps, together with what you’ll need are simple and they’re found below:
Supplies:
- Unfinished Wood Crates
- Stain – Winmax Red Oak Wood Finish
- 1 1/4 Drywall screws and Drill Bits
- Medium Grit Sand Paper
Tools:
- Regular Paint Brush
- Drill
- Rags
- Dropcloth
- Tape Measure
- Hammer
- Level
Instructions:
1. Sand the crates.
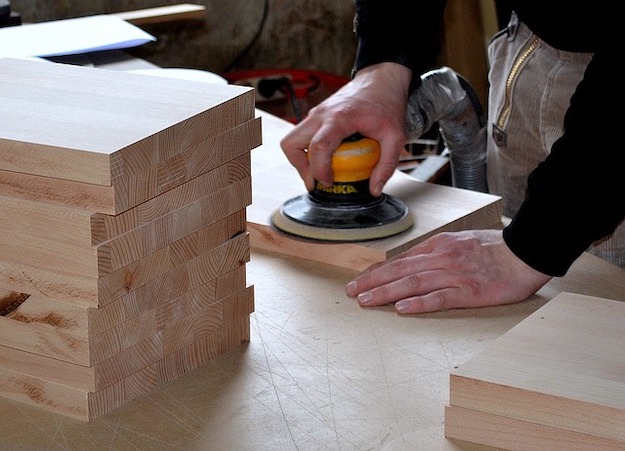
We wouldn’t want our crate shelves to be rough and rugged, now do we? As with many wood projects, we first start with refining the wood, sanding the rough edges and parts of the wooden objects. In this case, we sand the wooden crate. This will help clean the surface from wood splints and ready it for the staining.
2. Stain the crates.
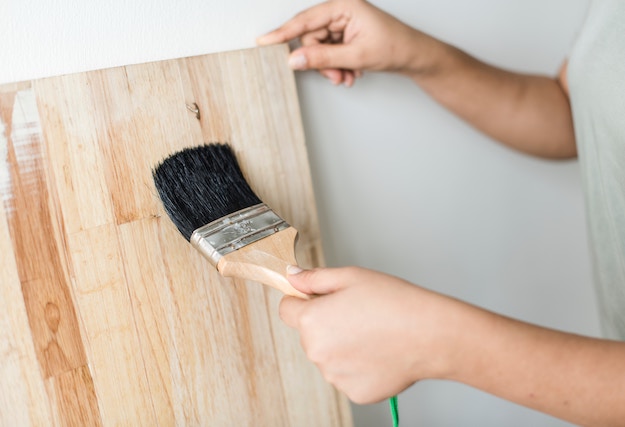
Wood by itself already has quite the appealing color. However, that color may not fit the color scheme of your house. Staining the wood will provide you a wider variety of colors, its grain patterns being more pronounced. If you plan to enrich or deepen the color of your wooden crate shelves, now’s the time to stain the wood with a darker color.
Before the stain dries, you may opt to wipe it off already with a rag. This is done to achieve a more vintage vibe and natural feel to the stained wooden crates.
3. Install the crates after drying.
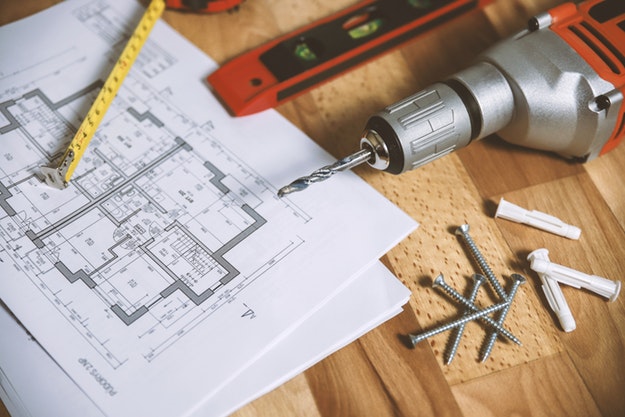
Afterwards, install the crates on the wall using your drill and screws. Take care to place the crates in measurement, as making a mistake now, such as uneven crates, might cause you a headache later on.
4. Arrange your things on the shelves.
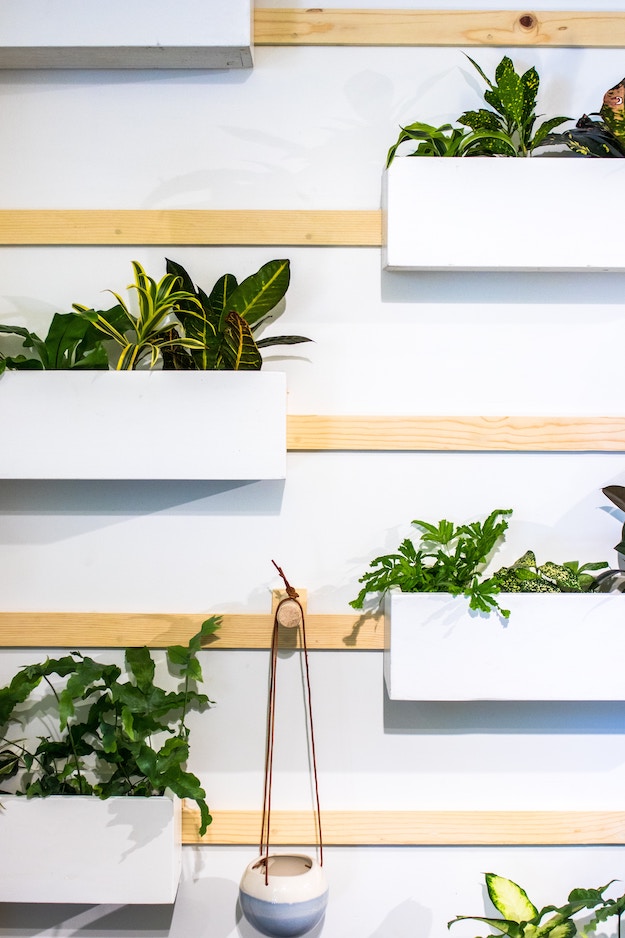
Of course, after installing, you are free to place your desired objects and arrange them on crates to be stored, be it books, papers, shoes, or decor items. Little planters can be put in these crates as well, or you can follow this tutorial on the video below to learn how to display your jewelry or accessories here too.
Watch Mr. Kate‘s full tutorial of this DIY project here:
Looking to redesign your house? For tips on home transformation, check out this article!