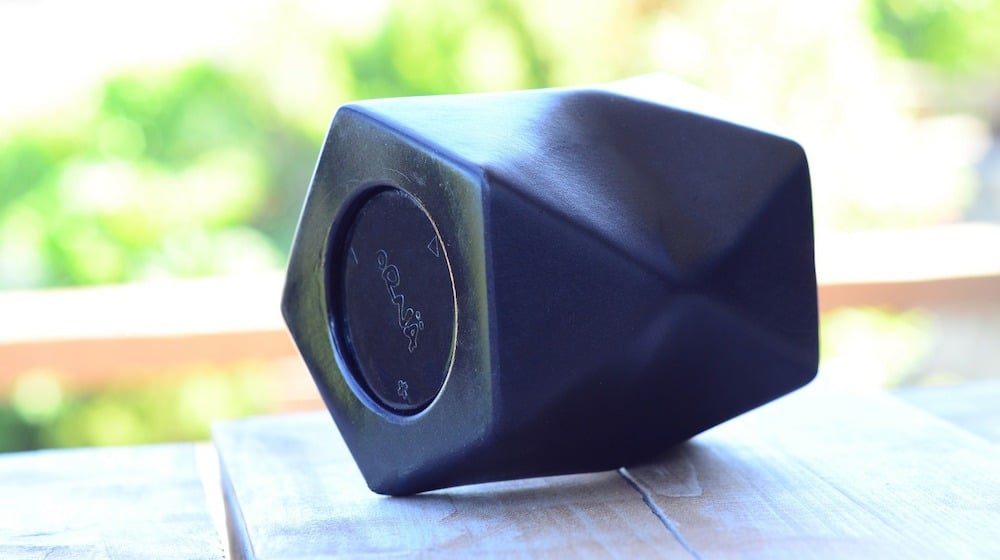

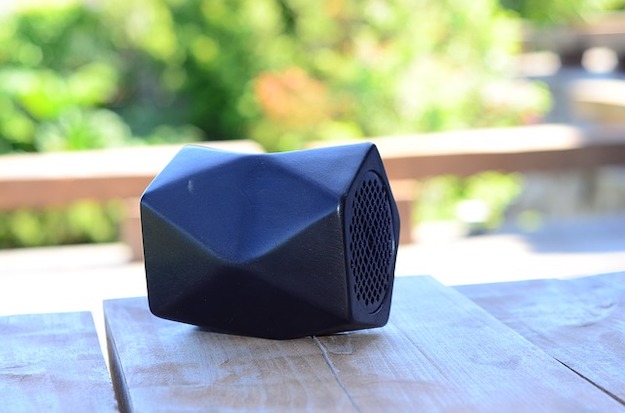
You may think an outdoor wireless speaker may cost you an arm and leg, but with this DIY you definitely won’t be breaking the bank. Read on and learn how to build your own DIY outdoor wireless speaker and keep your guests entertained!
A Budget-Friendly Outdoor Wireless Speaker
I just can’t let a day pass without hearing my favorite songs as loud as my ears can take. But when I’m spending my time outdoors, I don’t have a way of doing that. Good thing there are some DIY projects I can do like this outdoor wireless speaker. Now, my buddies and I can listen to some tunes while hanging out outdoors. I can even use this with my own DIY shoebox projector for a complete DIY cinematic experience.
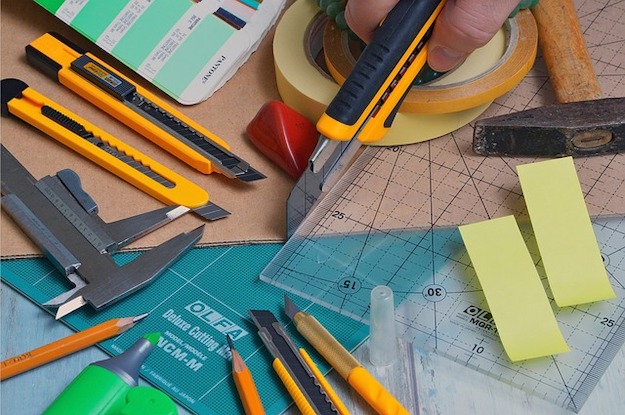
What You’ll Need:
- Wooden or plastic box
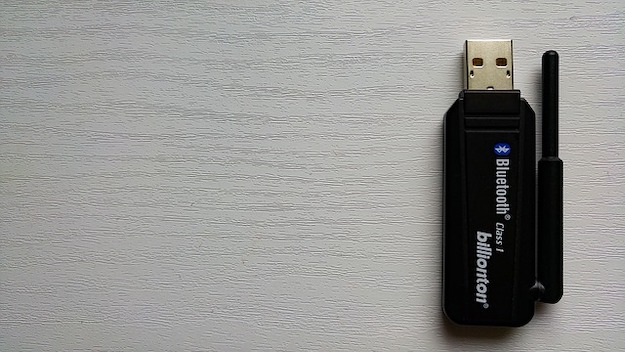
- Bluetooth receiver adapter with 3.5 out project audio power amplifier
- Old speaker pulled out from an old mp3 player
- Female USB plug
- Male USB connector with cable
- 3.5 stereo jack with cable
- USB charging adaptor or power bank
- Dremel (hand held rotary tool)
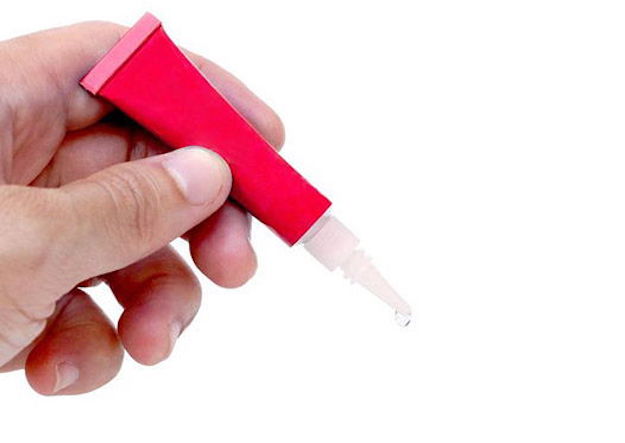
- Hot glue
How To Make An Outdoor Wireless Speaker:
Step 1: Mark The Box

Mark the box where you want to put your speakers.
Step 2: Cut The Holes
Use a Dremel or whatever is available to cut the holes.
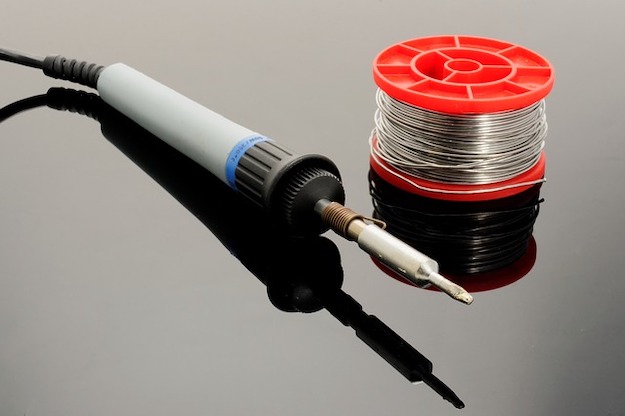
Step 3: Solder Wires For Speakers
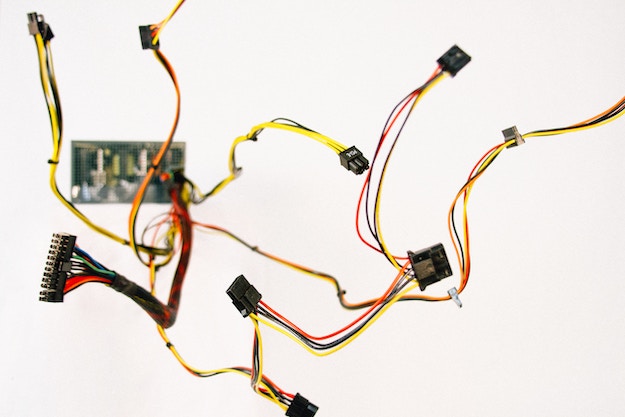
After cutting the holes, solder the wires in both speakers.
Step 4: Glue The Speakers
Glue the speakers to the box.
Step 5: Solder The Power Supply Wire
Check the markings on your audio power amplifier, connect the positive wire of the speaker to the positive terminal output of the amplifier. Do the same with the negative wire. Then, also solder two wires for power supply following the same principle.
Step 6: Connect The Wires
Next step is to join power wires to the power amplifier and the USB cable then solder them to the USB female plug.
Step 7: Connect The Bluetooth Cable And The Jack Cable
Cut the cable from the Bluetooth and join it to the 3.5 jack cable. One will be for out and the other will be for the Bluetooth adapter. Then solder the wires on the input of the power amplifier.
Step 8: Power Up The Speaker
Plug the adapter to USB female connector then power up the speaker. With the use of hot glue, place everything inside the box to keep everything together. For your cables, you can cut a gap at the corner of the box.
Step 9: Glue Everything Inside The Box
Place everything inside the box and use the hot glue to keep everything together. For your cables, you can cut a gap at the corner of the box.
You’re done!
Now your outdoor wireless speaker is done! Time to play those hits and dance to the music coming from your new speaker.
Watch this video from American Hacker for more details about this project:
You can now enjoy your favorite songs while having a good time in the great outdoors. The things you love the most whenever you’re inside the comfort of your home can also be experienced even when you’re outdoors with these DIY projects. So choose your project now and let brain’s creative juices do the work. Don’t forget to have fun!
What do think of this outdoor wireless speaker? Will you try to make one? Let us know in the comments section below.
Want another fun project for your backyard? Check out this DIY projector screen and enjoy a great movie night right in your backyard!

Stay connected with us on Facebook, Twitter, Pinterest and Instagram!
Editor’s Note – This post was originally published in August 2016 and has been updated for quality and relevancy.