


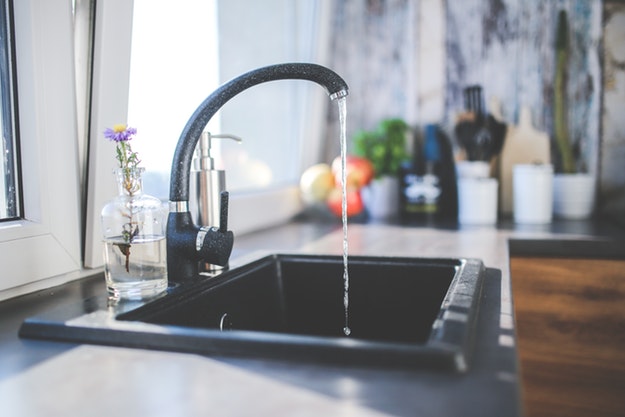
DIY a kitchen faucet repair at home and you’ll never have to listen to a leaky faucet again! All you have to do is follow these 5 steps.
DIY Kitchen Faucet Repair To Stop Annoying Leak Sounds
A kitchen faucet repair isn’t an intimidating task. In fact, it’s easy to do, especially if you’ve got a penchant for remembering the order of how 3-4 items are put together. There’s really nothing to it, it’s as easy as 1-2-3.
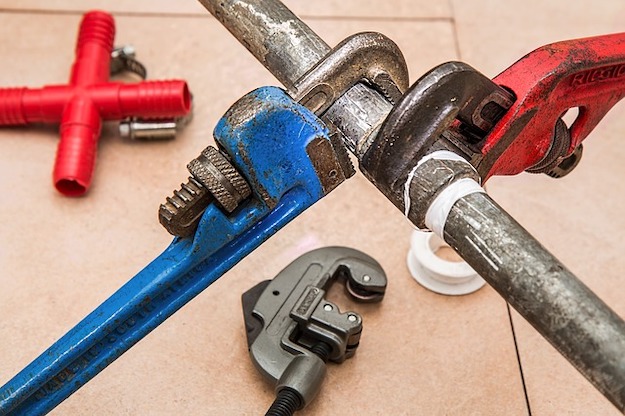
Here’s What You’ll Need for Your Kitchen Faucet Repair:
- New faucet cartridge
- Channel lock pliers
- Allen wrench set
- Rag
Step 1: Close Water Supply And Open Faucet
To begin your DIY repair, close the water supply of the faucet. This can be found under the sink. Do note you may have to turn two knobs to turn off the water completely: one for the hot water and another for the cold water. Once you’ve turned it off, release the pressure from the faucet by lifting or turning the knob.
Step 2: Protect Sink Drain
Place a hand towel or dish rag on top of the sink drain. This will prevent any small items such as tools or faucet pieces from dropping inside the drain.
Step 3: Disassemble Faucet

Remove the decorative cap, pick a tool from your Allen wrench set, and begin removing the screw. Once you’re done, continue disassembling the faucet.
Step 4: Replace Cartridge
Using the channel lock pliers, take out the old cartridge and replace it with the new one. Remember to take note of the order and the way you’ve taken the pieces out. You’ll need to know which part goes after which once you start reassembling.
Step 5: Reattach Faucet And Open Water Supply

Place the faucet handle along with its screw and decorative cap back into place and open the water supply. Don’t forget to do a last check for leaks.
There you have it! Now you’re all set to do your very own kitchen faucet repair!
Need a tip to remember the order of your faucet’s pieces? Take photos as you go along. It’ll help!
Watch the full video tutorial of the kitchen faucet repair here:
Now you know how to DIY your own kitchen faucet repair, you won’t have to suffer the annoying sounds a leaky faucet can make. You’d also get to conserve water and save a few dollars off your water bill. Win win!
Will you be trying this kitchen faucet repair tutorial soon? Let us know in the comments below.
Looking for a quick fix? Read this for tips on some of the most common home problems.
![]() Stay connected with us on Facebook, Twitter, Pinterest and Instagram!Feature image via Vigo
Stay connected with us on Facebook, Twitter, Pinterest and Instagram!Feature image via Vigo


