


Cutting a straight line is one of the most important basic woodworking projects to master.
Whether building a dresser or cutting a mat for a photo, you nearly always need to start with a straight line. Those lines are very often then intersected by perpendicular lines (90 degrees to the original) or angled lines to create your desired shape. It is bad news when you find out the pieces you cut don’t fit together because your lines weren’t straight or square. The good news is there are a few simple ways to check these lines.
How to Cut a Straight Line | Basic Woodworking Projects
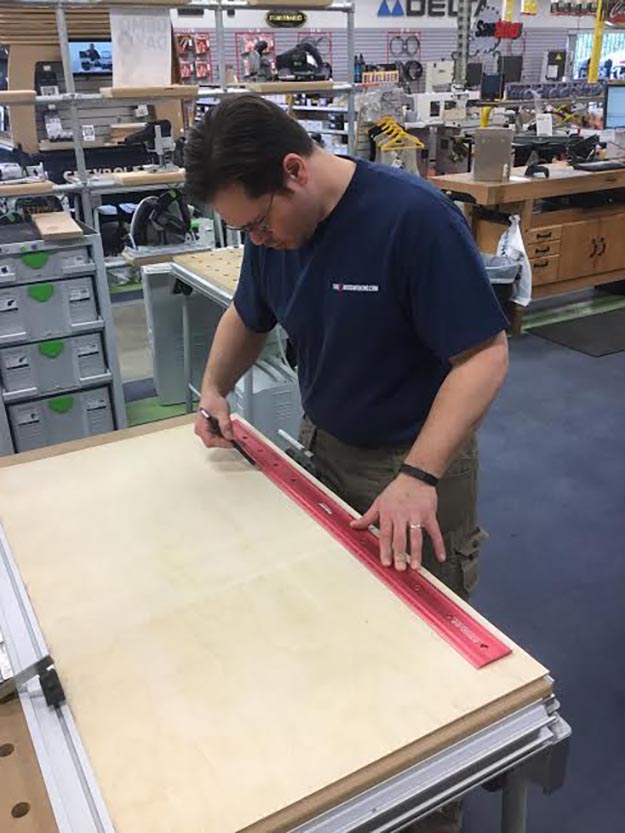
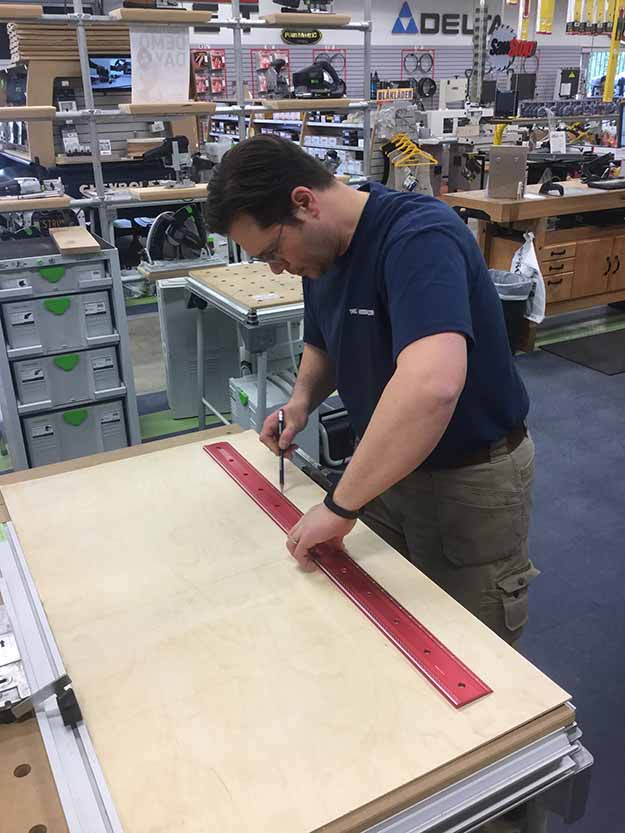
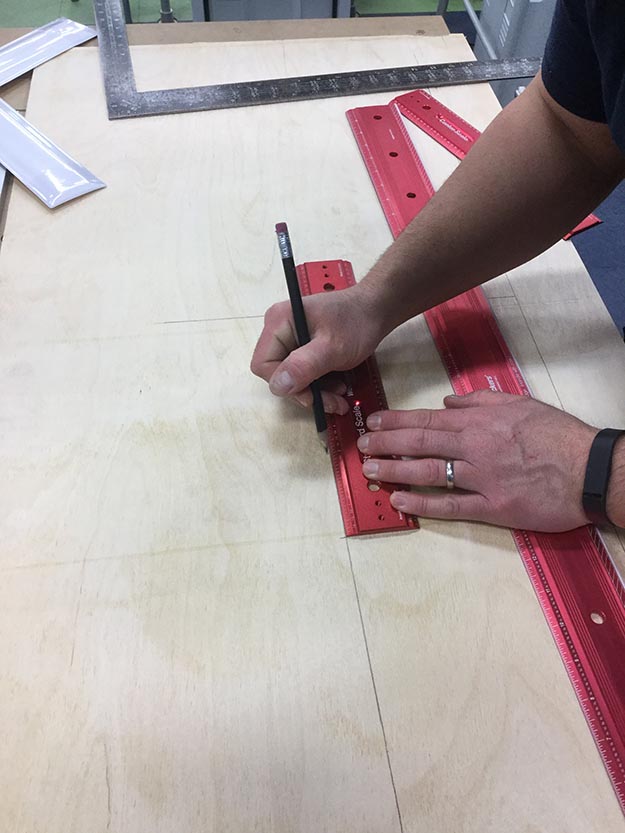
Most of the time when we lay out a straight line, we reach for a ruler or straight edge trace along it and consider the task completed. But, how do you know that you actually created a straight line? You can check by flipping the straight edge over to the other side of the line and tracing again. (Fig 1 & 2)
If your lines perfectly overlap, you know you have a straight line! (Fig 3)
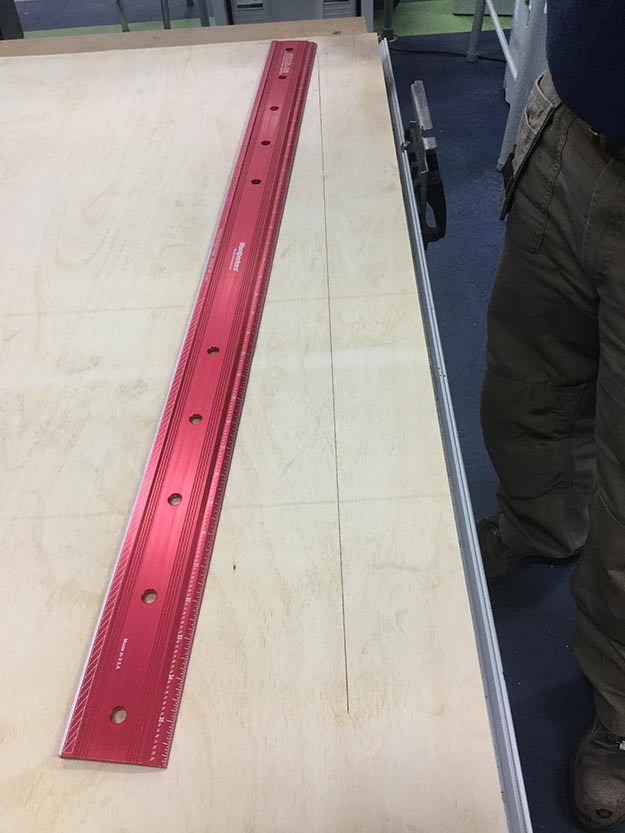
If the 2 lines veer together or away from another, you know you have a bow in your straight edge.
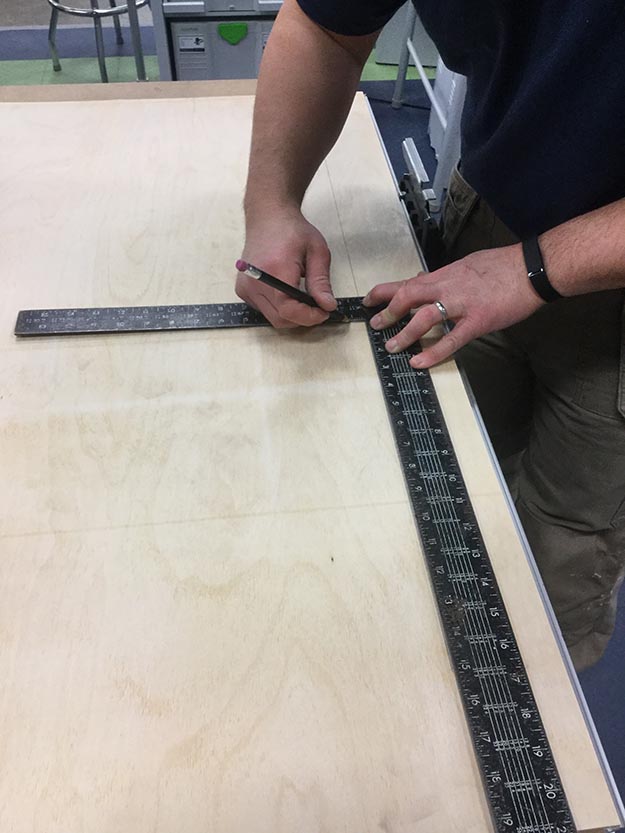
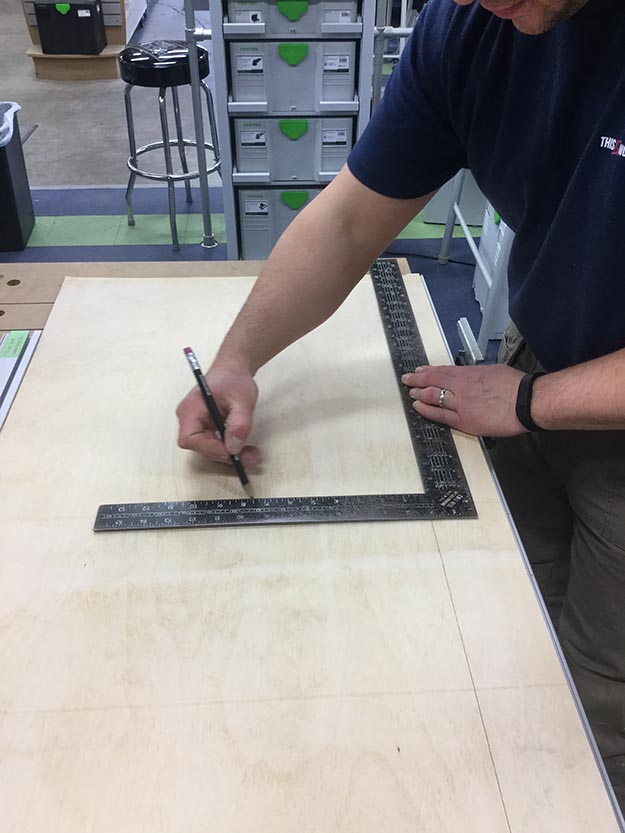
If you want to lay out a perpendicular line to your original line, you need a square. To check your square, align the long leg against an edge. Trace the short leg. (Fig 4)
Roll the square over to align the same edge you traced with your new line. Make sure the long leg is aligned with the original edge. (Fig 5)
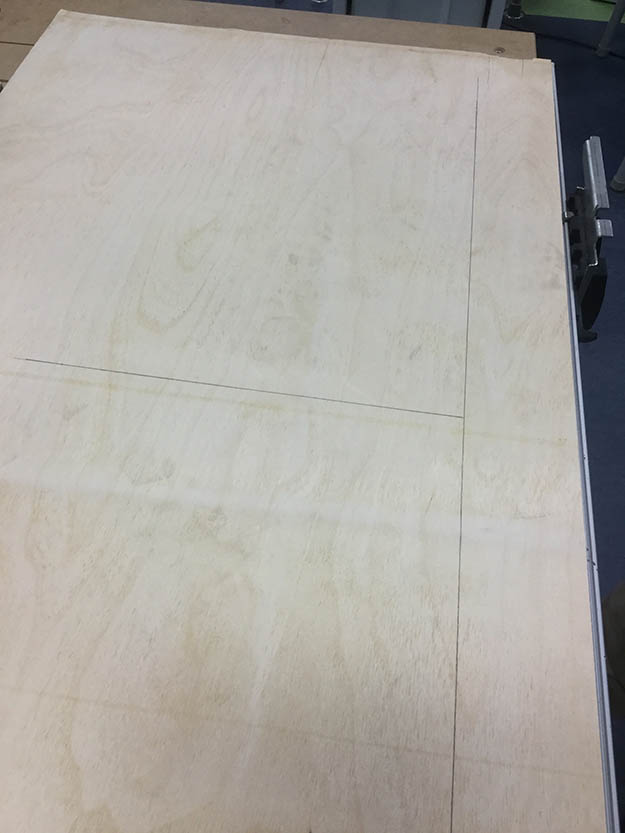
Trace again and if your lines overlap, you have a square square!(Fig 6)
Another way to lay out perpendicular lines is to use a 3,4,5 triangle. This is an isosceles triangle in which one leg measures 3, another leg is 4 and the hypotenuse measures 5. You can apply this to inches, feet or metric measurements and it always works! If you need it to be larger use a multiple, for example 6,8,10 or 9,12,15.
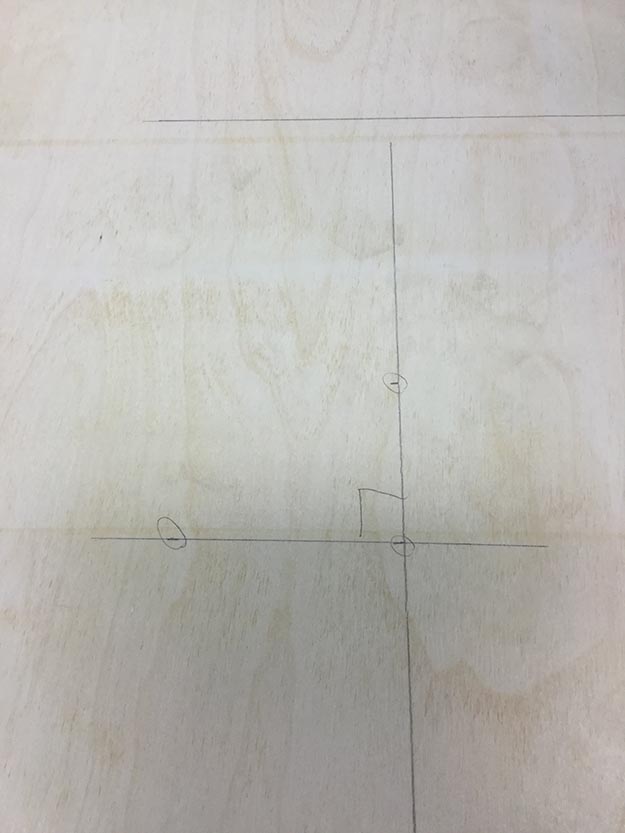
Start by drawing a straight line. (Fig 7)
At the point where you want to make your perpendicular intersection, make a mark. (Fig 8)
Then make a mark 3 units away from your original point on the line. (Fig 9)
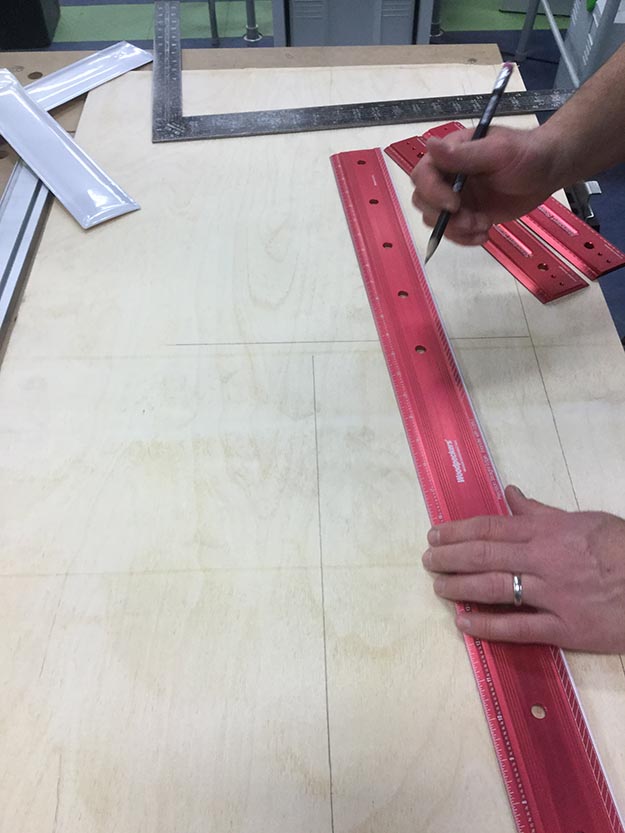
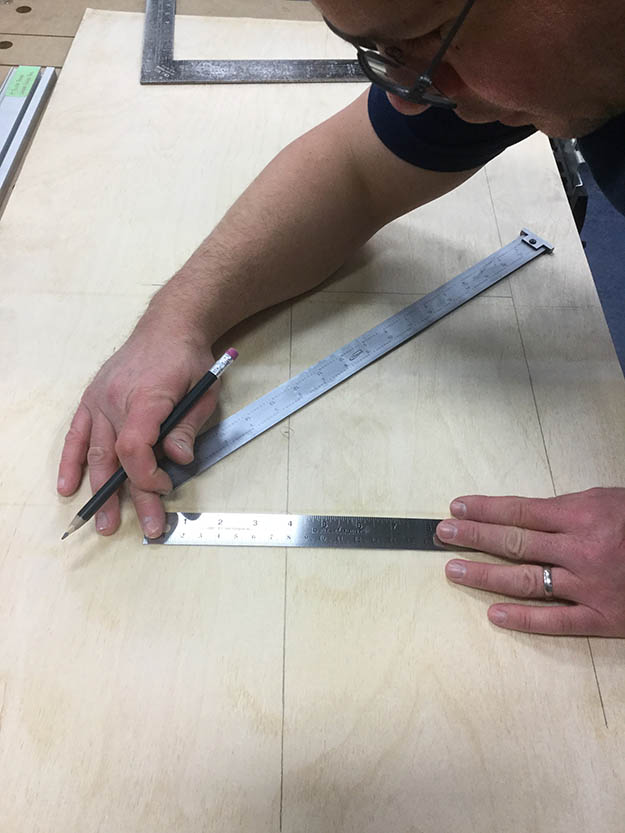
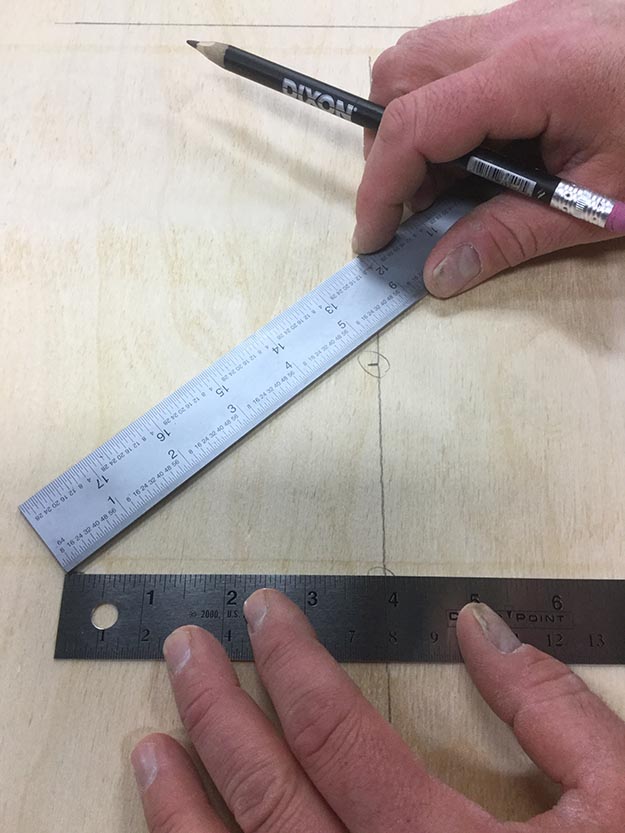
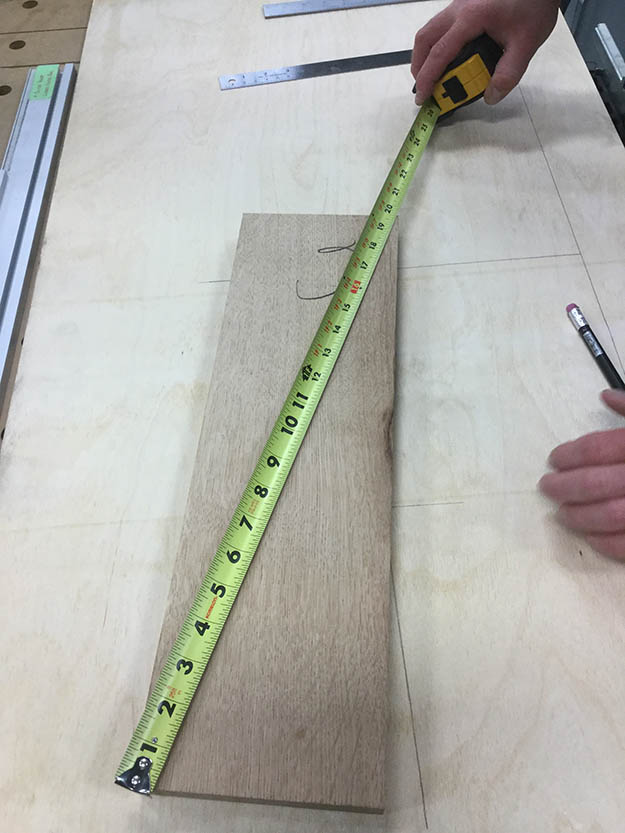
Use 2 rulers or tape measures. With one rule, hold the 4 on one mark (Fig 10) and hold 5 on the other mark.
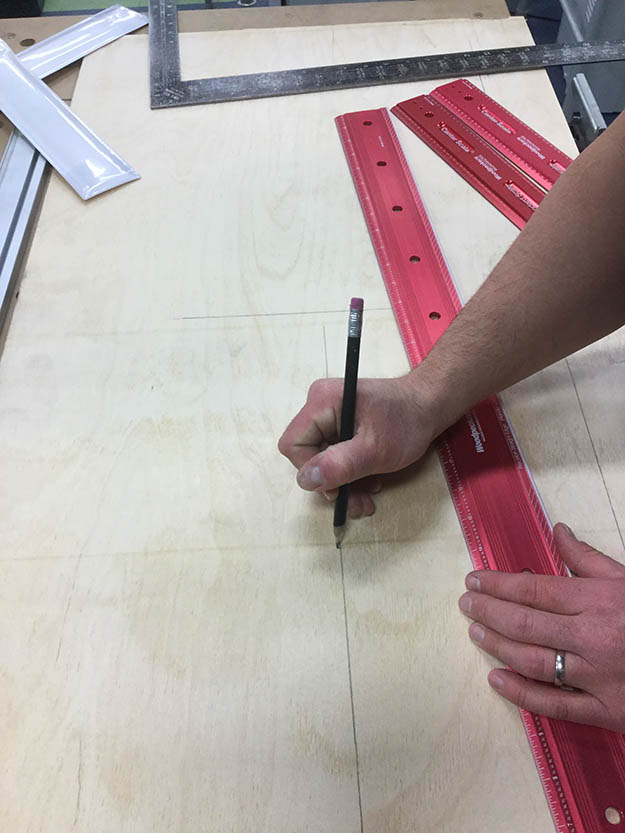
Bring the ends of your rules together and where the 0 marks intersect, make a mark.(Fig 11)
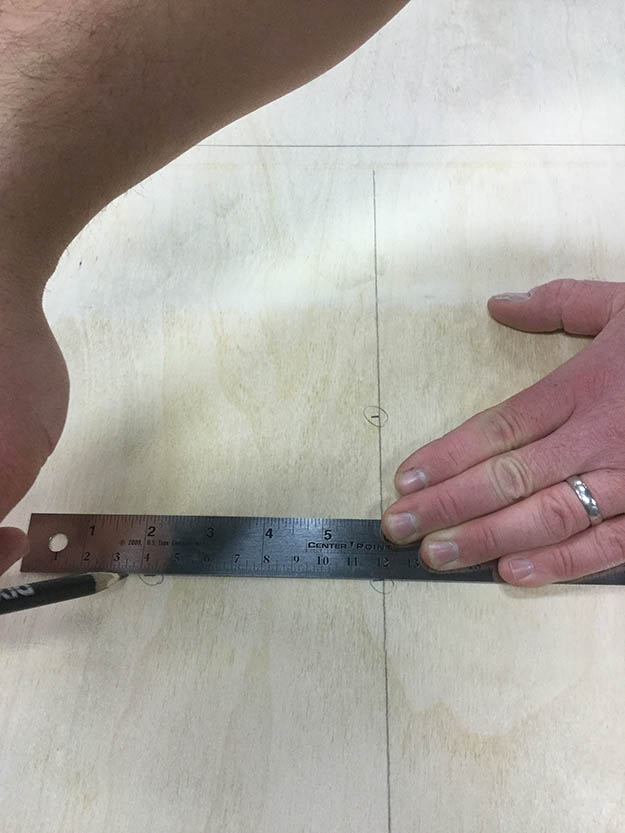
Draw a line through your original mark and this new mark and you will have a perpendicular line! (Fig 12&13)
Any object that has 4 square corners, can be checked for square by measuring diagonally across the corners. When these 2 measurements are equal, the object is square! (Fig 14&15)

Try these out, you may find it is time to invest in a new straight edge or square. It is definitely better to find out now than after completing all your cutting!
Brian Altiere of This Is Woodworking compiled this step-by-step guide getting the best lines for cutting wood for your next woodworking project!
Did you enjoy our tutorial on how to cut a straight line? Have other basic woodworking projects that you’d like to share? Let us know in the comments below. As Einstein said, “Creativity is contagious.”Some other posts we think you’ll love…
How to Fix Scratches On Wood Furniture
How To Make A Reclaimed Wood Headboard
Pinewood Derby Car Designs to Make for Your Next Big Win
Don’t forget to stay connected with us on Facebook, Twitter, Pinteres


