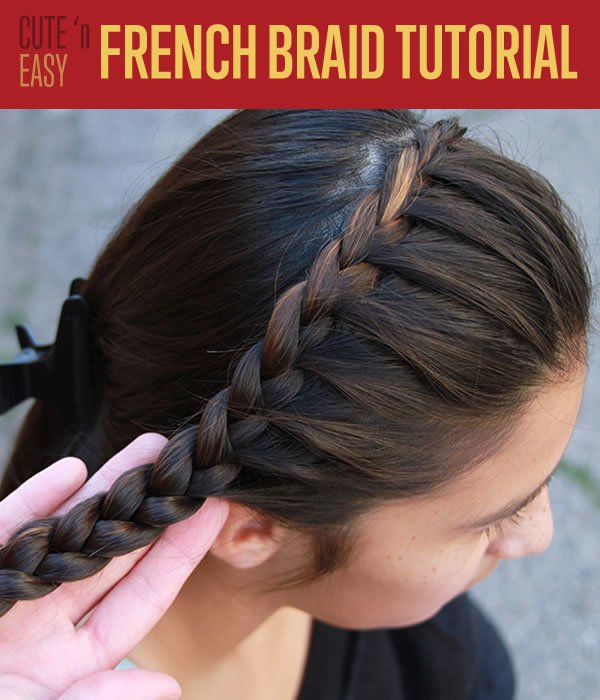


Ooh la la! Are you looking for a cute braided hairstyle that is easy and fun? Want to give yourself (or a friend) a French braid in just a few steps? Here’s a great braids tutorial for just about any occasion. This twist on the French braid is sure to become your new go-to summer do. Not only is this style fun and easy, but it’s also perfectly polished for work or a girl’s night out. Prepare to get obsessed!
How To French Braid Hair For This Hairstyle:
Check out our video tutorial to learn how to French Braid Hair:
Supplies:
- Comb
- Hair tie
- Bobby Pins
- And some hair just beggin’ for a braid’n.
Step 1:
Time to tackle the tangles! Begin by combing entire hair to ensure no knots are present. Go easy if doing it for a friend who maybe hasn’t brushed his/her hair in a while. Hey come on, life gets busy sometimes!
Step 2:
Now that our locks are lovely, lets get started. Part the hair from the back of each ear to the top of the head to create a roughly 3-3 1/2” headband section.

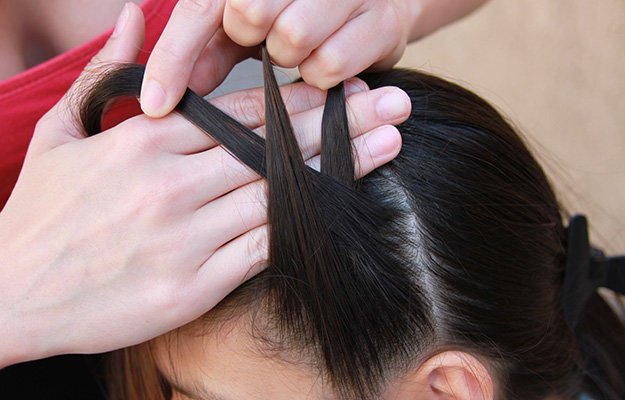
Step 3:
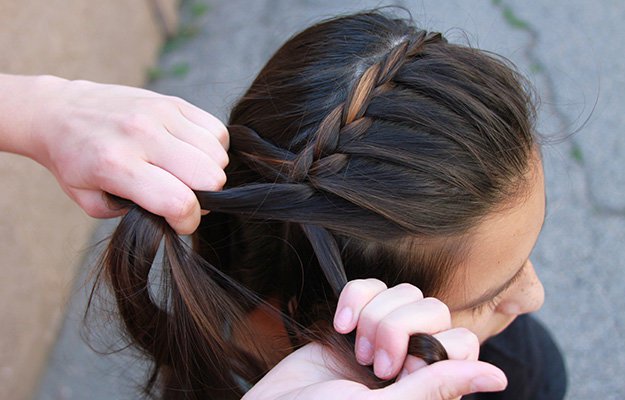
Here comes the fun part – braiding! Beginning on the left (your left), create a 2-inch section, and divide into 3 strands.

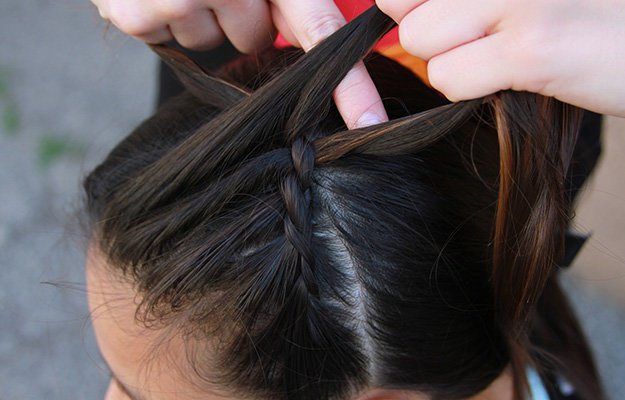
Step 4:
Beginning with the left strand, cross over the middle strand (the middle strand will become the left strand). So far so good, right?

Step 5:
Now take the right strand and cross it over the middle strand.
Step 6:
Repeat steps 4 and 5 as you work your way up the braid. Anyone else think this is starting to look like a style fit for a princess? Or a prince, we don’t judge.
Step 7:
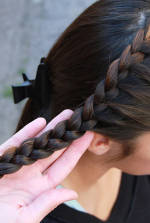
With the right strand over the middle, add a 1-inch-wide section of the headband section to the right (now middle) strand.
Step 8:
Repeat until hair is braided all the way down, only adding to the right strand the entire time. Rapunzel ain’t got nothing on you, girl.

Step 9:
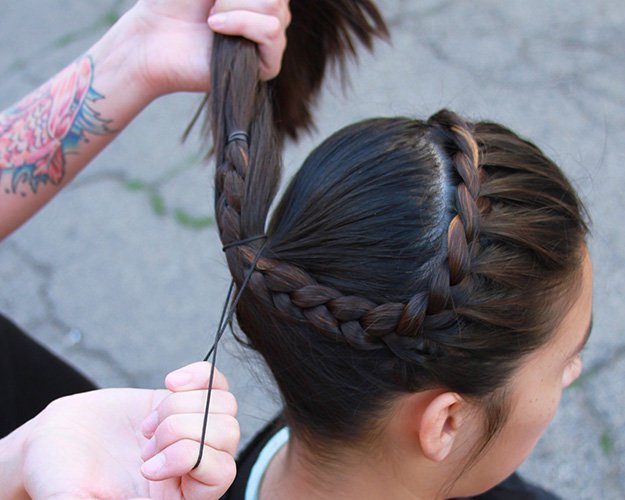
Okay, now you have a few options on how to complete this look. Ponytail or bun – choose wisely (you are going to look adorable either way, obviously). First up, ponytail style! Pull all hair back, including loose end of the braid, into a high ponytail.
Step 10:
Finish off the braid with an elastic band. Prepare for turning heads and compliments a plenty, go hit the town, pony girl!
Step 11:
More of a bun babe? Here’s how you compete your look. Wrap all the hair into a bun and secure with bobby pins for that perfectly polished look.
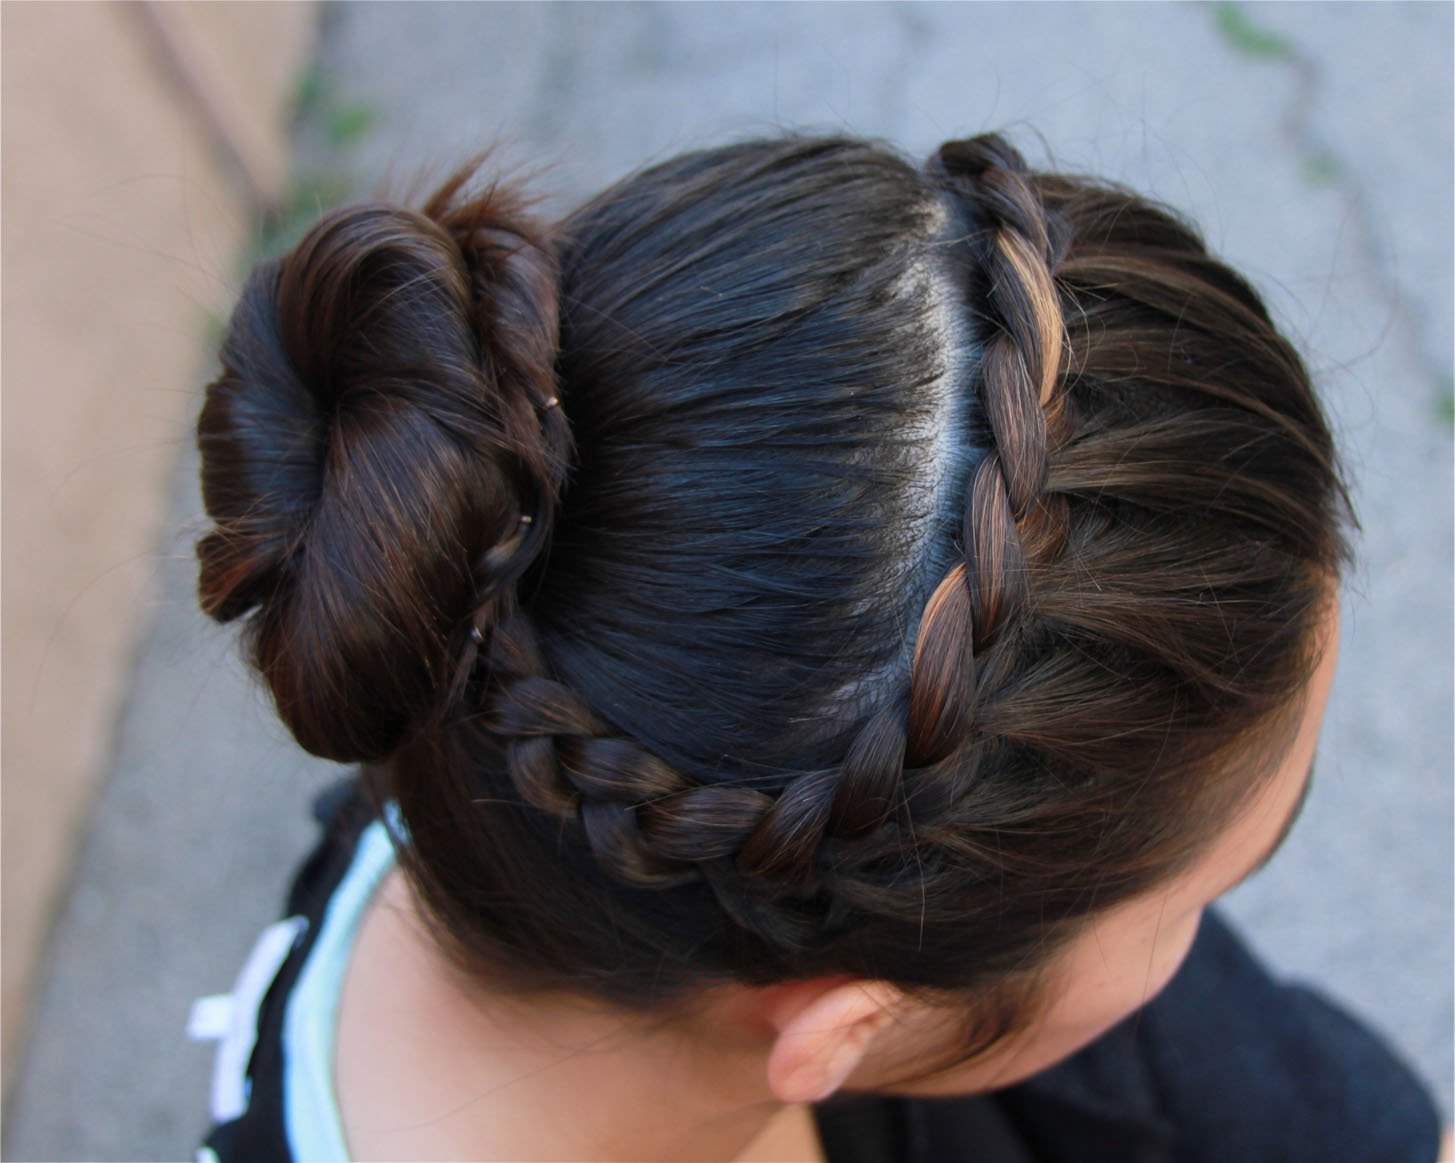
C’est magnifique! Simple and stylish, you are sure to be the talk of any room you walk in. Did this tutorial leave you wanting more? We got you covered. Check out more easy and fun style ideas all over the site!
Like this post?
Check out another favorite beauty tutorial:
How To Make Mac Lipstick With Crayons
Want more awesome DIY projects?
Join our mailing list and be the first to know about our newest ones.
(link is on the top right of the page for desktop users and on the bottom for mobile)
Let us know in the comments below! Your feedback matters. The more interest we get in posts, the more likely we are to do more like that.
Can’t get enough of the braided hairstyle look?
Add this great DIY braids book to your shelf.
DIY Braids: From Crowns to Fishtails, Easy, Step-by-Step Hair Braiding Instructions