Feeling burnt over a small kitchen space? Whether you live in a small city apartment or a starter house in the suburbs, don’t let a cramped space bring you down! The trick I learned to making a small space work is making use of the empty spaces functional. So, check out that ingenious space between your fridge and the wall and bring peace and order to your kitchen with this easy DIY. Learn how to build a pantry shelf for all your kitchen condiments. Keep reading to know how.
How To Build A Pantry Shelf In Your Small Kitchen
I remember renting a small apartment in the city long ago. And being my DIY enthusiast self, I made sure that having a small kitchen space won’t be much big of a deal. Now that I am a mom, I also love cooking for my family. It’s easy to spice up any meal you prepare when you have easy access to your condiments and ingredients. So for all of you frustrated with your small kitchen space, don’t fret! Learn how to build a pantry shelf that I’m sure you’ll find very functional!
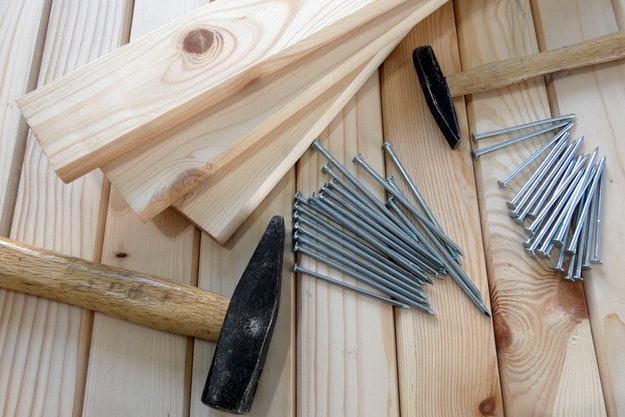
What you’ll need for a pantry shelf:
- 2 pieces of 4-foot long, 6-inch wide boards
- 7 pieces of 2-foot long, 6-inch wide boards
- 4 ½-inch rods
- Wood glue
- Wood screws
- Drill
- Sandpaper or power sander
- 4 casters
- 4 foot x 2 foot pegboard or thin board for backing
How to make the pantry shelf:
Step 1. Lay out the frame and drill into place.
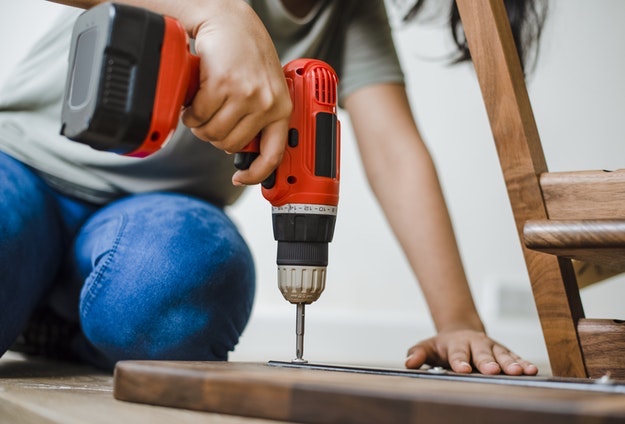
Lay out the frame. Drill them into place.
Step 2. Add the first three shelves.
Add the first three shelves about 7 inches apart. Space the rest according to your needs. Create a storage bin at the bottom by drilling a 2-foot board across the front.
Step 3. Attach the pegboard.

Flip the shelves over and attach the pegboard to the backing.
Step 4. Add the casters.
Add casters to the four corners of the bottom.
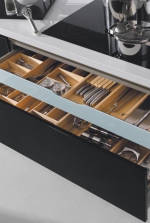
Want a perfect way to stay organized in the kitchen? http://t.co/v8hvPPbGpt Try these #DIY utensil holders! pic.twitter.com/iyHPWvs70R
— DIY Projects (@DIY Projects) April 6, 2015
Step 5. Cut the rods to size.

Cut rods to size, and glue them in front of each shelf to keep things in place.
Step 6. Paint sides.
If you want to make it more attractive or cohesive with the rest of your kitchen’s color palette, paint the sides of the pantry.
Step 7. Attach handle.

Glue the handle to the side.
And you’re all done!
Slide your new pantry into place, and enjoy the extra space!
Check out this video from Nifty on how to build a kitchen pantry!
I absolutely love this hidden pantry. It’s the perfect solution to any small kitchen space! Go ahead and give this DIY a try this weekend. And share with us how it went by leaving a comment down below.
Click this link for more awesome kitchen ideas!
Follow us on instagram, twitter, pinterest, and facebook!
![]()
Love this post? Then read these next!
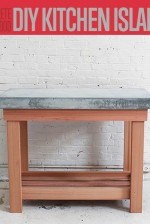
Build This DIY Rustic Kitchen Island | Cheap Kitchen Renovations
Stir Some Creativity Into Your Kitchen | DIY Kitchen Ideas
DIY Kitchen Storage Ideas – The Sneaky Knife Drawer