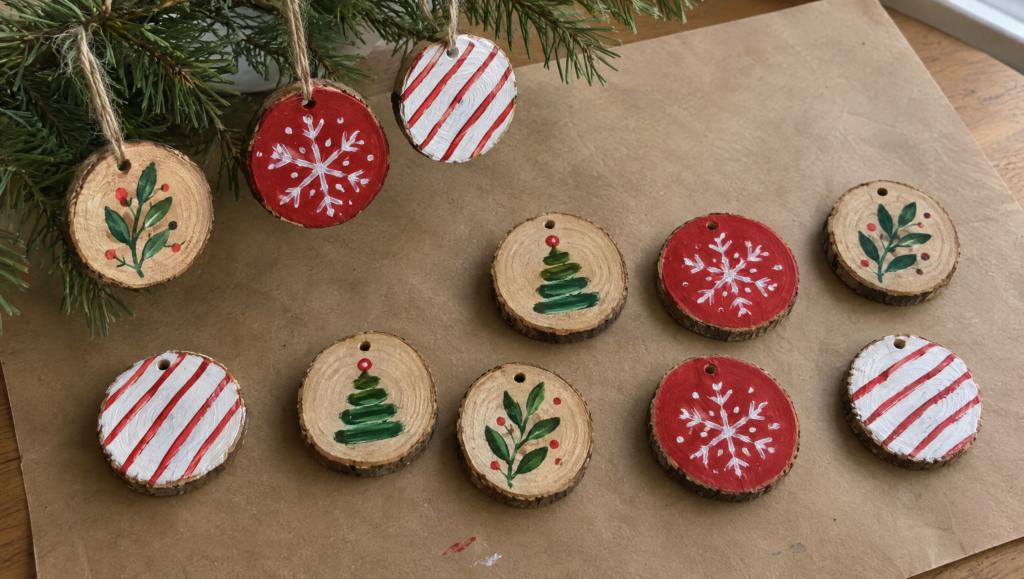

At a Glance: Hand Painted Christmas Ornaments
- Three colors and one brush. That’s all the paint gear you need.
- Four easy designs make 12 ornaments. Repeat them to fill a whole tree.
- About 90 minutes of painting. That’s a planning estimate, with drying breaks in between.
You can make hand painted Christmas ornaments with just three paint colors and one brush. Paint a wood slice with a few dots and short strokes. Then seal it and tie on a twine loop. Plan on about 90 minutes of painting and about $15 to start, plus sealer. Those are planning estimates. Ready to begin? Jump to the steps and get your base coats going.
Think you can’t paint? These designs are made of dots and short strokes. Your brush tip does the work. Four little designs repeat across a dozen ornaments, so you learn four moves and the tree still looks full.
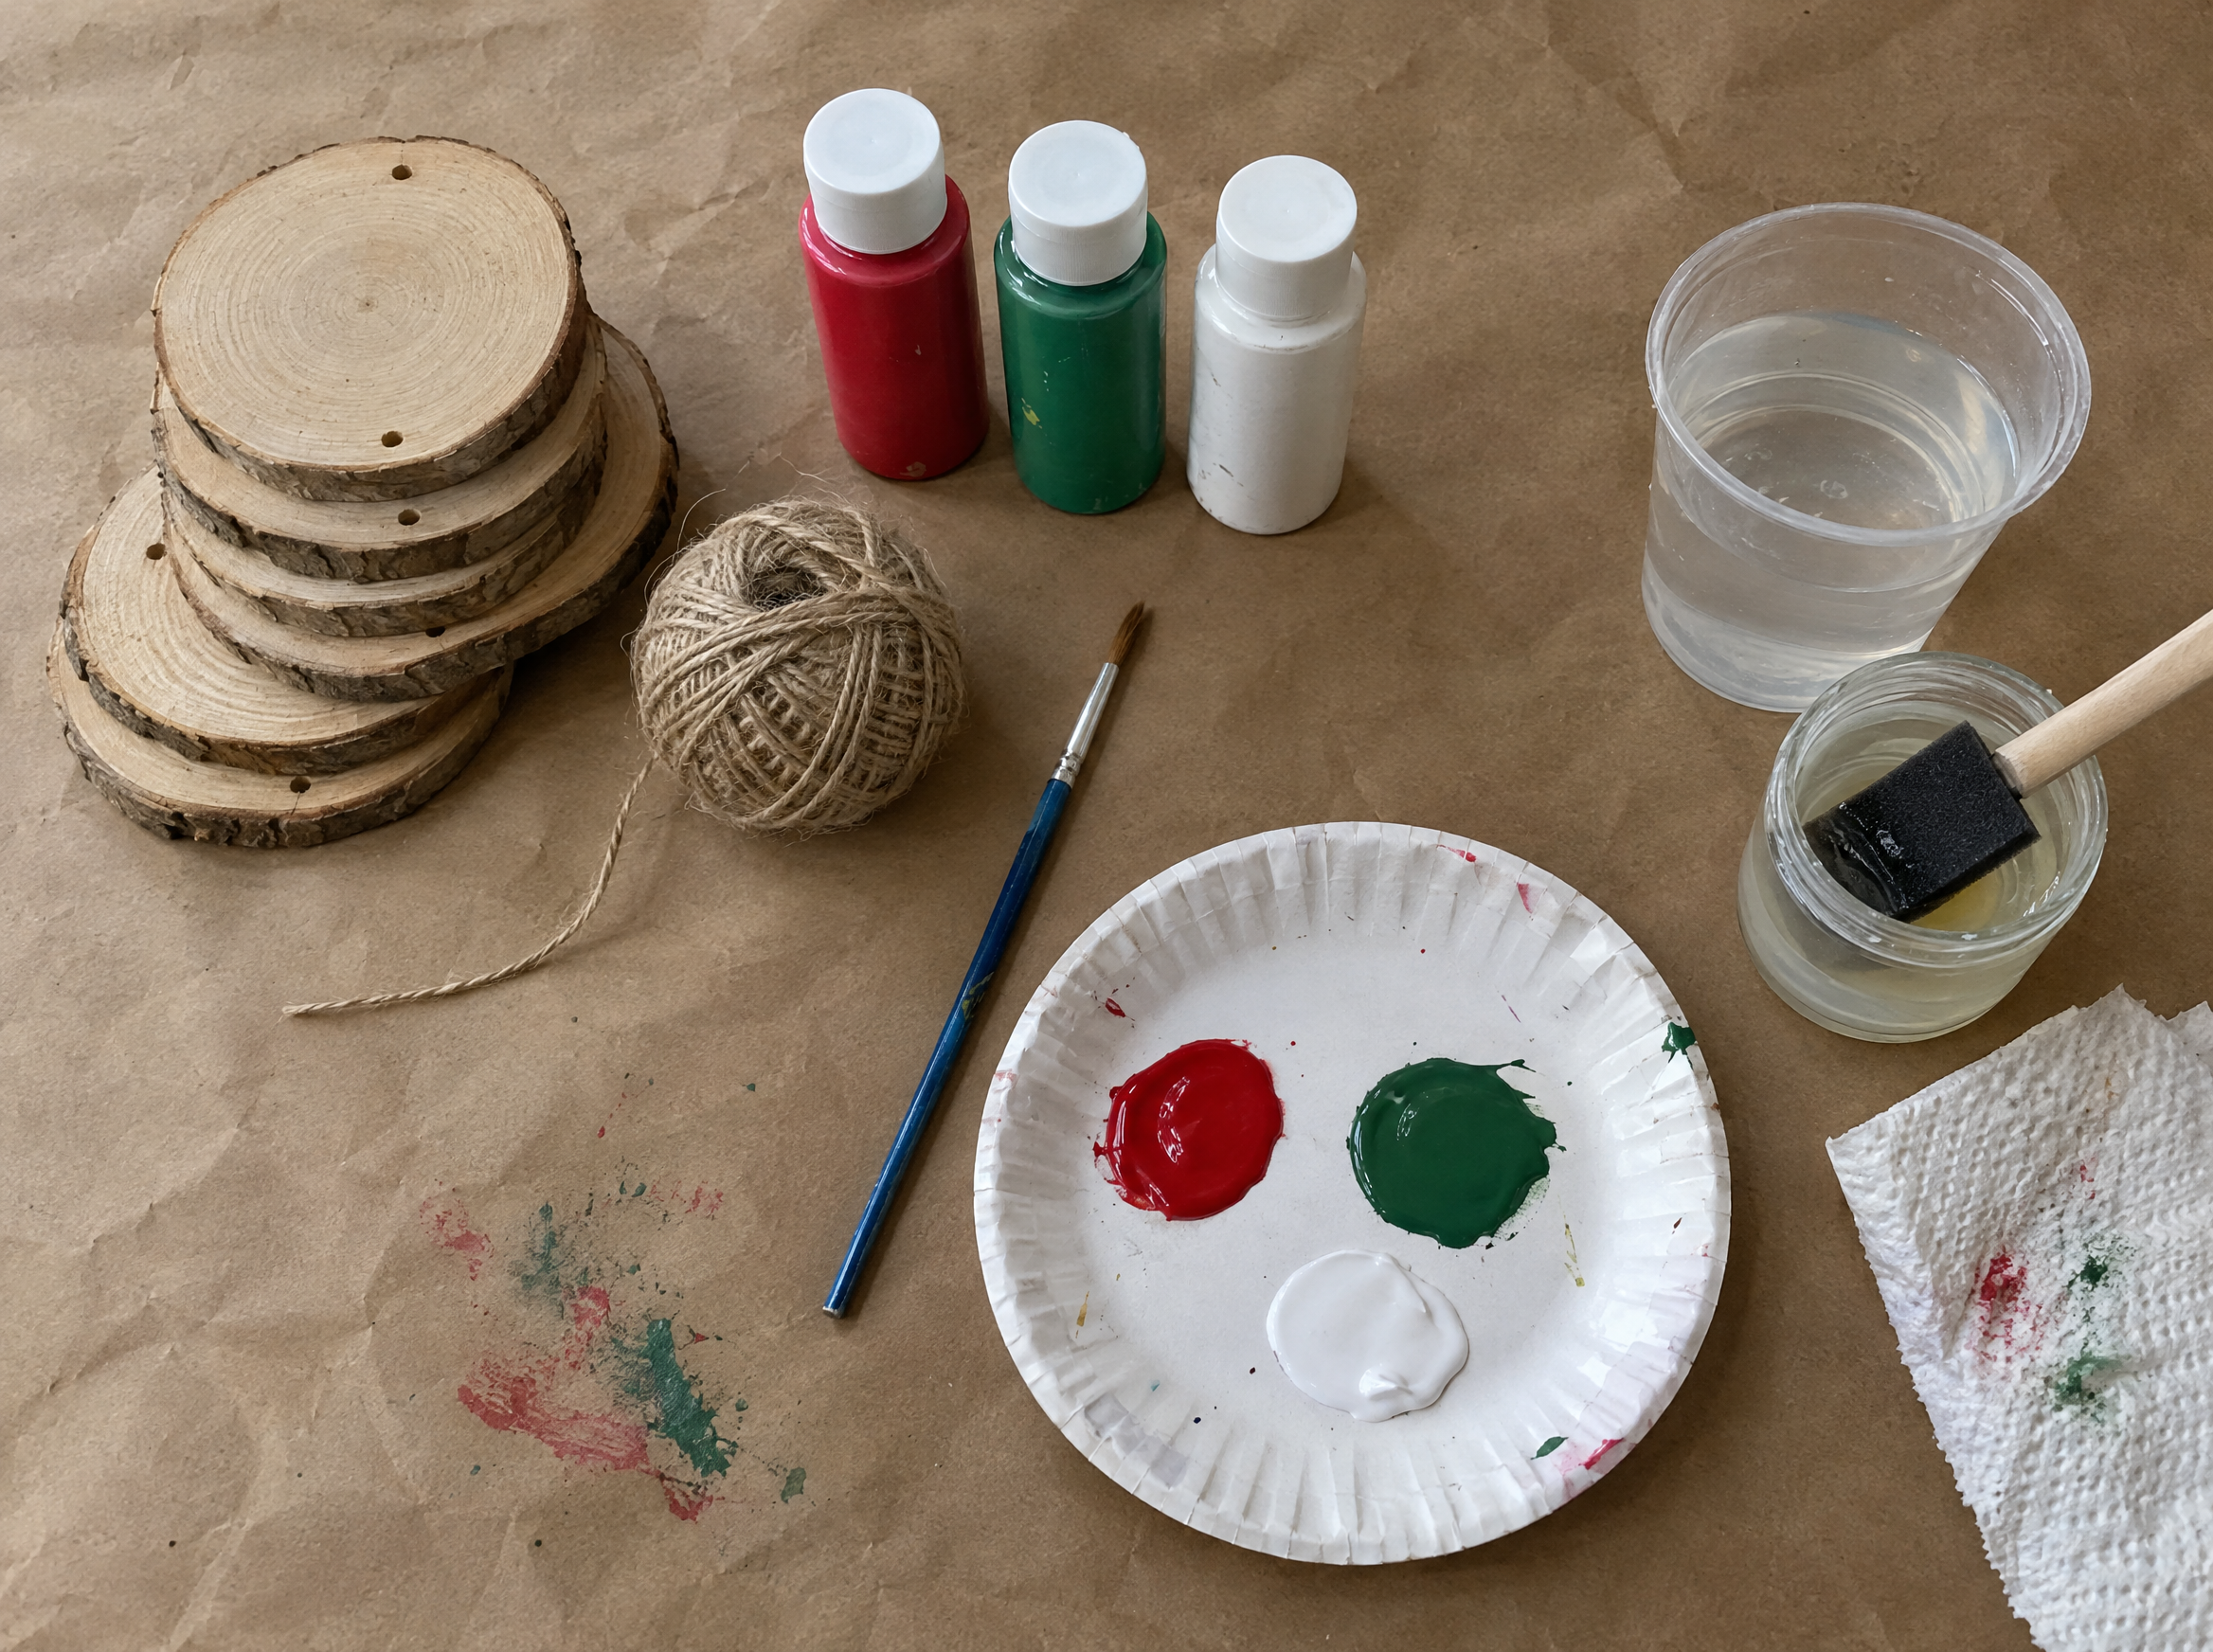
Whatever paint you buy, check for two things: it says acrylic on the label, and the bottles are small enough to open and close with one hand. A bigger set, like this 18-color one, gives you extra colors if you want to try the color swap later. (paid link)

- CONVENIENT SIZE & FUN BRIGHT COLORS - This versatile acrylic paint set includes 18 - 2 oz bottles of...
- MATTE FINISH - Each of these bold and bright colors dries to a brilliant matte finish - perfect for...

As an Amazon Associate we earn from qualifying purchases.
What do you need to paint ornaments with three colors?
Makes 12 ornaments from 4 simple designs
- Wood slices. 12 pre-drilled slices, about 3 inches across. Look for “kiln dried” on the label.
- Acrylic paint. One red and one green, plus a white.
- One small round brush. A size 4 holds enough paint for dots and still makes a fine point for strokes.
- Brush-on sealer and a foam brush. Gloss or matte, whichever you like. Keep the foam brush just for sealer.
- Twine. 12 pieces, about 8 inches each.
- A paper plate. It works as your paint palette.
- A cup of water and paper towels. One for rinsing the brush and the other for patting it dry.
For the sealer, pick a brush-on formula, since you’ll apply it with a foam brush. This kit includes foam brushes, so you’re covered. Read the label for ventilation and age guidance. (paid link)
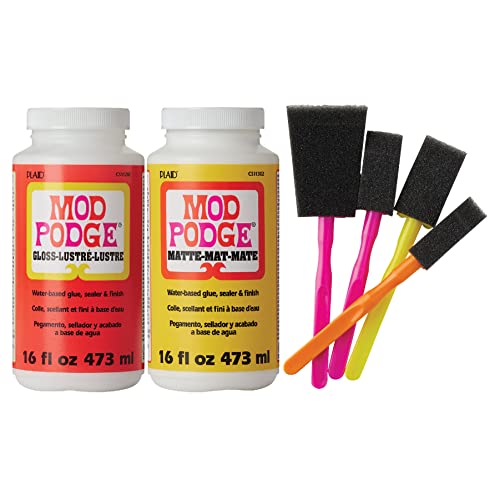
- Convenient & versatile kit: Add this multi-purpose set of a 16 oz Mod Podge Matte and a 16 oz Mod...
- Durable finish: Clear, matte and gloss finish to preserve the beauty of your decoupage paper and...
As an Amazon Associate we earn from qualifying purchases.
Quick tip: Cover your table with craft paper first. Paint always finds the dining table.
How do you paint 12 ornaments with three colors?
Work in batches. While one batch dries, paint the next. That’s how a dozen ornaments come together without waiting around.
1. Wipe the slices and set up your spot
Brush the dust off each slice with a dry paper towel. Squeeze a small puddle of each color onto the paper plate. Keep the water cup and a folded towel within reach.
2. Base coat six slices
Paint three slices solid red and three slices solid white. Use a thin coat and cover the front and the edges. If the wood shows through once it’s dry, add a second thin coat. Set them aside to dry. These become your snowflakes and candy stripes.
3. Paint three berry sprigs on bare wood
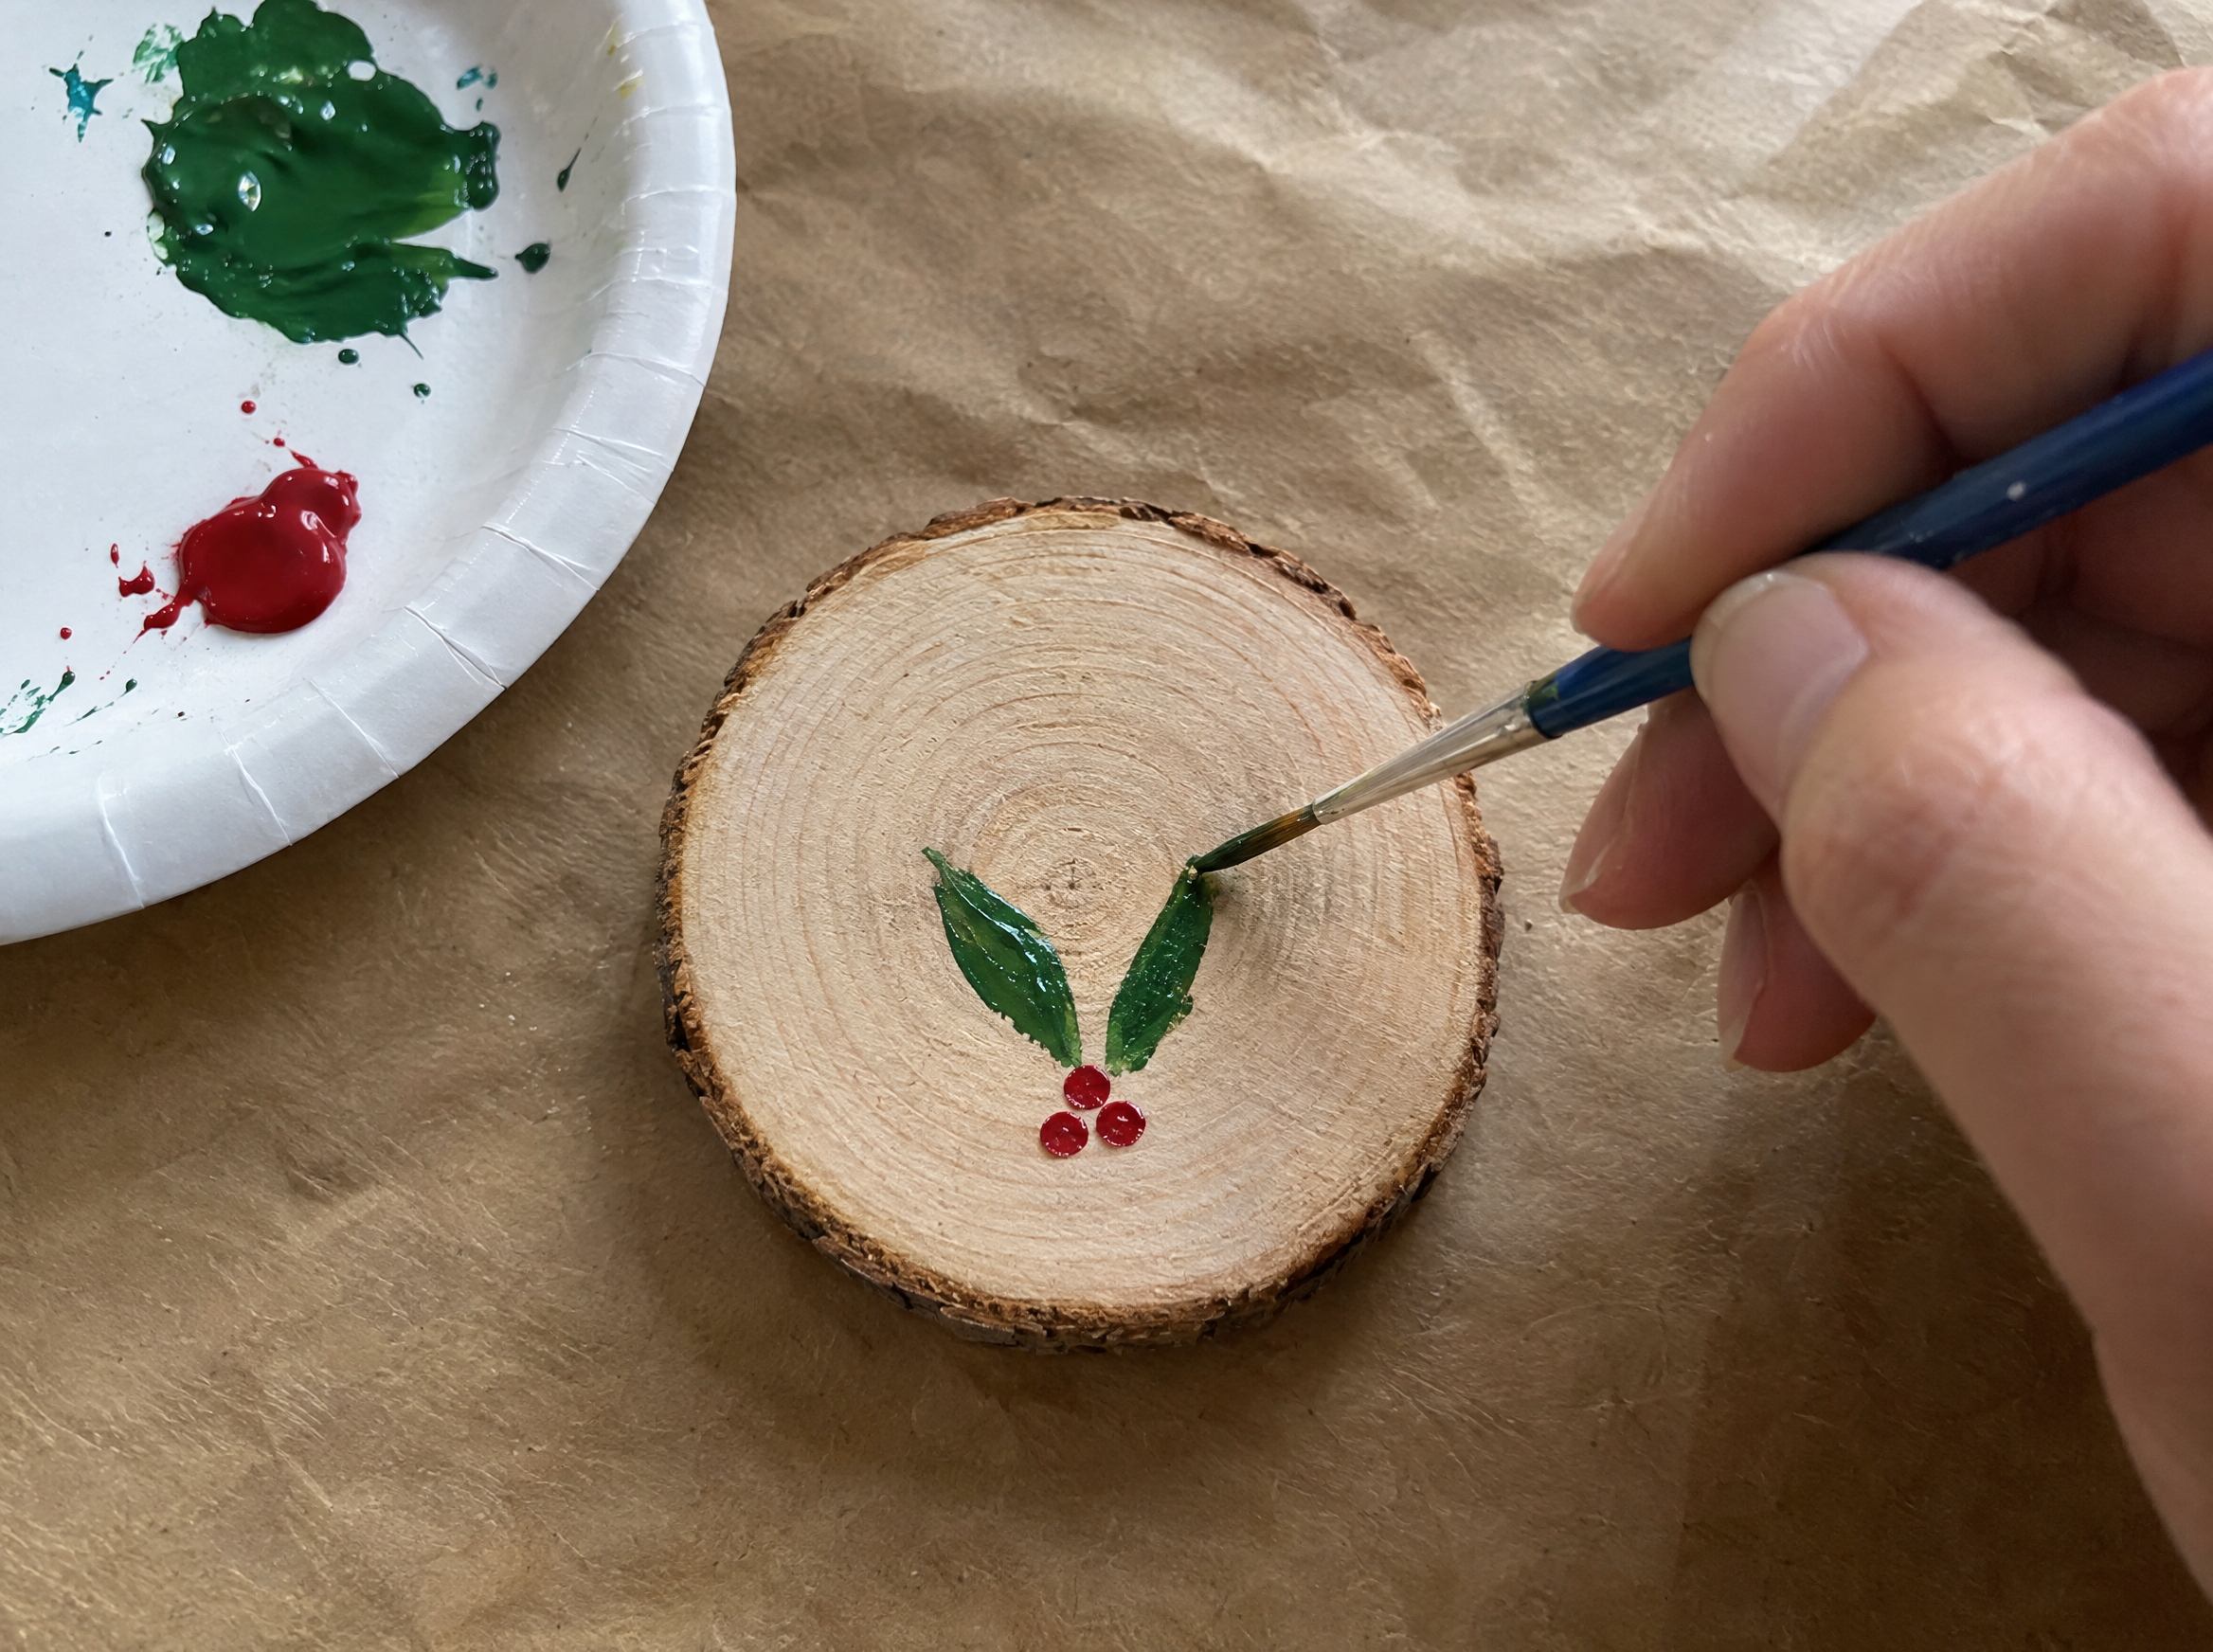
Press the brush tip down and pull a short stroke to make one leaf. Add a second leaf to make a little V in green. Rinse and dry the brush, then add three red dots at the base for berries. The wood shows through as the background, which keeps the look warm.
4. Paint three little trees on bare wood
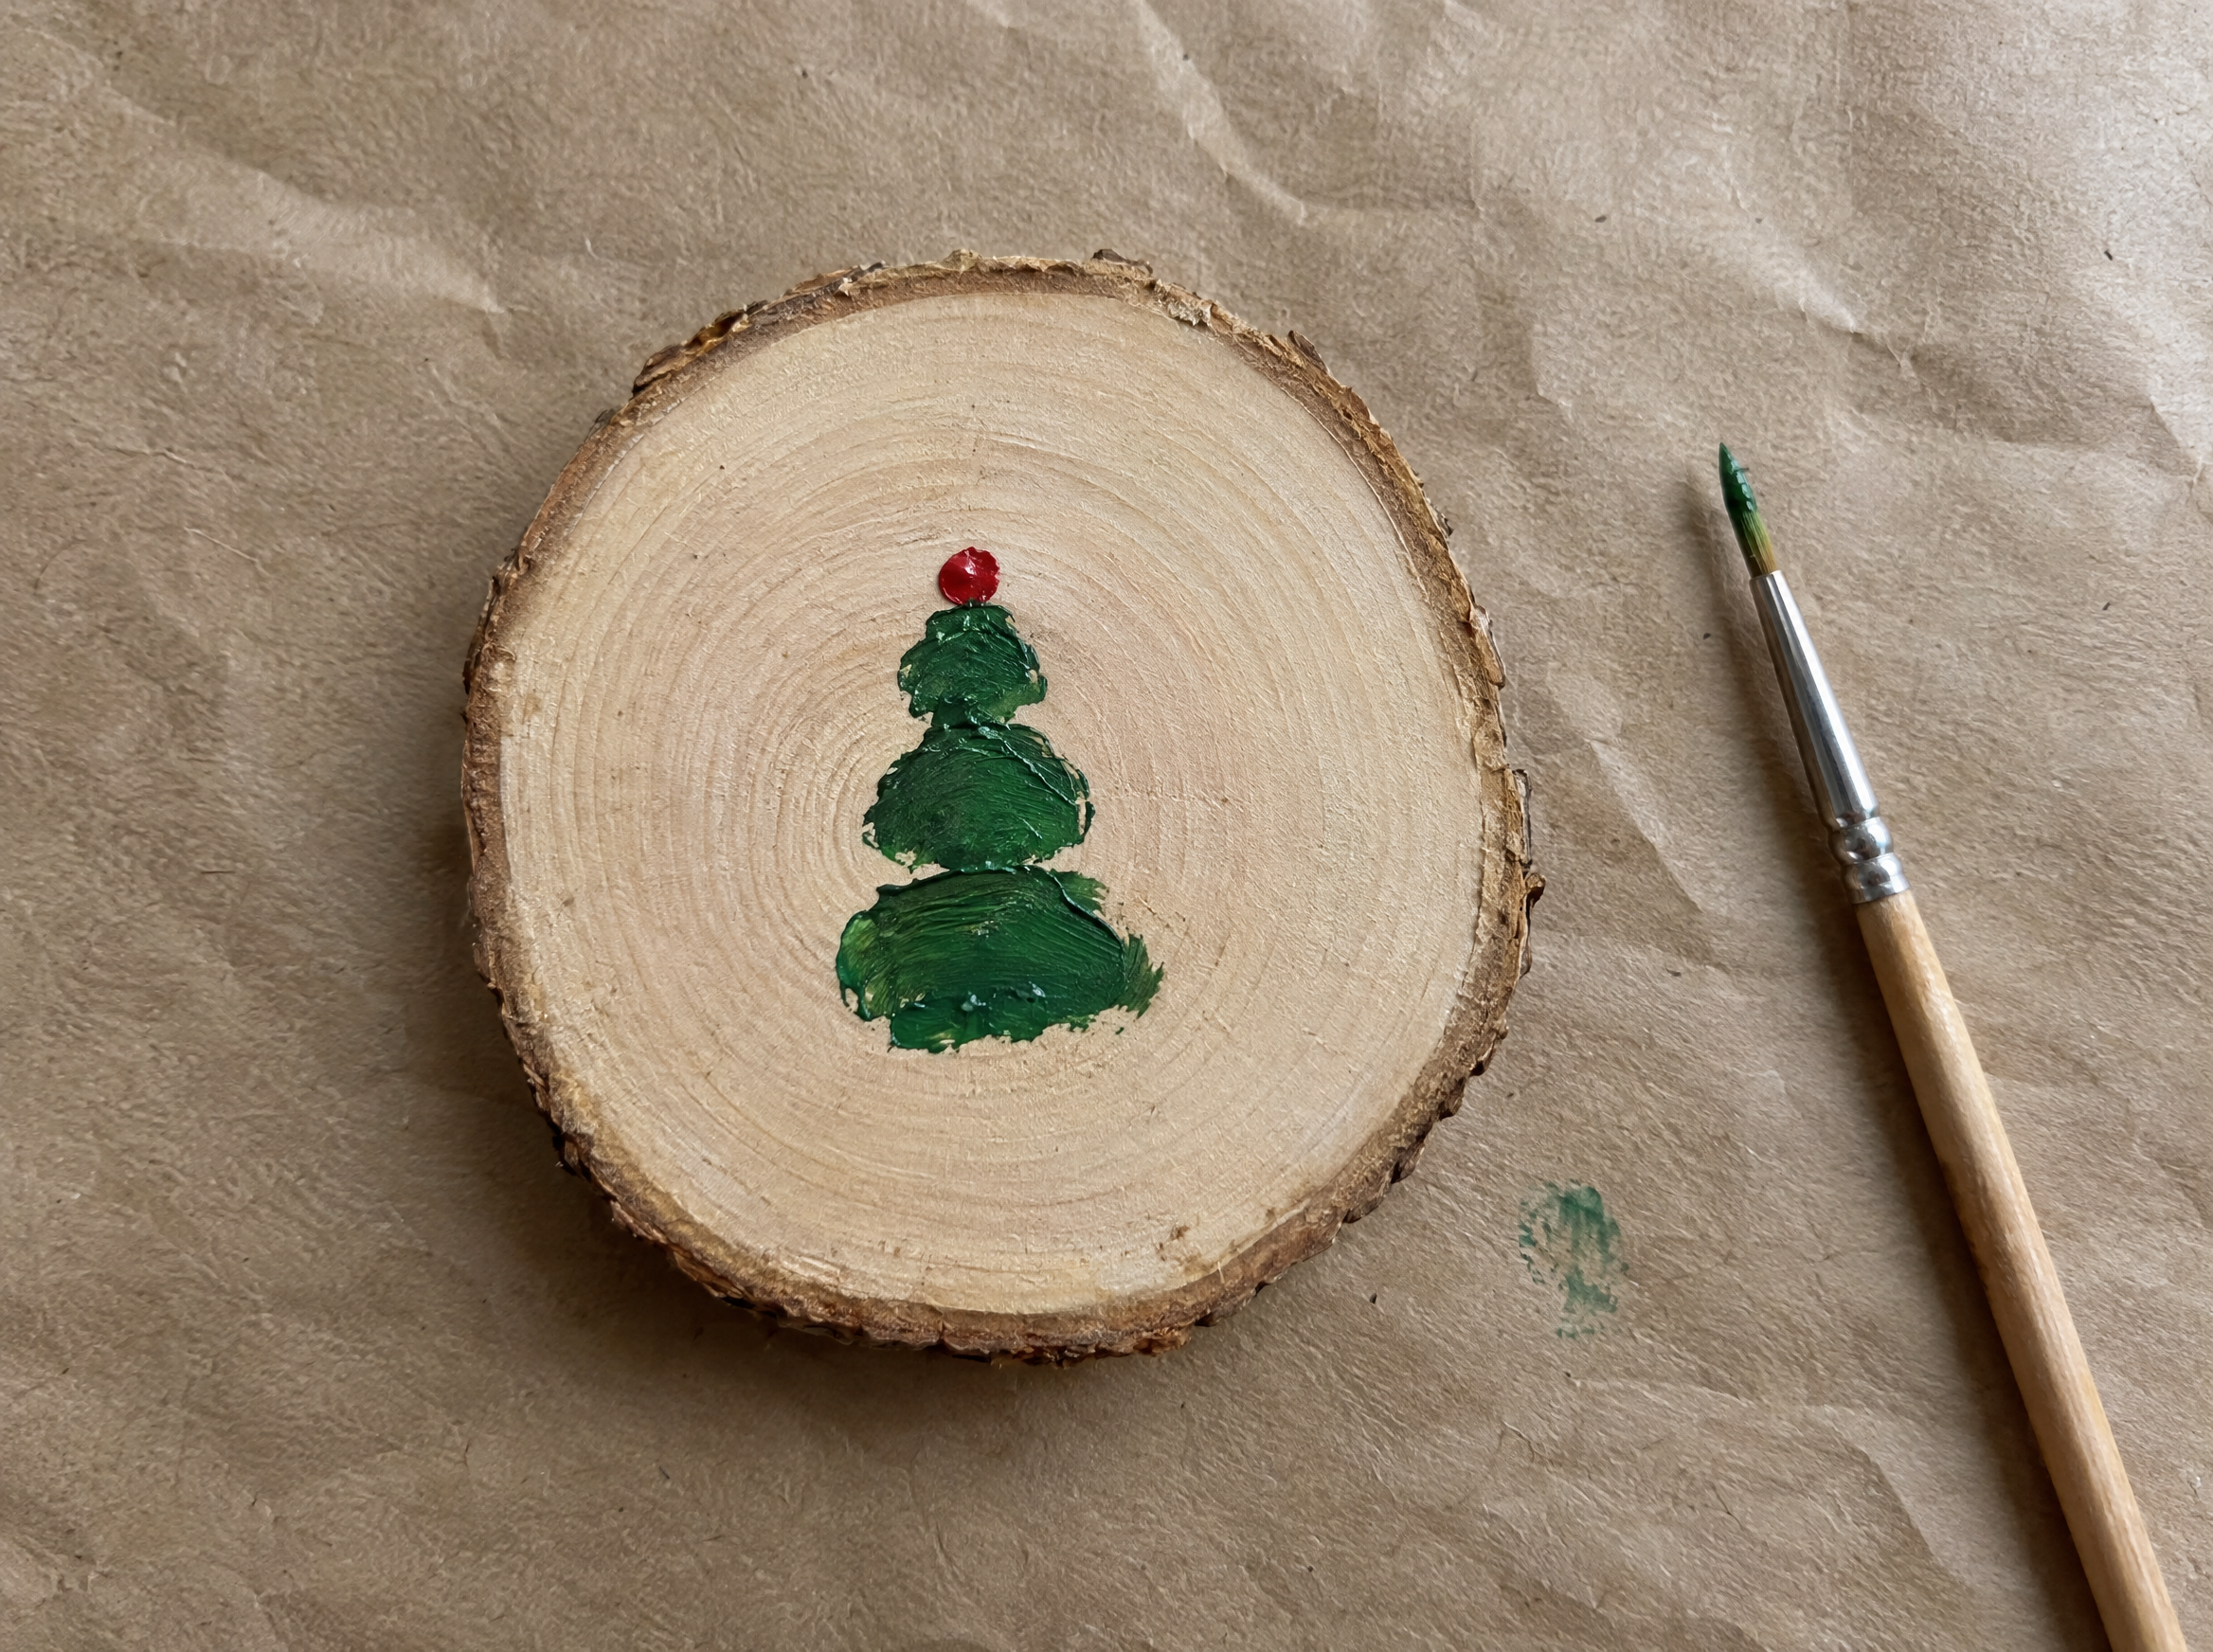
Stack three dabs of green, small at the top and wider at the bottom. Press and lift each dab. Don’t drag. Then rinse and dry the brush before you add a small red dot at the very top.
5. Add white snowflakes to the red slices
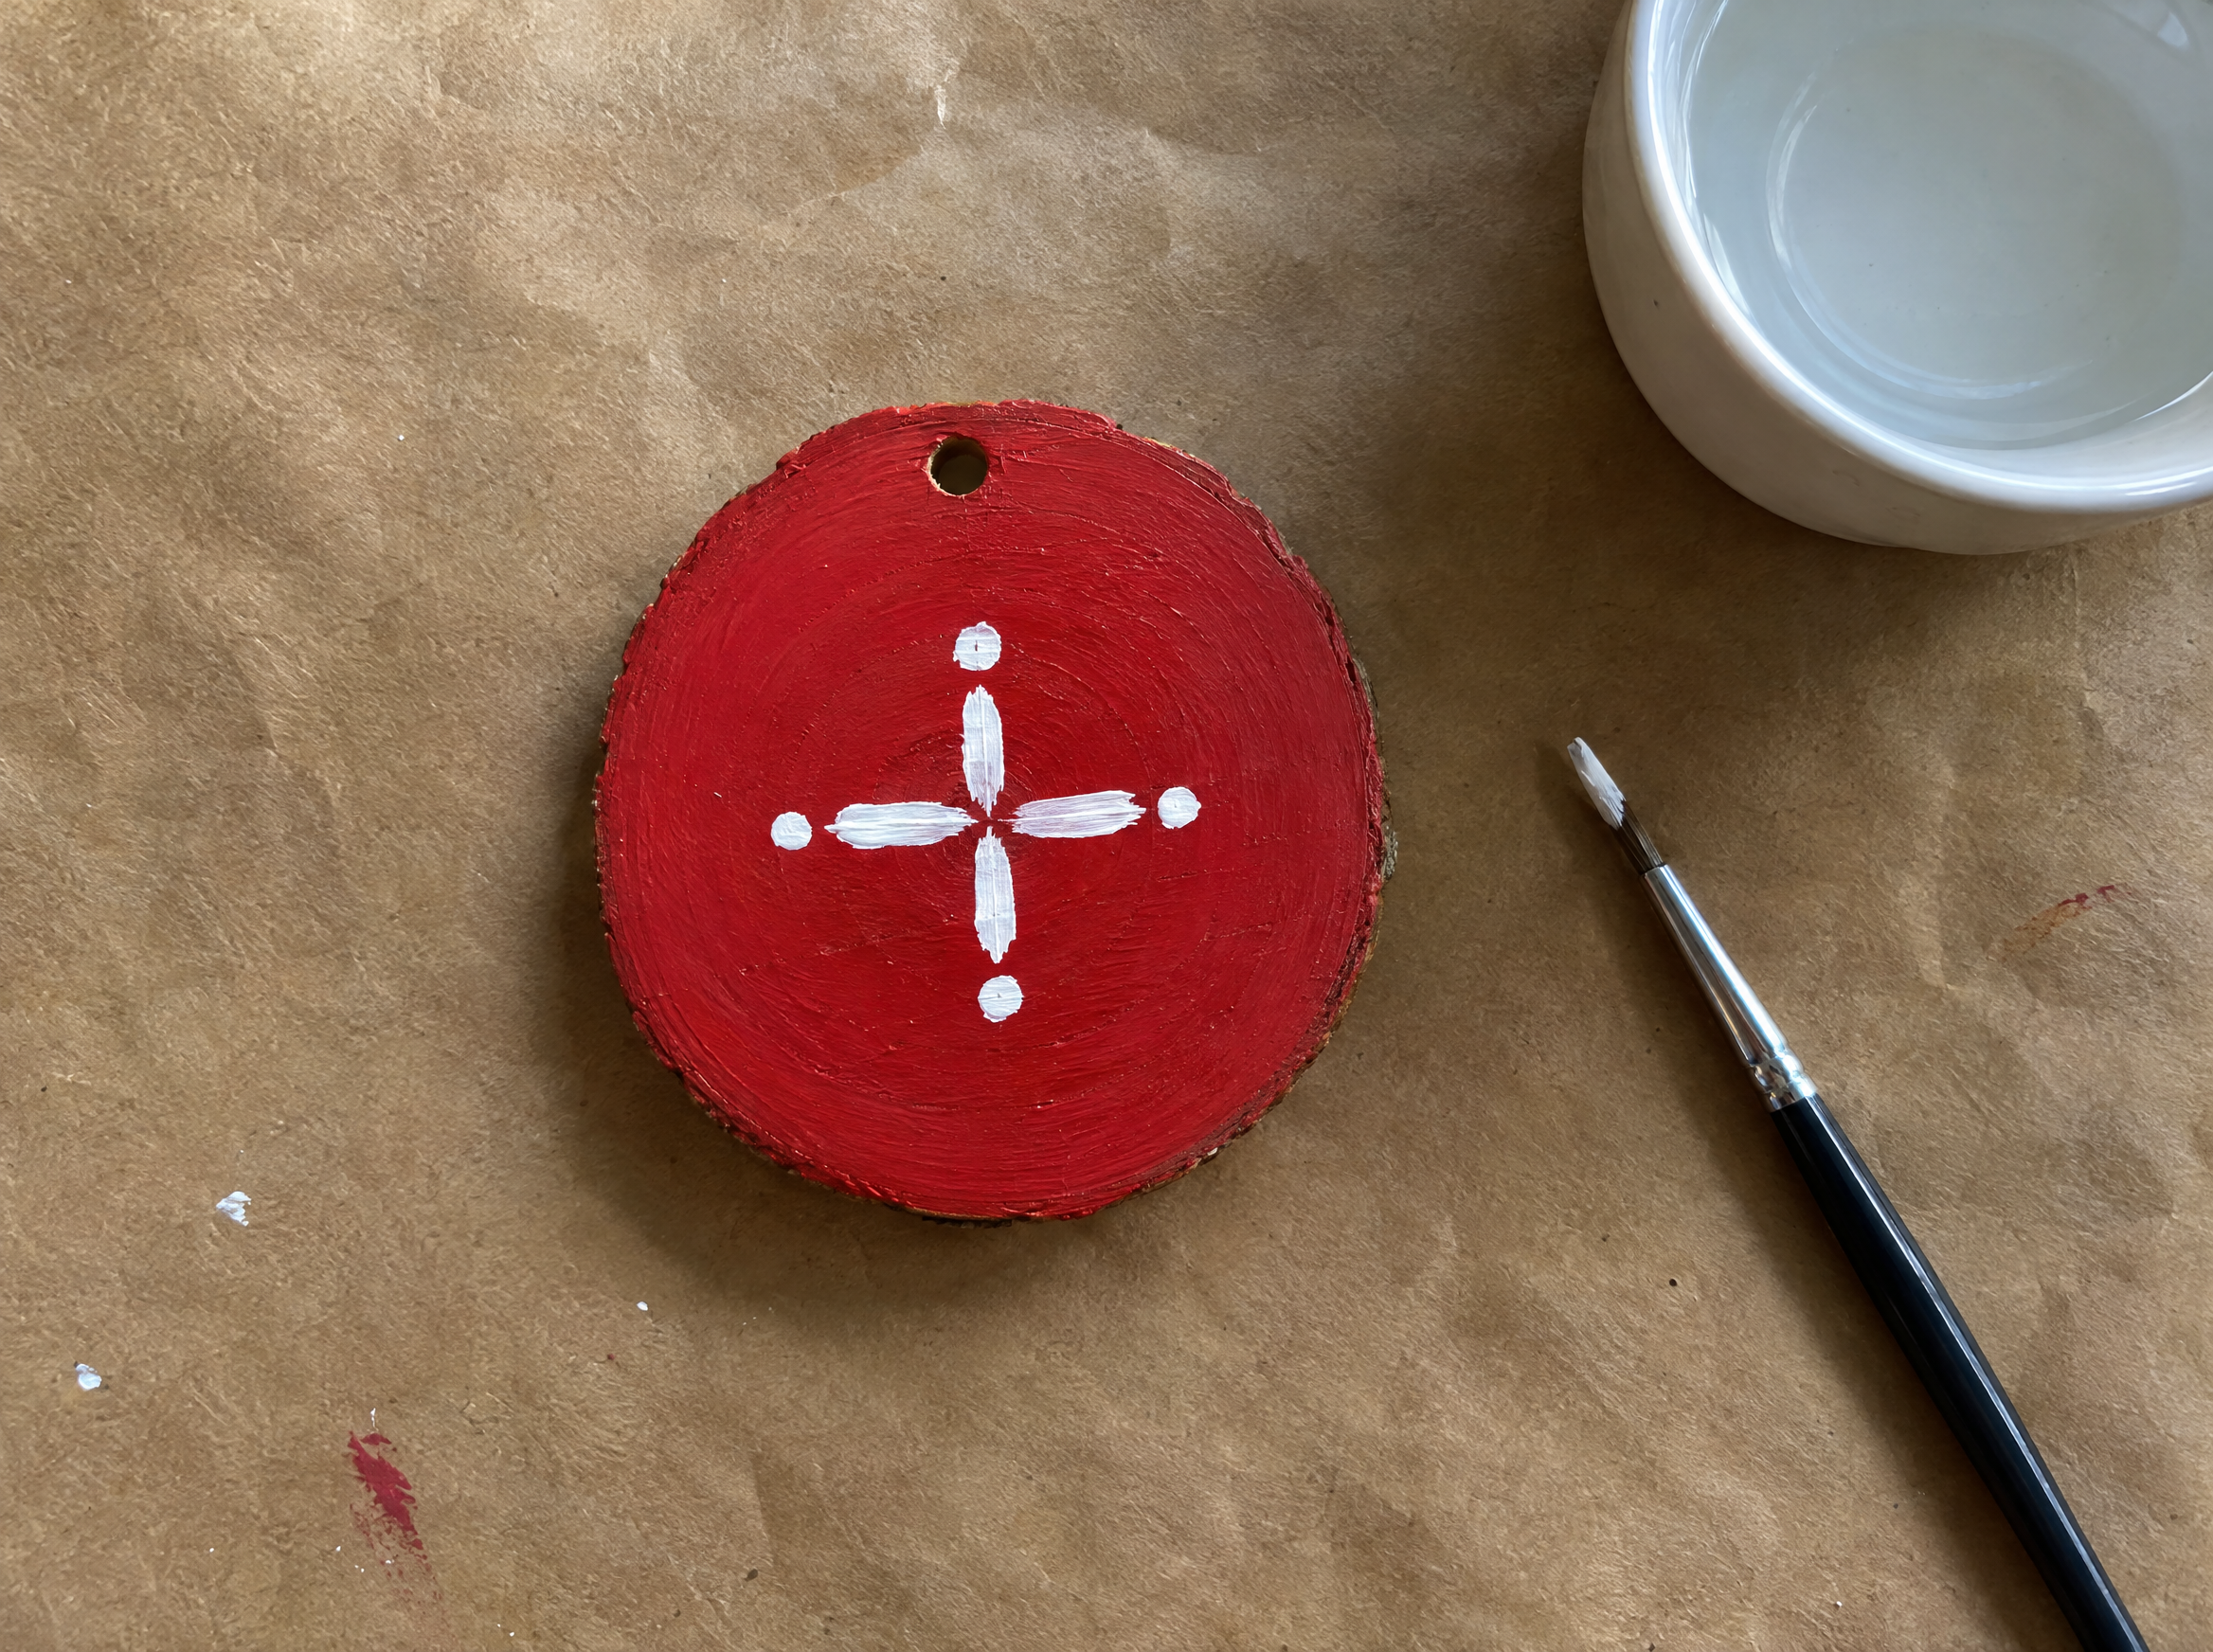
Once the red is fully dry, rinse the brush and pat it dry. White over wet red turns pink. Paint a plus sign with short strokes, then add a dot at each tip.
6. Add red stripes to the white slices
When the white is dry, rinse the brush and load it with red. Paint slim diagonal stripes from edge to edge, about a finger width apart. A little wobble looks charming.
7. Flip and sign the back
Let the front dry first. Then turn each ornament over and write initials and the year in red. It takes a minute, and it turns the ornament into a keepsake. Your family can start their own collection this way.
8. Seal every side
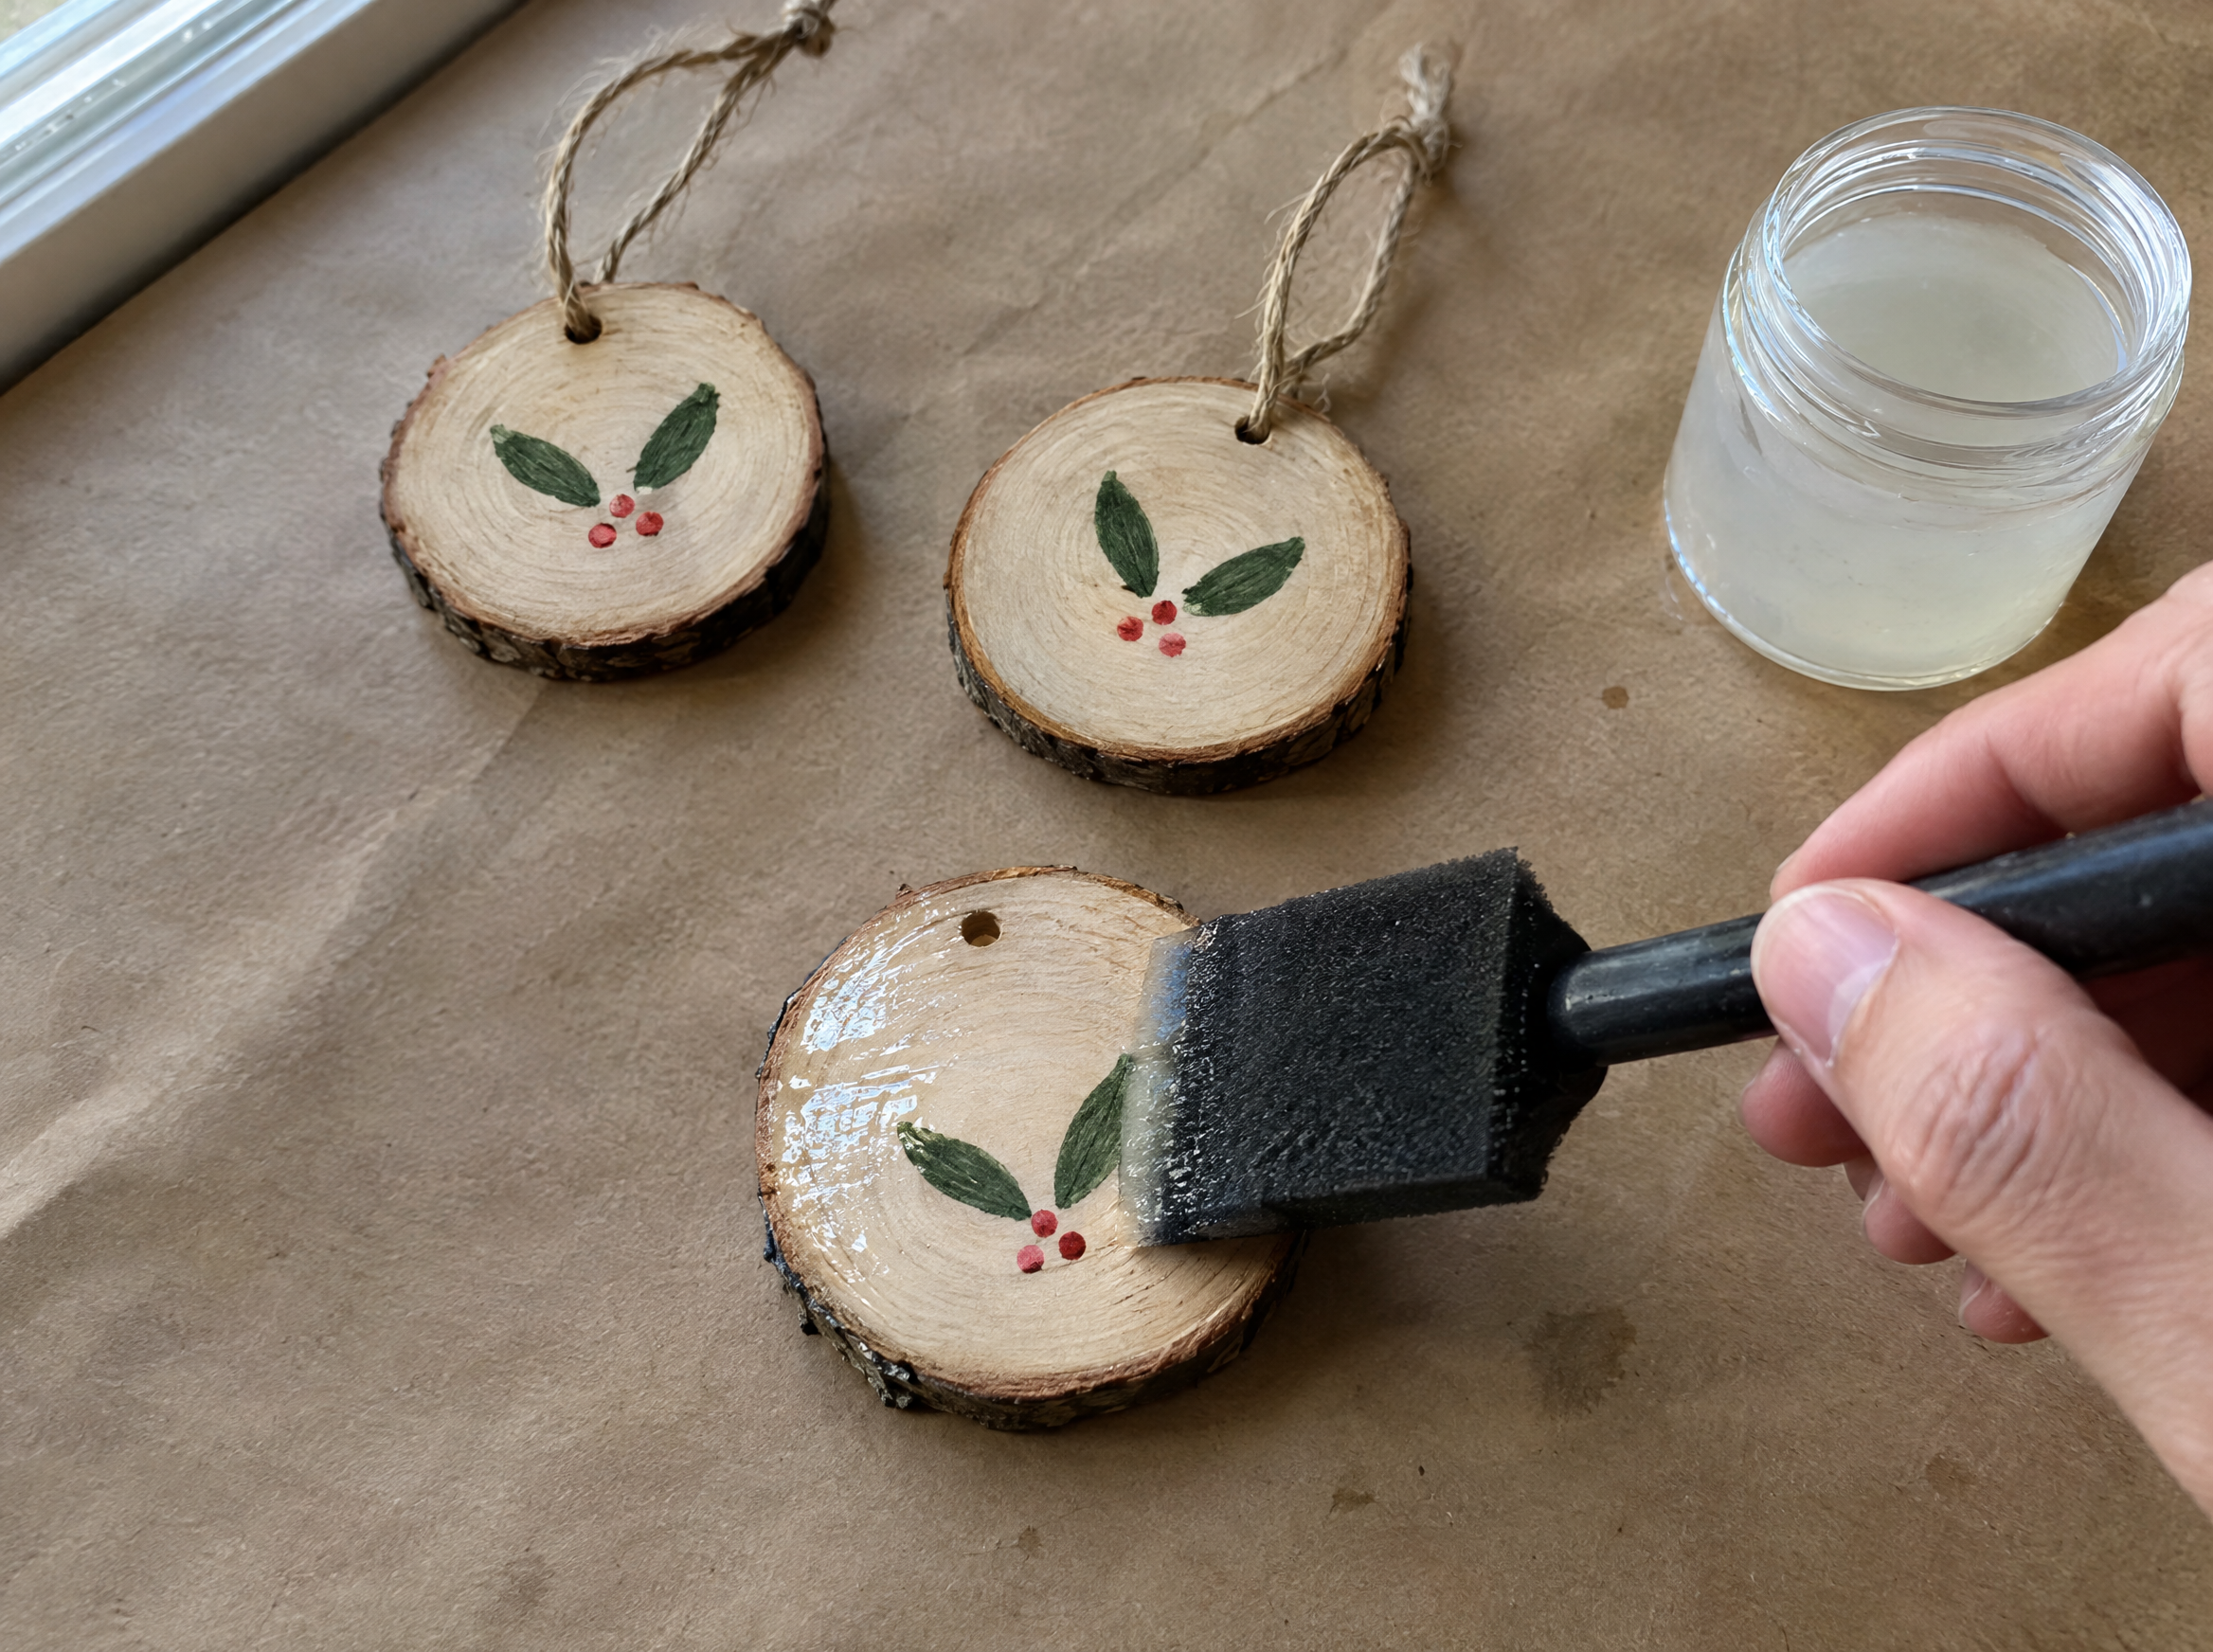
Make sure all the paint is fully dry first. Let an adult handle the sealer, with a window open. Use the foam brush, not your paint brush. Brush a thin coat over the front, then let it dry. Seal the back and the edges the same way. Check the sealer label for dry and cure times, and don’t stack ornaments until they’re fully dry.
9. Tie on the twine
Thread a piece of twine through each hole. Knot the ends together to make a hanging loop.
Try this variation: Swap the red and green for any two colors you love, and keep the white. A set in blue and silver looks great on a white tree.
How do you keep ornaments crack-free and colors bright?
Keeping slices crack-free. Wood dries out and splits. Start with slices labeled kiln dried, and seal every side, including the edges. Those two habits give you the best shot at ornaments that last.
Keeping colors bright. Wet paint mixes with wet paint. Wait until a color is dry before you paint next to it or on top of it. Rinse the brush and pat it dry every time you switch colors.
How much do hand painted Christmas ornaments cost?
These are planning estimates. Prices change by store and by season.
Three ways to budget it
- Starter, about $15. Three small bottles of acrylic paint, one brush, one bag of 12 slices, and twine. Sealer is extra.
- Cozy, about $25. Add a brush-on sealer and a pack of paint in a few extra colors so you can try the color swap.
- Gift set, about $40. Add ribbon and small boxes, so each ornament is ready to hand to someone.
How do you keep this project safe for kids and the tree?
A few simple habits keep it that way. You don’t need a drill, because the slices come with holes already in them. Drilling your own is the only step that would call for a power tool, so we skipped it. There’s no heat in this project either.
Kids can paint the dots and stripes with an adult nearby. Read the paint label for age guidance. Keep the sealer for the grown-ups, and open a window while you work.
Hang your ornaments on sturdy branches once the sealer is fully dry. That way they won’t stick to the needles or each other.
Here’s the finished result: a dozen ornaments from four designs. Plan on about 90 minutes of painting, with drying breaks in between. That’s a planning estimate, so go at your own pace.
Want more painted project ideas?
Browse more hand painted projects for your next craft night. Then see more homemade Christmas ornament ideas to fill out the rest of the tree.
You’ve got this. Twelve little ornaments are closer than they look, and every one of them will be a little different. That’s the charm.
Want to show us your ornaments?
Share your finished set with us on Instagram. Tag DIY Projects so we can see how yours turned out.
A few helpful answers
Hand painted Christmas ornaments FAQs
Quick answers about cracks and drying, plus which paint to pick.
Start with wood slices labeled kiln dried. Then seal every side of the slice, including the edges, with a brush-on sealer.
Acrylic paint feels dry to the touch fairly quickly. Sealer takes longer, so check the label for dry and cure times before you stack or hang anything.
Paint the design on the front. The back can stay bare wood, or you can add initials and the year. Seal both sides either way.
Acrylic paint works well. Use thin coats and let each one dry before the next.
Yes. Kids can paint the dots and stripes with an adult nearby. Let an adult handle the sealer.
How do you usually paint your ornaments?
Every crafter has a style. These designs are all dots and strokes, nothing fancy. What about you?
Vote, then tell us in the comments the one design you’d paint on every ornament.