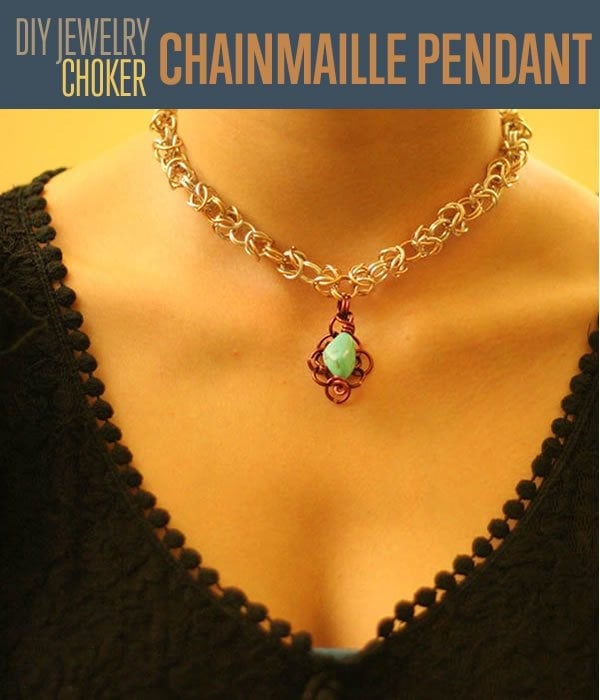

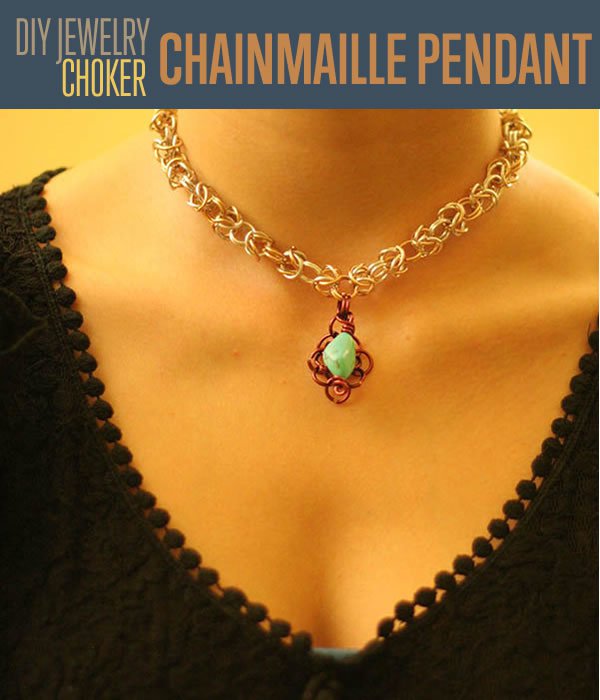
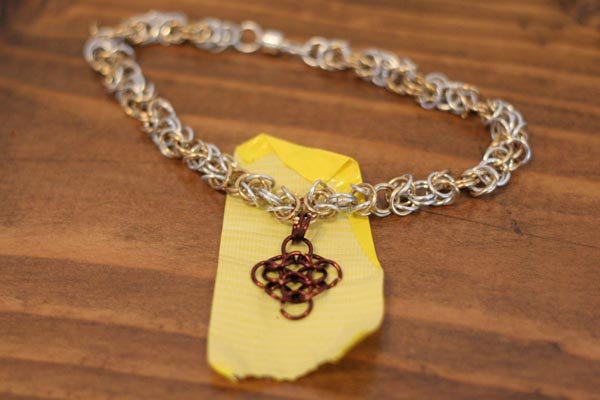
What could be better than learning how to make a Byzantine Choker Necklace? How about learning how to make a Byzantine Choker Necklace with a beautiful Chainmaille Rose Pendant?
This is a companion tutorial to our original DIY Byzantine Choker, which you can find on the site right here. After you have assembled your choker from that series, you can follow the steps below to learn how to make the pendant portion.
DIY Jewelry | Byzantine Choker Necklace | Chainmaille Rose Pendant
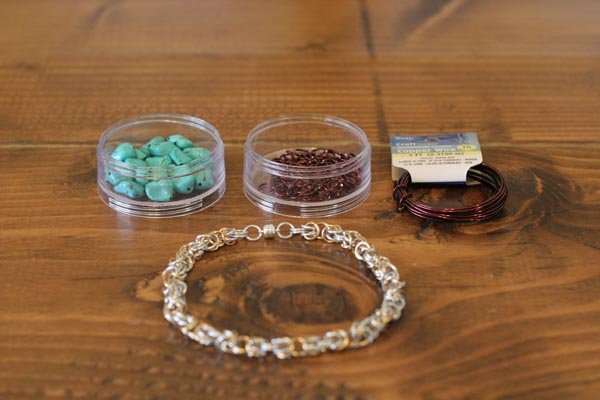
Supplies needed to make your Byzantine Choker Necklace With Chainmaille Rose Pendant
- Byzantine Choker Necklace (Preferably of your own design, see our tutorial to make one!)
- 16 gauge brown jewelry wire jump rings (more than 60 to be safe)
- 16 gauge brown jewelry wire bundle (short coil, a foot is plenty)
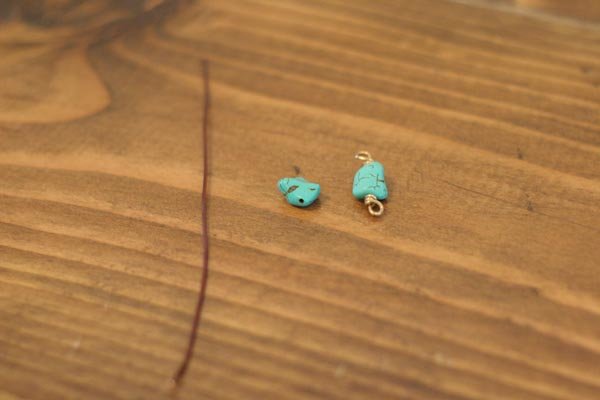
- Turquoise nugget bead
- 2″ wide painter’s or Scotch tape
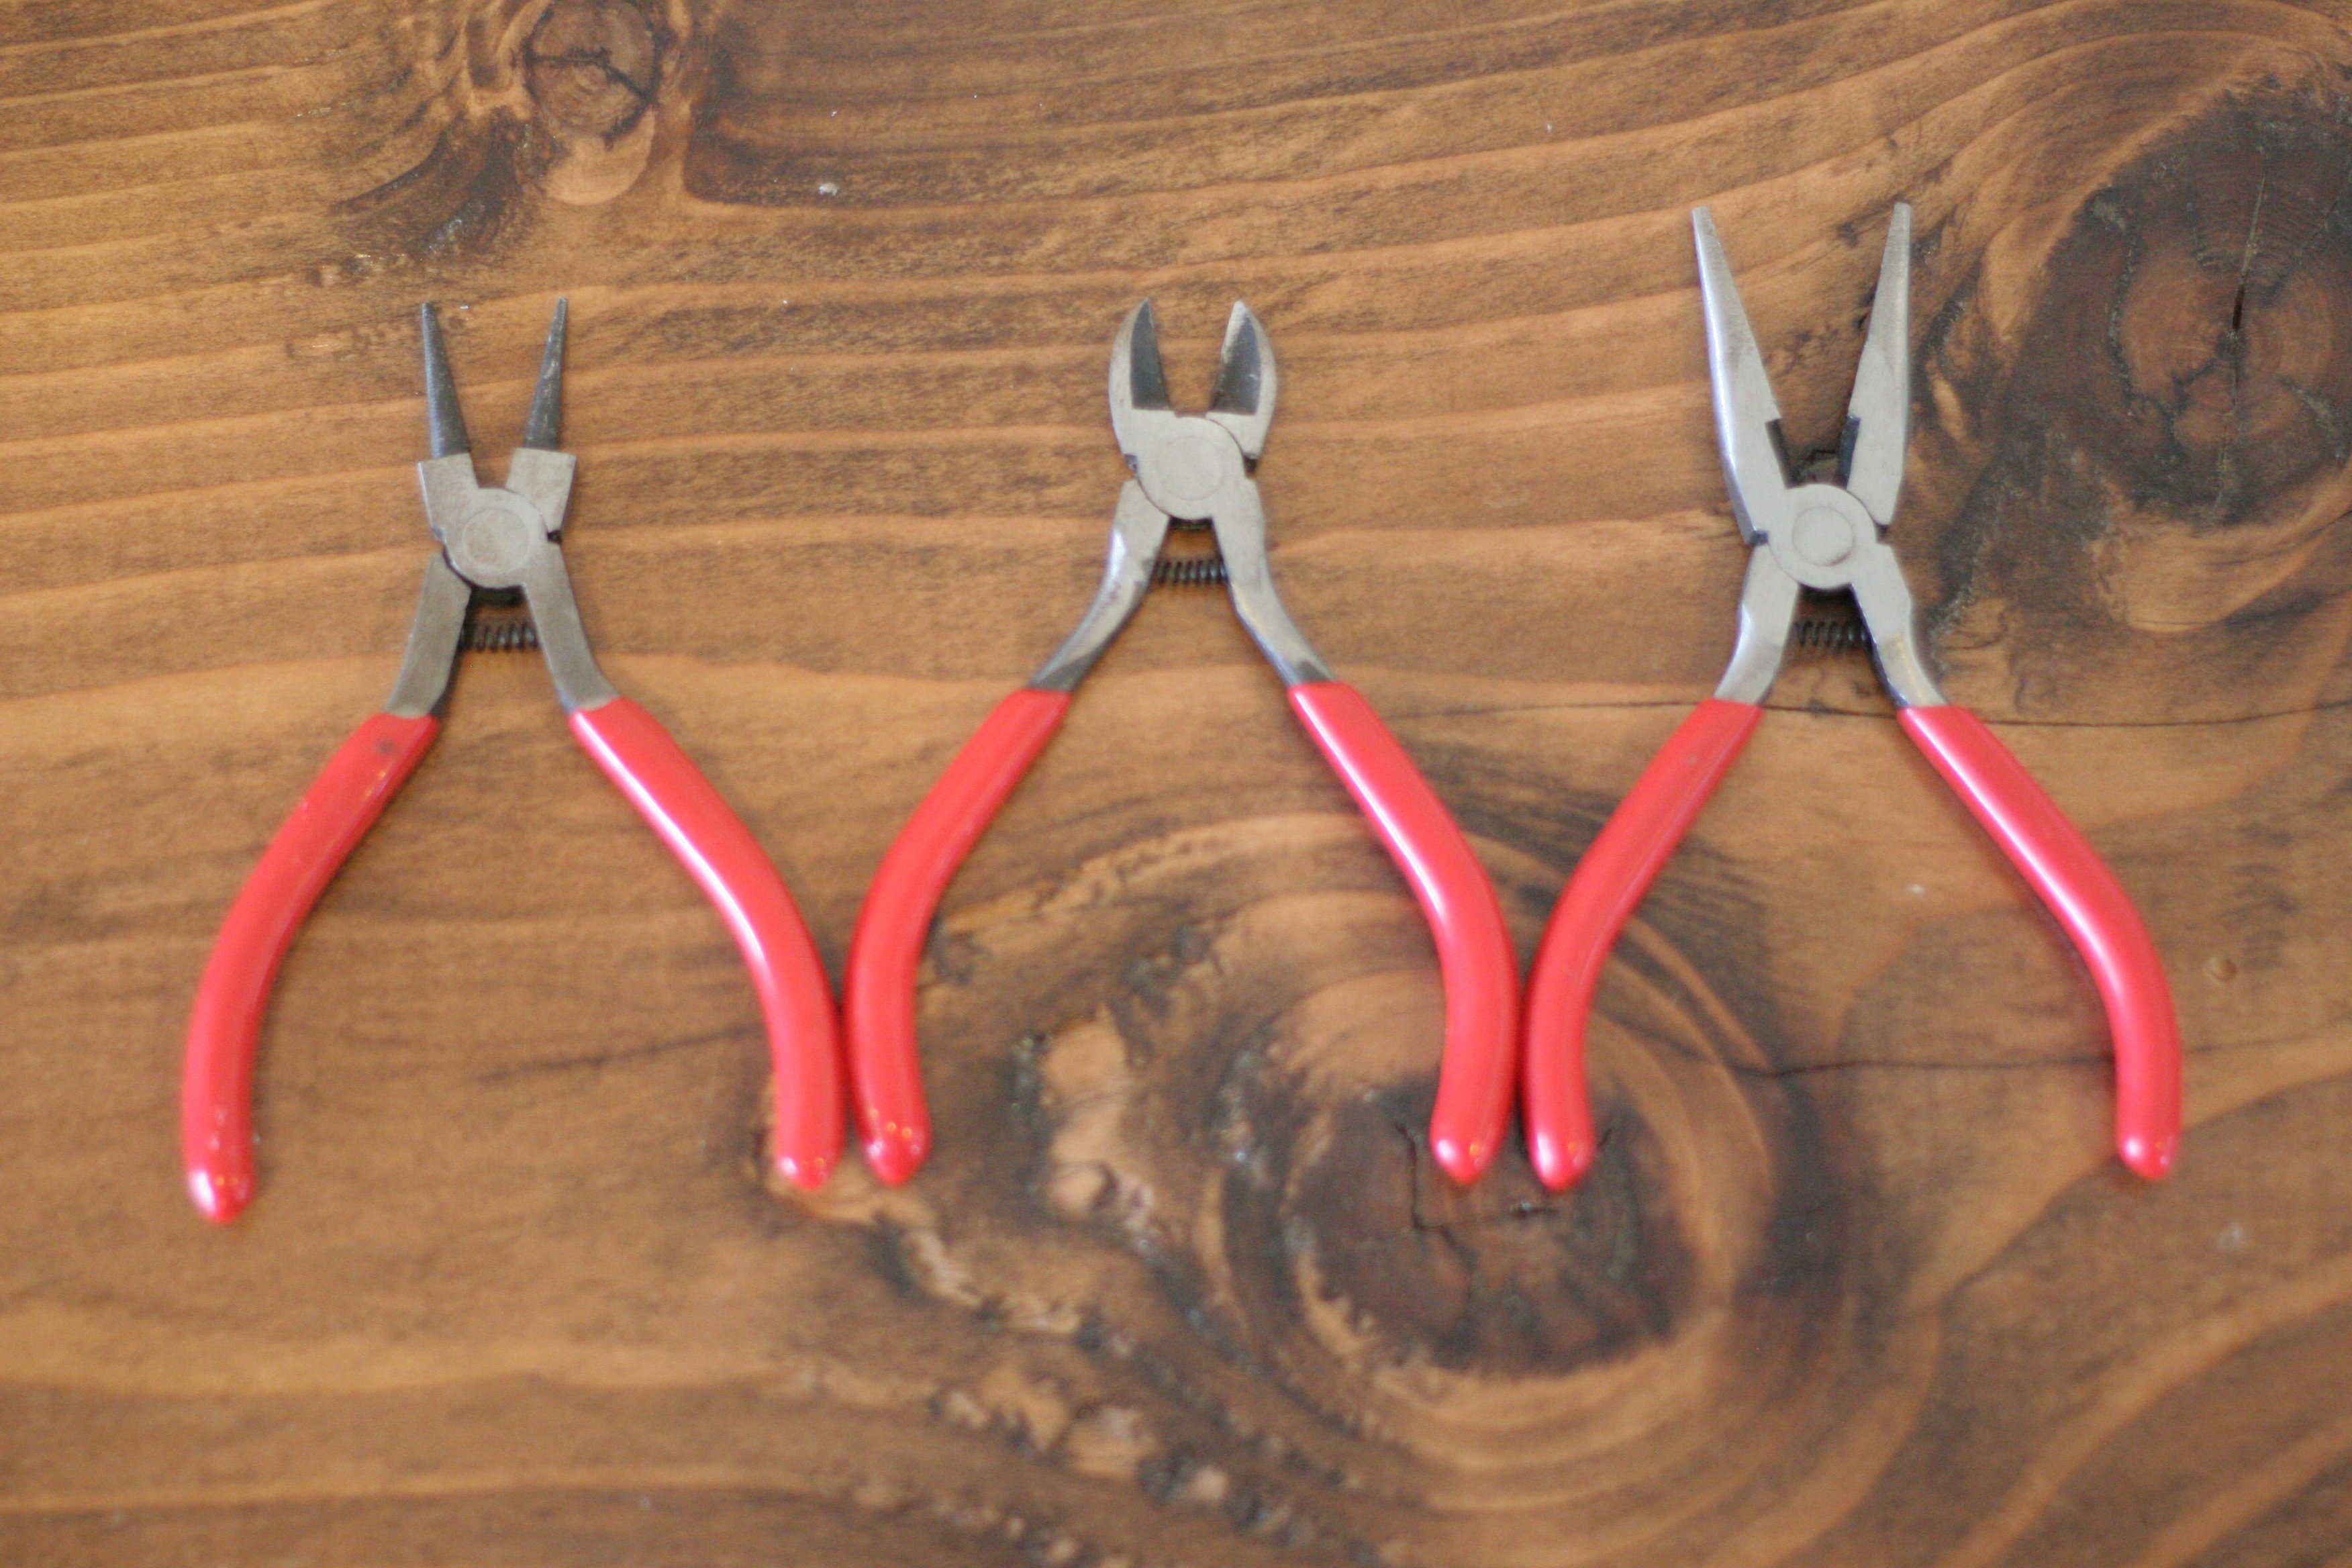
- Standard jewelry pliers: round nose, chain tips, & angle cutters
- *These supplies are covered in detail in the choker tutorial, we suggest heading there to begin if this is one of your first jewelry projects
Step 1: Drop those rings
To start our pendant, we need to start the chainmaille base that will become our chainmaille rose pattern. Pretty much all chainmaille patterns start with one (1) jump ring with four (4) other rings on it.

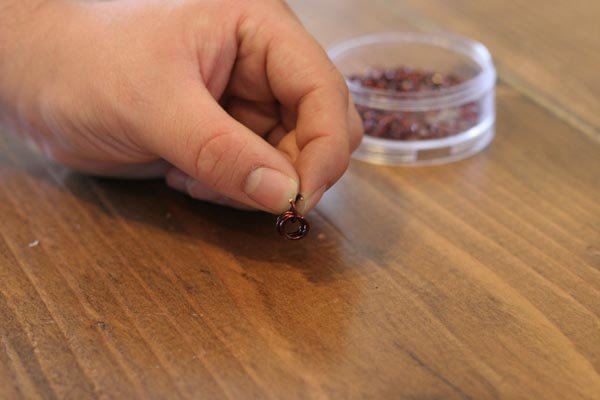
Make two sets of this 1 ring with four rings on it set up, then lay them flat so that you have one ring in the center with two rings on either side. What you are trying to assemble is essentially a clover pattern. Your two sets will look like this:
You may have to fight the paired together rings to get them to lay out with the one ring in the middle. I find using the round pliers makes things easier to get them laid. Badum bump!
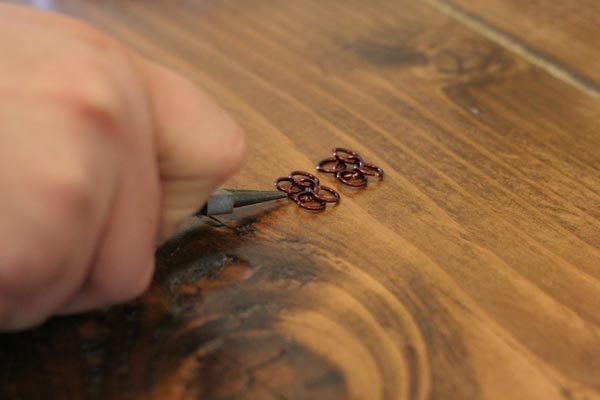
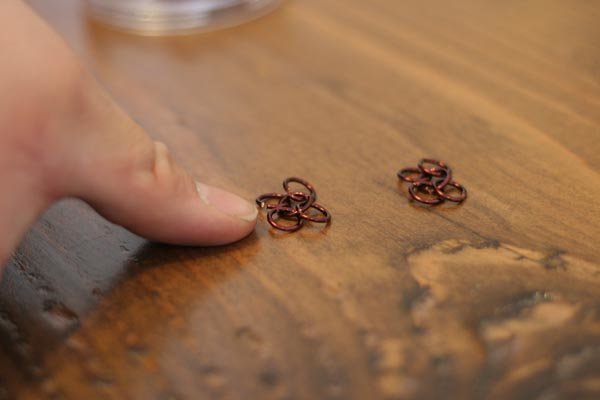
Step 2: Make three bases
You will need to make 3 sets of these sections of 1-to-4. Lay them out as pictured below in a row.
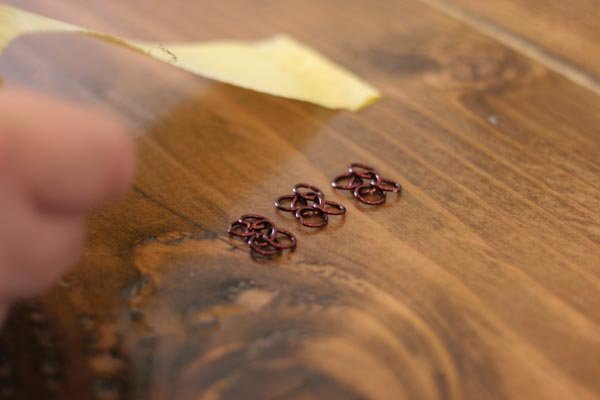
Step 3: Make sure patterns face up
When I first tried this pattern, I had many restarts and outright fails. But I learned some good tricks to make it easier.
First, when you pick up your sections, always pick them up from the side where the center ring sits up from the table. Look at the center rings below: see how they angle upwards? That is the top side of your pattern while you work.
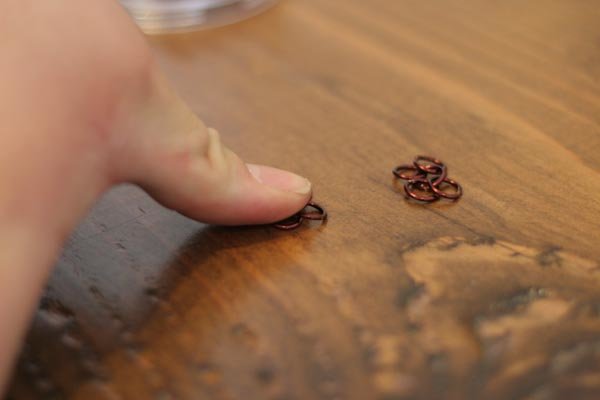
Step 4: Use your thumb
Place your thumb so it just barely covers the center ring. This will keep the outer rings right where you want them, especially if you have fat fingers like me (but don’t worry, dainty thumbs will do the trick as well).
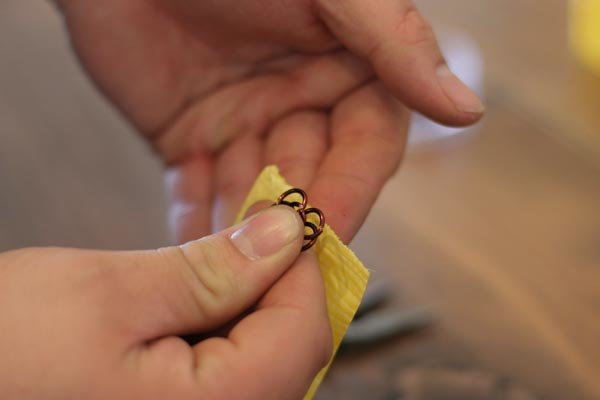
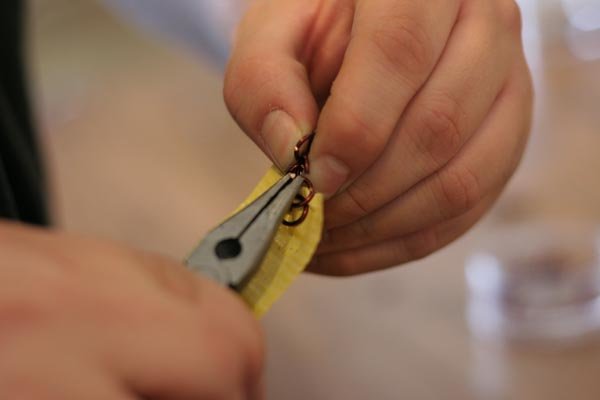
Step 5: TAPE!
Place your first section on a piece of Scotch or painter’s tape. This will hold the pattern in place as you attach additional connections. See how I am still holding it with my thumb over the center? Place it so the two rings on either side of the pattern peaking out from your thumb just barely protrude from the edge of the tape.
Step 6: Pick up next section
Now we are going grab another 1-to-4 clover section off the table. This time, you pick it up in essentially the reverse direction. Imagine you are about to place your thumb over your second clover just like you did before, but instead, rotate your thumb a full 180 degrees
Or, to think of it another way, you are backing your second section into your first.

Step 6: Connect the two
Each clover pattern is connected by a singer jump ring. With the clover you just picker up, put a jump ring around the two side rings peaking out from your thumb as shown. Notice how this connecting ring is angling DOWN from the two rings.

With the connecting jump ring still angling down, bring it over and down through the two rings still peaking out from your tape.

Don’t worry, I messed up a lot the first time. It’s just one those trial and errors things, and you learn a lot from from messing up.
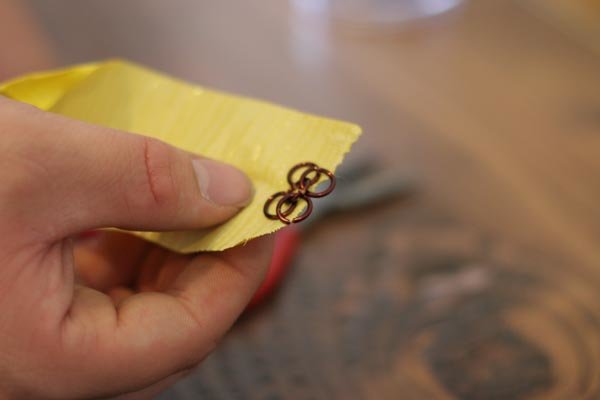
Step 7: Prepare for next section
So now you have two clover sections connected by a single jump ring. You are going to keep adding these 1-to-4 clovers down the line, so take what you currently have off your first piece of tape…

…and put it down on a new piece of tape….

…so that the clover pattern you just attached is now the one just peaking over the edge as shown:

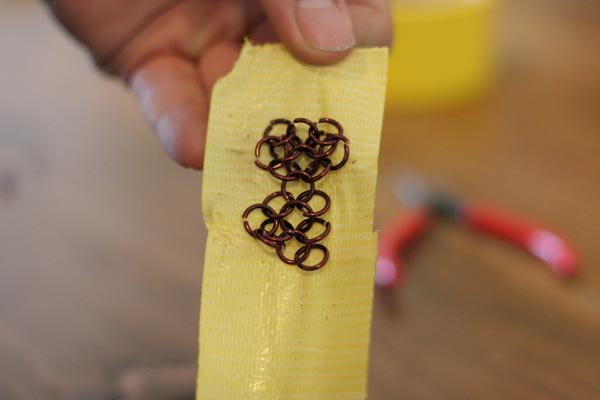
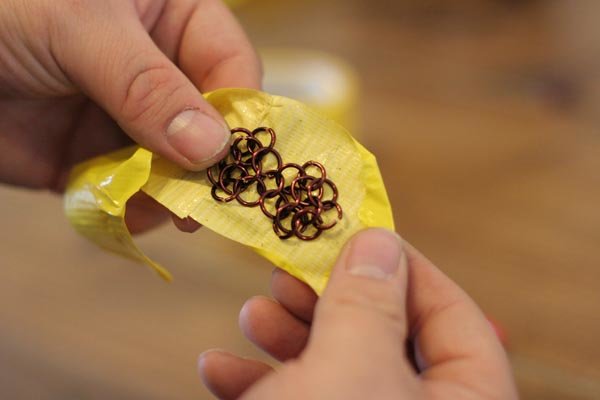
Step 8: Turning the clover into a rose
You can make the above chain pattern as long as you want, but our little pendant piece was done after connecting three clover patterns. In fact, we ended up making it even smaller down the road, but we’ll show you the whole process here.
As you can see in the below photo, the clover chain we made has six rings on top, five in the middle, and six on the bottom:

A section this big will be able to be made into two rose patterns. And all you need to do to make it is connect a few more jump rings. Remember, we have six rings running along either side of our current pattern, so what we want to do is connect a jump ring along the first three on one side, then the second three. And then repeat for the other side.
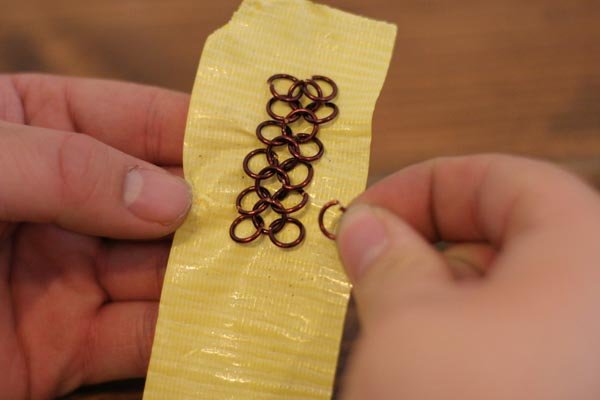
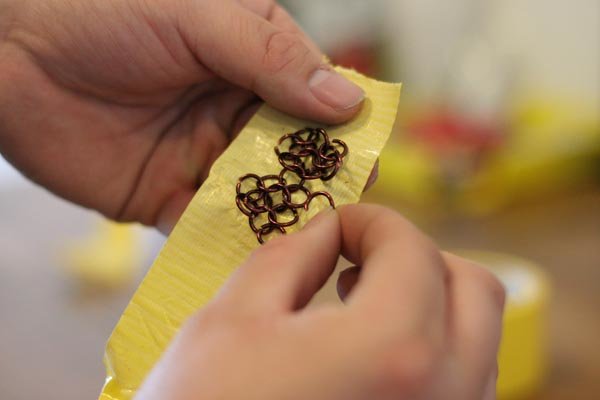
VOILA!

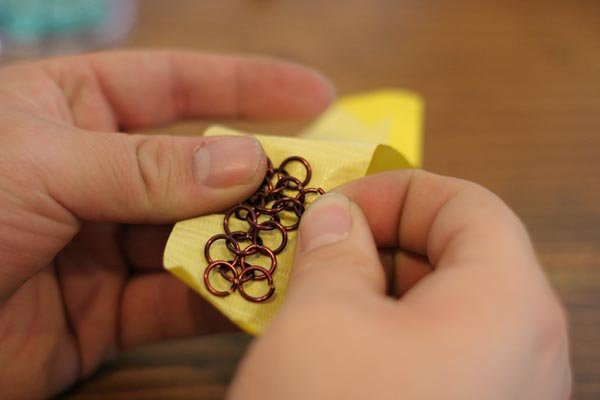
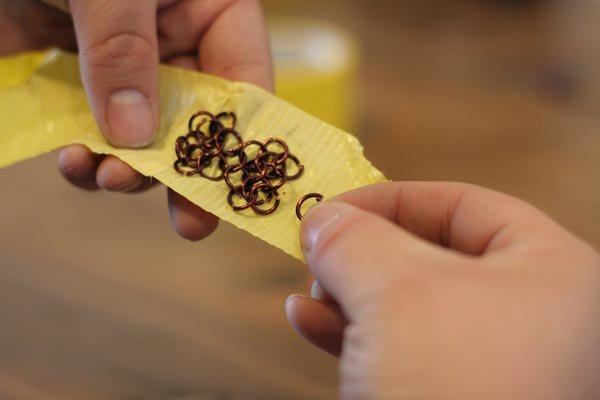
Step 9: Adding rose tips
Now that the roses are nearly done, we just need to add one more ring to either side. With your current rose formation on a piece of tape, thread a jump ring through the two outer edge rings as shown:
TIP: If you peel back the edge of the tape, this process becomes easier.
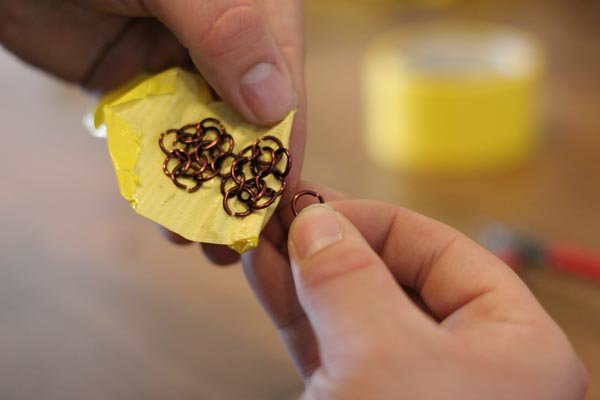
Now one side of the rose pattern looks like this:
Do the same thing on the other end of your rose pattern and we are ready to attach them to our choker!
Step 10: Attach your rose sections!
We want our pendant to hang just a little bit off of our choker, so find the center of your choker.
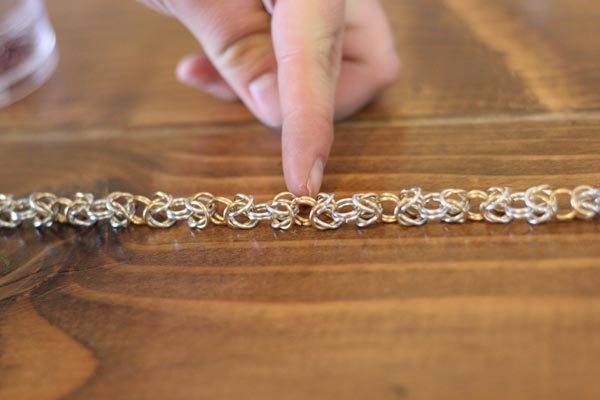
Take two rings the same color as your pendant (for us, that’s brown) and attach them to the center rings of your choker.
Then attach either end of your rose pattern to those rings as shown:
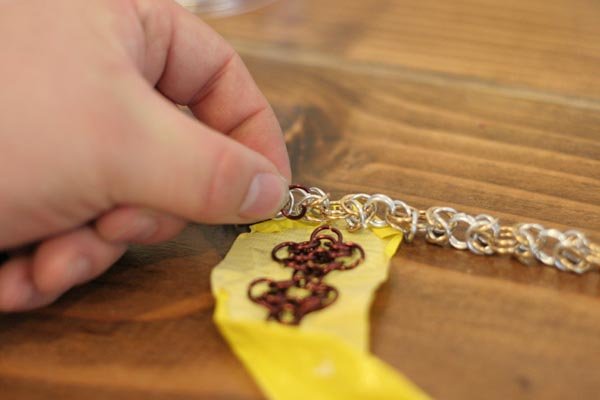
Step 11: Artistic reassessment
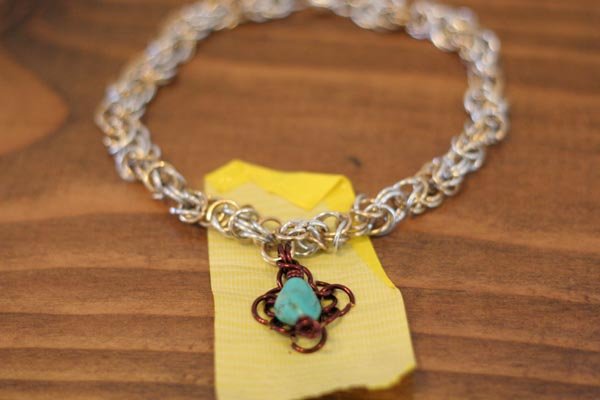
After I completed this I decided that a single rose pendant would look better, especially after I chose to lay a turquoise nugget in the middle. All I did to trim it down was open the one jump ring shared between the two rose tips. You can, of course, make yours much longer with multiple rose patterns if you like.
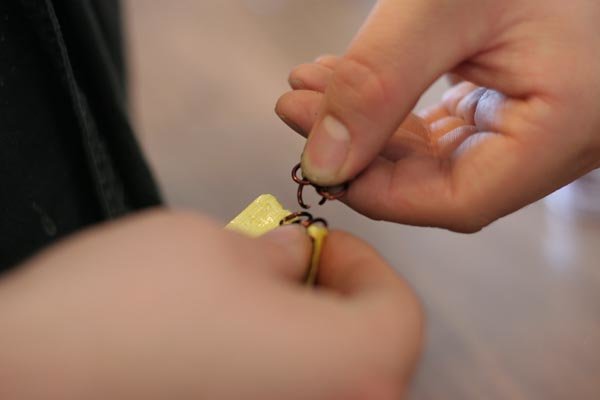
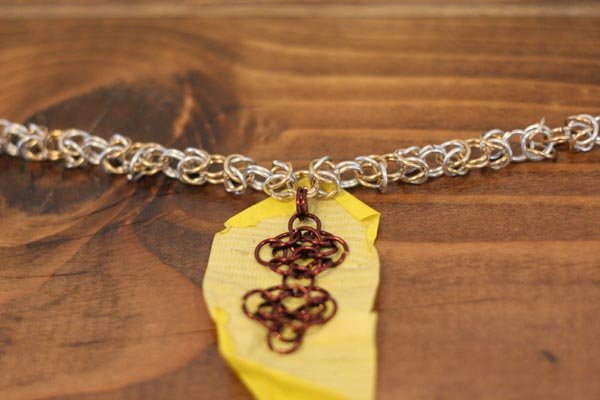
Step 12 (optional): Adding a nugget! Thar’s gold in them thar hilllllls!
Okay, maybe not gold, but a beautiful turquoise nugget is almost as pretty (if not prettier, if you ask me).
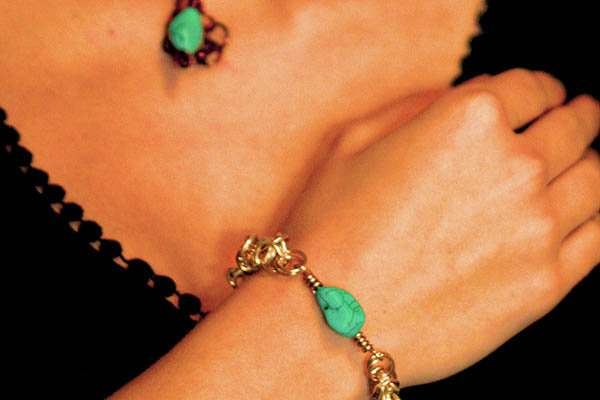
As a companion to this tutorial, we are going to make a bead pendant. The bead pendant is the same one we did in our Byzantine Pendant Bracelet Tutorial. The only difference is you will use a 5-inch length of brown wire instead of gold like we go over in the bracelet tutorial. Head over there now to build your initial pendant.
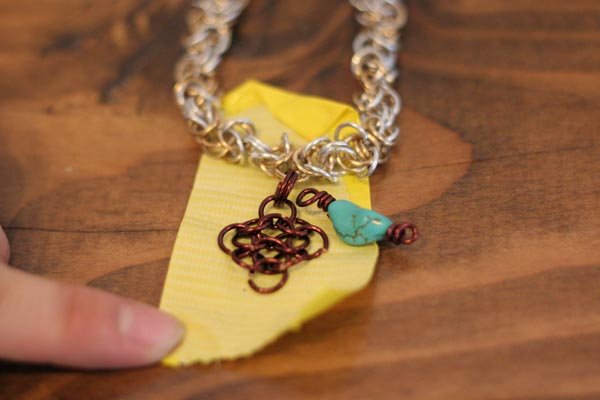
Step 13: Attach to rose
Add the pendent to the 2 jump rings holding your rose tip onto the choker. Open them one at time and thread the nugget on, then close them up. If you used a strong piece of tape to hold your rose pattern down, take your time to remove the piece from it so you don’t accidentally bend any rings stuck to it as you pull.
Step 14: Make others jealous!
Why not make a matching bracelet to go with your new necklace? Head on back to our bracelet tutorial and you’ll have one in no time!
Hit us up with pictures of some of your own Byzantine Chain projects! We’d love to see the colors and styles you come up with!
Like This Post?
Check out:
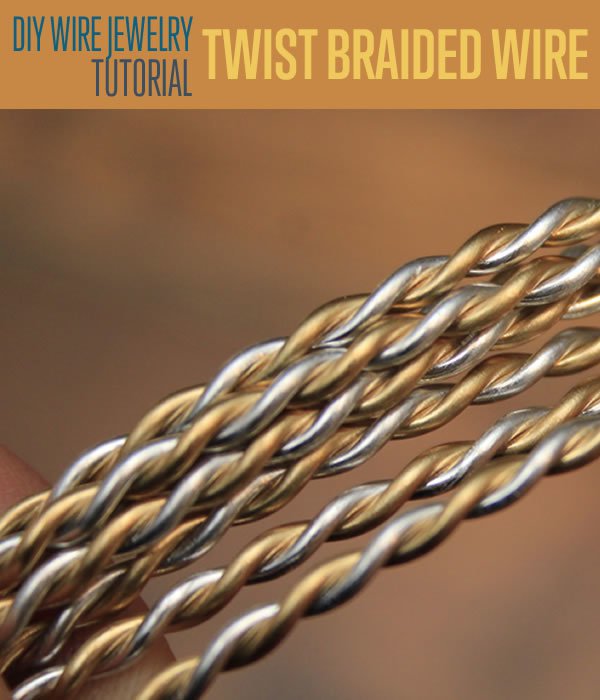
DIY Jewelry Making Supplies | Twist Braided Jewelry Wire