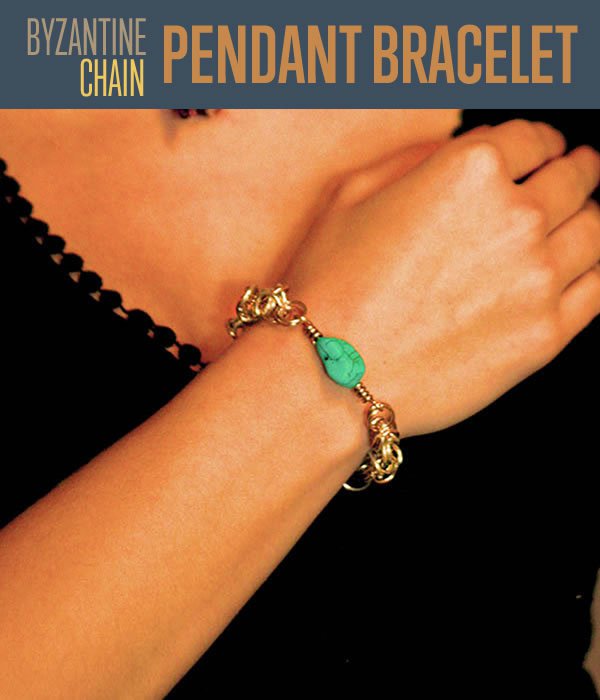
Want to learn how to make a Byzantine Chain Pendant Bracelet? You’ve come to the right place! Welcome to another link in our Byzantine chain series!
Wah wahhh.
Byzantine chains are beautiful and relatively easy to make jewelry projects, and learning how to weave them will give you a strong foundational skill that applies to all manner of lovely accessories, including necklaces, chokers, earrings, and even suits of armor (who says you can’t be pretty in battle?).
To do this Byzantine Chain Pendant Bracelet, you’re first going to need to head on over to our Byzantine Chain Bracelet tutorial. That will give you everything you need to know to make the bracelet portion of this project. Then, all you need to do is come back here to learn how to make the pendant portion.
DIY Jewelry Making | Byzantine Chain Pendant Bracelet
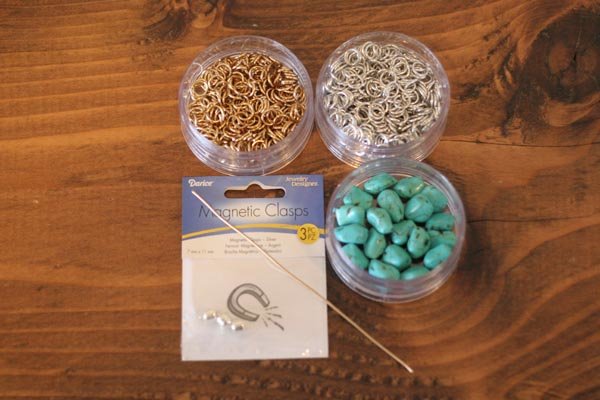
Supplies needed for this Byzantine Chain Pendant Bracelet:
- Two sections of Byzantine Chain or the jump rings to make them (length will be based on wrist size)*
- 1 magnetic clasp with 2 additional jump rings (we used gold color)
- 5-inch section of 16 gauge gold jewelry wire
- 1 turquoise nugget bead
- 3 standard jewelry pliers in round, flat, and wire cut
*Again, if you have never made a Byzantine chain, pop on over to our dedicated bracelet tutorial before proceeding.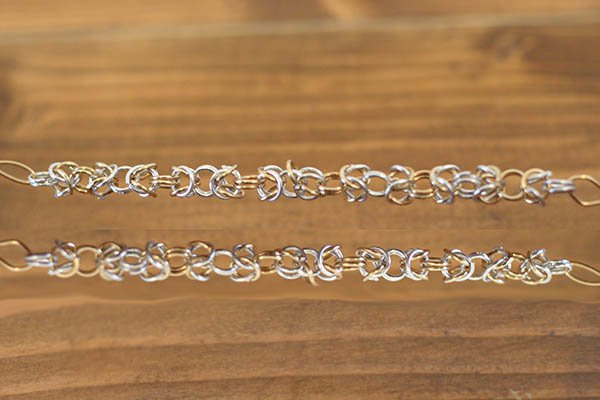
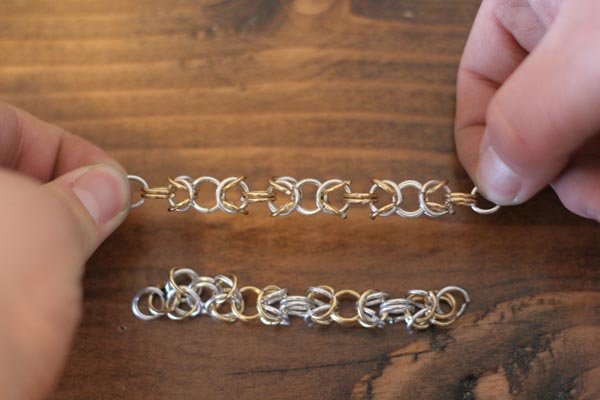
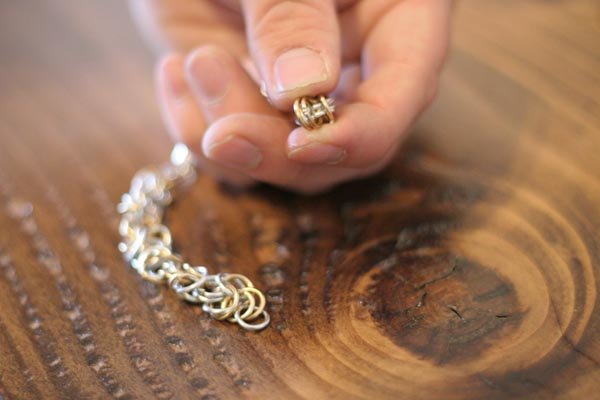
Step 1: Prepare your chain/s
Once you’ve made your chains using our bracelet tutorial, we can get to work. You can mix and match whatever wire colors you like when making your chain, both to add extra style and make your end item uniquely yours. We’ve decided to make two versions for you to see, one in pure gold color and one with a two-color silver and gold pattern. Once you have your chains ready, it’s time to get started!
Obviously the length will be based on the size of the wrist you are making these for. We made our chains out of two sections each about 3.5 inches long, creating dangling loose bracelets a little over 7 inches long.

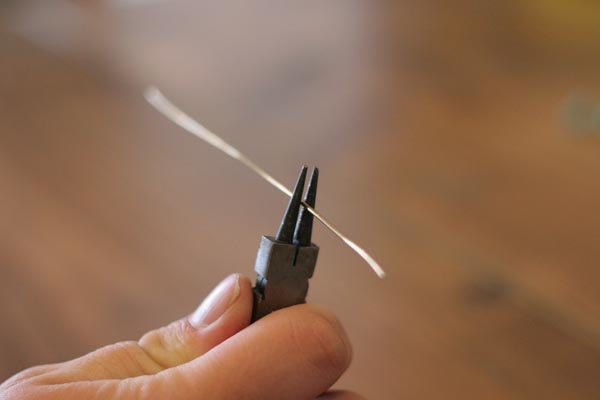
Step 2: Make first bend to your pendant wire
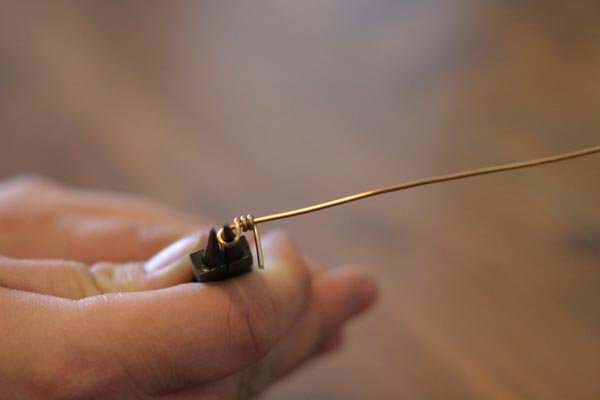
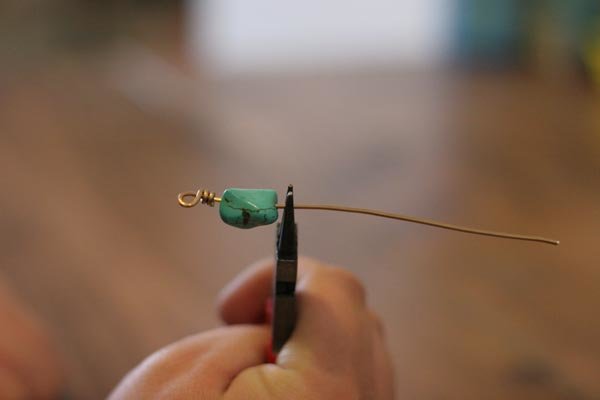
Take your 5-inch long section of 16 gauge wire (we went with gold) and hold it with your round tip pliers roughly 2 inches from one end as shown below.
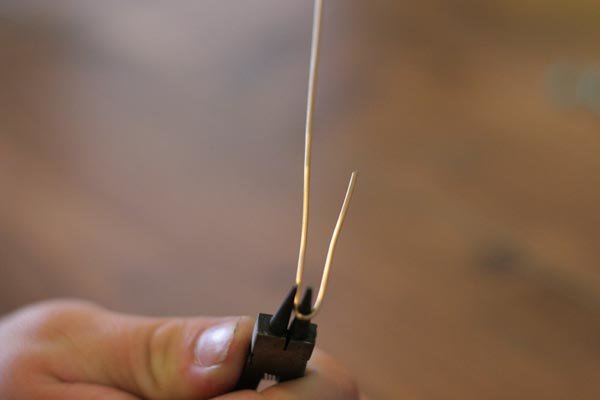
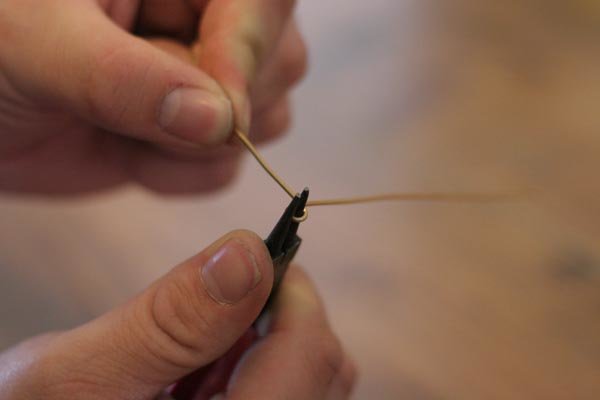
You are going to bend this 2-inch length of wire around the tip to form a U shape, then reposition you pliers so that one of the pliers’ tips is inside the U, and the other is just outside the longer length of your wire, just like this:
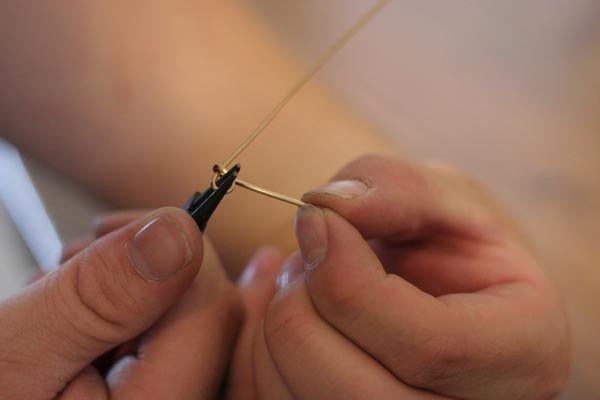
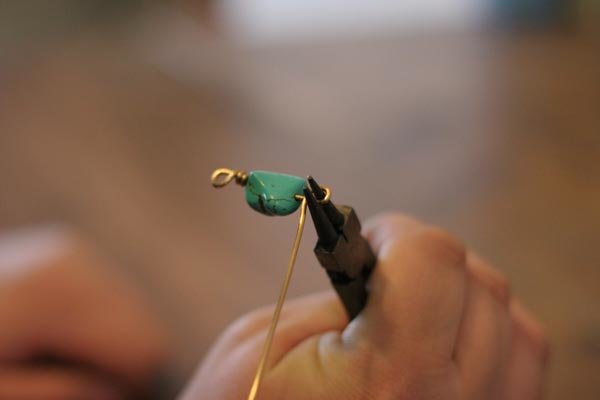
Step 3: Create a loop
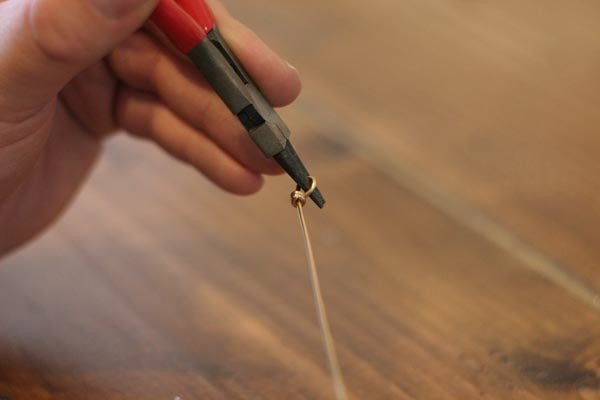
Grab your shorter end of the U shape with your fingers and bend it towards the side across the longer length, turning the whole wire into a P shape, but don’t stop there. Wrap the short wire excess hanging off the side of your P shape around the main long wire 3 times, until you have what looks almost like a fishing line loop. Check out the following pictures for a clear…um…picture of what we mean:
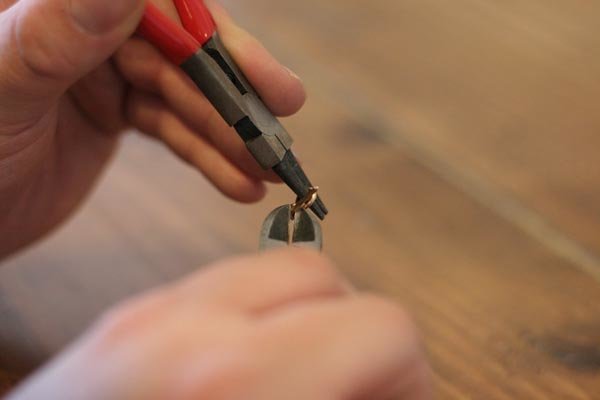
Step 4: Clean up the coil
Now we grab our cutting pliers with our free hand and snip off the small section of excess still pointing out from our coil.
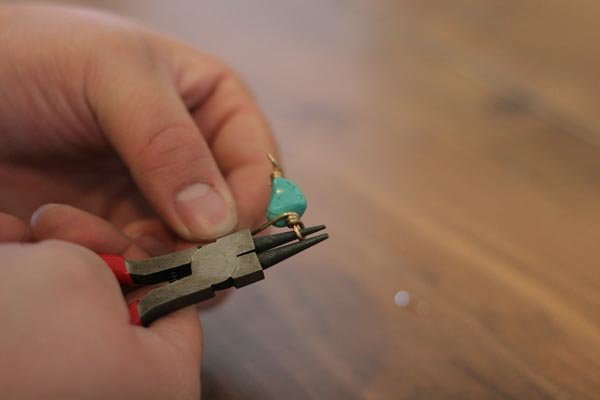
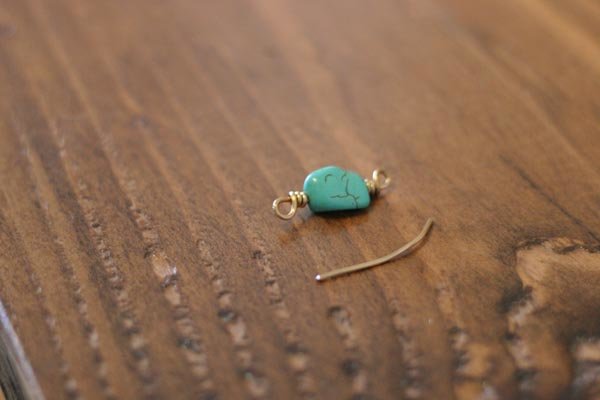
Step 5: Thread your nugget
Slide the wire you now have through your nugget hole until the loop sits flat against one end.
And repeat the same looping process you did with the first steps, only this time on the end sticking through the nugget: Bend the wire into a P shape…
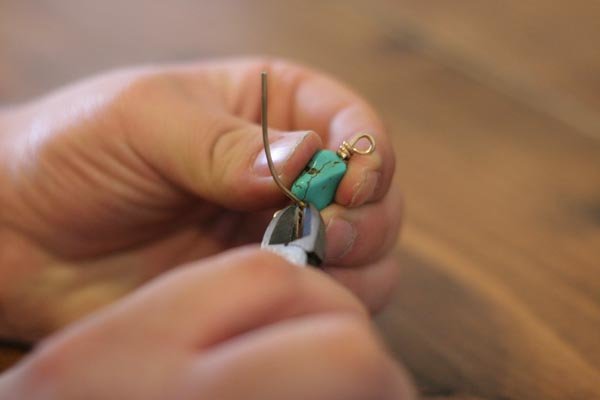
Then wrap it around the neck protruding from the nugget three times:
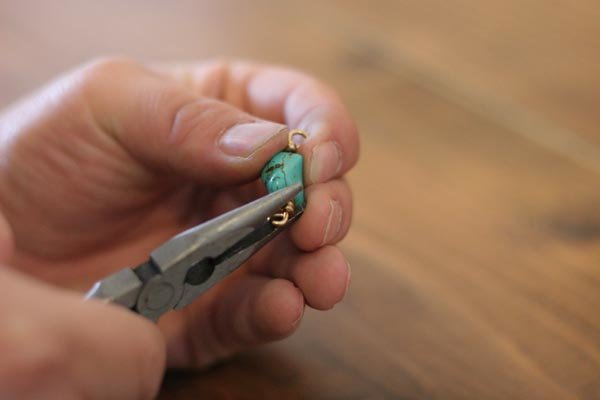
Step 6: Clean up some more
Just like we did with the first loop, we cut off any excess wire on this side after making our three wraps.

Then use the tip of your chain pliers (the ones that look like needle nose if you’re new to jewelry tools) and use them to softly bend where we cut the wire on each end, rolling it down so it does not catch on the skin when put on.
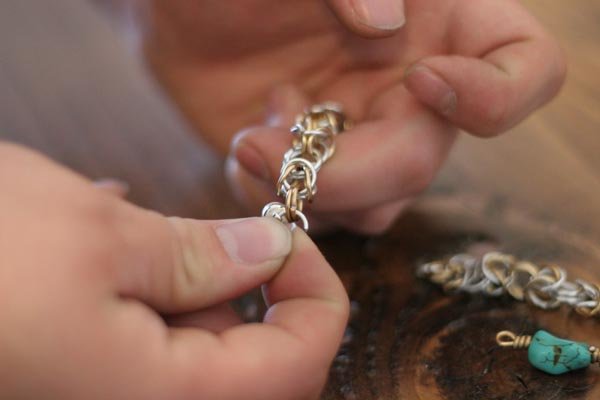
Step 7: Add your clasp to one end of each chain section
Now we move back to our chain sections for a sec. We are now going to add a clasp to both ends so we have them connected into one long chain held together by the clasp. This is very easy to do! Just add a single jump ring to the end of one clasp chain and thread that ring through one half of your magnetic clasp.
And do the exact same thing with another jump ring on the other end, threading that ring through the other half of your magnetic clasp.
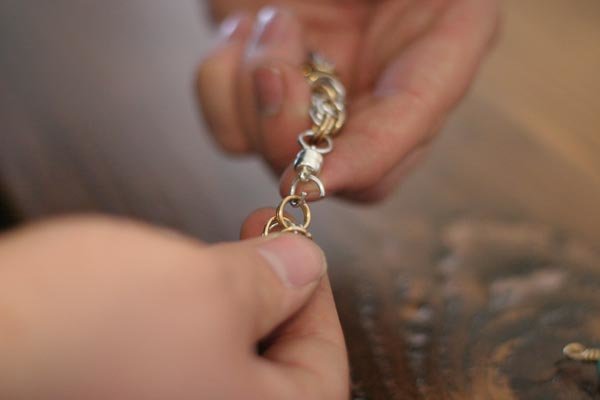
Step 8: Add pendent to the other ends
Once our two chains have a magnetic clasp bringing them together, we complete the circle by adding our pendant to the other ends. If you made your chain bracelet properly (and, after going through our bracelet tutorial, how could you not?) you will have a pair of jump rings terminating each end of your chains.
 Take one end and thread both of its rings through the top loop of your pendant, and then thread the other end’s rings through the bottom. We don’t need to add a single jump ring to them like with our clasp, as the loop on the pendent will fit two jump rings.
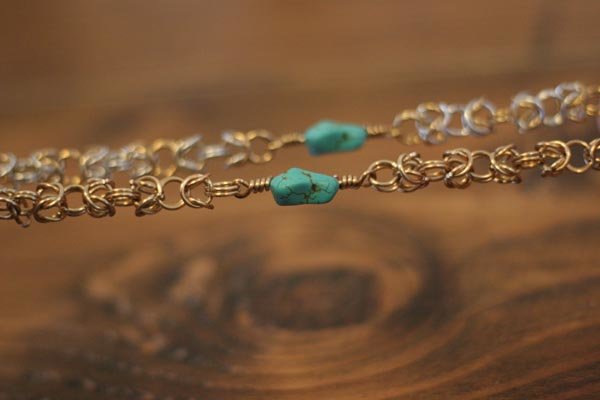
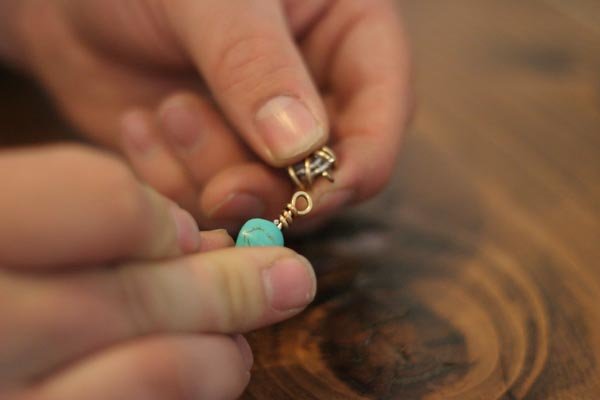 You now should have your pendant, with two sections of chain on each side, ready to clasp onto a wrist.

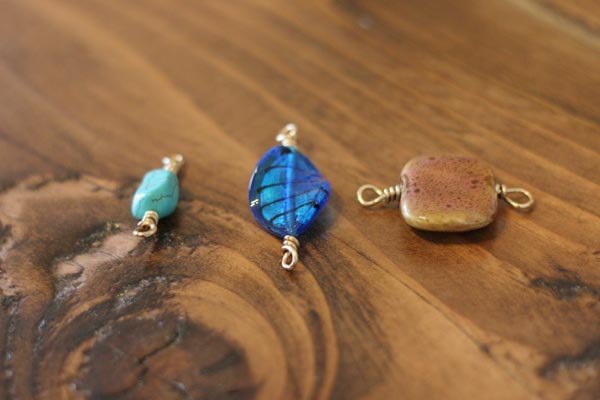
Step 9 (optional): Swap out pendants to give them new life!
The great thing about Byzantine chain pendant bracelets is that it’s very easy to switch out a new pendant to give fresh life to a jewelry piece. If you get bored with one pendant, don’t let it collect dust in a drawer: JEWELRY UPCYLE your style!
Look at some of other cool pendants we added in no time, simply by following the same procedure.

Like This Post?
Check out:
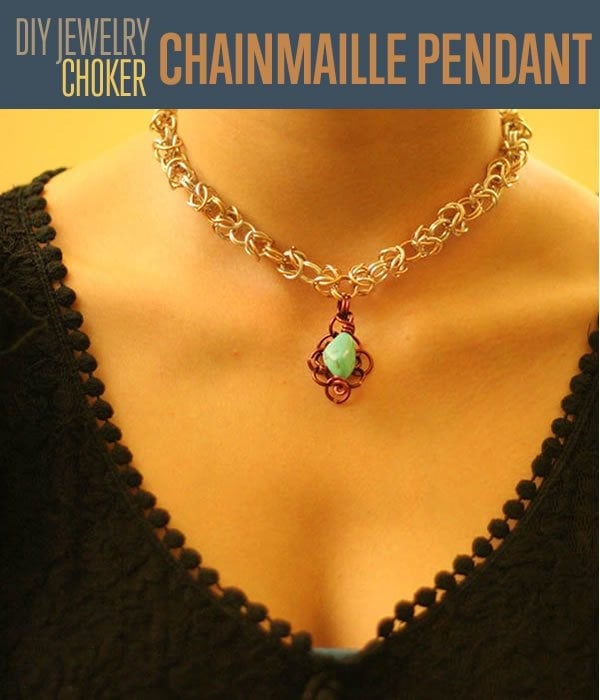
DIY Jewelry Making | Byzantine Choker Necklace | Chainmaille Rose Pendant