Interested in making some cool and elegant handmade jewelry? Not sure how to start, what materials, or even what tools you will need to get to work on some projects?
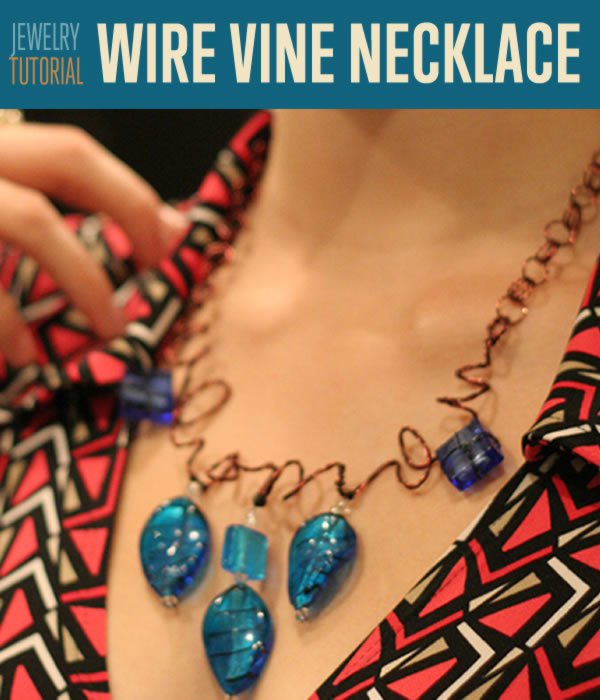
Today we are starting you off with a basic tutorial on how to make a wire vine necklace using glass beads and copper jewelry wire. We will cover all the tools needed, materials, and options you have to make your necklace an original design. These handmade jewelry pieces can be made as gifts, wedding accessories, or even sold at a local market if you are an aspiring jewelry entrepreneur.
DIY Jewelry | How To Make Jewelry | Wire Vine Necklace
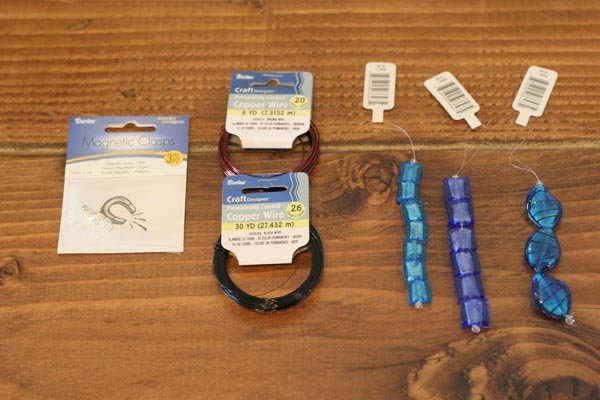
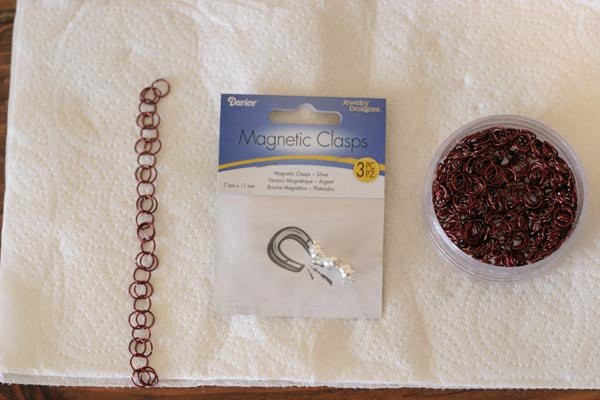
Supplies needed to make a wire vine necklace:
- Brown colored copper jewelry wire, 20 gauge
- Black colored copper jewelry wire, 26 gauge
- Magnetic clasp
- Blue leaf glass beads
- Blue square glass beads
- Purple square glass beads
- Clear plastic beads
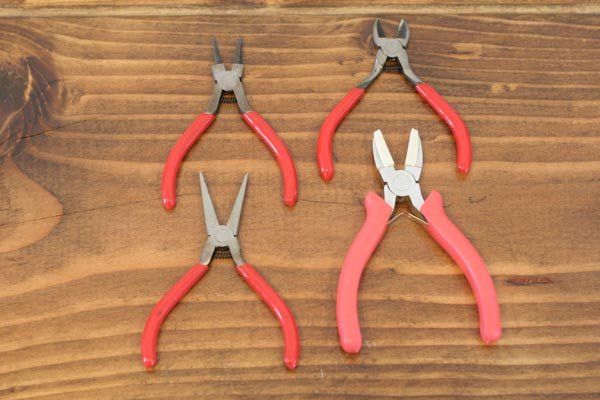
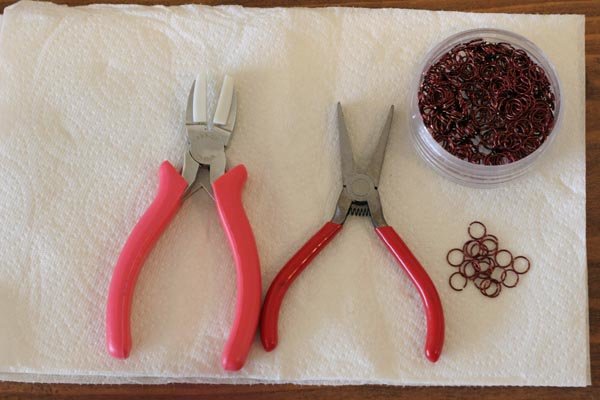
- Small round nose pliers
- Small flat nose pliers
- Small diagonal cutting pliers (or any tool that can cut the thin wire)
- Small nylon-tipped flat nose pliers (optional)
Step 1: Twisting your jewelry wires to form braided wire
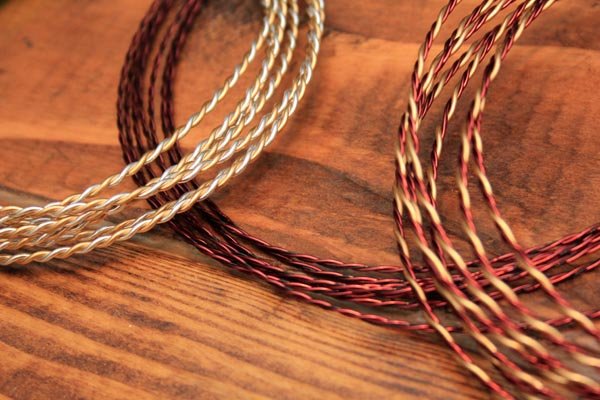
To start the base of our vine section, we need to first braid or twist together a few strands of wire. Visit our tutorial on making braided jewelry wire to see how to make your own. Those of you who have already done our lesson on how to twist braided jewelry wire are now ready to go, using the very wire we made from that lesson!
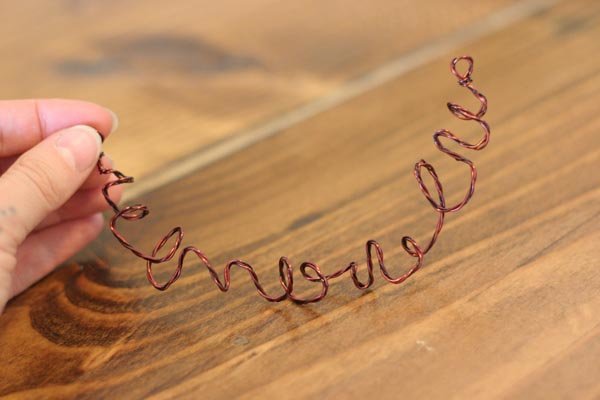
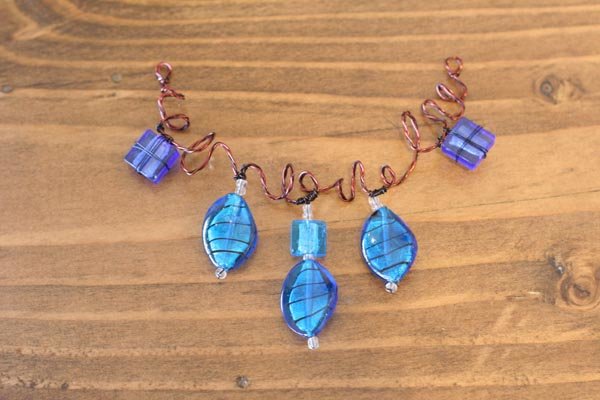
The samples below gives you an idea of the different styles of vines you can get by changing the colors. You are by no means limited to the examples you see here.
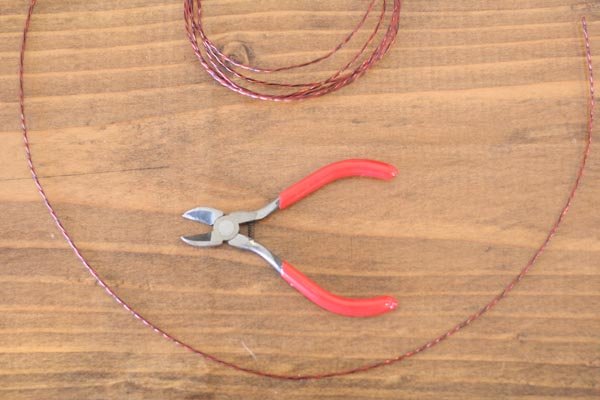
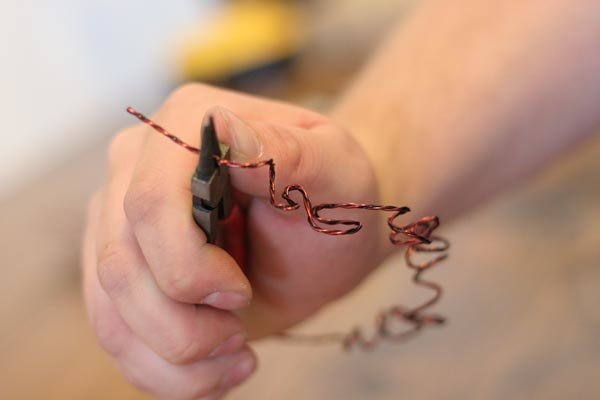
Step 2: Clip your length of braided wire for vine
Using our twisted wire that we made from two lengths of brown wire and one length black wire in the middle, we cut a 1.5-foot section from our braided wire. You can, of course, make it longer or shorter to fit the designs you have in mind.
When picking lengths to cut, keep in mind that your braided wire is going be bent in endlessly different ways to make a vine. A very long section will soon be short with the more twists you put in the final shape. When in doubt, start with a piece much longer than you think you will need.
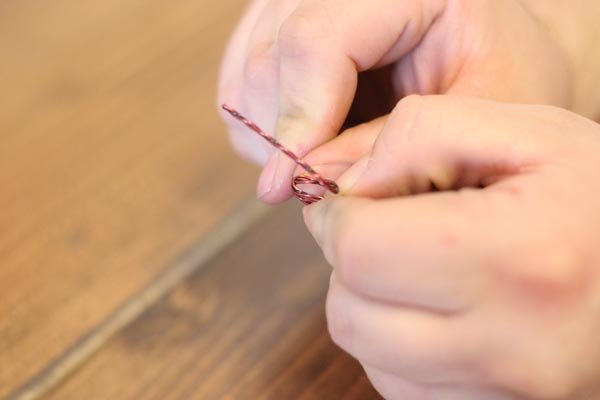
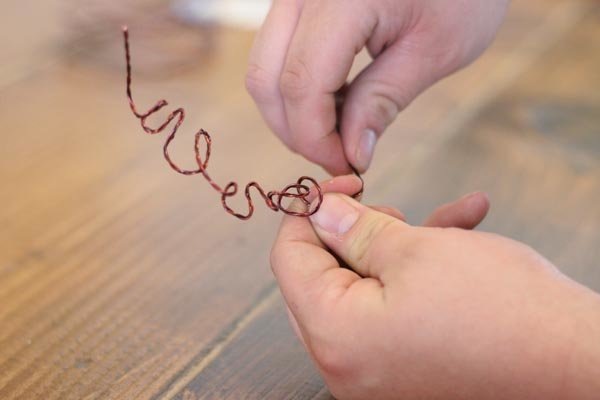
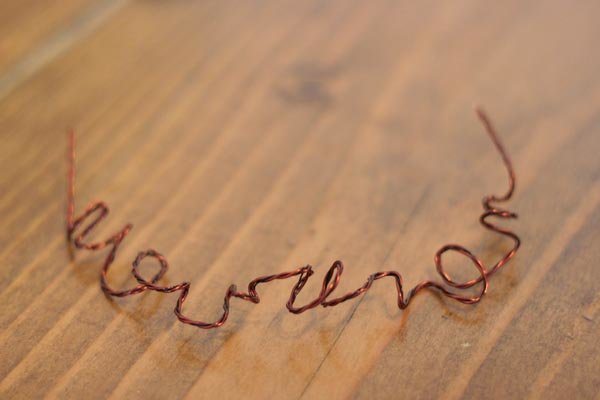
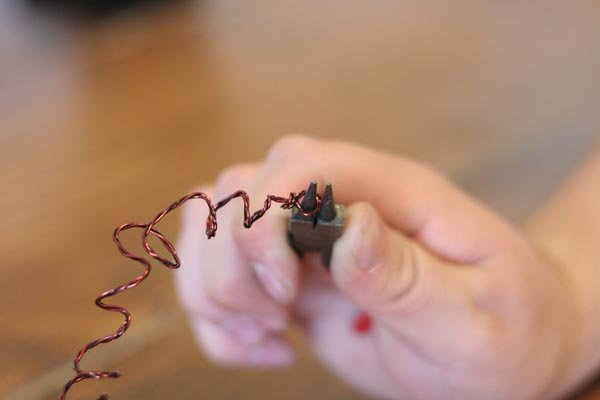
step 3: Twist and bend the vine shape
We are going to just start bending, turning loops, twisting it around our finger, and doing pretty much whatever naturally happens to get the desired shaped vine. There really is not a wrong way to do this step. I just keep bending and tweaking the shape with my hands until I like what is in front me.
You can do this by hand easily, but when using thicker wire you can also use round nose and nylon-tipped pliers to bend the wire without scratching the color off. This comes with the added benefit of giving your hands a break.
You will want to leave a good 1-inch section of straight wire coming off both ends of your vine piece, as these will eventually be used to make the end loops for your chain to attach onto.
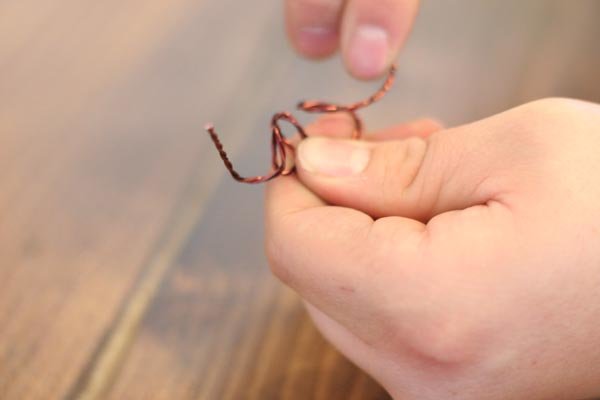
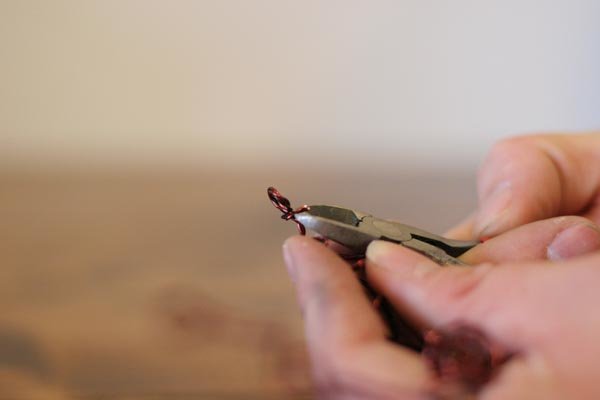
Step 4: Begin making loops for the chain
Using our round nose pliers, we gently hold the wire. If we hold too tightly, the color finish on the wire can scratch off. Gently take the tip of the straight end of wire and roll it around the front of the pliers until you get a U shape.
Keep going until the wire crosses back over the vine, resulting in a P shape.
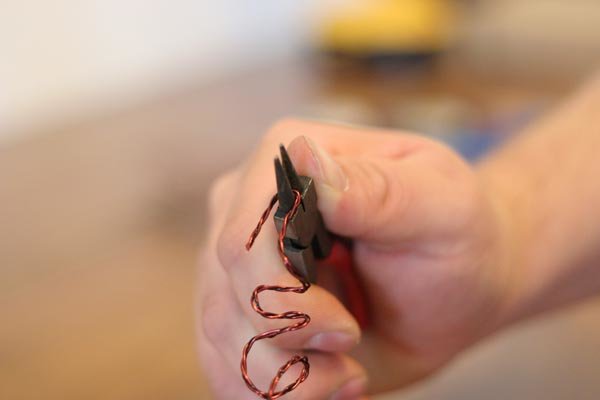
Then wrap the end length down and around the main wire, cutting off any excess.
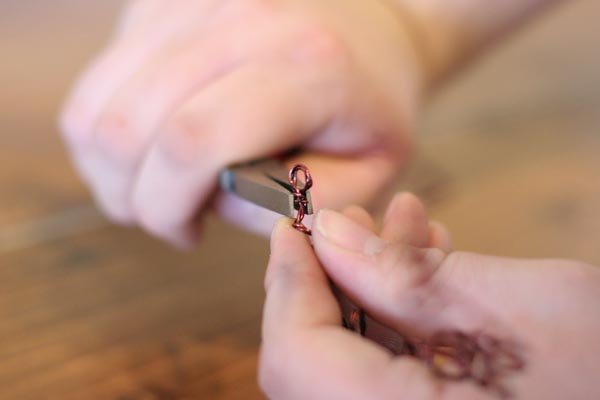
Step 5: Clean up you chain
Using your flat nose pliers, carefully roll the sharp cut-off ends of the wire down so they face into the other wires and no sharp bits are sticking up towards where your skin will be when you wear it.
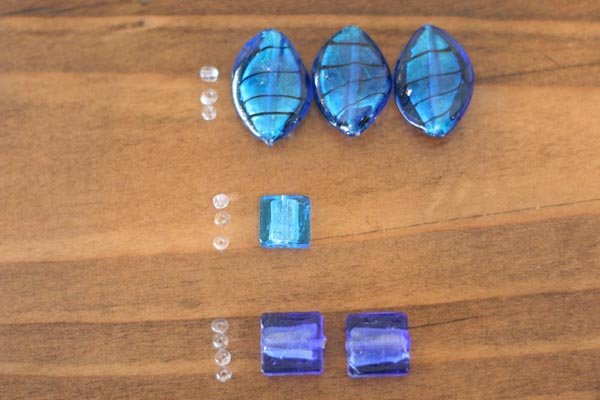
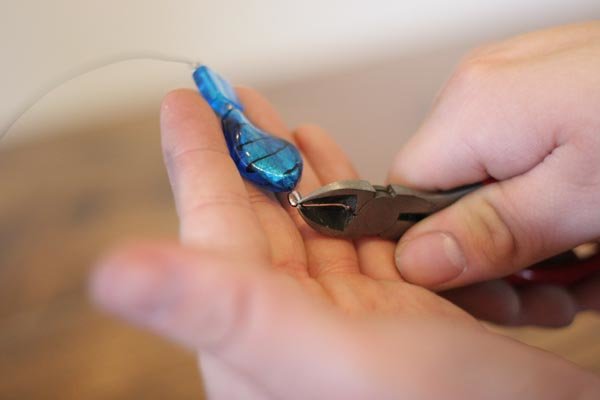
Step 6: Clip beads from strands & save the clear beads
Using your cutting pliers, cut the fishing line used to keep the beads together and carefully let the glass beads slide off onto the table. Make sure to keep those free, little clear beads that come on the strand, that way you don’t have to buy some to use in this piece.
If the strands you purchased don’t come with these little clear bumper beads like ours did, you can use any small beads you have at home, or buy some separately when you’re buying your glass beads.
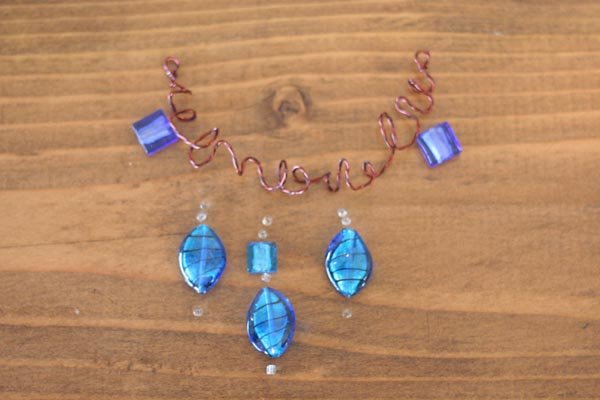
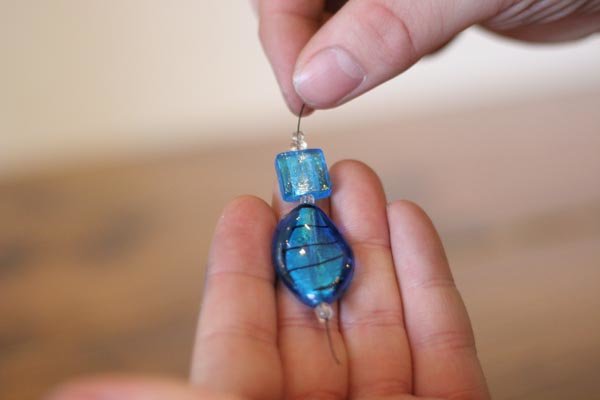
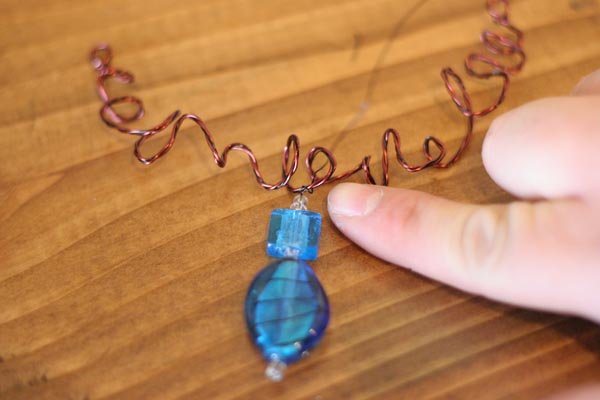
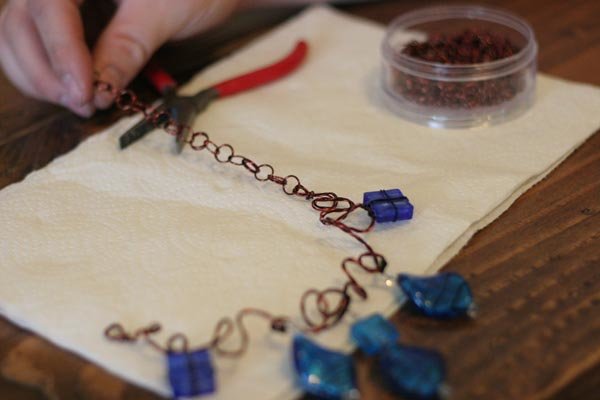
Step 7: Mock up bead placement along vine
This step is just simply laying out your design on a flat surface so you can see what it is going to look like and help you plan out the arrangement.
Step 8: Cut lengths of wire for beads
Cut off a few 8-inch sections of 26 gauge black wire to make the wire bead strands to attach to the vine. We have 5 hanging bead sections in this example, so we will need to cut 5 sections of black wire for each length of beads.
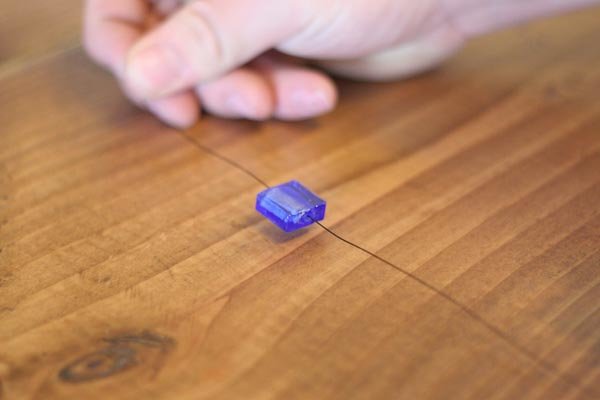
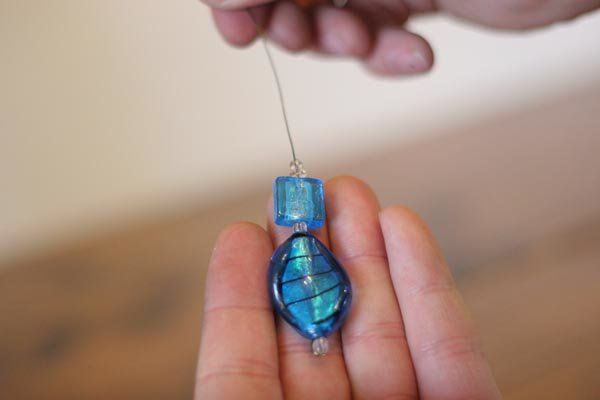
Step 9: Strand beads onto black wire lengths
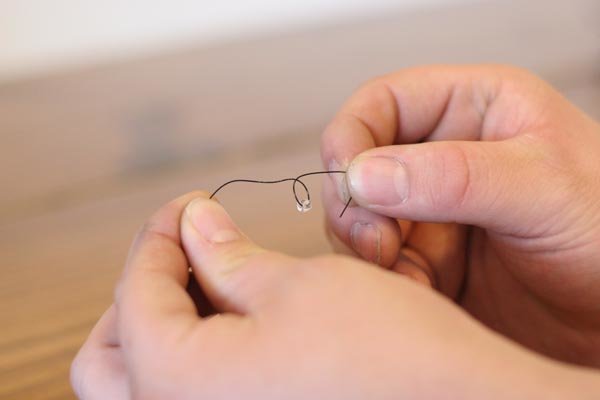
We first thread on one clear small plastic bead (don’t use glass, plastic is stronger) to hold the other beads on. This is the end bead that will be tied in place on the wire. Just thread the wire through the bead and loop it over as shown.
For this portion of my necklaces, I normally always just use the clear beads that typically come with store-bought strands. Why let free materials go to waist?
Should you NOT want to use any kind plastic at all in your jewelry, you can alternatively use a crystal bead as an end cap of the strand you make. Real crystal is stronger then glass, but they cost a little more. Such is the price of art.
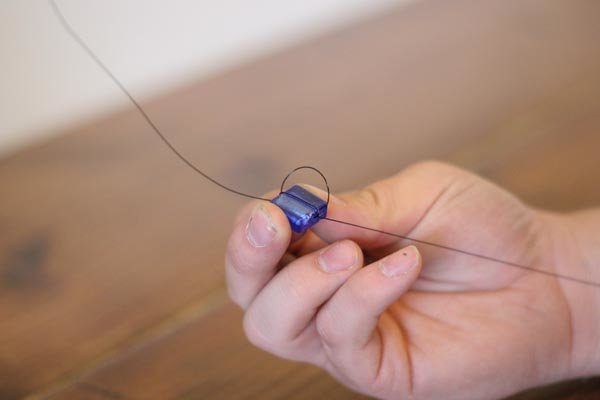
Step 10: Re-thread the strand
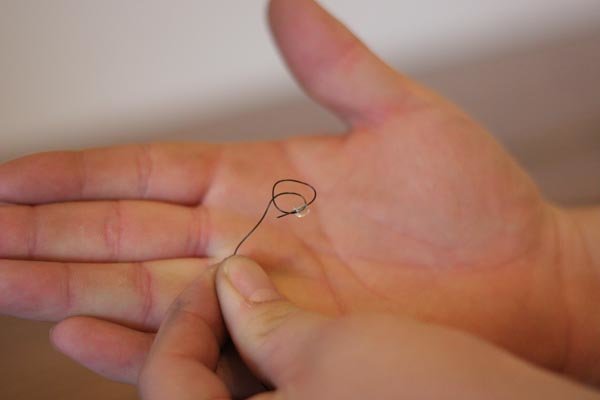
Once you’ve passed your black wire through the bead once, loop it over and thread through again.
Step 11: Tie the bead in place
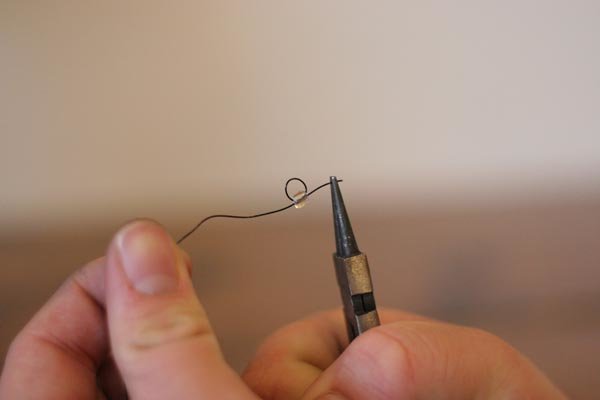
After you’ve threaded through twice, use your pliers to pull the wire taught around the bead. This will now serve as the end/stop point of your strand.
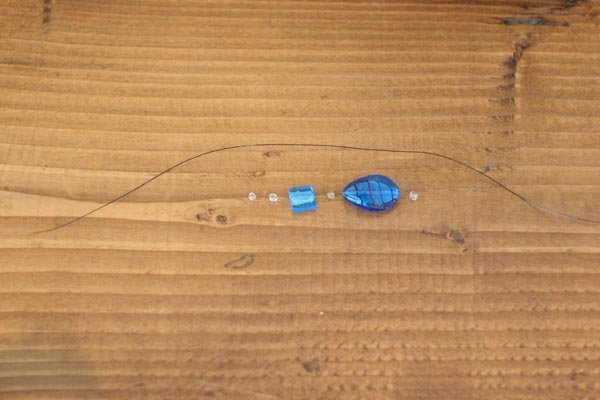
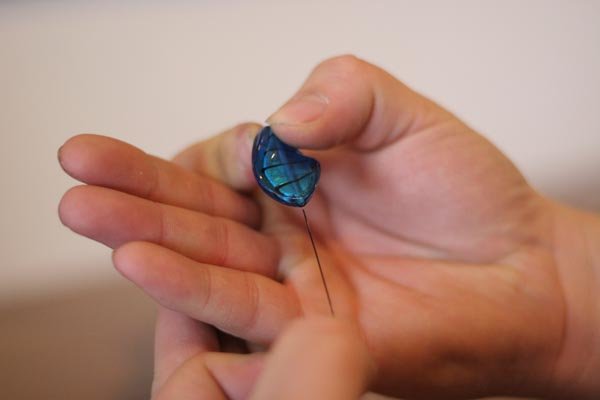
Step 12: Begin threading with larger/different beads
How this lays out is entirely up to you. Please your beads in whatever sequence you want down the strand.
Step 13: Cut off excess on your strands
Once you have the number of beads you want threaded, cut off any excess wire that remains on the bottom. The end you are cutting is the end which will hang below your necklace, NOT the end that will eventually be affixed to the necklace.
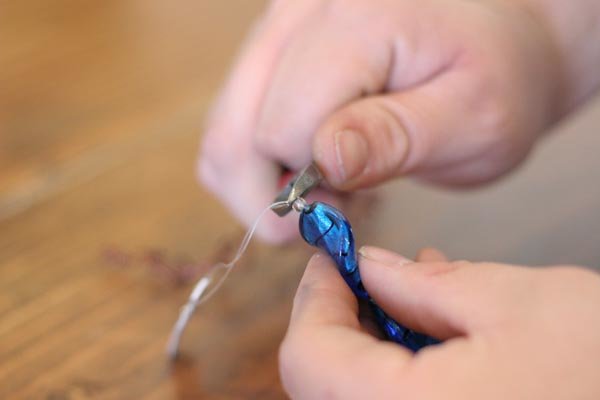
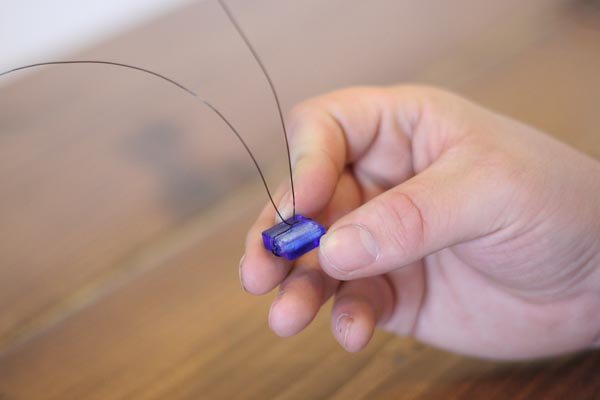
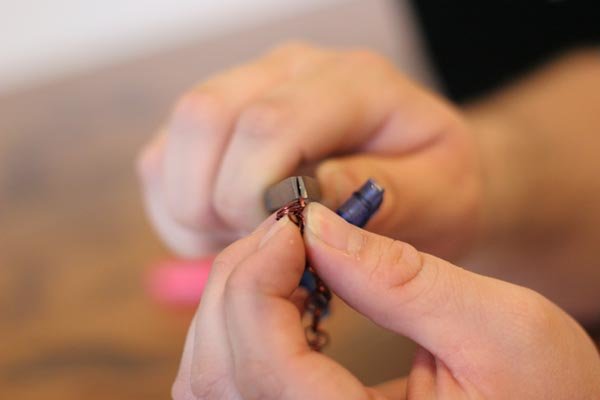
Step 13: Begin wrapping square glass beads
We are now going to wire wrap the square purple glass bead in our collection, and we are going to do it packaged twine-style. We thread the wire through the glass bead first and leave the bead in the middle of our strand.
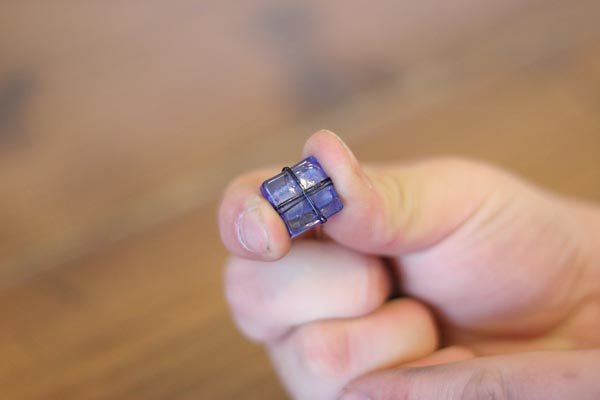
Step 14: Continue your package
Then we loop it over the outside a few times.
Step 15: Finish your package
Then, just like you would a package with twine, loop your two opposing lengths of wire up and around each other, twist the strands together in the middle, and wrap around the front again a few times.
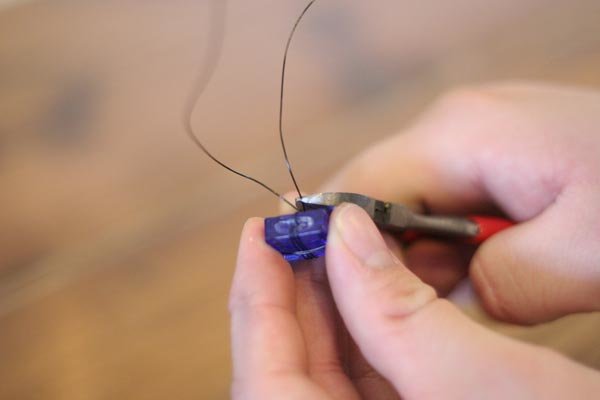
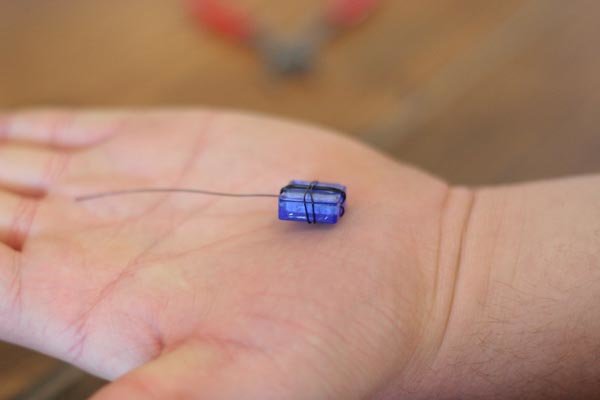
Step 16: Remove excess
Cut the extra wire so we are left with one long wire to attach to the vine.
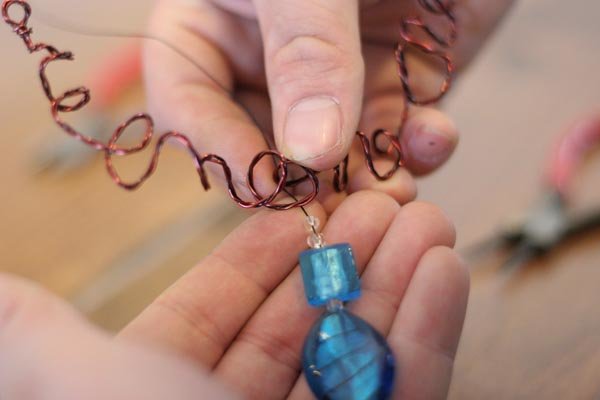
Step 17: Wrap bead strand to vine
Hold your finished bead strand and wrapped squares, up to the location of the vine you wish to attach them to. Then slowly wrap the end of wire around the vine, as tight as possible, without damaging the vine.
Where you put them is entirely up to you!
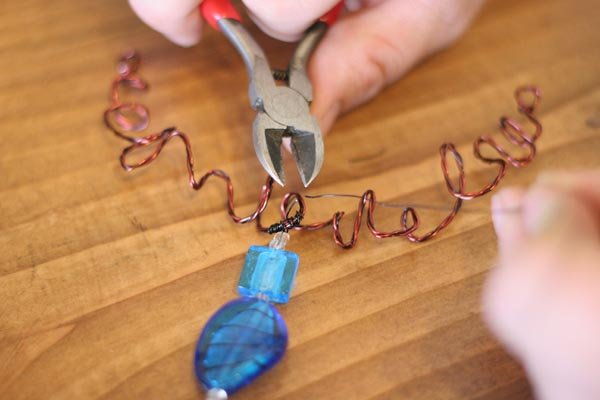
Step 18: Cut off excess…again
With each bead strand you put in place, cut off the excess once it is tightly wrapped around your vine.
Step 19: Making your jump ring chain
Really the chain part is optional, as you could easily just attach a cheap jewelry chain laying around to the ends of your vine and be done.
BUT THAT’S NOT THE DIY Projects WAY!
We are using jump rings made from our 20 gauge brown jewelry wire, using our very own Jump Ring Mandrel. You might want to check out that tutorial as well, especially if you plan on making a lot of jewelry. You can also buy pre-made jump rings from the craft store but…THAT”S NOT THE DIY Projects WAY EITHER!!!
We use our flat nose pliers to hold the loops and bend them open or closed. On thin small wire like this, I find it easier to just work with my fingers, though it can get a little painful over time. Pliers help if you have them or if you want to save your fingers from building up calluses.
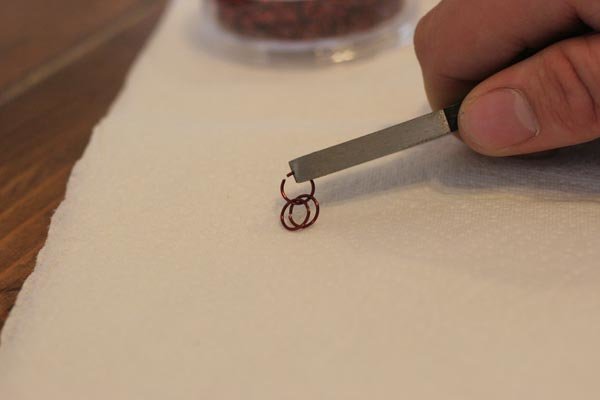
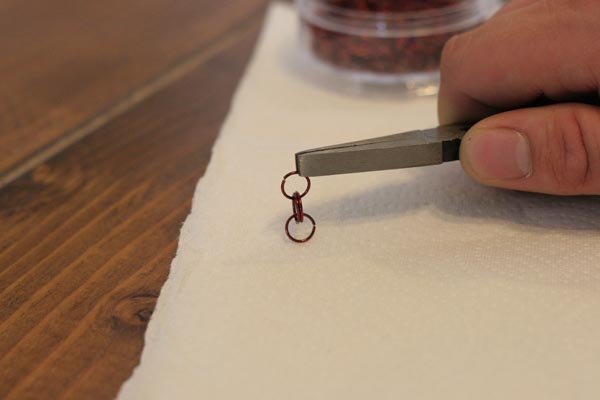
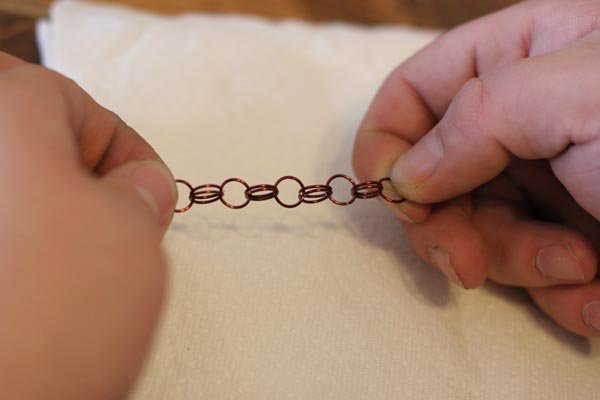
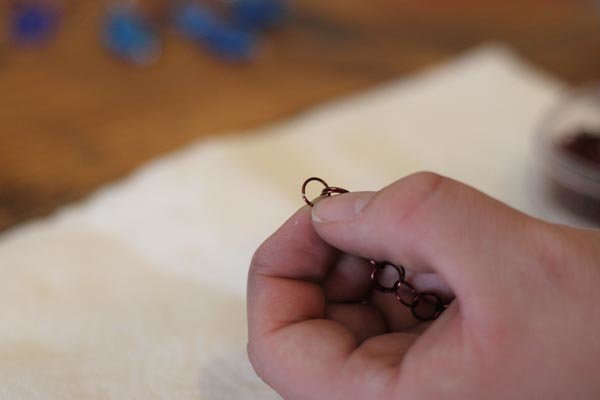
Step 20: Your jump ring sequence
You are going to build a jump ring chain in the following sequence: 1 ring / 2 rings / 1 ring / 2 rings / 1 ring, and so on, alternating back forth until you have two equal lengths needed for each side the neck. We made two sections of chain that are 4 1/2 inches long each to use on this necklace. Both ends of your necklace should end on a single jump ring section, not a section of chain with 2 jump rings.
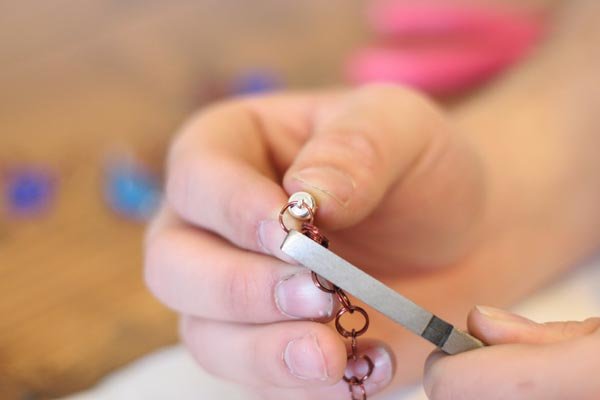
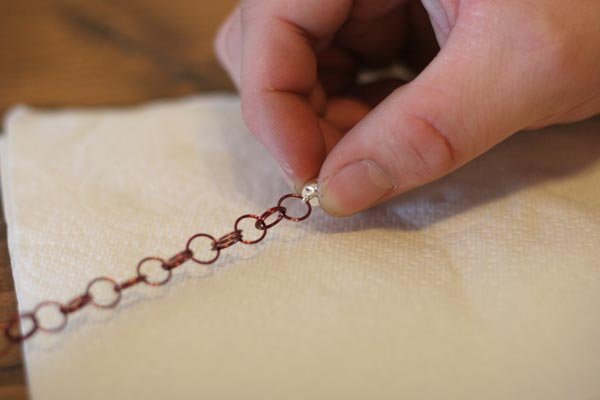
Step 21: Attaching chain to magnetic clasp
Making it easier to take off your necklace without messing around with complicated barrel clasps sounds good, so we went with magnets. These are available at any craft store and come with threaded tips for you to feed your wire through. You’re going take one end of each jump ring chain and bend that jump ring back open just enough to get the clasp hole through the magnet, and close the jump ring back up. Then do the same thing with your other section of chain.
The end result is a 9-inch jump ring chain (your two, 4 1/2-inch sections) with a magnetic clasp in the middle of the chain.
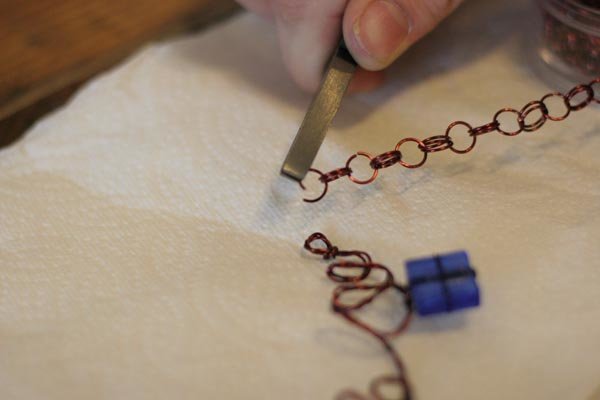
Step 21: Attaching clasped chain to vine
Now we are going take our jump ring strand with its magnetic clasp in the middle and affix either end to our necklace vine. Open the jump rings on either end, place them over either end of the vine loop, and close the ring.
step 22: Enjoy, gift, sell, make more!!

Like this post?
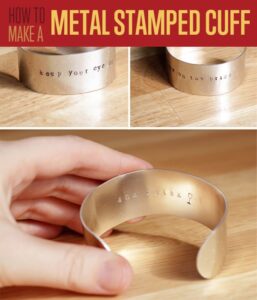
Check out
DIY Metal Stamping Jewelry |Metal Stamped Cuff