


Want to make your own custom phone case? Protect your phone with a super cool case you can be proud of… All you need is a hot glue gun!
How To DIY Custom Phone Cases For FREE
This super easy phone case DIY project is as cheap as it gets. To DIY a case for your phone all you need is wax paper and a hot glue gun. Most crafters already have a glue gun and parchment paper lying around. If not, they’re just a few bucks each to buy, and the investment is worth it! You’ll find yourself reaching for the glue gun time and time again for other various craft projects.
This super fun and creative custom project is so simple and easy! It’s a fun way to protect your phone while showing off your own personal style on the cheap.
Watch this video and follow the steps below to see how easy it is to make your custom mobile case!
You’re going to love making this…
DIY Custom Phone Case Supplies:
- wax or parchment paper
- glue gun
- glue gun glue sticks – you can use clear, colorful, or even glitter!
- scissors
- tape
Click Here to Download Your Free Stencil!
DIY Custom Phone Case Steps:
Step 1 – Trace phone

Start by sizing our your phone case. Trace your phone on a piece of paper, then draw your pattern. Not sure what to draw? choose one of our FREE patterns!
Step 2 – Cut and tape stencil
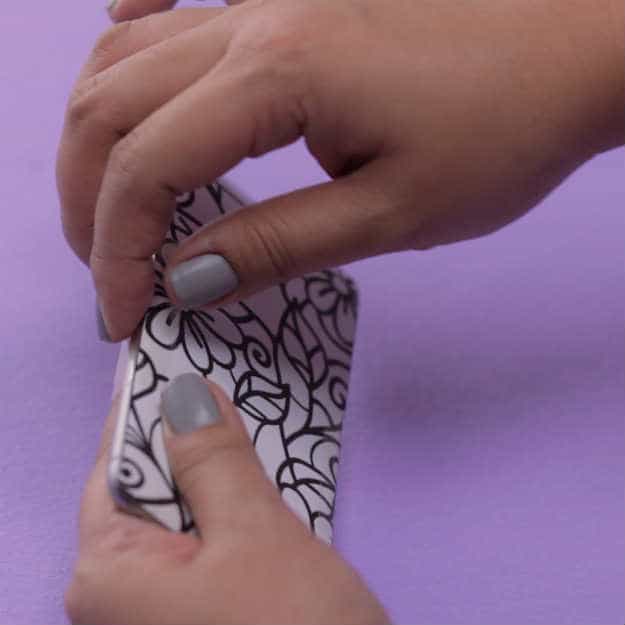
Cut out the drawing and tape it to the back of your phone
Step 3 – Cover with parchment paper

Cover your phone and the stencil with parchment paper and tape it down to hold it in place. NOTE – Wax paper, parchment paper, and baking paper are all the same thing. They are perfect for crafting because they act as a barrier between the hot wax and your phone, and the wax will peel right off once it dries (within 60 seconds).
Step 4 – Outline phone with hot glue gun

The glue gun emits a hot wax that dries quickly into a perfectly flexible and rubbery substance that will protect your phone. This is no otterbox – please don’t go chucking your phone or dropping it in water, but it will prevent scratching and keep your phone free from harm during daily use.
Step 5 – Trace design
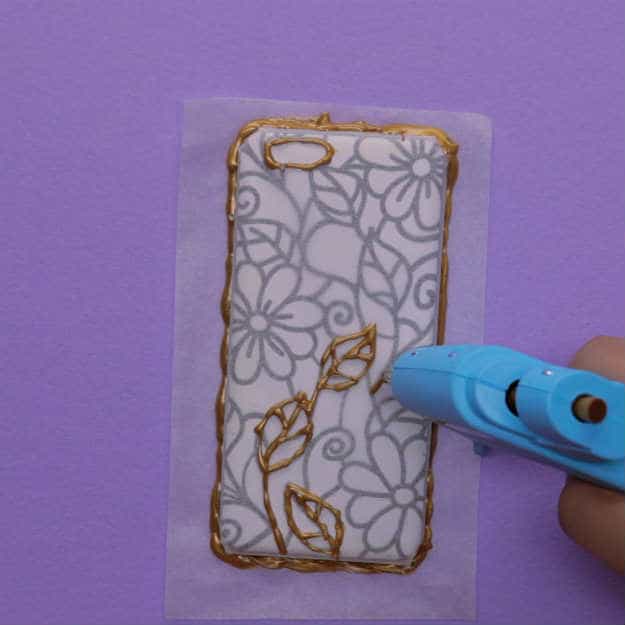
Once you’ve outlined your hone, trace the back pattern. Use whatever colors you want. Fill it in, or leave it open like a net. This is your custom phone case, have fun and be creative!
Step 6 – Line the edges of phone and the front
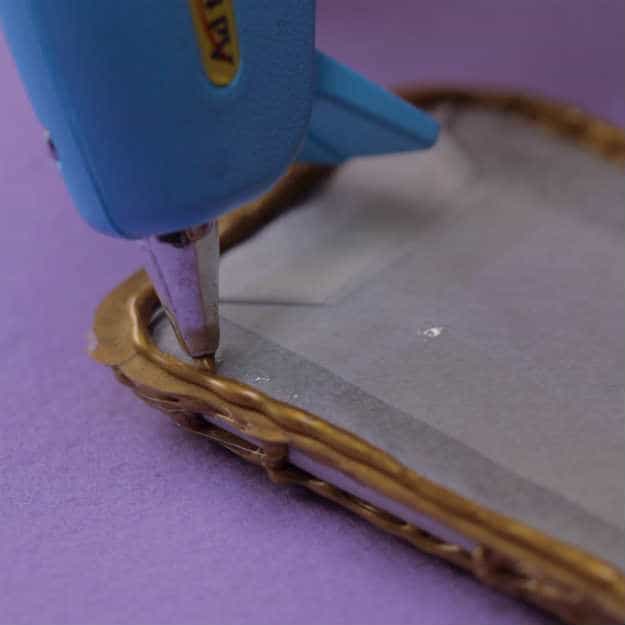
Take extra care to outline the side walls of your phone. Be sure to leave openings for your volume controls, lock, safety, speakers, and port. Once your back and side are all filled in with the hot glue gun wax you’ll want to outline the front of your phone too. Extend the design up and around the corners so there is a lip to keep it secure.
Step 7 – Flatten the wax
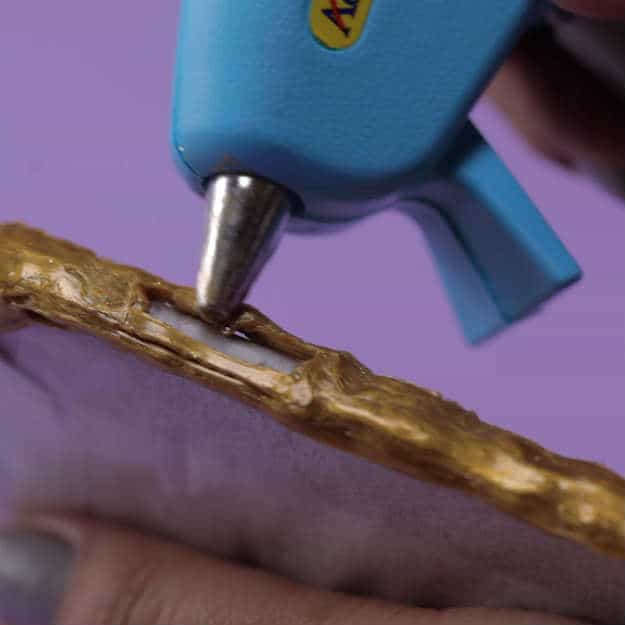
To finish off your phone case use the side of your glue gun’s nose to flatten out the edges and make any final adjustments.
Step 8 – Peel it and Use it

Once your hot glue dries (60 seconds) you can remove it from the wax. Your DIY phone case is now ready for use!
Of course, there are plenty other ways you can DIY your phone case with hot glue! I’m obsessed with this version by PipeCleanerCrafts B:

Looking for more fun, cheap, and easy crafts? Check out 25 Cool Projects For Teens.
![]()
Stay connected with us on Facebook, Twitter, Pinterest and Instagram!


